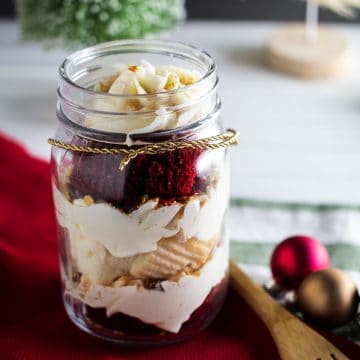
Our white chocolate peppermint Christmas cake jars are a fantastic way to get into the spirit of giving during the holidays! Look, I am not the biggest peppermint lover but surprisingly, even I love this dessert. So, let’s see, these little beauties are easy to make, inexpensive, and so, so delicious. And they make the perfect gift. What more can you ask for?
And if you like this recipe, be sure to check out our list of favorite festive mini desserts in a cup and mini bundt cake recipes.
Jump to Recipe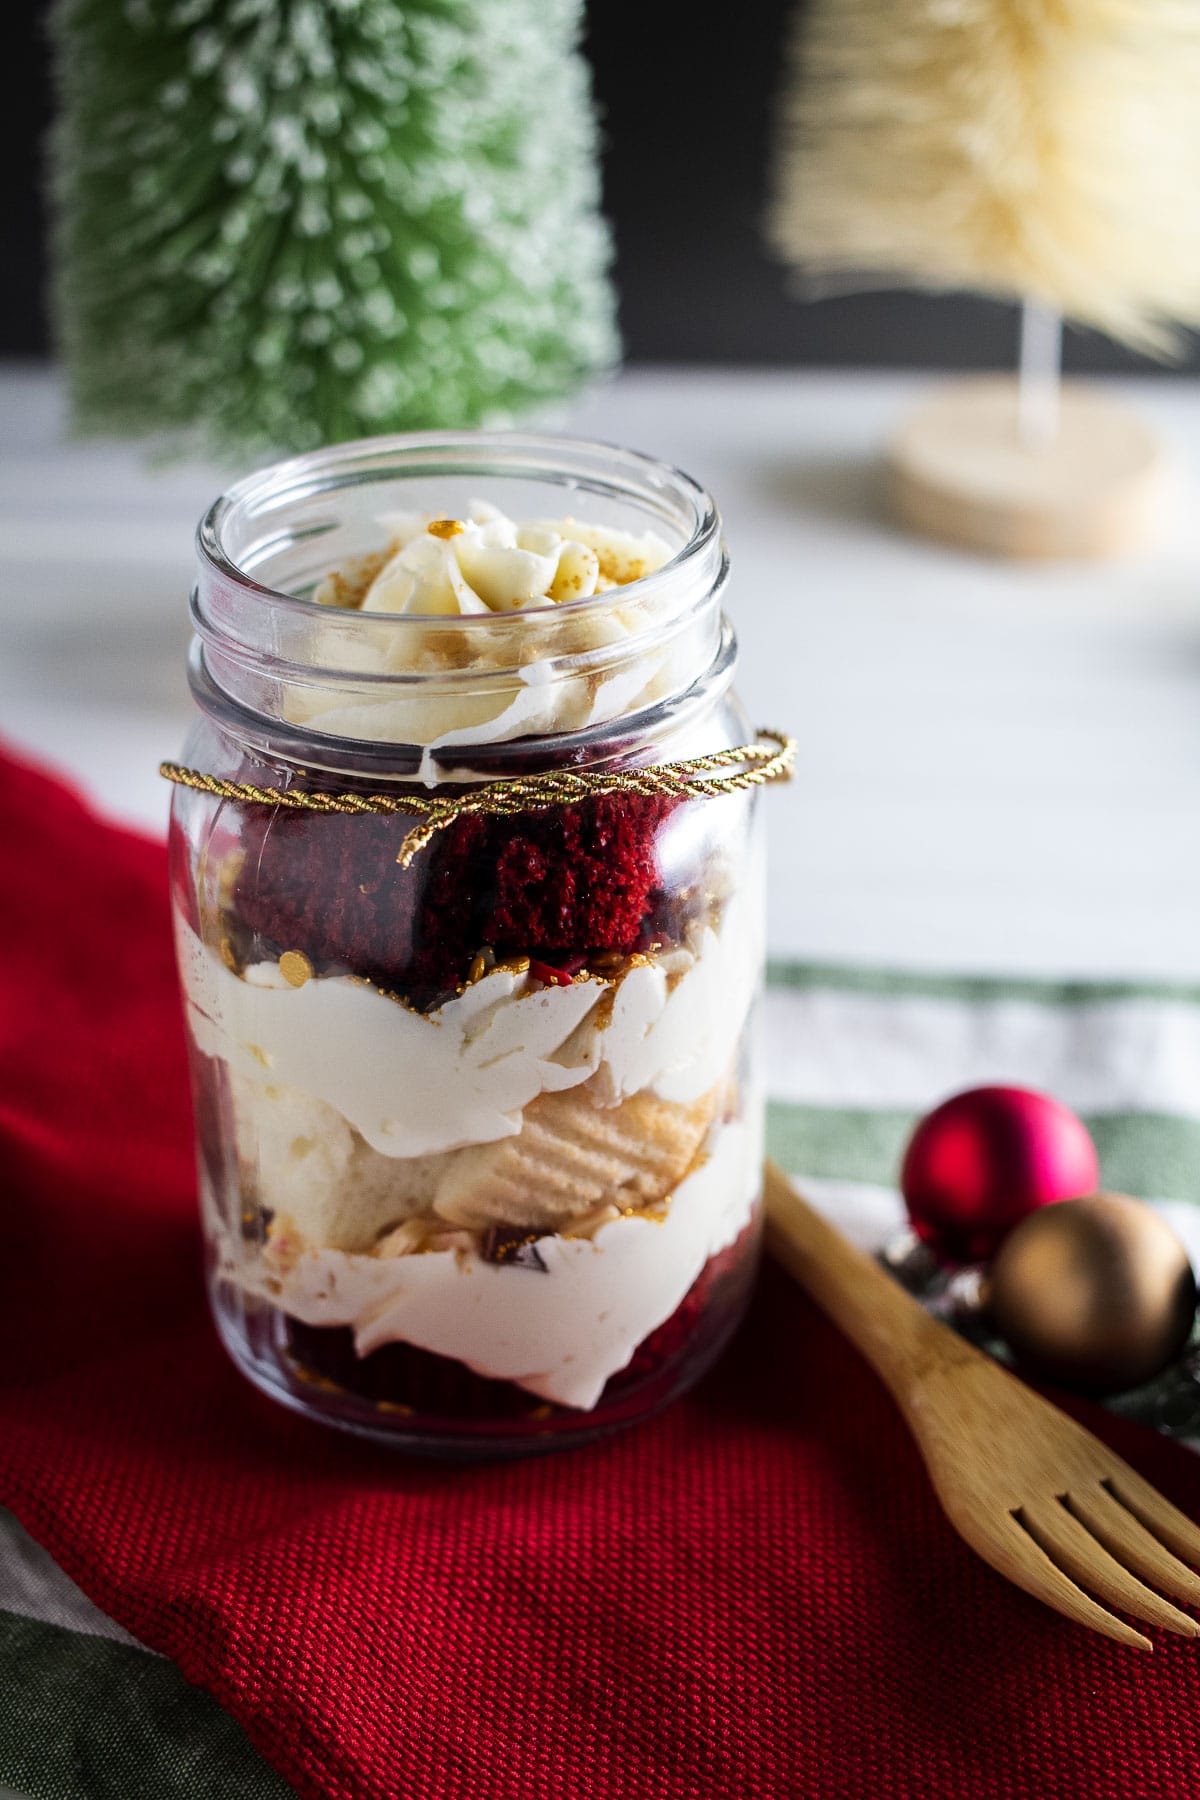
You know, cake in a jar is a fun treat for any time of the year. But during the holidays, it is more than just a tasty dessert. It’s a fun gift idea that says, “Hey, you’re important to me.”
That’s why I love homemade food gifts. They show people that you care and who doesn’t like a little something sweet. Not only that, but they are so quick to make. And while they are perfect for giving to your immediate family, they’re also great to give to your neighbors, coworkers, and even your mail carrier.
The first time we ever came across the cake in a jar concept was years ago on a shark tank episode. They were called wicked good cupcakes. It was an idea that was so brilliant, simple, and perfect. And I, like I’m sure so many people that witnessed that pitch thought, “why didn’t I think about that?”
Well, we certainly didn’t think about this cake jar idea first. But this is our version and the first of more to come from our kitchen. So follow along as we show you how to make our Christmas cake jars.
Jump to:
Ingredients
Pictured below are all of the ingredients that you need to make our Christmas cake jar recipe.
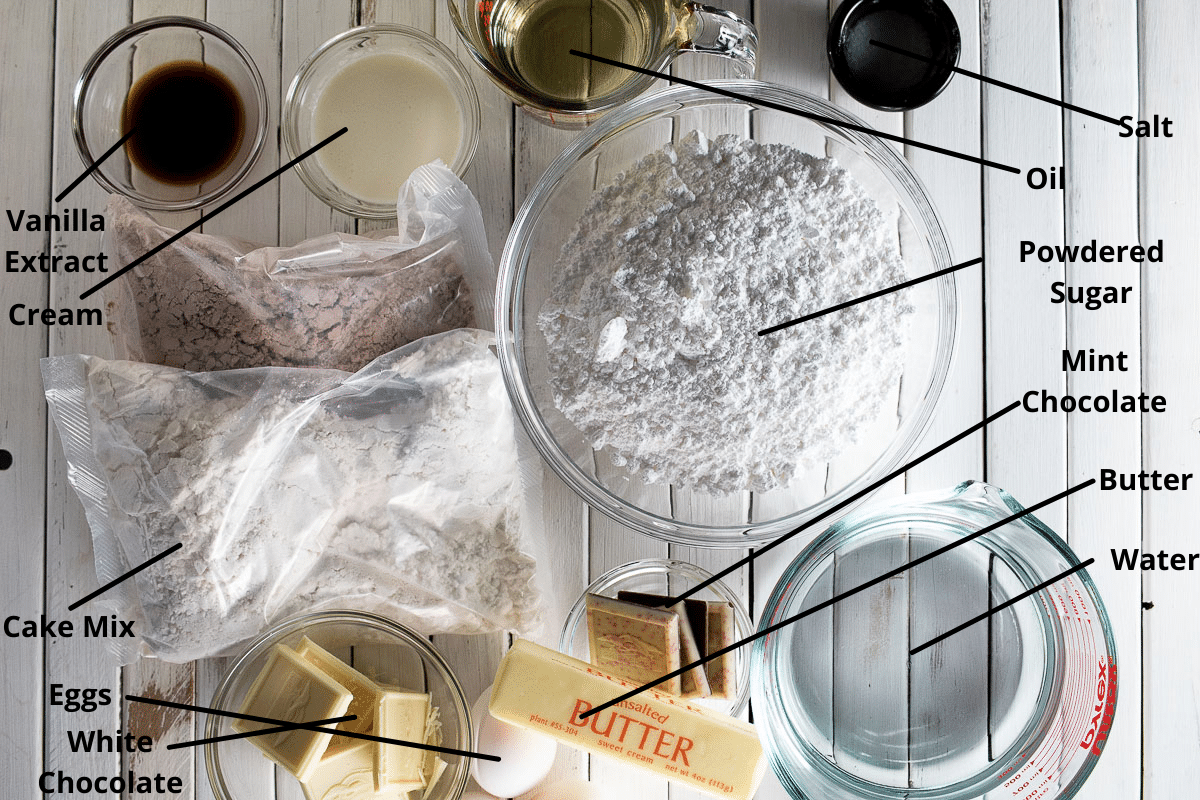
- Cake Mix
- Water
- Vegetable Oil
- Eggs
- Butter
- Mint Chocolate Candy
- Eggs
- White Chocolate Candy
- Cream
- Vanilla Extract
- Salt
See the recipe card for quantities.
How to Make Christmas Cake Jars
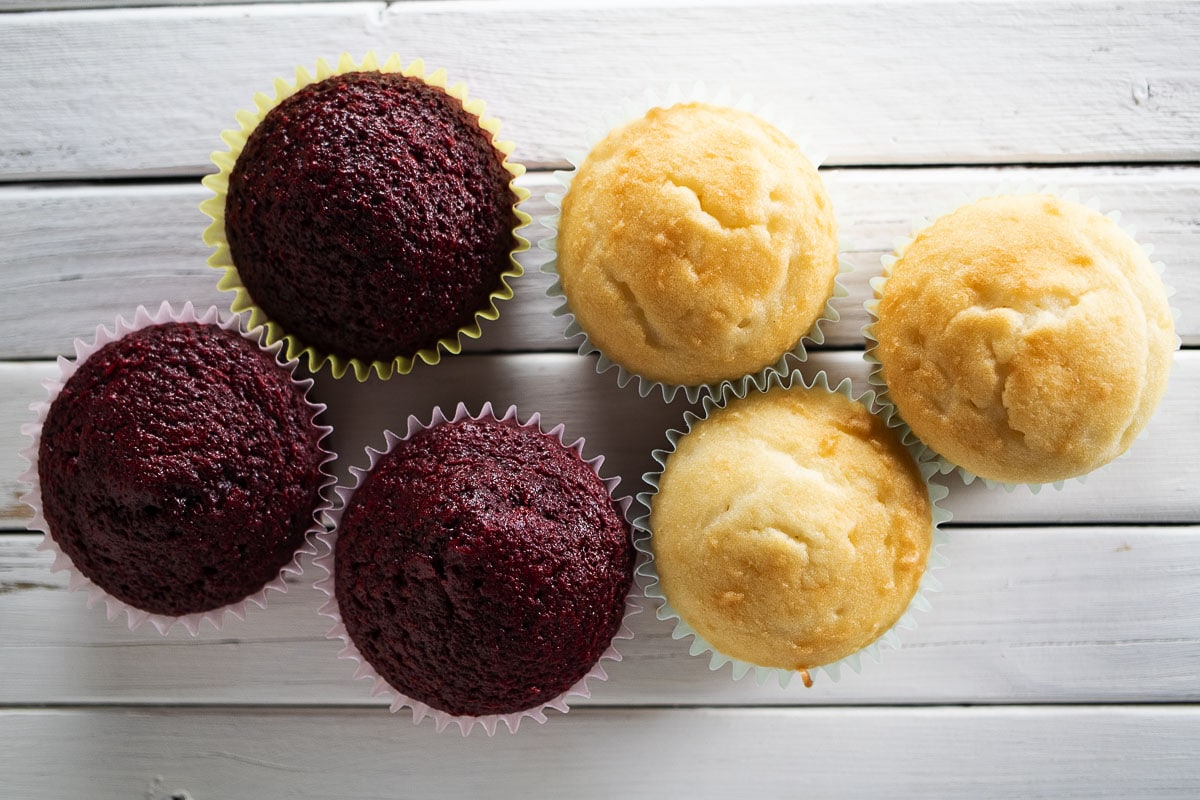
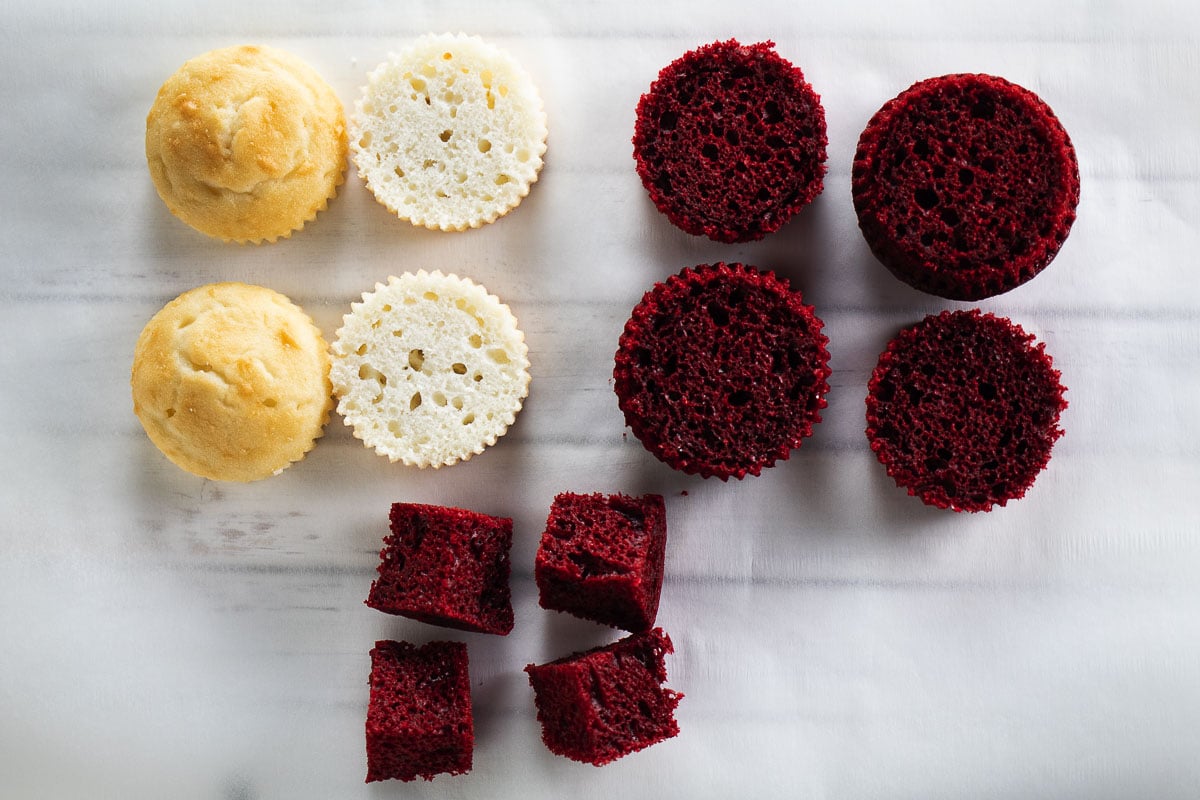
The first thing you need to do is make the cakes. Just grab your cake mix and make it according to the box instructions. We used a red velvet cake mix and a white cake mix. However, feel free to use chocolate and yellow cake if you like.
We made cupcakes, but you can use a pan according to the box instructions. We’ve found that cupcakes are probably the easiest for most people. But, It doesn’t matter which you use because you’re going to be cutting them.
Next, cut the cupcakes, as you see in the image below.
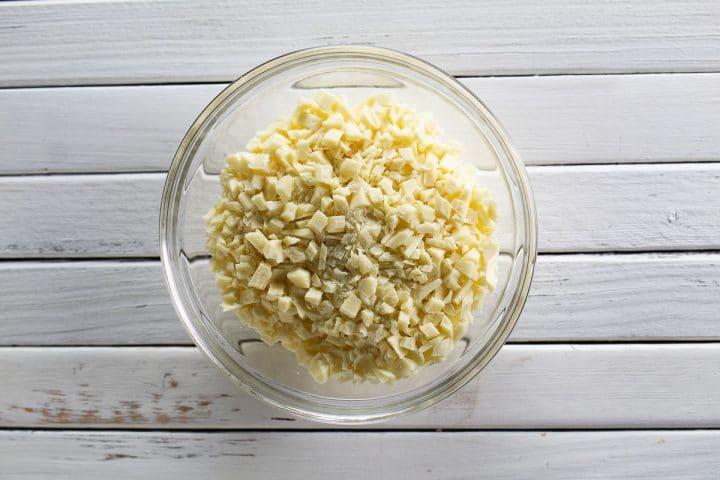
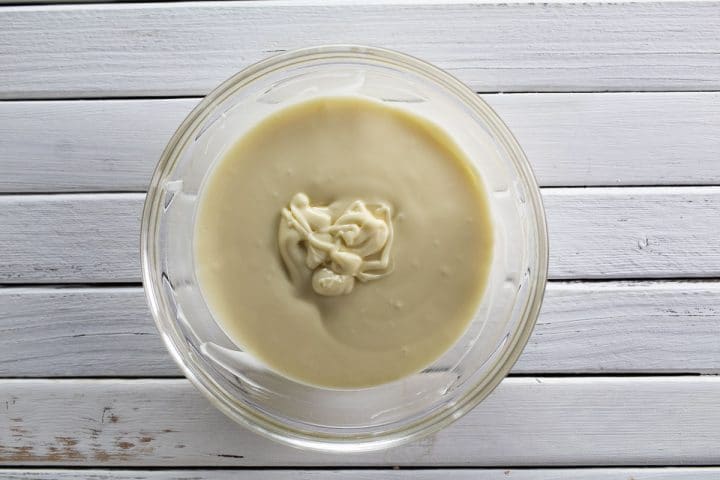
The next thing to do is make the white chocolate frosting. Just follow the instructions in the recipe card below to make this super-easy frosting. Then you will need to chop the white chocolate and melt it.
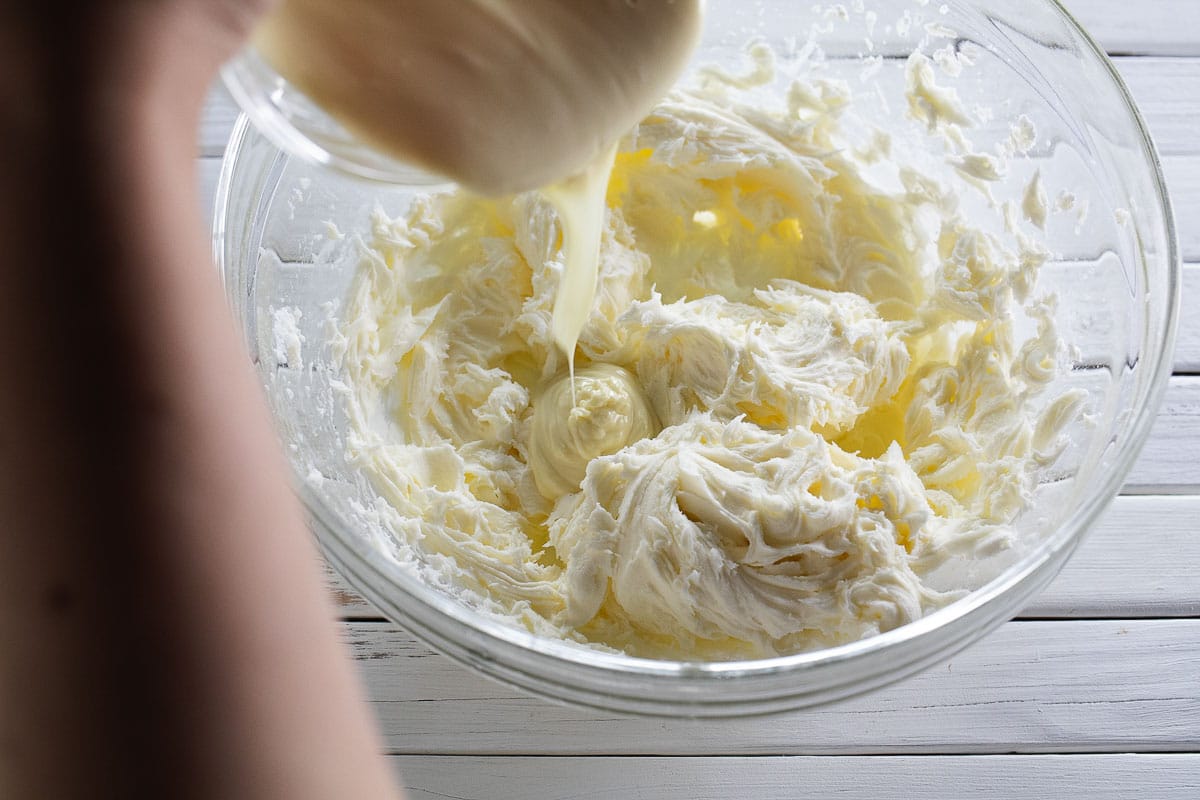
Finally, pour the white chocolate into the bowl of frosting and mix to combine.
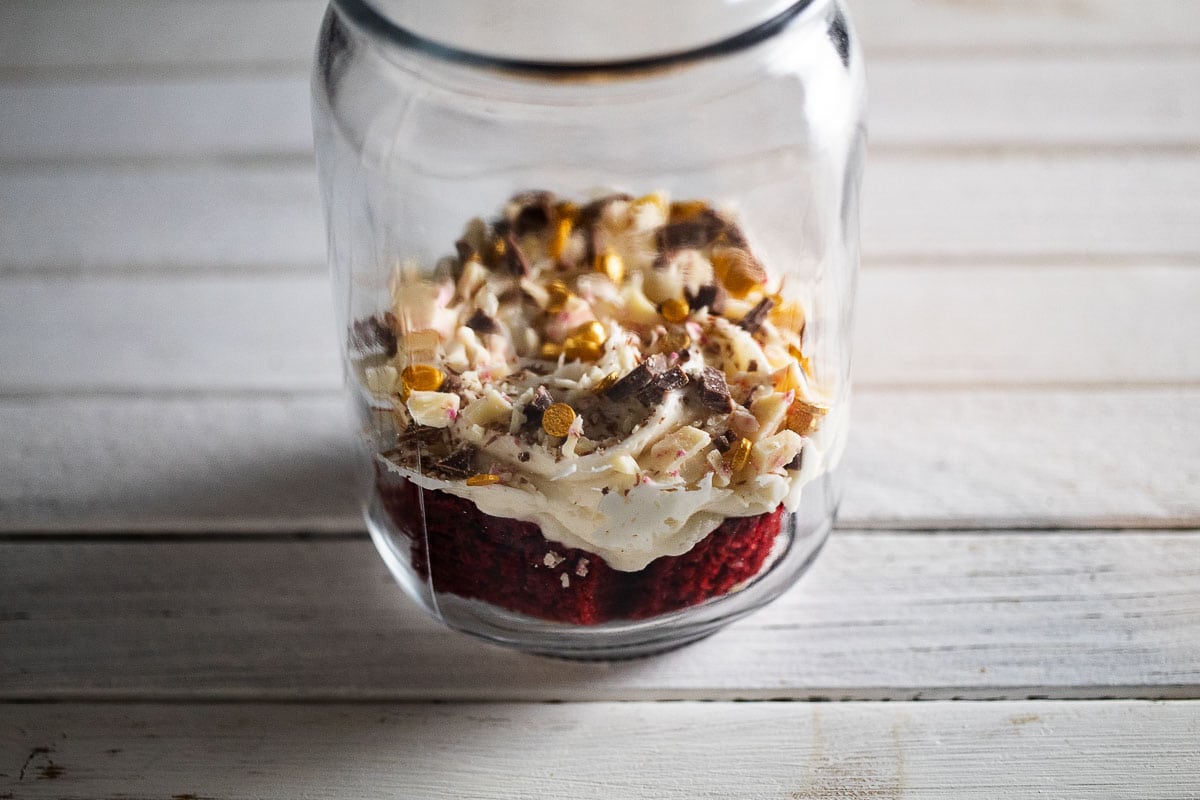
Now that your cake and frosting are ready, you can begin assembly. We start by taking pieces of cake and, using a fork, placing them in the jar. You can drop them in, but a fork will give you more control.
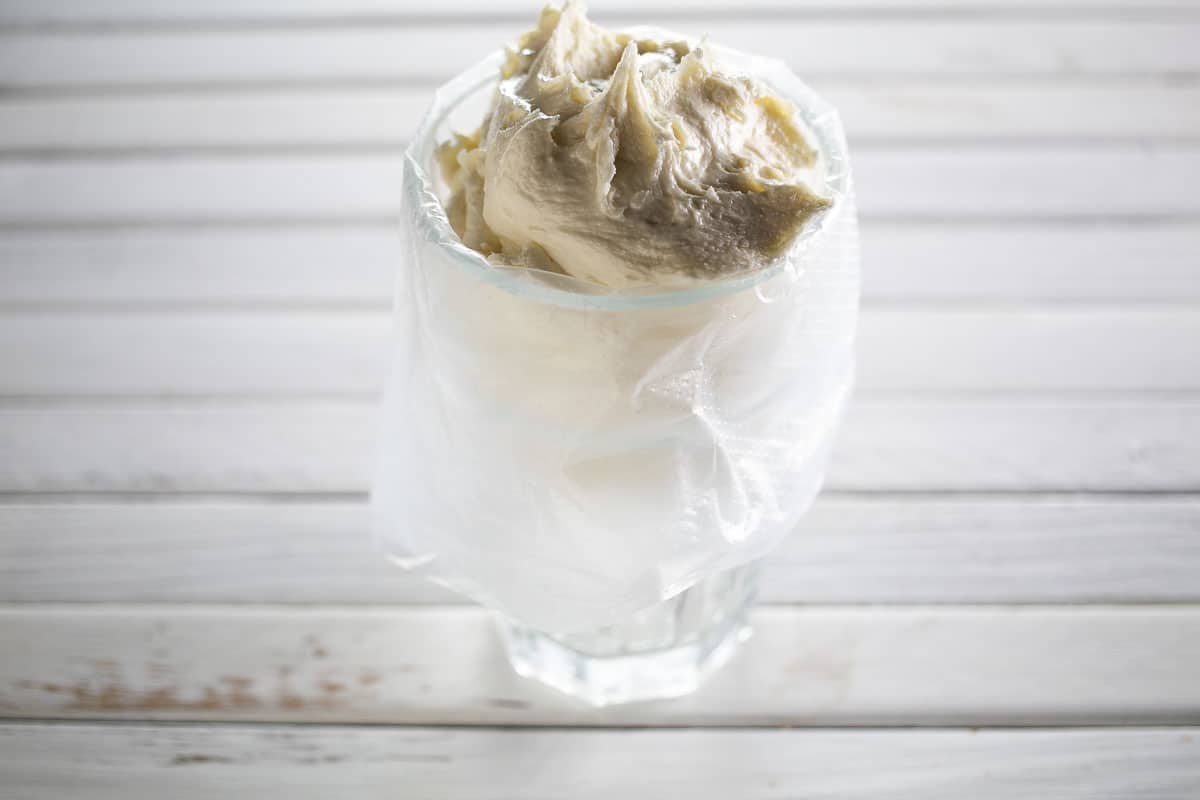
Place the piping bag over a cup or glass before putting the frosting in the bag for more ease and stability.
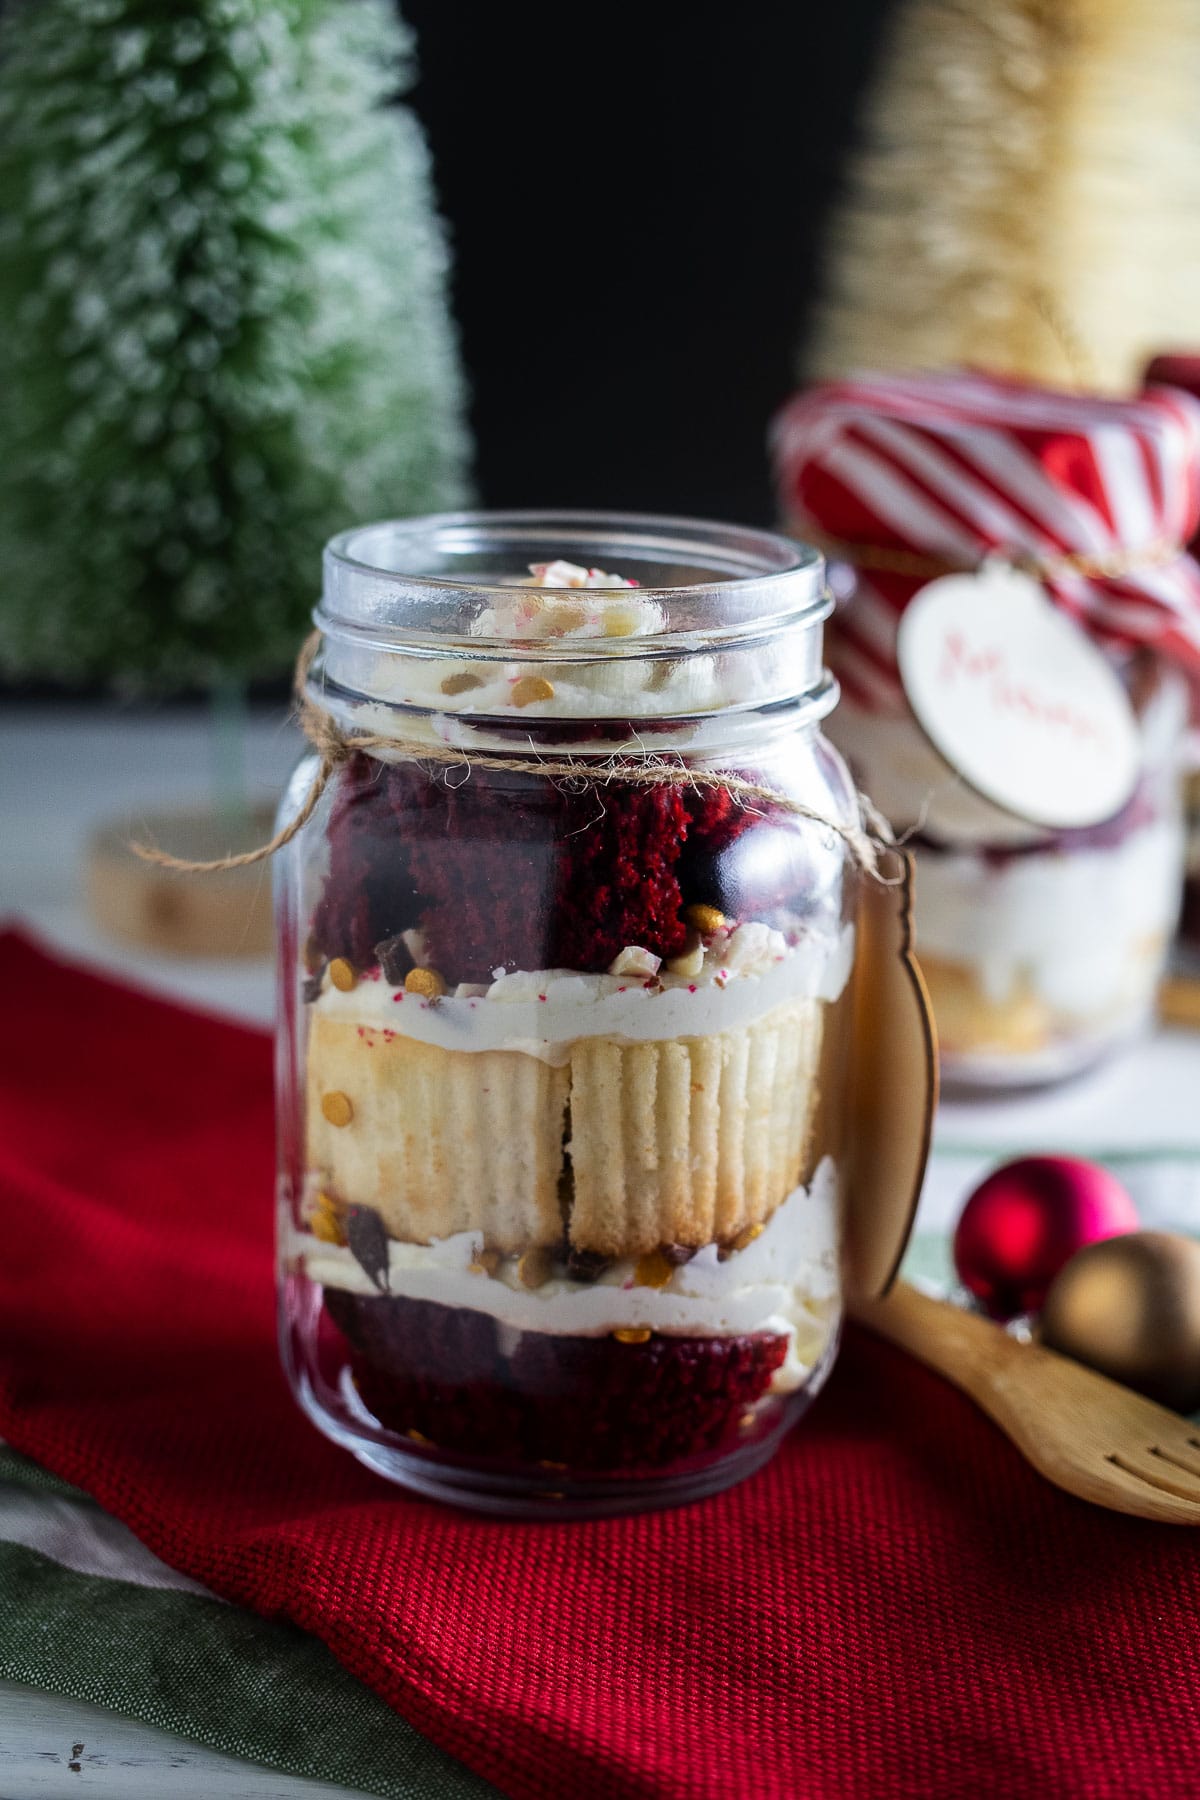
Make the first layer of cake, frosting, chocolate peppermint, and sprinkles.
Hint: Use one fork to pick up the cake piece, then another fork to help release it.
Variations
There are many ways that you can change up these Christmas cake jars and make them your own. Hopefully, some of the ideas that we listed below will help you develop ideas to make it your own.
- Different Colors – Add green food coloring to the white cake to make for an even more festive experience.
- Chocolate Cake – While we used red velvet cake, you can use chocolate cake.
- Slice the Cake – Instead of dicing the cake into chunks, you can slice the cupcakes.
- Sprinkles – I am sure that you can find other Christmas styled sprinkles. We used gold and red sprinkles but you could try silver and even green.
- Different Jars – We used 16 ounce mason jars but you can certainly use a different style jar or a smaller jar for children or for a smaller portion.
- Fabric – We made some of these with fabric wrapped around the tops like a gift wrapped present.
Can you make Christmas Cake Jars In Advance?
Yes! That’s one of the things that makes this the perfect holiday gift. You can make them up to two days in advance. However, the sprinkles will bleed into the frosting the longer they sit.
How Do You Store Christmas Cake Jars?
You can store Christmas cake jars at room temperature for up to two days or in the refrigerator for up to a week.
Top tip
When piping in the frosting, start from the outer edges and work your way towards the center. Make sure that frosting touches the glass.
Christmas Cake Jars Recipe
Equipment
- Mason Jars
Ingredients
- 1 Box Red Velvet Cake Mix Ingredients listed on box
- 1 Box White Cake Mix Ingredients listed on box
- 2 Sticks Unsalted Butter Room temperature
- 12 Oz White Chocolate Chopped
- 6 Cups Powdered Sugar
- 2 Tsp Vanilla Extract
- 7 Tbsp Heavy Cream
- ⅛ Tsp Salt
- Assorted Sprinkles Optional
Instructions
- Mix and bake the cake mixes according to the box instructions.
- In a microwave safe bowl add the chopped chocolate and microwave for 30 seconds. Microwave in 10-second intervals, stirring between each, until chocolate is completely melted. Set aside to cool slightly.
- In a large bowl add the softened butter, salt and vanilla extract. Mix until smooth.
- Add the powdered sugar and mix until combined. Frosting will be thick.
- Add the melted chocolate and mix. Add the heavy cream and mix until completely combined and smooth. Put frosting into a piping bag and set aside.
- Take the cooled cake and chop into cubes. Add the chopped cake to the bottom of the jar. Top with frosting and assorted sprinkles of your choice. Continue layering until the jar is full.
- Top the jars with holiday fabric and tie with string. Perfect holiday gift!
Notes
- We made the cake into cupcakes and used about 3.25 cupcakes to fill our 16 ounce jars.
- You can bake the cake in any pan. You will just cut it into cubes to fill the jars you are using.
- Using a tall glass cup, put your piping bag in it, lay the sides over the glass and add the frosting. This will make it easier to fill the bag.
- You can make the cake in advance up to 2 days before assembling them.
- Store at room temperature for a few days or refrigerate for a week.
Leave a Reply