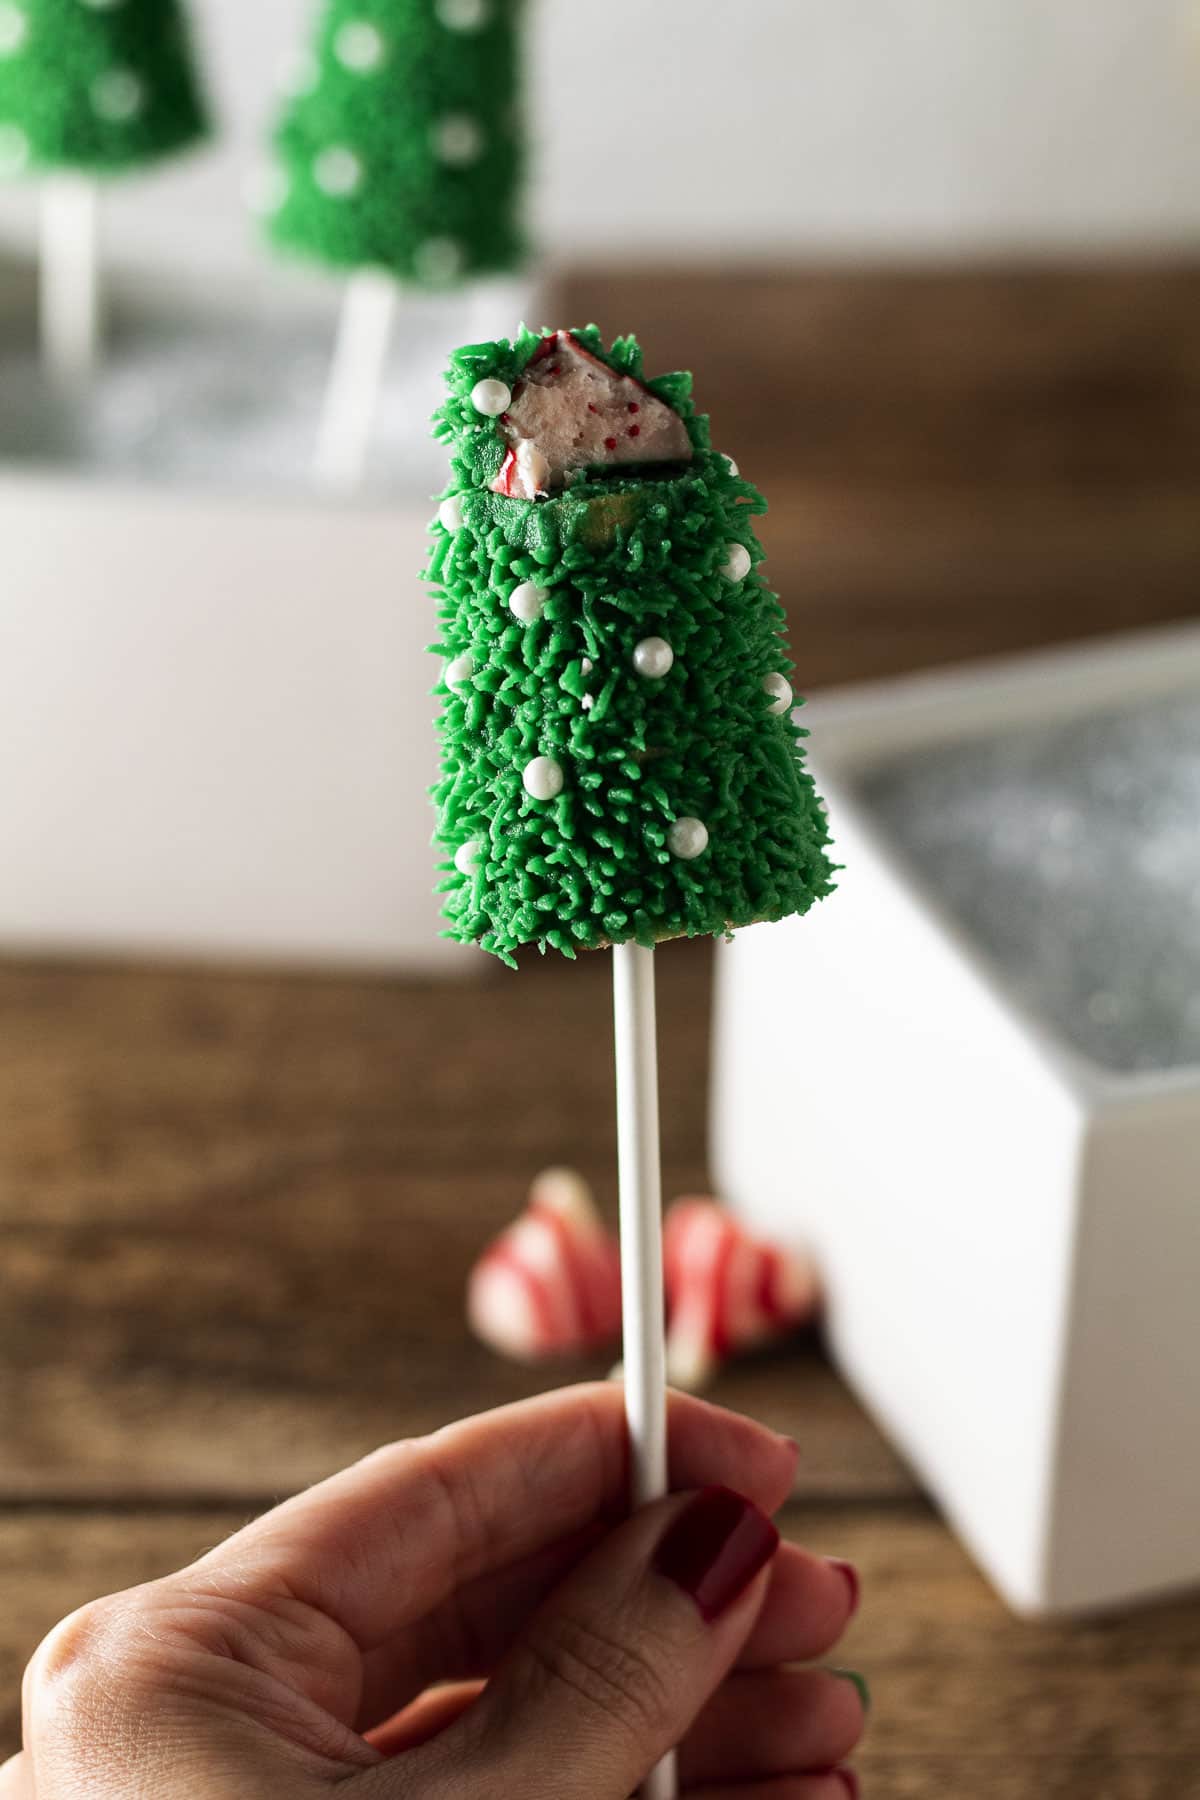
Shake up your Christmas dessert treats with our Christmas Tree Cake Kiss Pops. We know it’s a mouthful, but we’ll break it down quickly.
We fill a cake cone with cake batter, bake it, and top it with a peppermint kiss before adding frosting and decorating it. They’re beautiful, festive, and unexpected treats your family and friends will be excited to try.
Jump to Recipe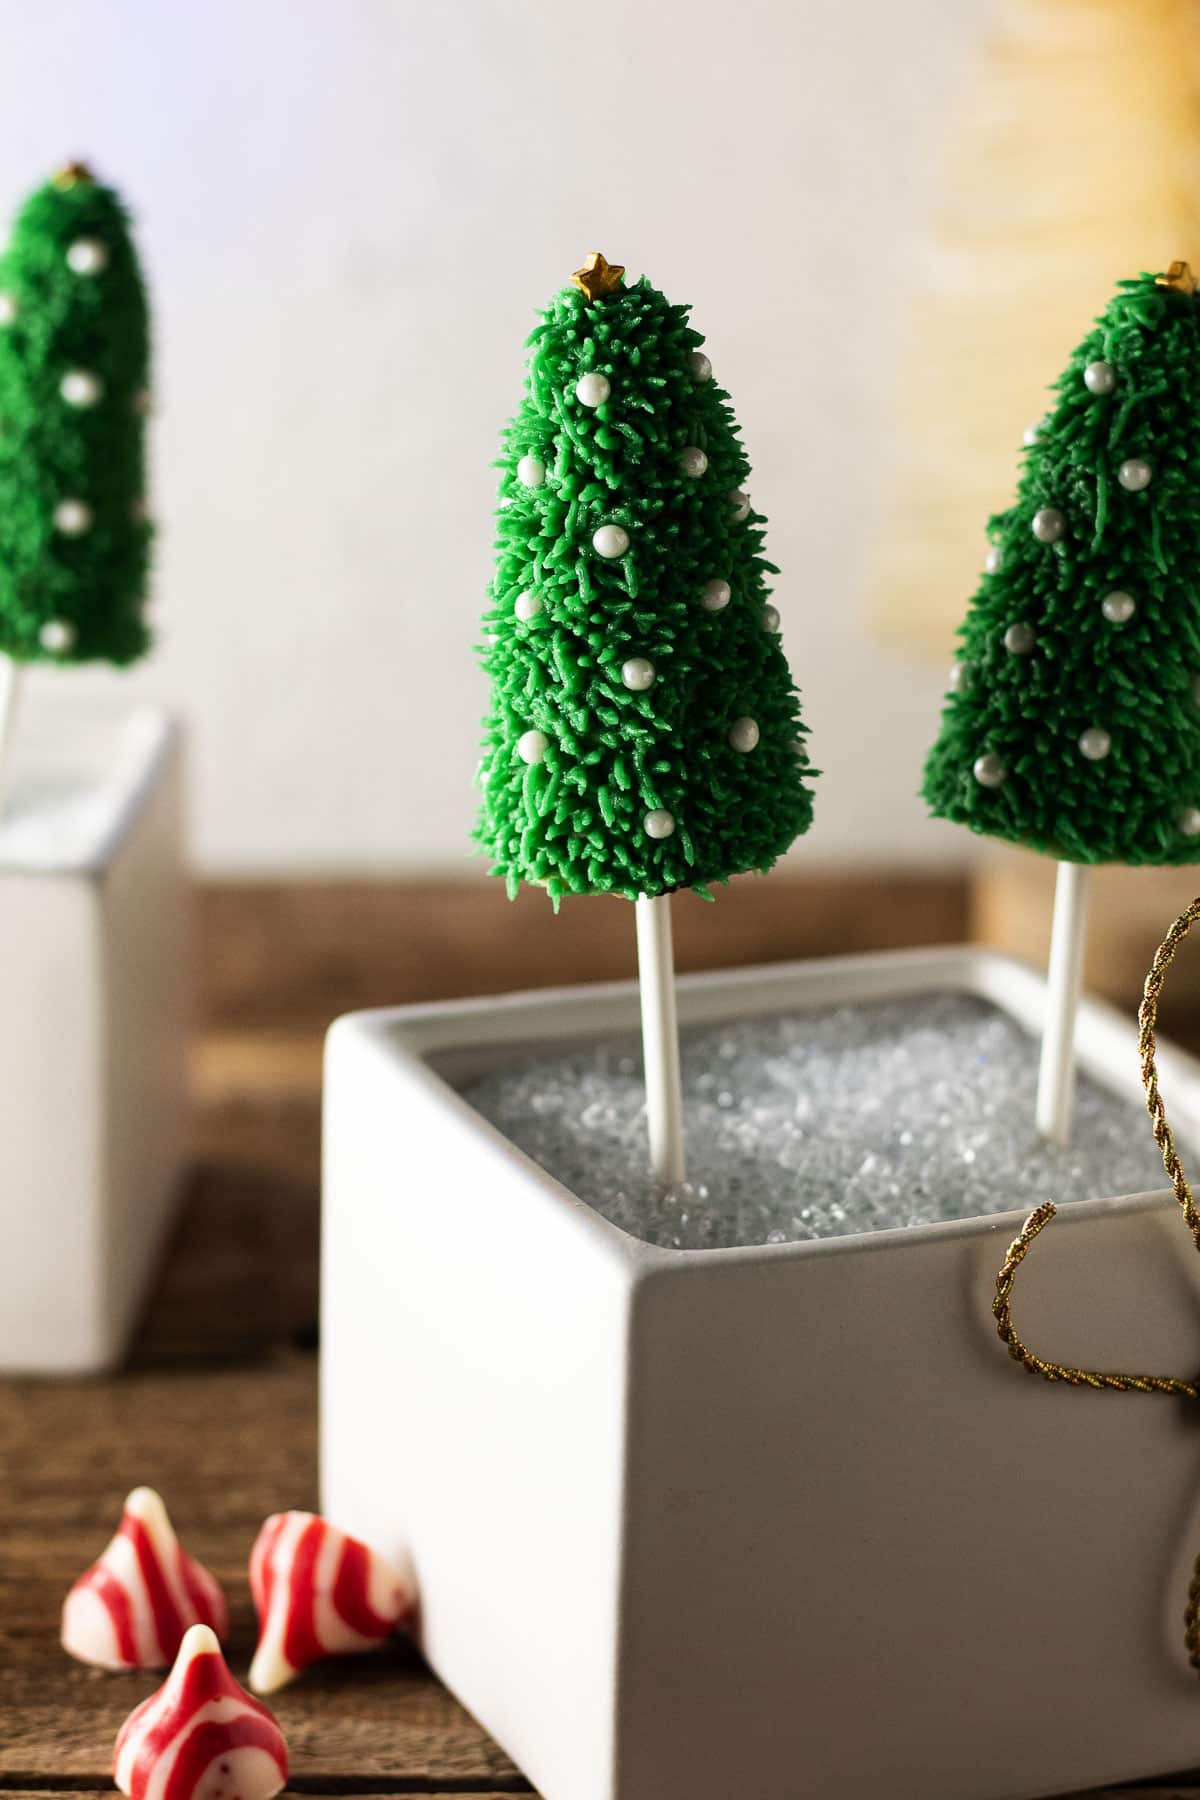
And if you love this recipe, you’ll love these red velvet waffle whoopie pies, these Christmas cake jars, these fantastic holiday dessert recipes, and even these delicious Christmas Cake recipes.
Ingredients
Below, find all of the ingredients needed to make our Christmas Tree Cake Kiss Pops.
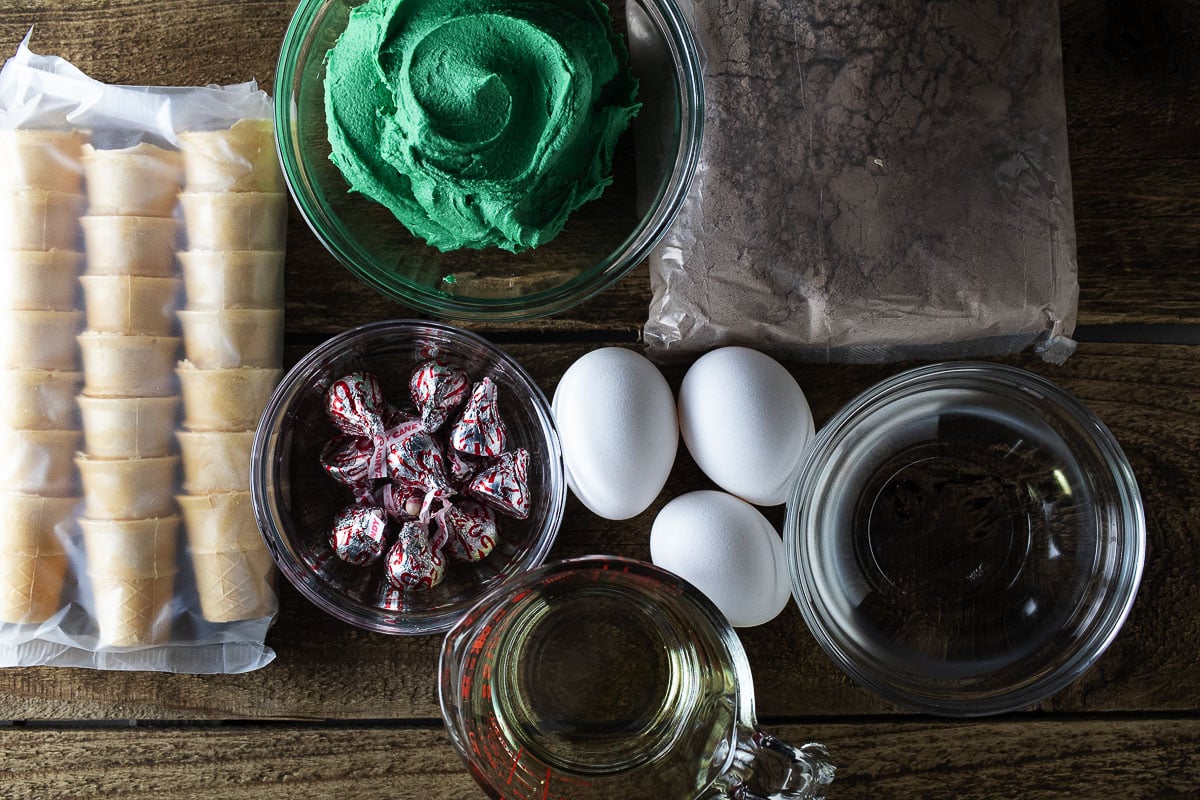
- Mini cake cones
- Cake mix (ingredients may vary depending on the brand)
- Peppermint kisses
- Frosting (see ingredients in the recipe card)
See the recipe card for quantities.
Instructions
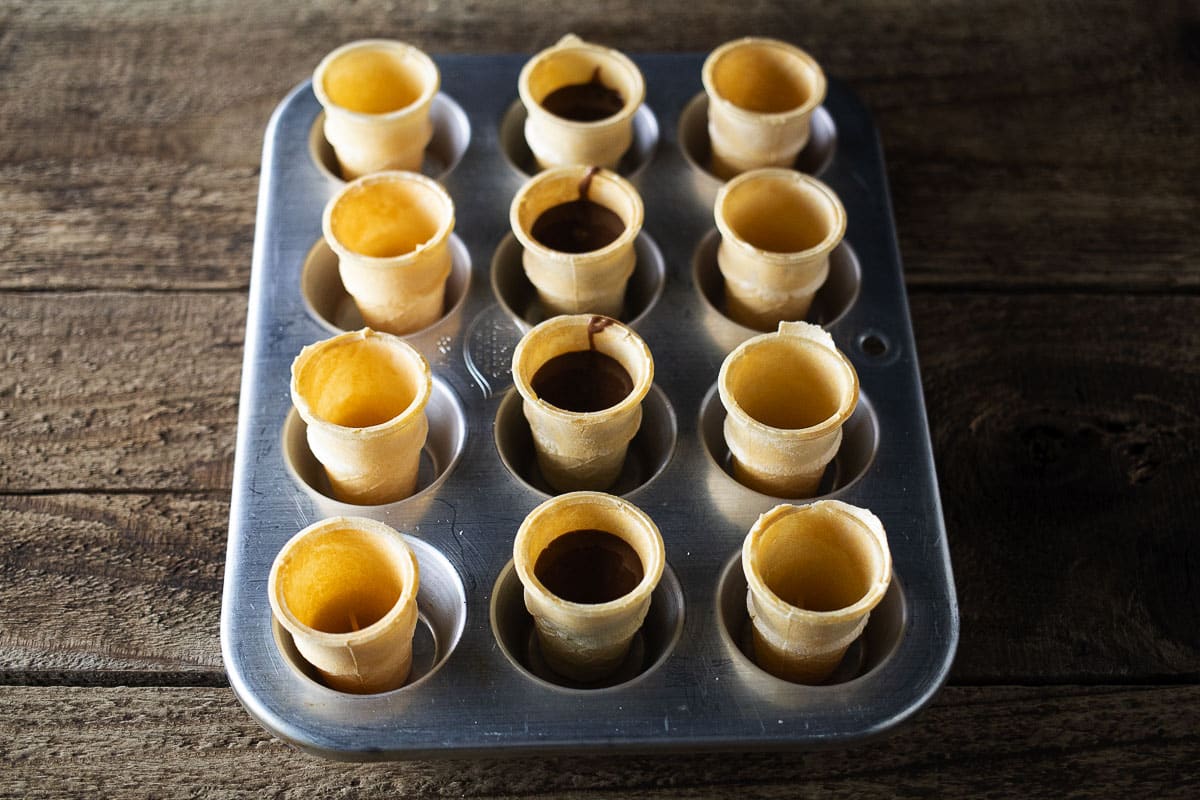
Fill the mini cake cones with cake batter and bake for 12 minutes.
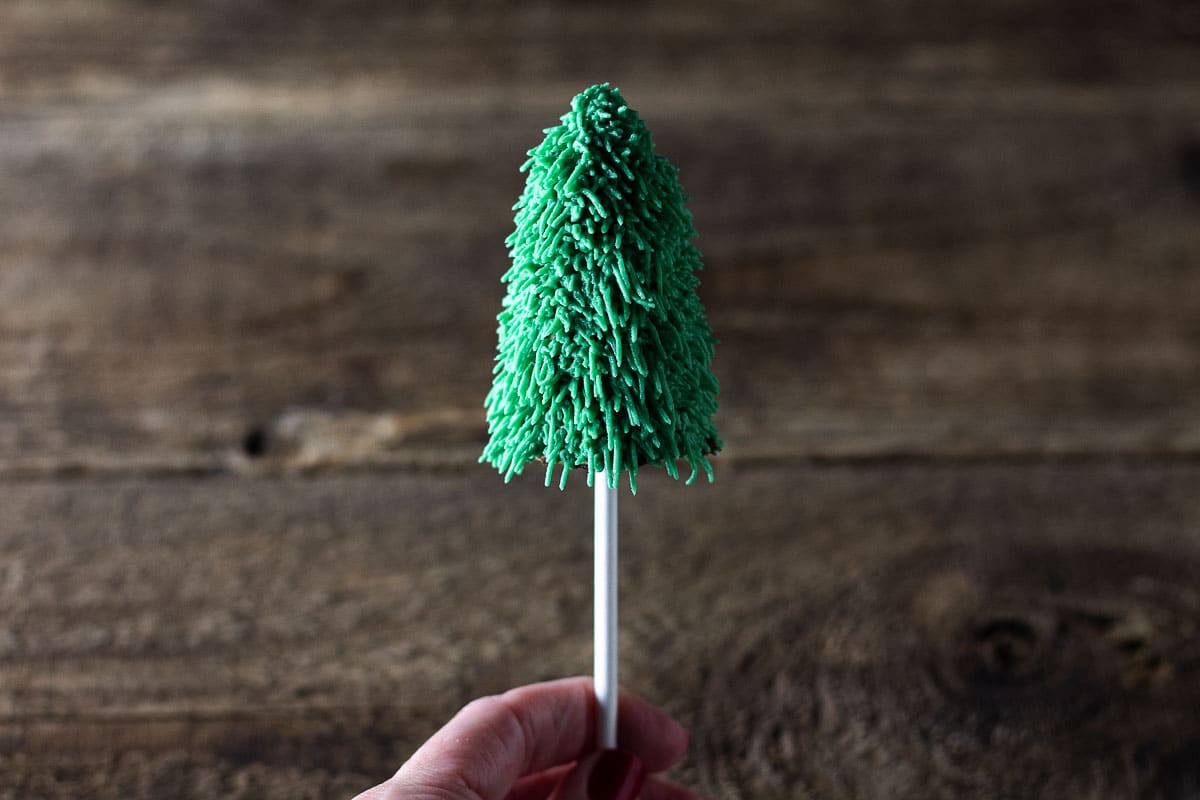
Start the frosting at the bottom and work your way up using frosting tip 233.
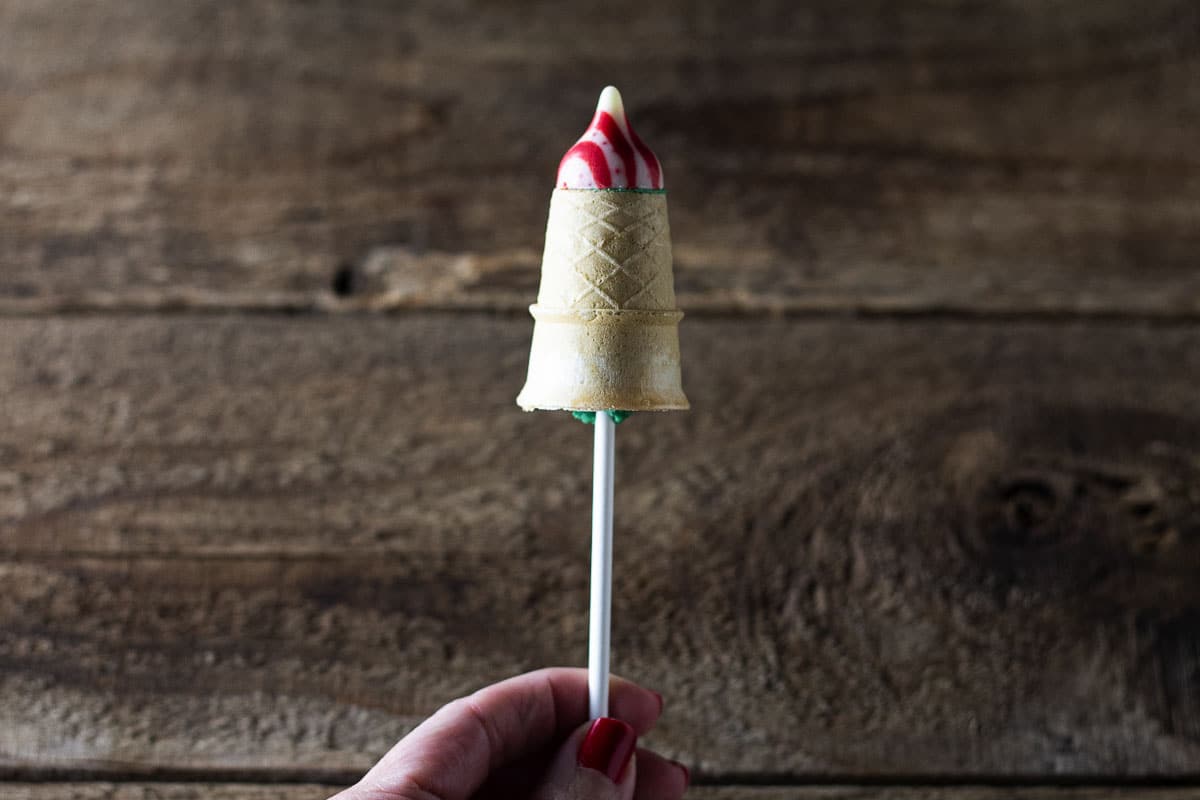
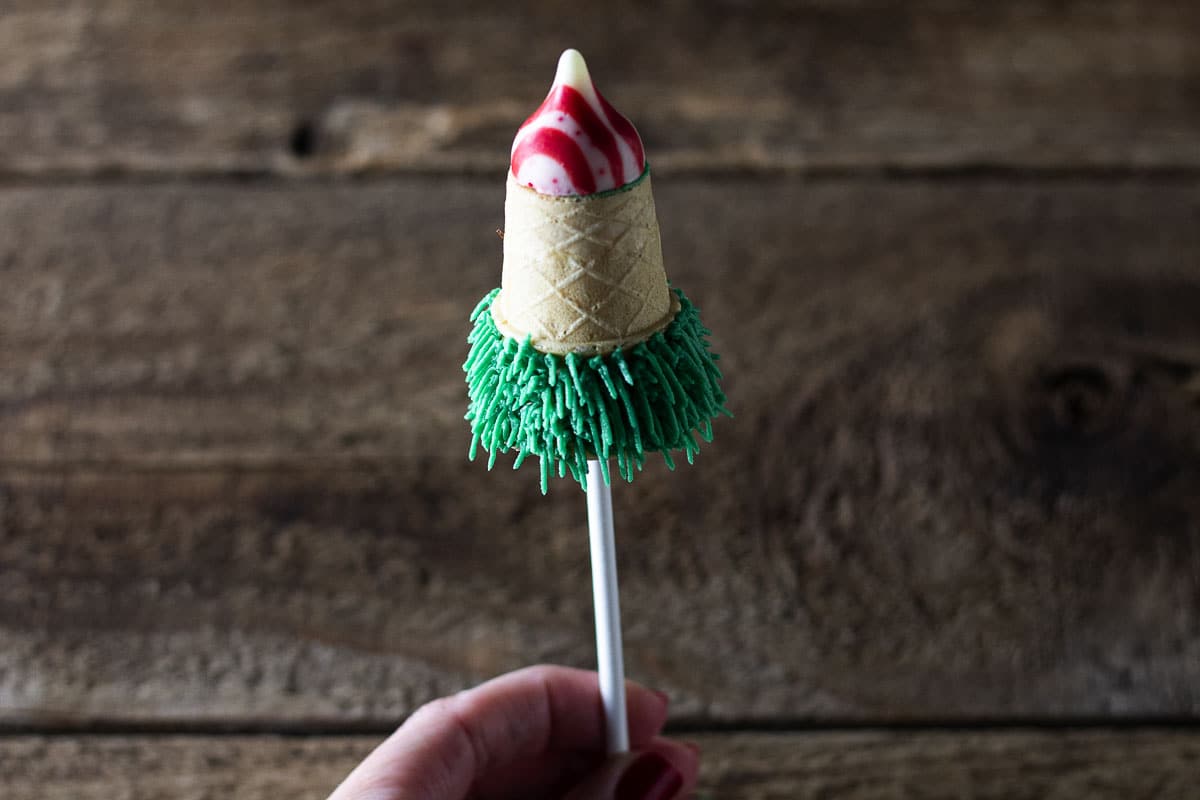
Once the cake-filled cones are done, insert a stick in the open end of the cone and top them with a peppermint kiss.
This is what the tree pop should look like once finished before decorating.
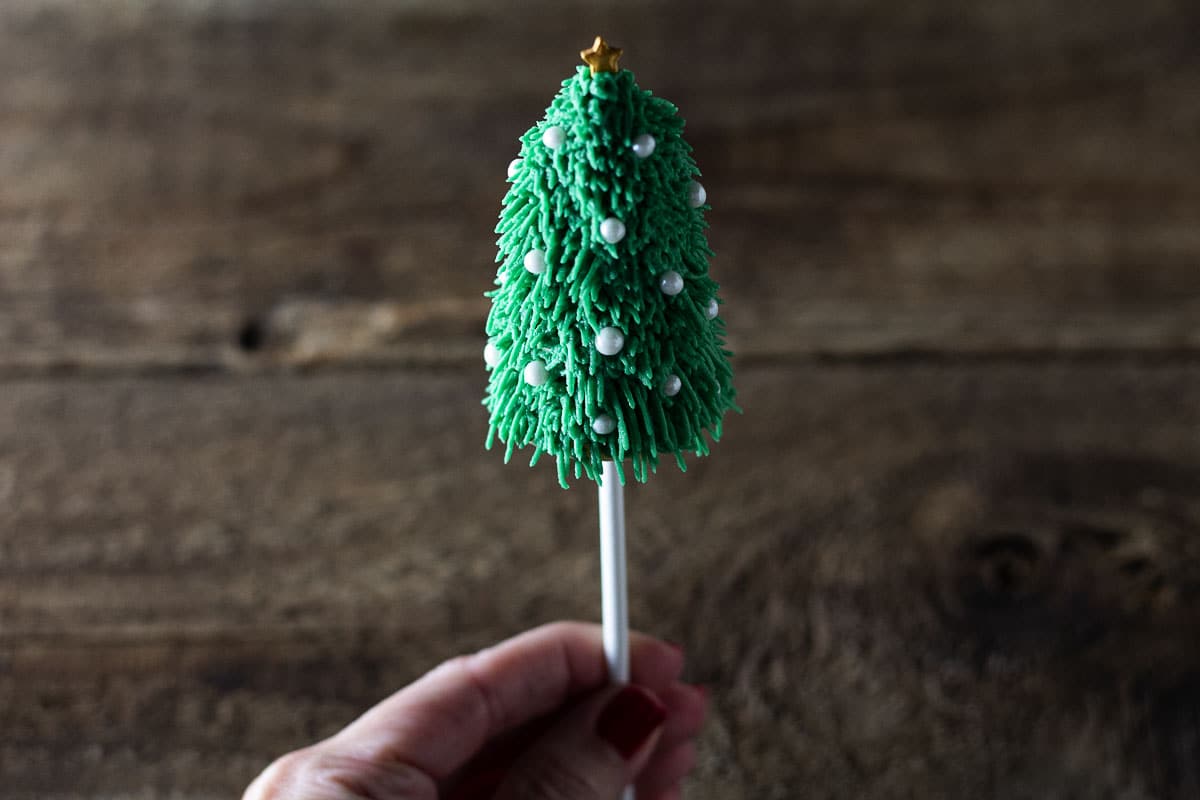
We decorated the Christmas Tree Cake Kiss Pops with candy pearl decorations and crowned them with golden star candies.
Hint: If you can’t find peppermint kisses, you can use chocolate kisses, Rolo candies, or even miniature Reese’s cups to top the Christmas tree kiss pops.
Variations
There are many different ways to change up this recipe and make it your own. We get you started with some ideas below:
- Different flavor cake mix – Choose red velvet, yellow, or even brownie mix.
- Sprinkle with powdered sugar – this will give the look of snow.
- Different color frosting
- Different color decorations
Storage
Store leftover cake pops uncovered for up to two days.
Top tip
Add a thin layer of frosting to the cone before using frosting with the 233 frosting tip.

Christmas Tree Cake Kiss Pops
Ingredients
- 1 Box Chocolate Cake Mix Ingredients listed on box
- 4 Oz Unsalted Butter Softened
- 4 Oz Vegetable Shortening
- 16 Oz Powdered Sugar
- 1 Tsp Vanilla Extract
- 1 ½ Tbsp Milk
- Pinch of Salt
- Mini Cake Cones
- Green Gel Food Coloring
- Candy Stars
- Sprinkles
- Peppermint Kisses
Instructions
- Mix the cake mix according to the package instructions.
- Place the mini cones in a mini muffin tin. Fill the cones ¾ way up with the cake batter. Bake at 350 degrees for 12 minutes. Then cool completely.
- In the stand mixer bowl with the paddle attachment, add the butter and shortening. Cream together until blended and smooth.
- Add the powdered sugar one cup at a time. Mix on low speed until all sugar has been incorporated.
- Add the vanilla, salt, and milk, and mix on low for 10 minutes to get a perfectly smooth frosting. (See Note)
- Mix in the green gel food coloring until you get the desired green color. Set aside.
- Dip the lollipop stick into the frosting. Then insert it in the center of the cone. This helps the lollipop stick stay in place without falling out.
- Add the green frosting into a pipping bag fitted with a grass tip (Wilton #233). Pipe a little frosting on top of the cone and put a peppermint kiss on top.
- Pipe the frosting along the bottom of the cone making sure to fill all the space, then slowly pull away from the cone. (See note)
- Continue to pipe along the cone, while turning to cover the entire cone and peppermint kiss. (See note)
- Add the sprinkles and decorations over the frosting. Time to enjoy!
Notes
- You may need to add a little more milk to the frosting. You want the consistency a little thicker than frosting for a cake.
- You can make the strands as long or short as you want by pulling away fast or slow. Slower will give you longer strands, and faster will give you a shorter one. It’s based on your personal preference.
- When you get to the top, make sure you pipe a little at a time to ensure you get a pointy top like a tree.
- The cake pops can be made a day in advance, but you want them to sit out on a cooling rack. If you put them in an airtight container, the cones will get soggy.
- Once the cones are completely frosting and decorated, you can leave them out to allow the frosting to dry slightly.
Nutrition
Leave a Reply