

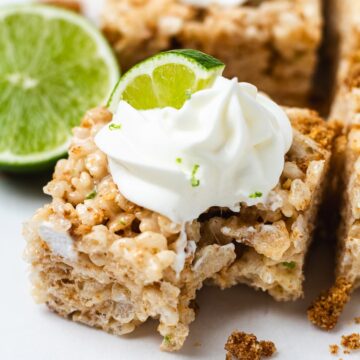
Our Key Lime Rice Krispie Treats are a gourmet twist on the classic cereal dessert. Made with real key lime juice, creamy sweetened condensed milk, and buttery graham cracker crust, they tastes just like a slice of real key lime pie.
They’re citrusy, sweet, buttery, and gooey with that slightly crispy texture we all know and love. We even topped them with whipped cream and slice of lime because if you’re making key lime pie Rice Krispie treats, might as well be a little fancy, right?
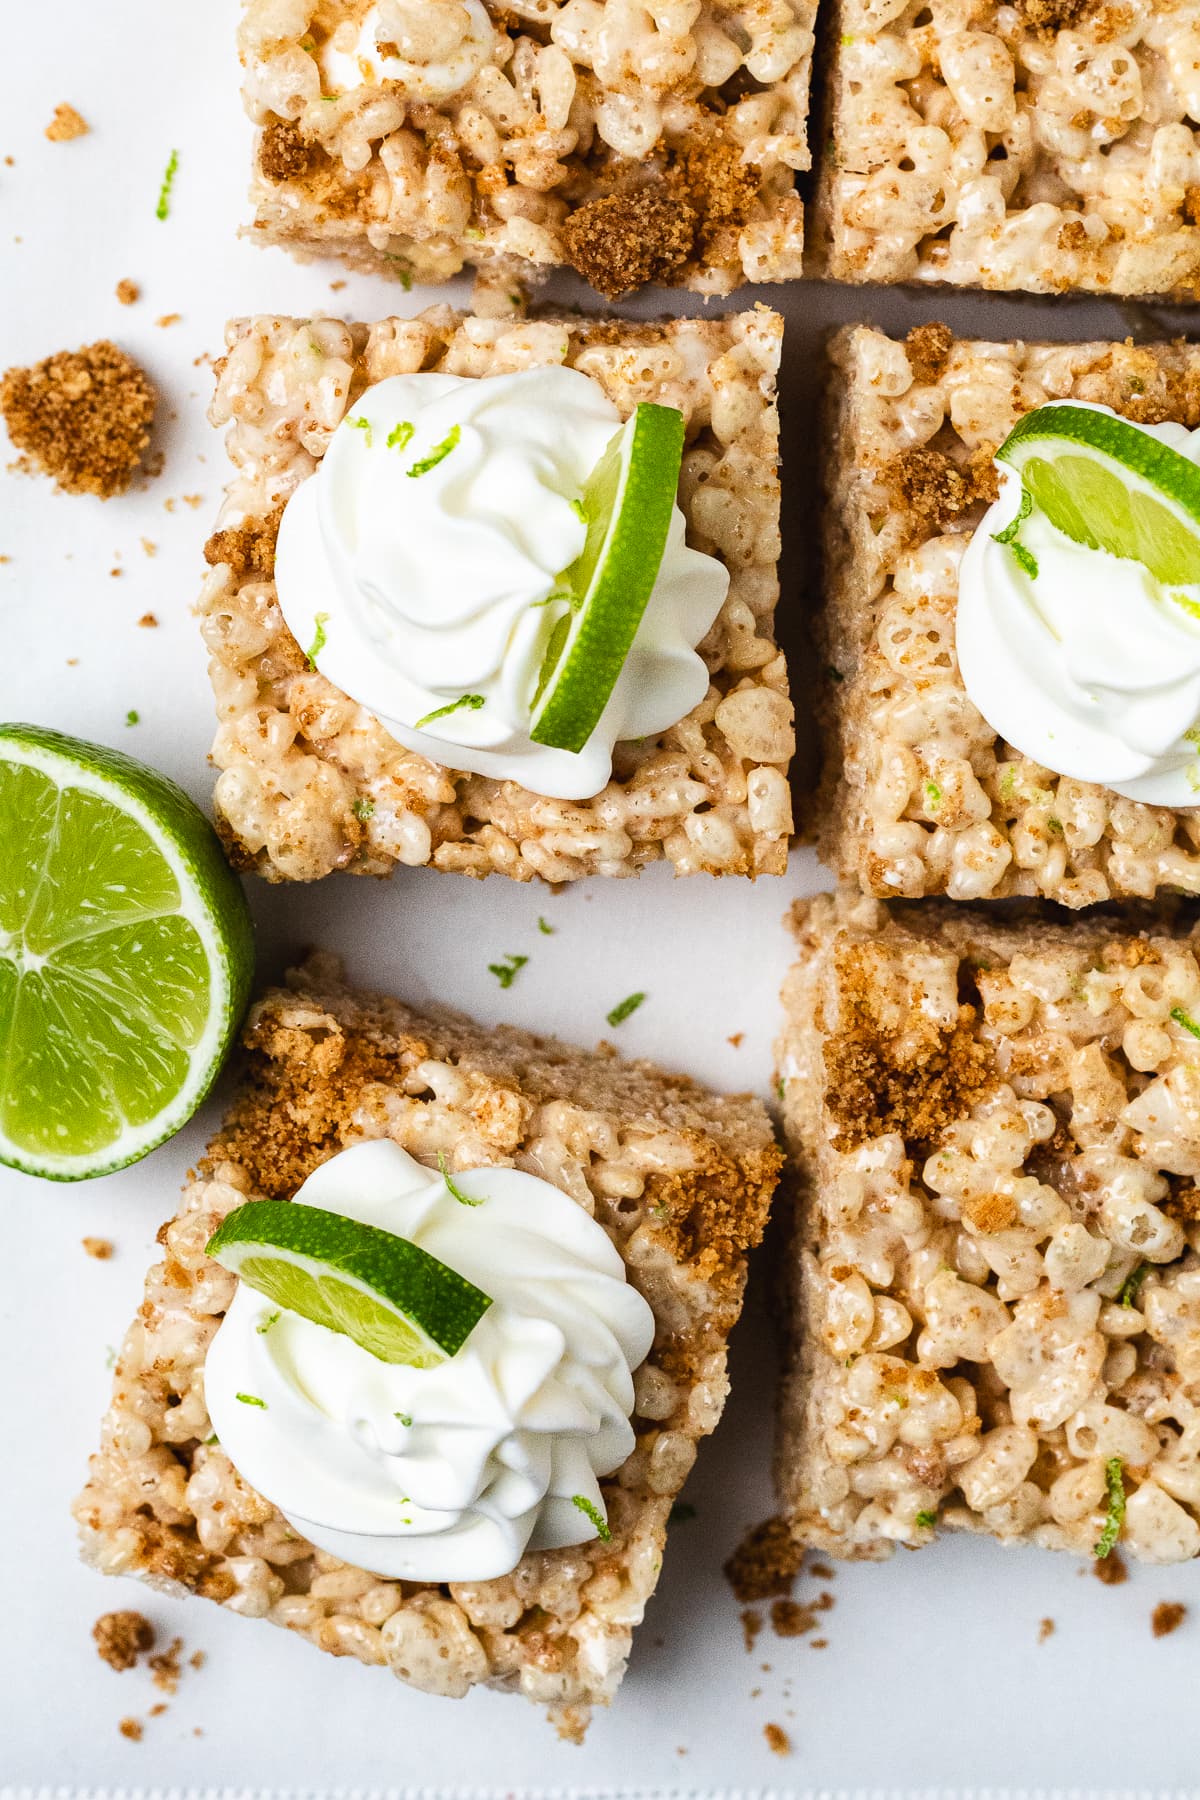
I love these treats so much that I make them all year, but they’re especially great in the spring and summer. Serve them at summer bbq cookouts, potlucks, and 4th of July celebrations (serve with stabilized whipped cream). You can even package them up an edible gift for the citrus dessert lover in your life.
By the way, are you looking for some other gourmet Rice Krispie treats? Check out our peanut butter Rice Krispie treats with chocolate ganache or these birthday cake Rice Krispie treats that actually taste like cake. Trust me, they’re both worth making.
Jump to:
❱❱ PIN IT OR FORGET IT ❰❰
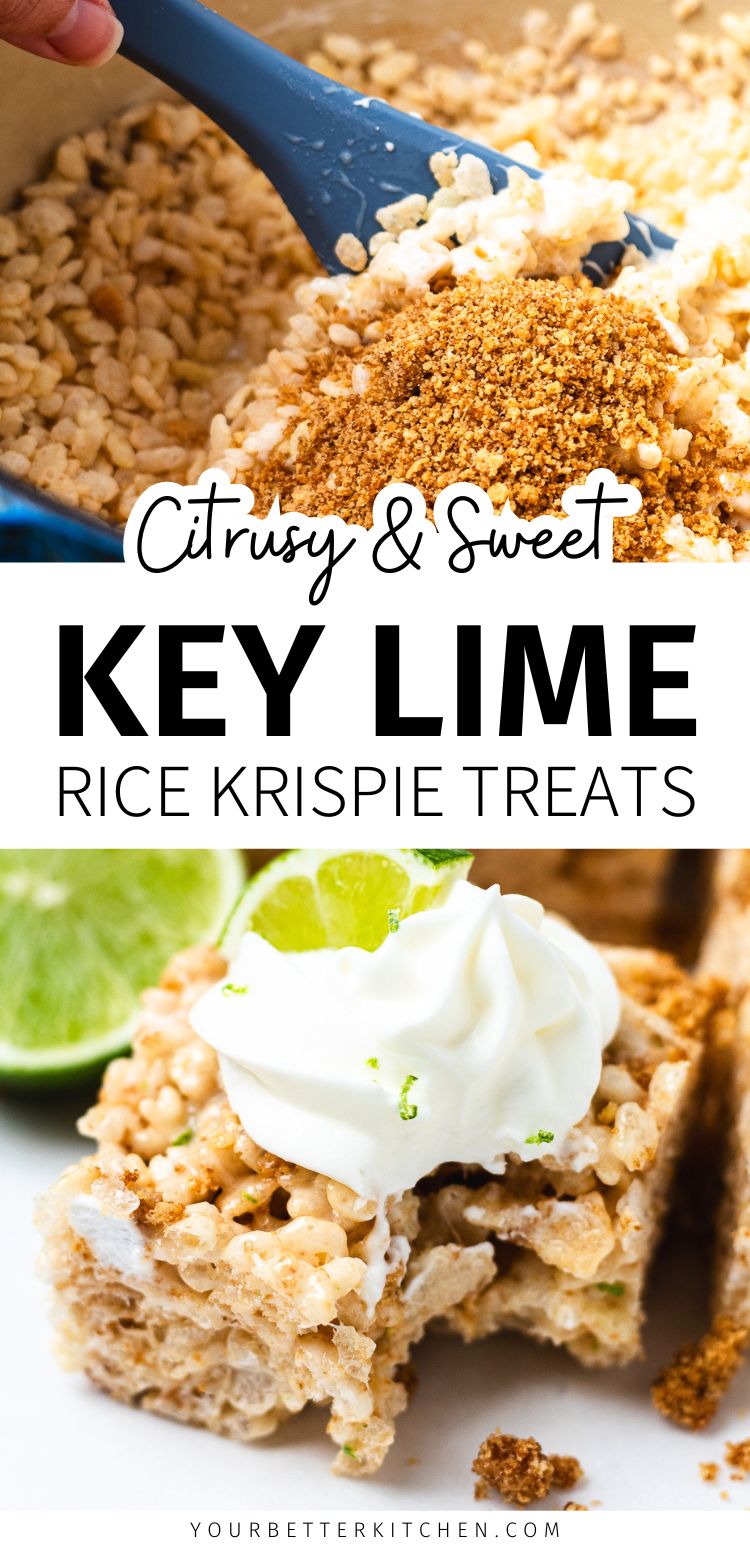
Why You’ll Love This Recipe…
- They tastes just like key lime pie. From the very first bite people will know what it is. It has that distinct key lime flavor, crunchy, buttery graham cracker crust crumbles, and that creaminess you get from sweetened condensed milk.
- Perfect for spring and summer celebrations. They look fancy but the trick is they don’t take much effort to make. They travel well for cookouts, potlucks, and parties. Plus they taste like you spent hours in the kitchen instead of picking up something last minute from the grocery store.
- They’re no bake which means you can enjoy the flavors of classic key lime pie without heating up the whole house.
Ingredients
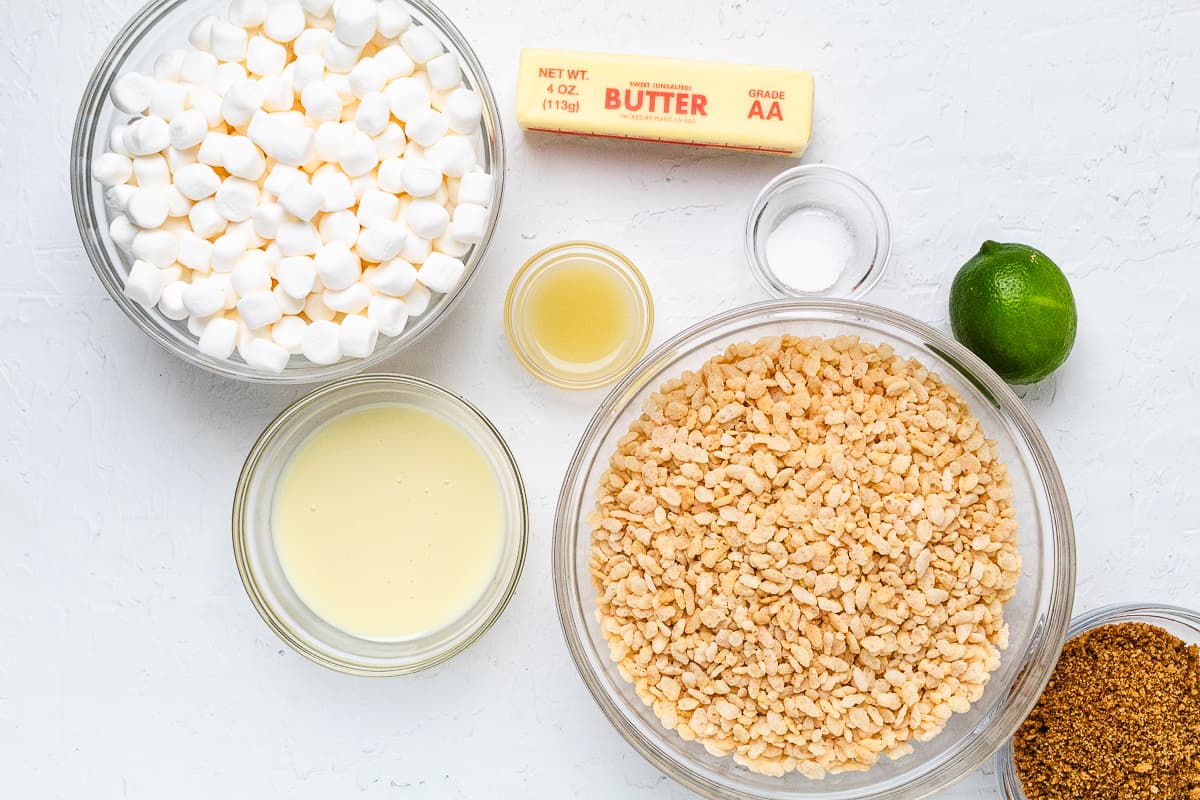
- Rice Cereal – We’ve used both the national and generic brands. We’ve found that the national brand is bit more consistent box to box. Your mileage may vary.
- Marshmallows – We use mini marshmallows because the melt faster and more evenly. Never use that stale bag of marshmallows hiding in the back of your pantry.
- Key Lime Juice – Real key lime juice has a more citrusy and floral flavor than regular lime juice. This is how you get that classic key lime flavor. We’ve only ever used one brand and that is Nellie & Joe’s Key Lime Juice.
- Fresh Lime – The darker, firmer limes are best for zesting.
- Graham Cracker Crumble – For that buttery flavor that really reminds you of real key lime pie we make actual graham cracker crust crumble instead of just crushed graham crackers.
- Butter – To control the amount of salt in our treats, we like to use unsalted butter.
- Condensed Milk – This is the secret ingredient that makes the treats taste more like an actual pie instead of just a lunch box snack
- Salt – A pinch of salt makes the lime flavor pop. It may not seem necessary but it’s one of those small things that makes a difference.
See the recipe card for quantities.
How to Make Key Lime Rice Krispie Treats
Follow the instructions to make the graham cracker crumble and set it aside.
Prepare a 9×13-inch pan by spraying it with butter-flavored cooking spray. Set aside.
In a large pot over low heat, melt the butter. Stir in the sweetened condensed milk and salt until smooth.
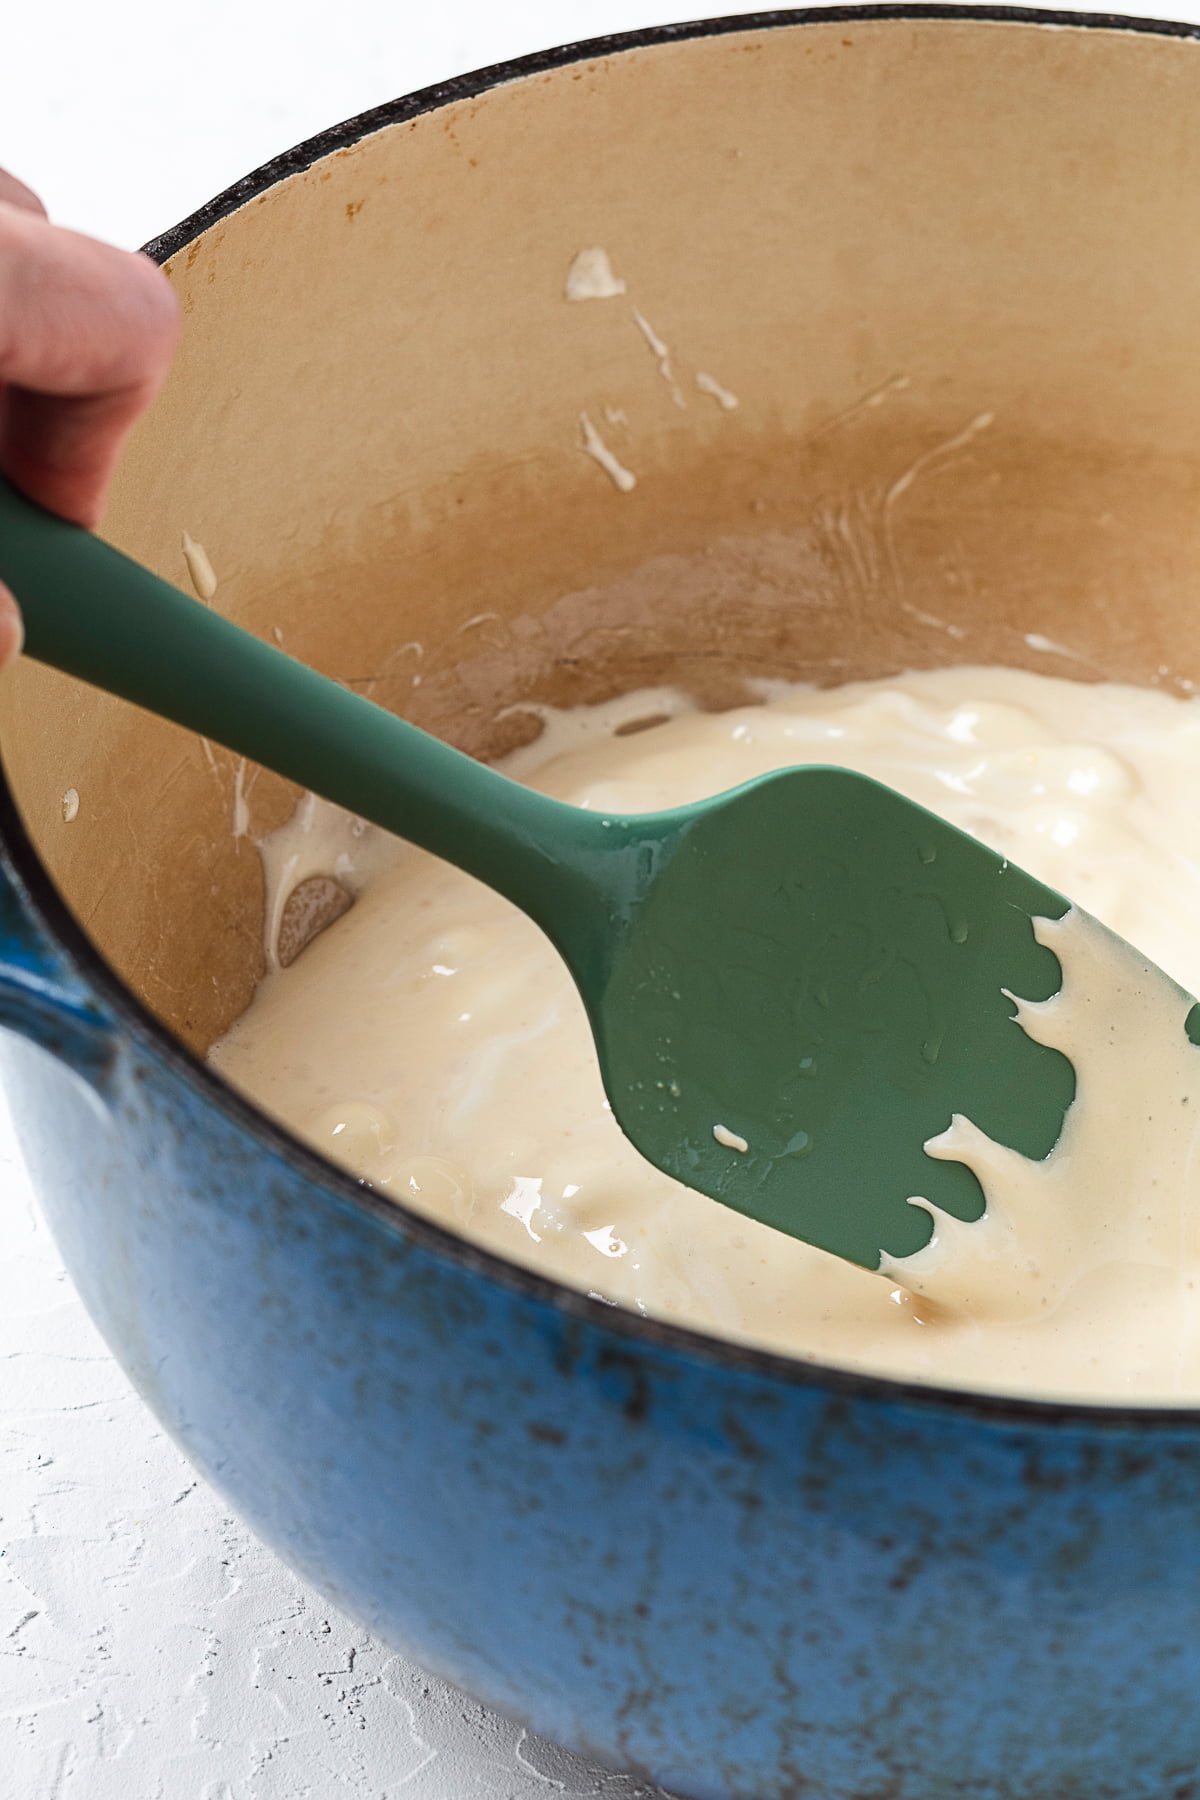
Add 14 ounces of the mini marshmallows and stir until mostly melted and creamy.
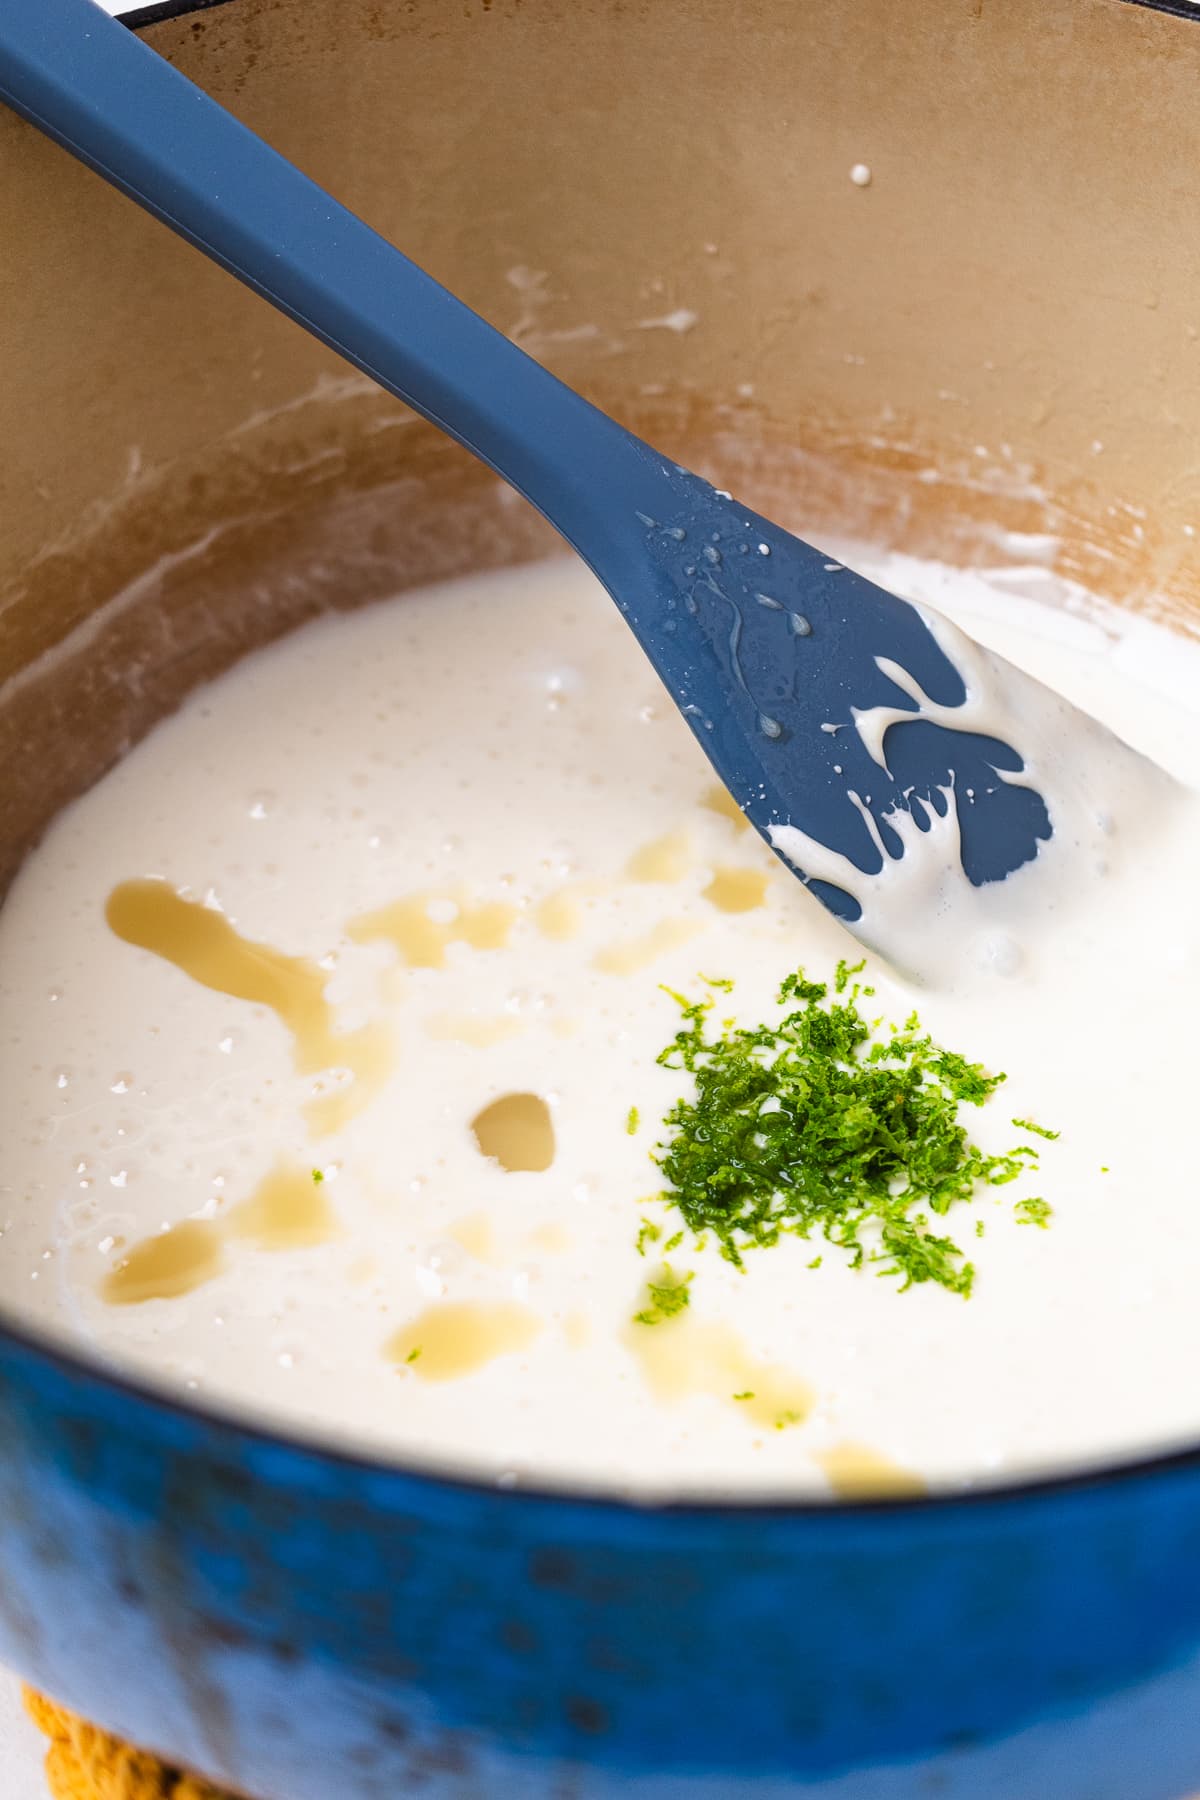
Remove the pot from the heat and stir in the key lime juice and zest until fully combined.
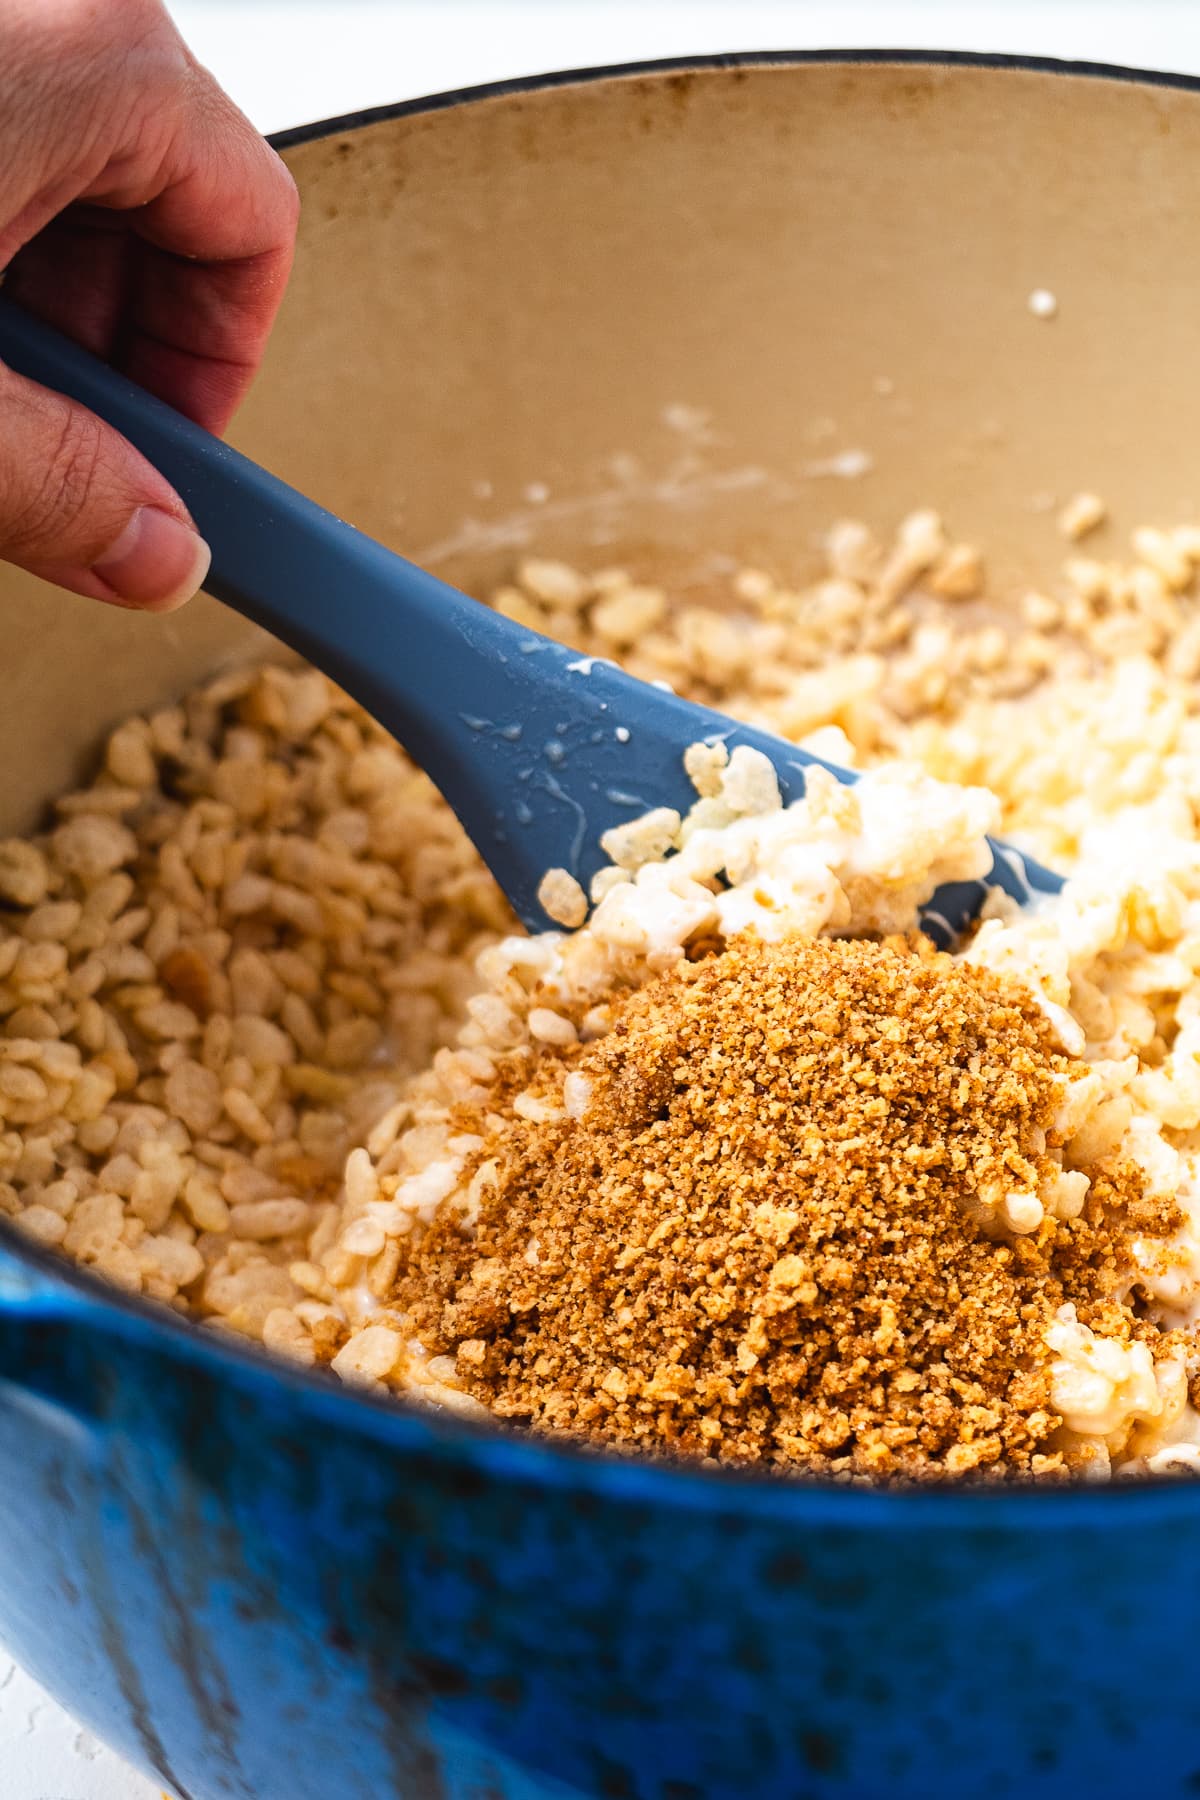
Fold in the Rice Krispies cereal and graham cracker crumble pieces until evenly coated.
Let the mixture cool for about 1 minute, then fold in the remaining 2 ounces of mini marshmallows for gooey marshmallow pockets throughout the treats.
Transfer the mixture to the prepared pan and gently press into an even layer.
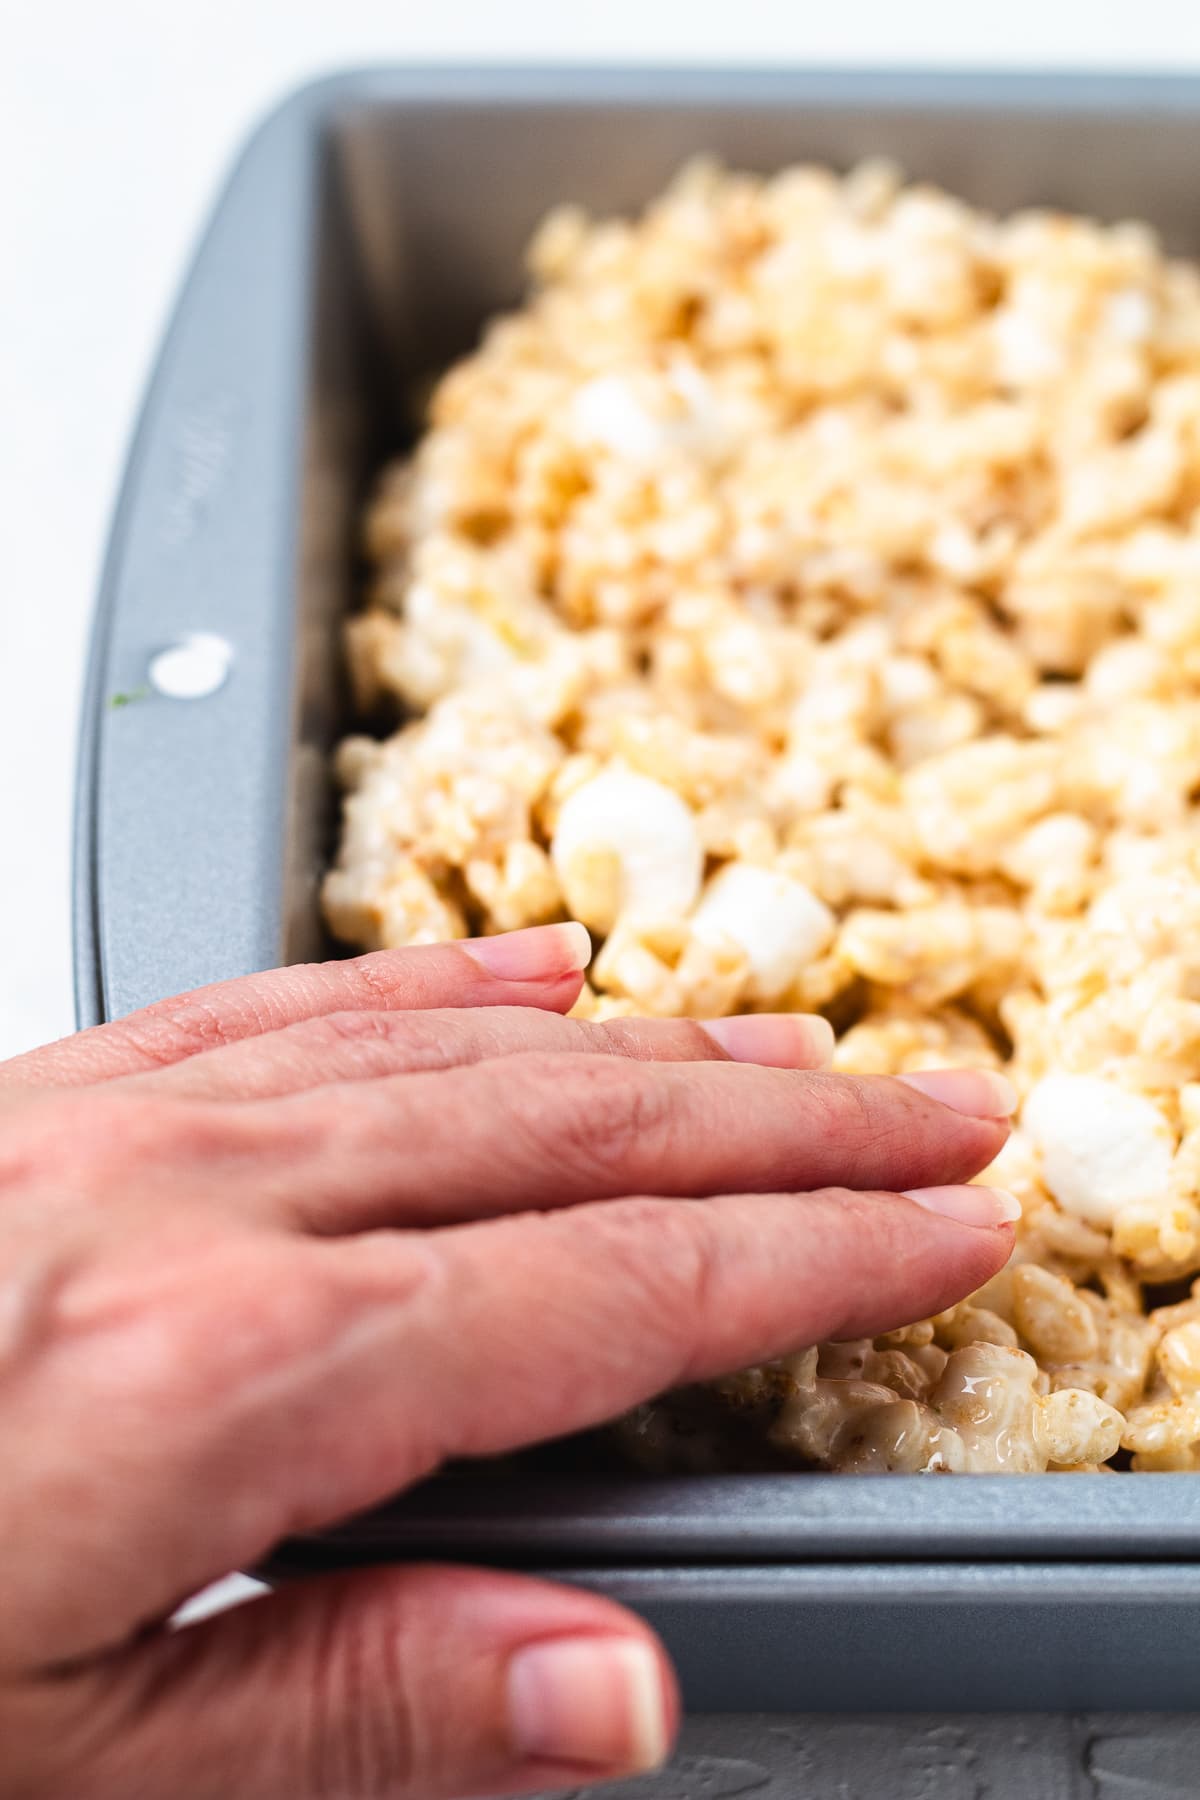
Do not pack the treats down too firmly.
Let cool completely before slicing into squares.
Top Tip
If possible always choose real key lime juice. Sure, regular lime juice can work in a pinch, but the flavor is noticeably different.
Storage
Store key lime Rice Krispie treats in an airtight container for up to 3 days. If you must stack them, use parchment paper between layers.
They freeze incredibly well. Wrap them individually in plastic wrap and place them in a freezer bag. They will stay fresh for up to 2 months. Before serving, allow them to come to room temperature for about 15 minutes.
Other No Bake Desserts You’ll Love


- No Bake Mixed Berry Cheesecake
- Strawberry Rice Krispie Treats
- Lemon Mousse Recipe
- Strawberry Cheesecake Dip
- Easy Oreo Delight
FAQ
Sure! While we prefer the flavor of key lime juice for this recipe, regular ole lime juice will work if that’s all you have. Trust me, the treats will still be delicious but the flavor won’t be quite as reminiscent of classic key lime pie.
Hard Rice Krispie treats happen for a couple of reasons. For one, you may have overcooked the marshmallow mixture. To avoid that, I like to turn off the heat right before all of the marshmallows completely melt.
The other reason for hard treats is that you may have pressed the treats into the pan a little too firmly. Instead, you want to gently and lightly press the mixture in the pan. They will firm up as they cool and set.
We literally do this all of the time because we send our son treats while he’s away at school. Make them a day or two before you plan on serving them, then store them in an airtight container at room temperature or in the refrigerator. See above for more storage instructions.
Key Lime Pie Rice Krispie Treats Recipe
Ingredients
- 6 Tbsp Unsalted Butter
- 16 Oz Mini Marshmallows Divided
- 6 Tbsp Sweetened Condensed Milk
- 2 Tbsp Key Lime Juice
- 1 Tbsp Lime Zest
- 8 Cups Rice Krispie Cereal
- 1 Cup Graham Cracker Crumble
- Pinch of Salt
Instructions
- Follow the instructions to make the graham cracker crumble and set it aside.
- Prepare a 9×13-inch pan by spraying it with butter-flavored cooking spray. Set aside.
- In a large pot over low heat, melt the butter. Stir in the sweetened condensed milk and salt until smooth.
- Add 14 ounces of the mini marshmallows and stir until mostly melted and creamy.
- Remove the pot from the heat and stir in the key lime juice and zest until fully combined.
- Fold in the Rice Krispies cereal and graham cracker crumble pieces until evenly coated.
- Let the mixture cool for about 1 minute, then fold in the remaining 2 ounces of mini marshmallows for gooey marshmallow pockets throughout the treats.
- Transfer the mixture to the prepared pan and gently press into an even layer. Do not pack the treats down firmly.
- Let cool completely before slicing into squares.
Notes
- Store leftovers in an airtight container at room temperature for up to 5 days.
- Make sure you spray the utensils with cooking spray; this recipe is sticky.
Leave a Reply