
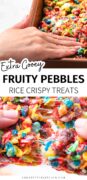
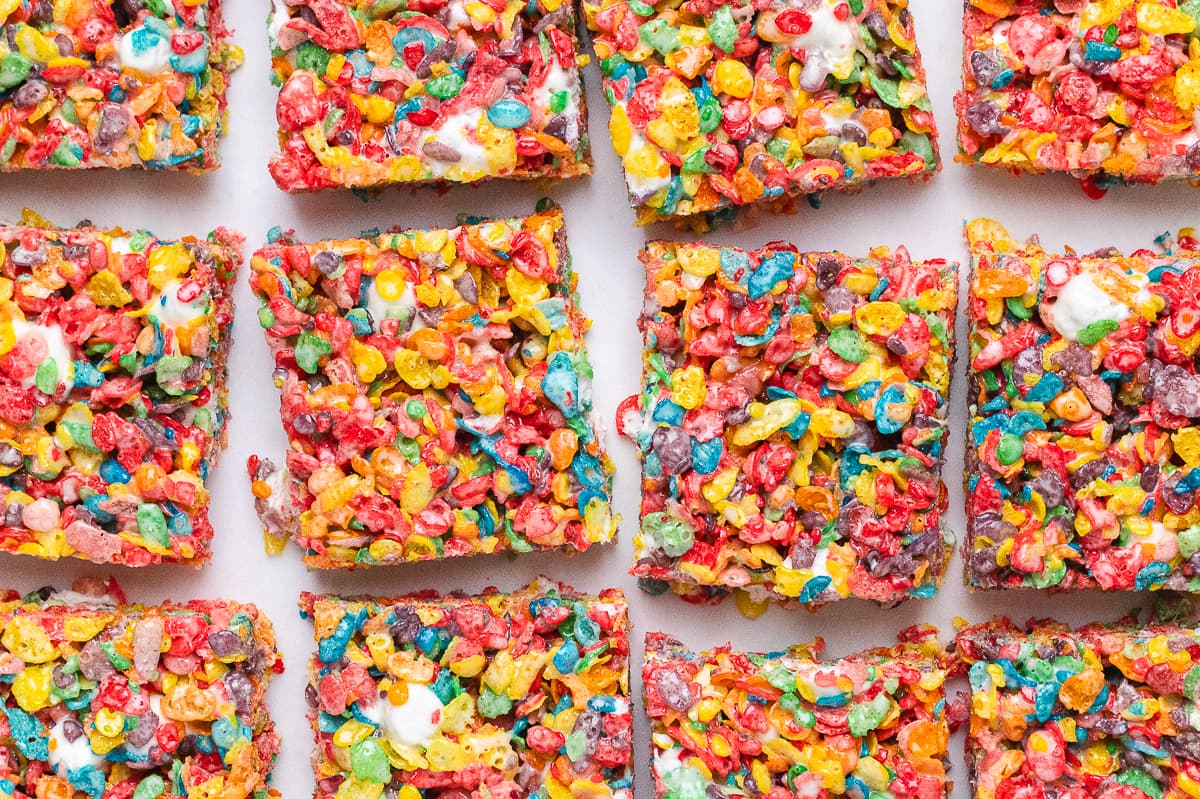
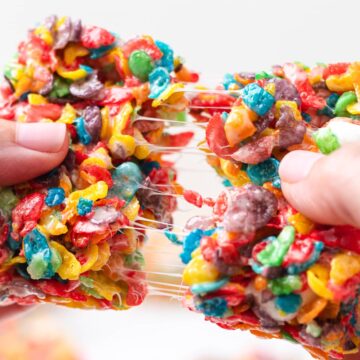
These Fruity Pebbles Rice Crispy Treats are colorful, buttery, fruity, and absolutely delicious. And that slight crunch…is unforgettable. We’re talking about a perfect treat here. So good they might belong on the Mt. Rushmore of cereal treats.
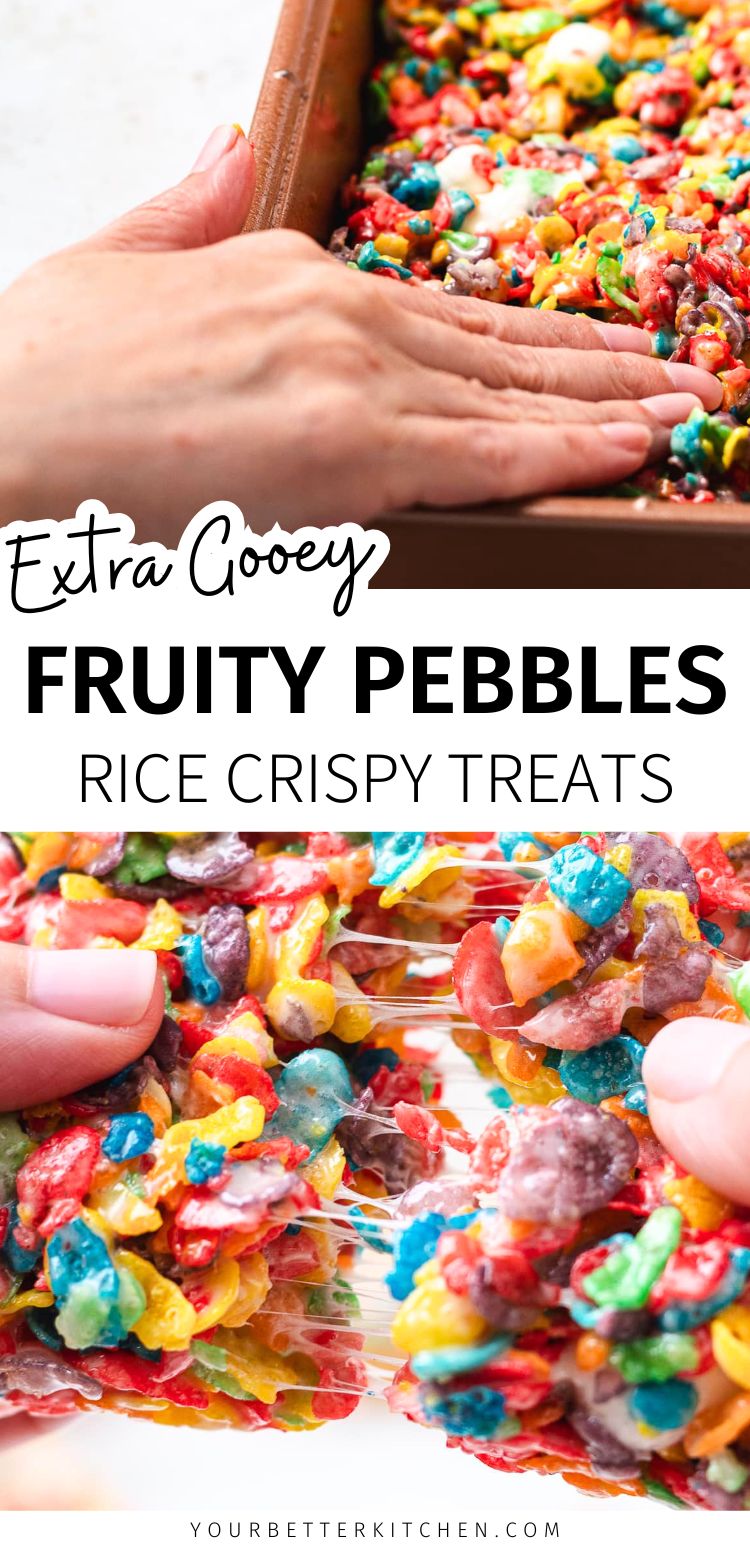
But before we get started, don’t forget to save this pin now. You don’t want to lose it!
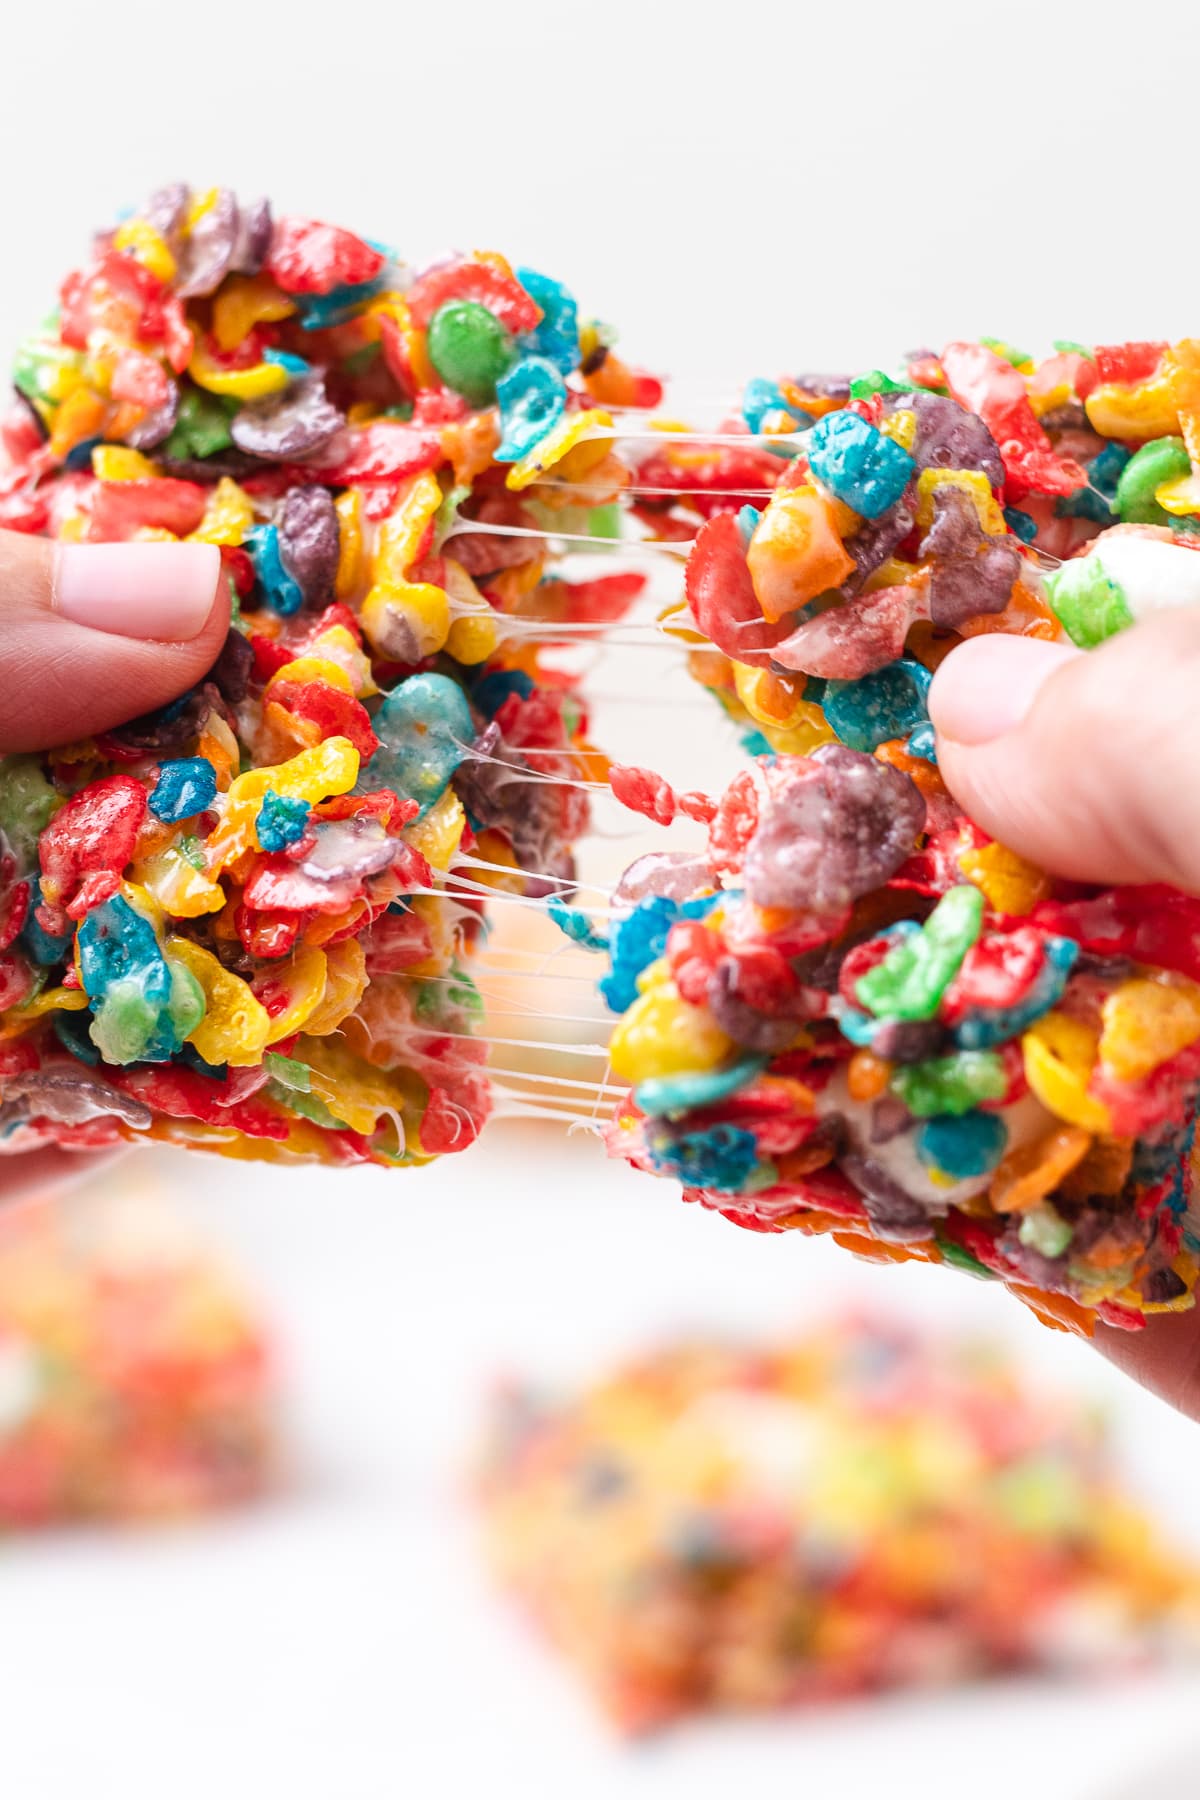
We put our own little spin on these to make them a bit more dessert-like and bakery-style than the ones we had growing up. They’re still nostalgic, but with some simple upgrades to make them, well…better.
Making them even once could be dangerous if you’re trying to watch your diet. They’re THAT good! They’re so good, in fact, you’ll want to make them all year round. Serve them for fun weekend (cheat meal) desserts or package them up as a fun food gift for someone you care about.
By the way, are you on the hunt for deliciously fruity cereal treats? Check out our strawberry Rice Krispie treats or Lucky Charms treats.
Jump to:
❱❱ PIN IT OR FORGET IT ❰❰
Save this pin to your favorite desserts board. Trust me, you don’t want to lose it.
Why You’ll Love This Recipe…
- Our secret ingredient is sweetened condensed milk which makes them extra-gooey and creamy like they came from a bakery.
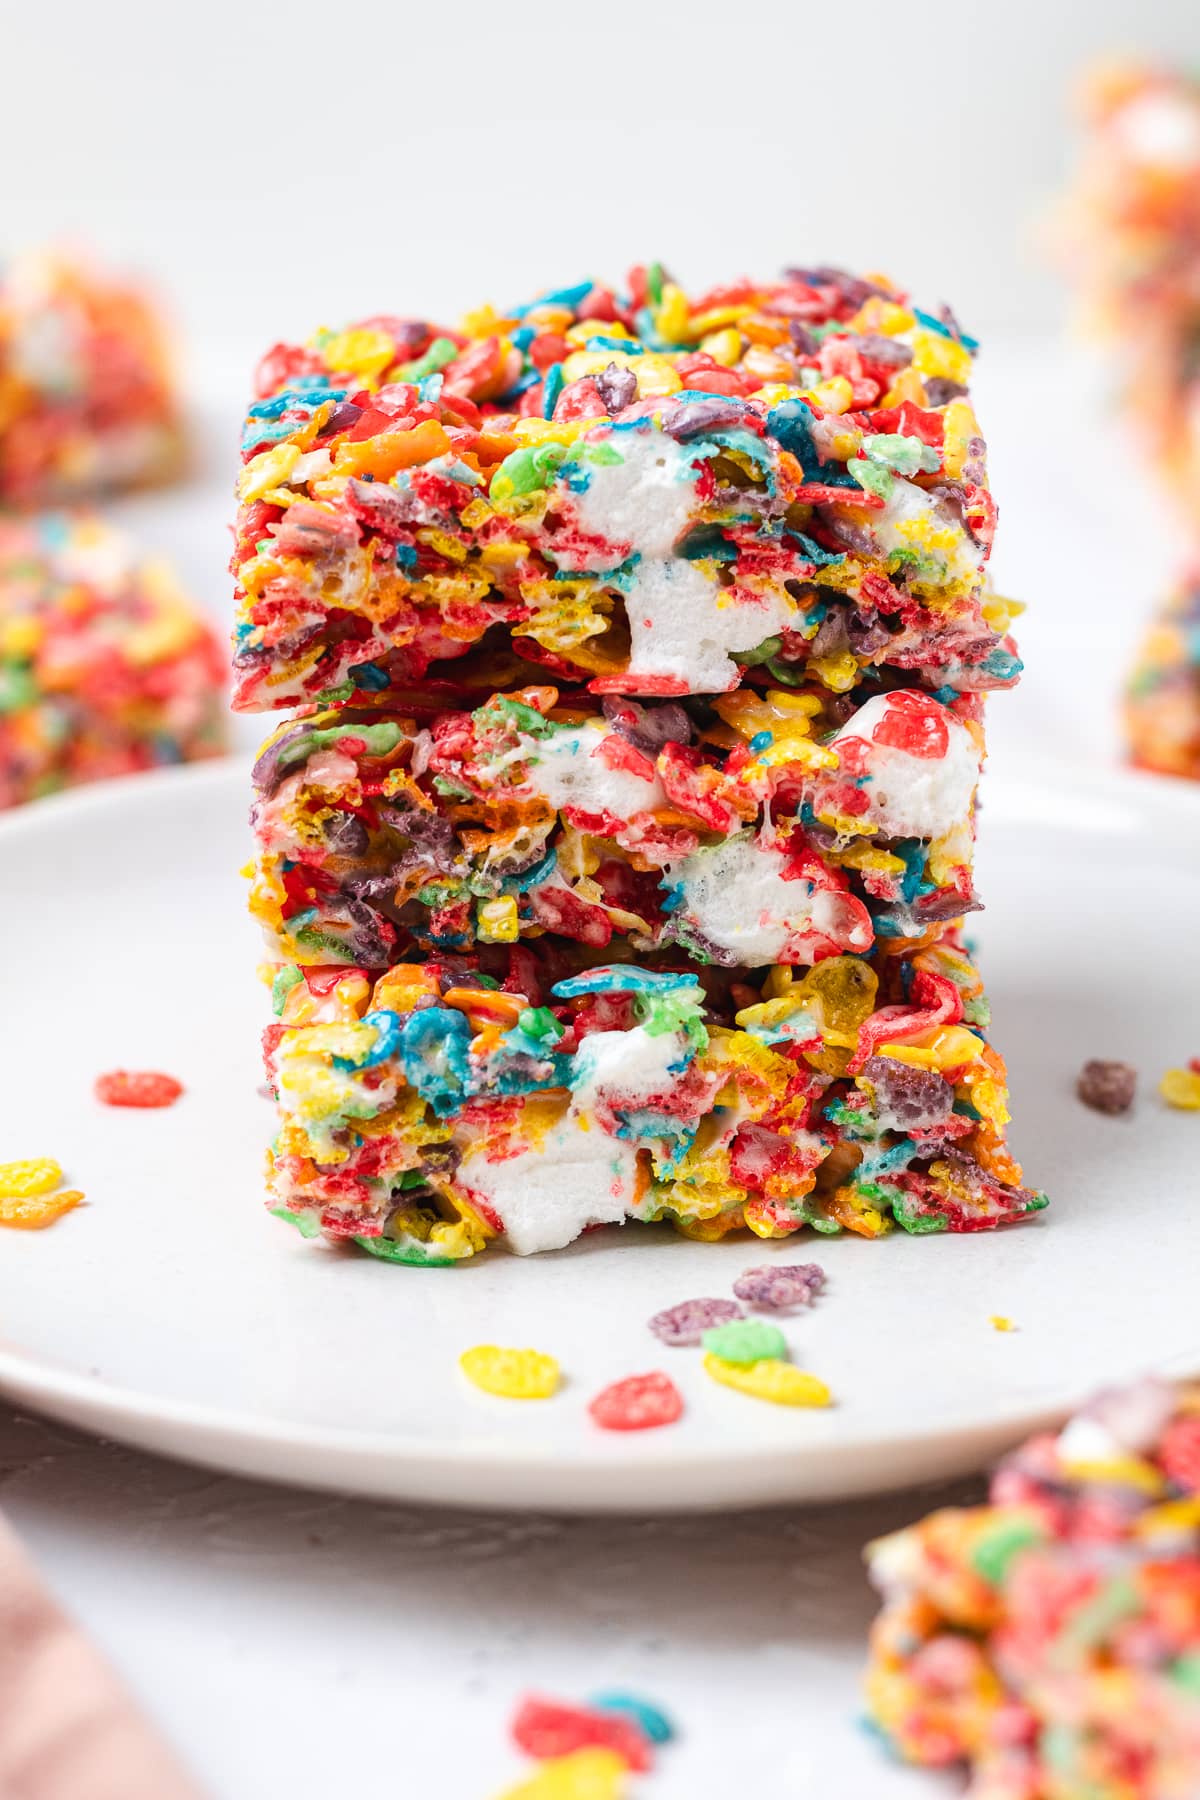
- We added extra marshmallows at the end so every now and then you get a bite of fluffy, gooey marshmallow.
- They’re incredibly versatile and travel well. Make them for holiday trays, sleepovers, bake sales, and care packages.
- Yes, these treats feel more premium and upgraded, but I promise they’re still very easy to pull off.
Ingredients
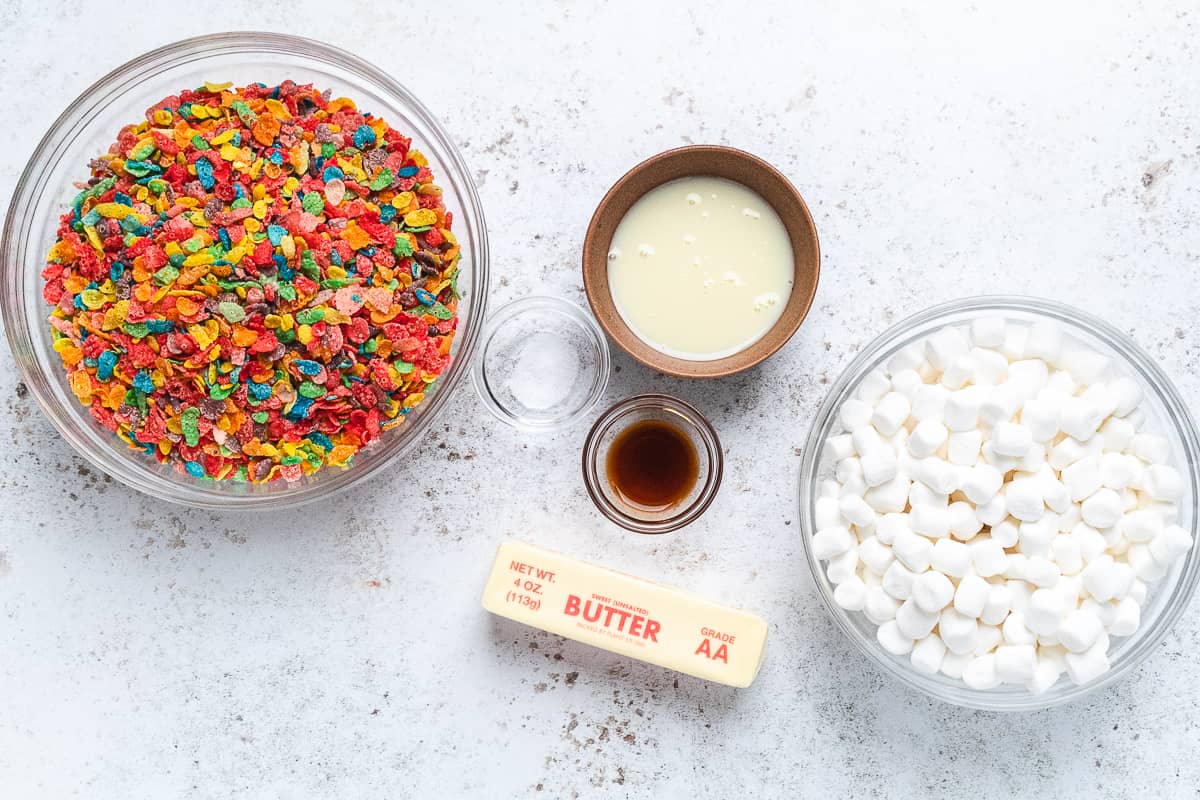
- Fruity Pebbles cereal – fresh cereal is best.
- Marshmallows – always use fresh, fluffy marshmallows.
- Sweetened condensed milk – the secret ingredient that makes the treats softer, creamier, richer, and bakery-style.
- Butter – we chose unsalted butter to control the final flavor.
- Vanilla – just a teaspoon to enhance overall flavor.
- Salt – makes the fruity flavor stand out more.
See the recipe card for quantities.
How to Make Fruity Pebbles Rice Crispy Treats
Lightly spray a 9×13-inch pan and set aside.
In a large pot over medium-low heat, melt the butter and stir in the salt.
Add the sweetened condensed milk and stir until smooth and fully combined.
Add 14 oz of the mini marshmallows and stir gently until completely melted and smooth. Remove from the heat immediately once melted.
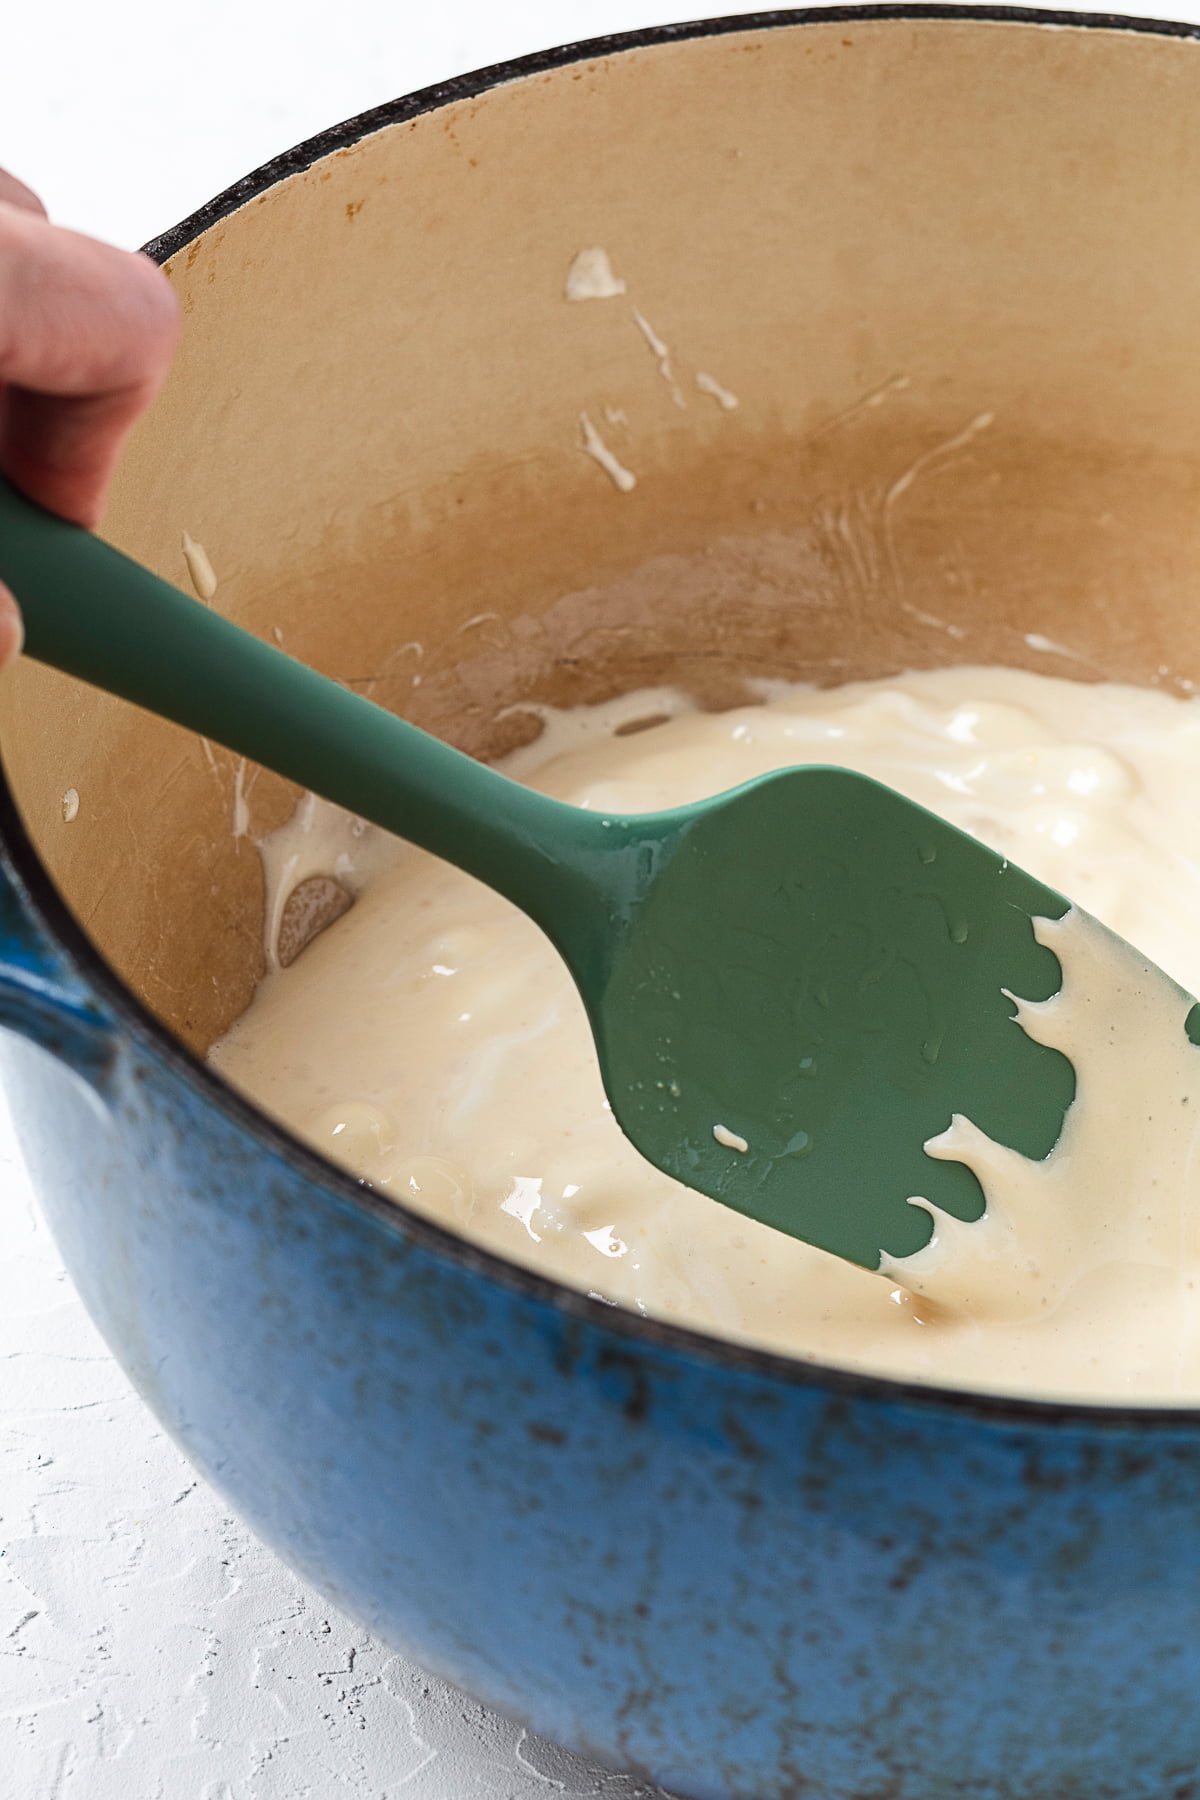
Stir in the vanilla extract.
Add the Fruity Pebbles cereal and gently fold until evenly coated.
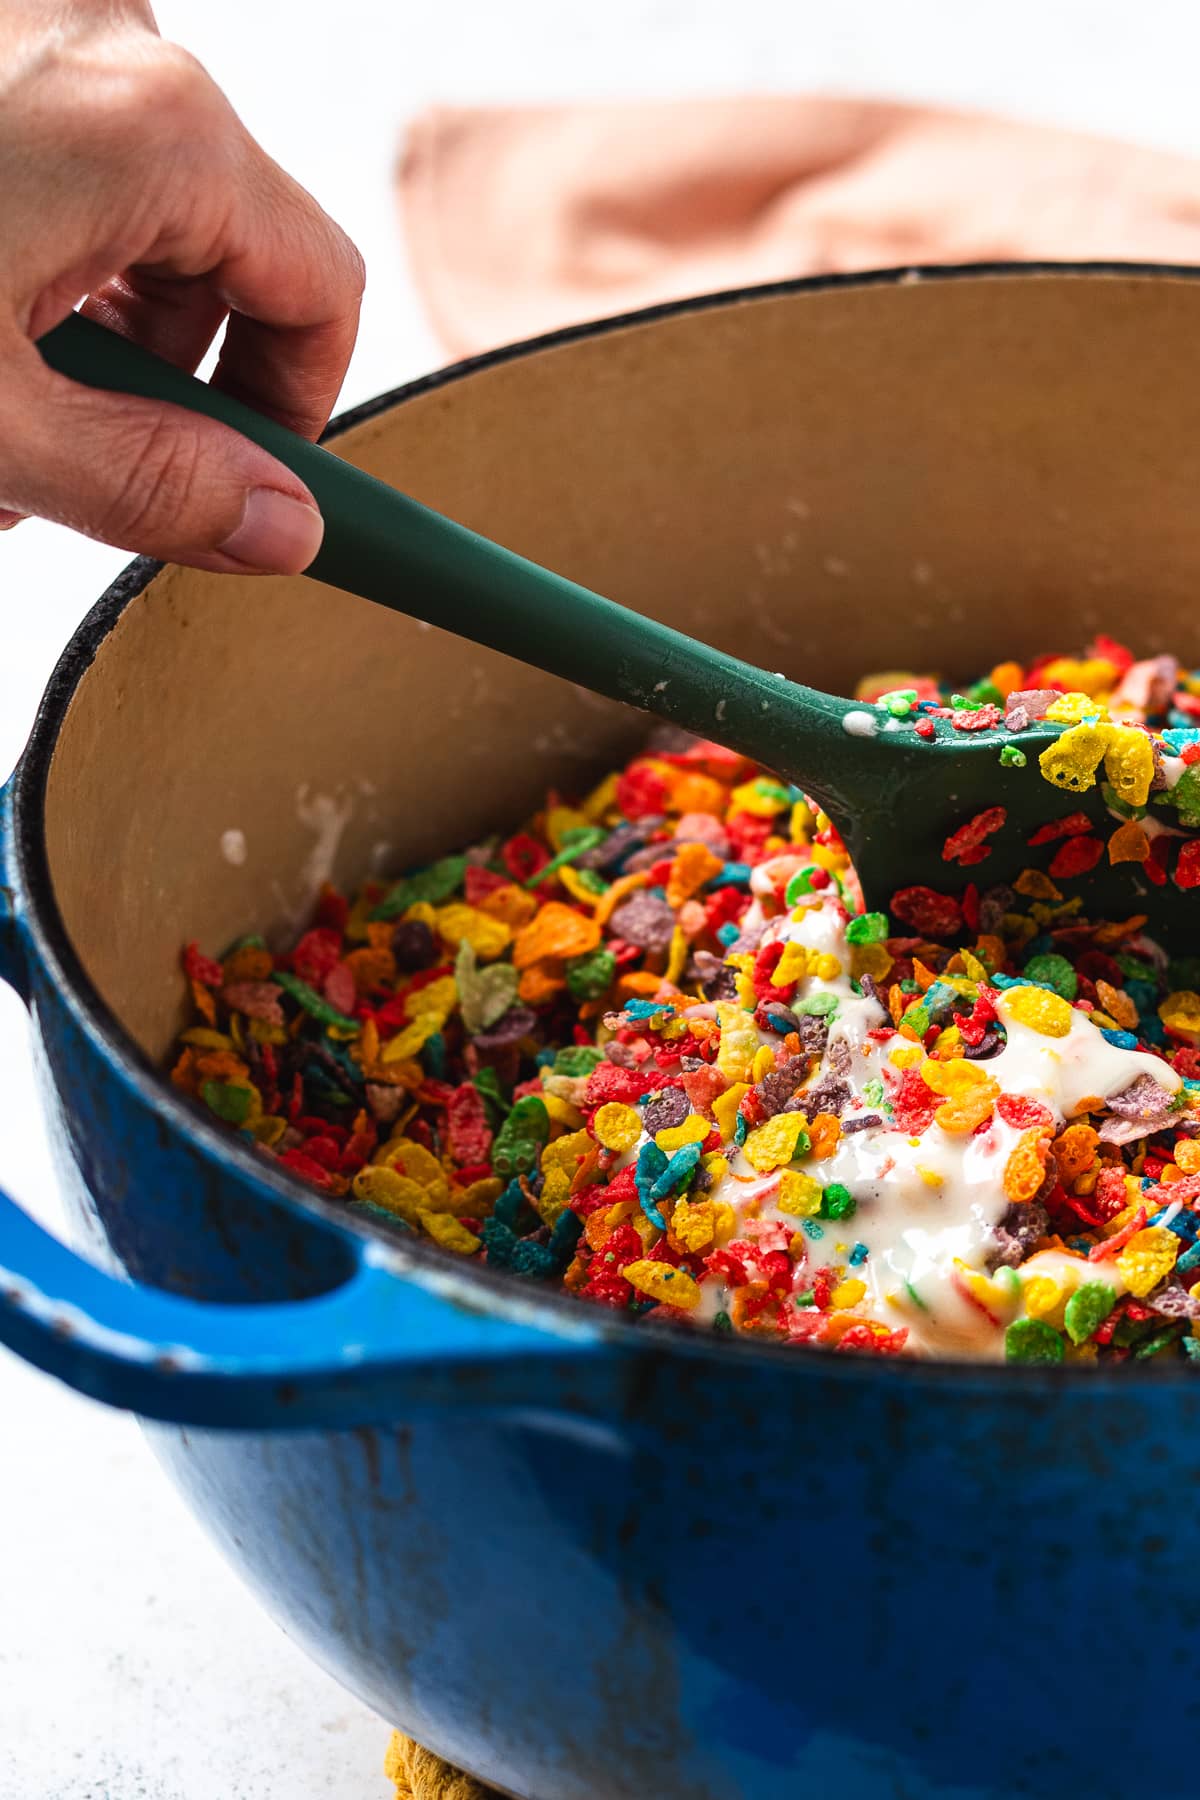
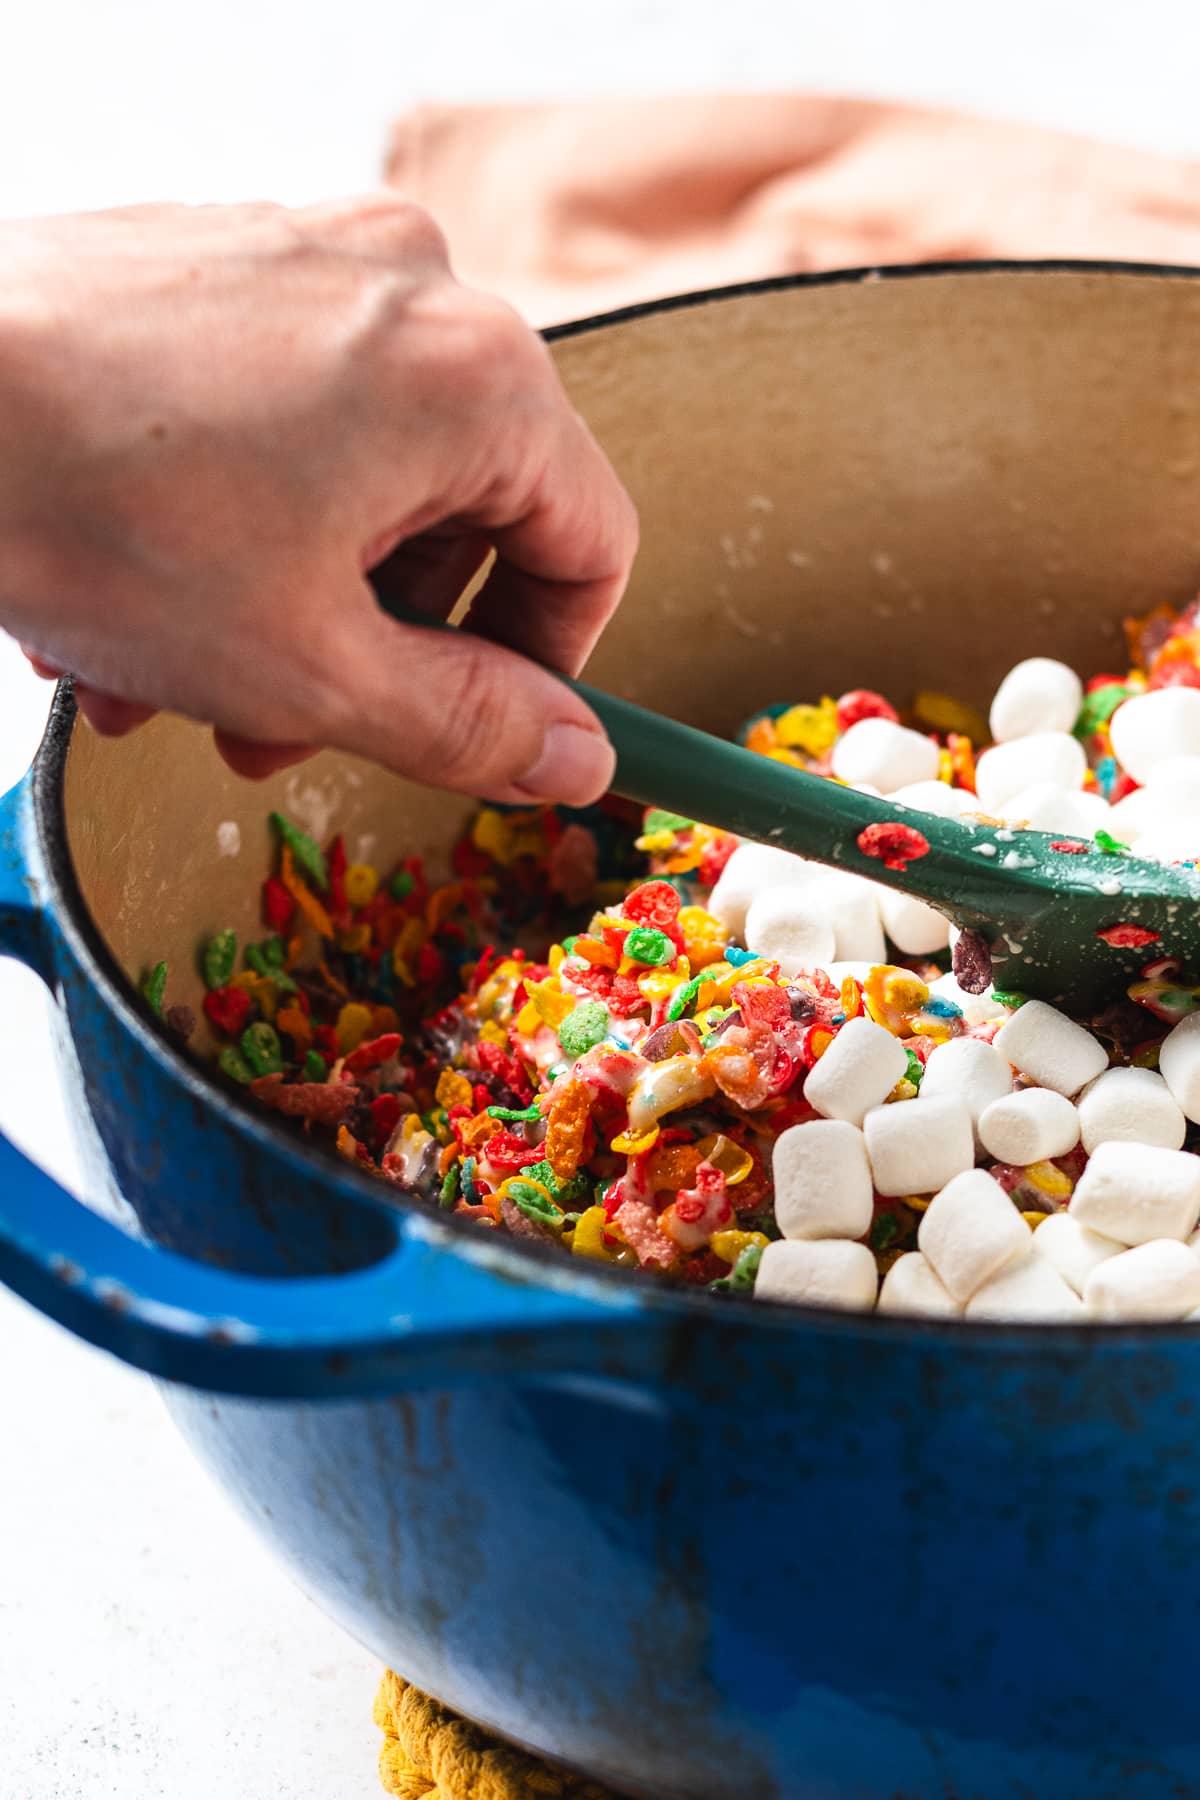
Fold in the remaining 2 oz mini marshmallows to create soft, gooey marshmallow pockets throughout the treats.
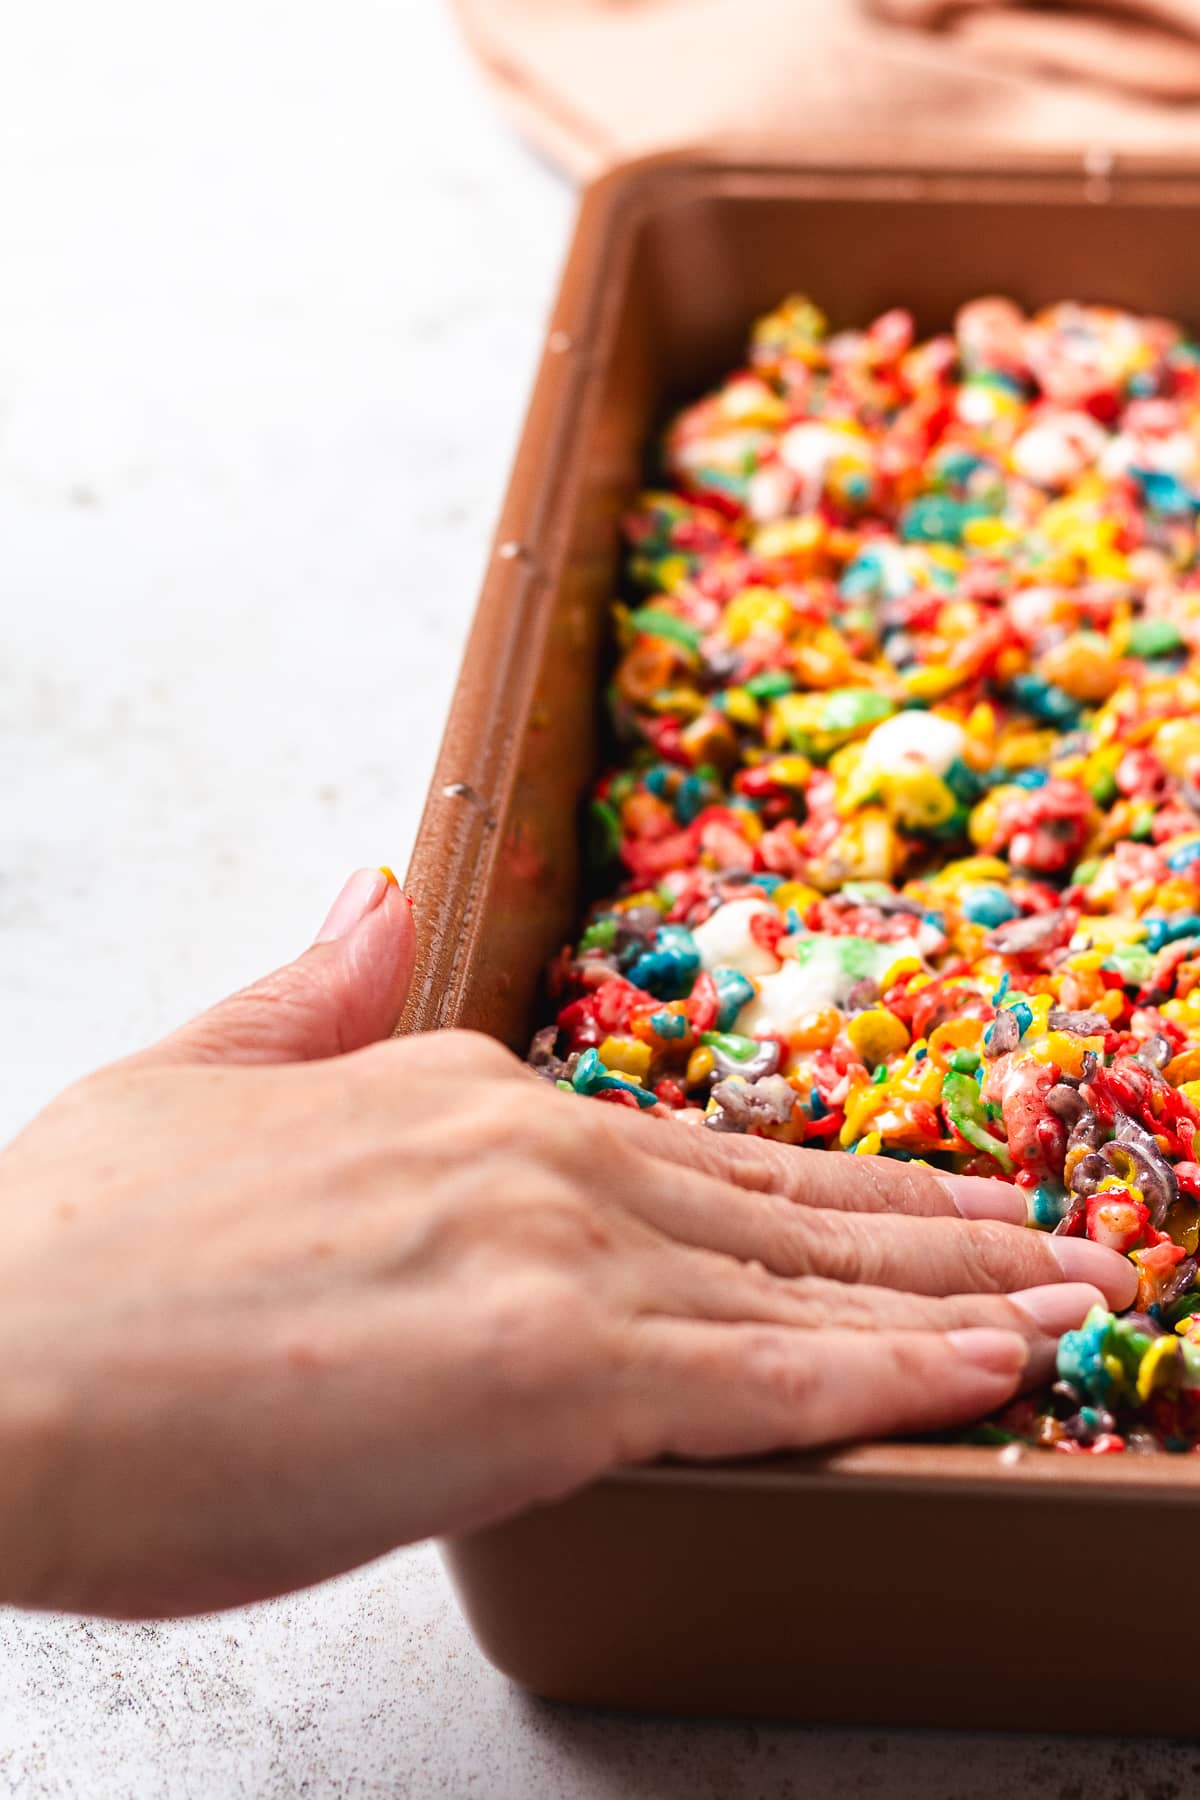
Transfer the mixture to the prepared pan. Use lightly buttered or damp hands to gently press the treats into an even layer. Don’t compact them or the bars will turn dense.
Let the treats cool at room temperature for 1 hour before slicing into squares.
Top Tip
Don’t overheat the marshmallow/sweetened condensed milk mixture as it will make the treats hard.
Don’t press the cereal mixture too hard into the pan as this can also make the treats too hard.
Set aside an ounce or two of the marshmallows to add little fluffy pockets of marshmallows to the Fruity Pebbles treats.
Storage
Store the Fruity Pebbles treats at room temperature for a few days. They’ll stay fresh and chewy.
For longer storage, place the treats in an airtight food storage container or freezer bag. Use wax paper or parchment paper to separate layers. They’ll keep for up to two months.
Allow them to sit at room temperature (10-15 minutes) before serving.
Other No Bake Desserts You’ll Love

- No Bake Mixed Berry Cheesecake
- Strawberry Rice Krispie Treats
- Lemon Mousse Recipe
- Strawberry Cheesecake Dip
- Easy Oreo Delight
FAQ
If that’s all you have, sure. But mini marshmallows are the best option. Large marshmallows take a longer time to melt.
A little stickiness is normal. If your treats are really sticky, you probably added too much marshmallow or not enough cereal or too much condensed milk. Be sure to measure the ingredients.
This recipe was tested to stay soft for days so long as you store them in an airtight container or bag.
Fruity Pebbles Treats Recipe
Ingredients
- 6 Tbsp Unsalted Butter
- ¼ Tsp Fine Salt
- 3 Tbsp Sweetened Condensed Milk
- 16 Oz Mini Marshmallows Divided
- 1 Tsp Vanilla Extract
- 8 Cups Fruity Pebbles Cereal
- Nonstick Spray
Instructions
- Lightly spray a 9×13-inch pan and set aside.
- In a large pot over medium-low heat, melt the butter and stir in the salt.
- Add the sweetened condensed milk and stir until smooth and fully combined.
- Add 14 oz of the mini marshmallows and stir gently until completely melted and smooth. Remove from the heat immediately once melted.
- Stir in the vanilla extract.
- Add the Fruity Pebbles cereal and gently fold until evenly coated.
- Fold in the remaining 2 oz mini marshmallows to create soft, gooey marshmallow pockets throughout the treats.
- Transfer the mixture to the prepared pan. Use lightly buttered or damp hands to gently press the treats into an even layer. Don’t compact them or the bars will turn dense.
- Let the treats cool at room temperature for 1 hour before slicing into squares.
Notes
- Store leftovers in an airtight container at room temperature for up to 5 days.
- Make sure you spray the utensils with cooking spray; this recipe is sticky.
Nutrition
Leave a Reply