

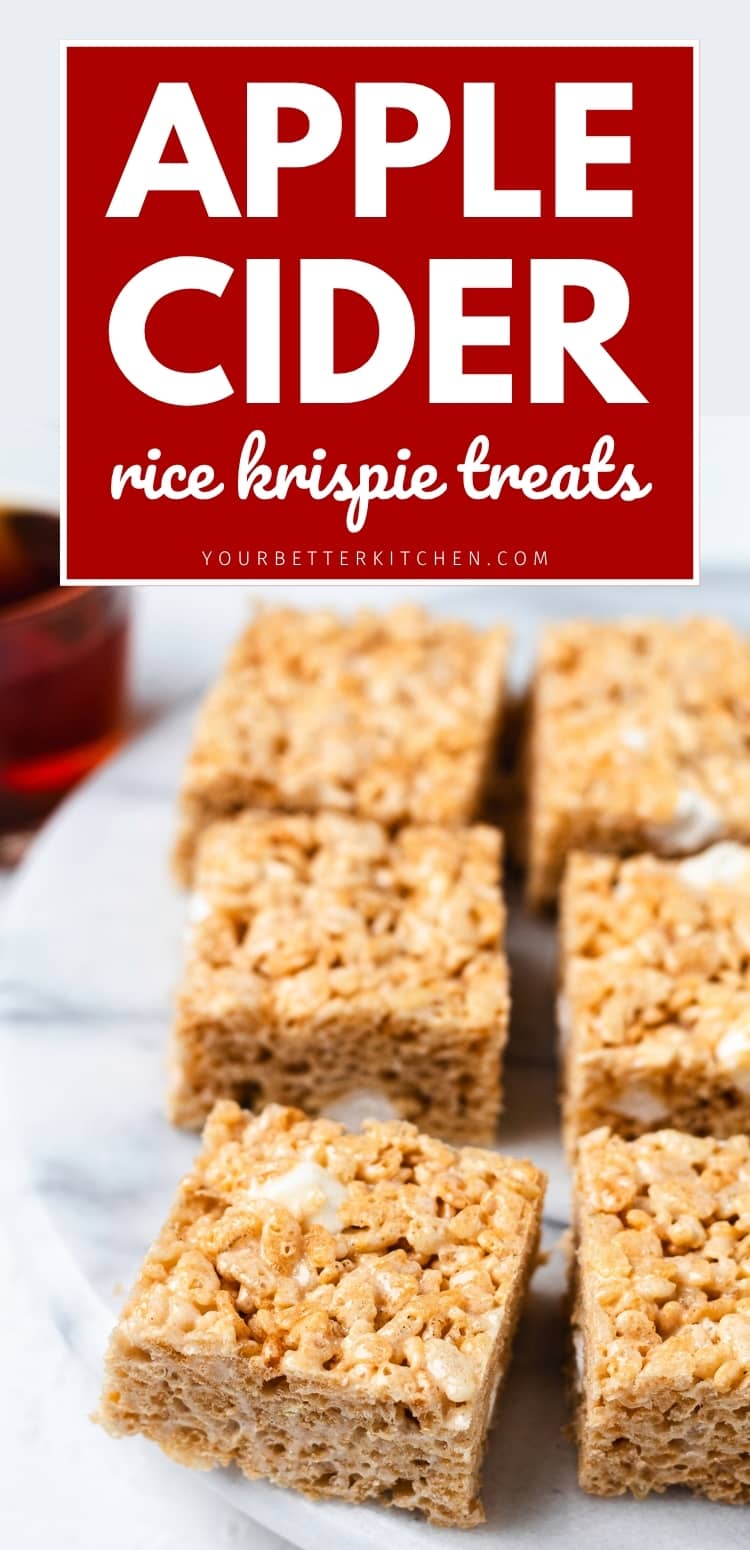
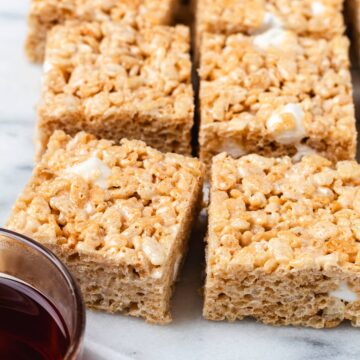
Apple Cider Rice Krispie Treats are a fun, no-bake dessert with lots of familiar fall flavor. I was so excited when they turned out so delicious. They actually taste like apples and caramel.
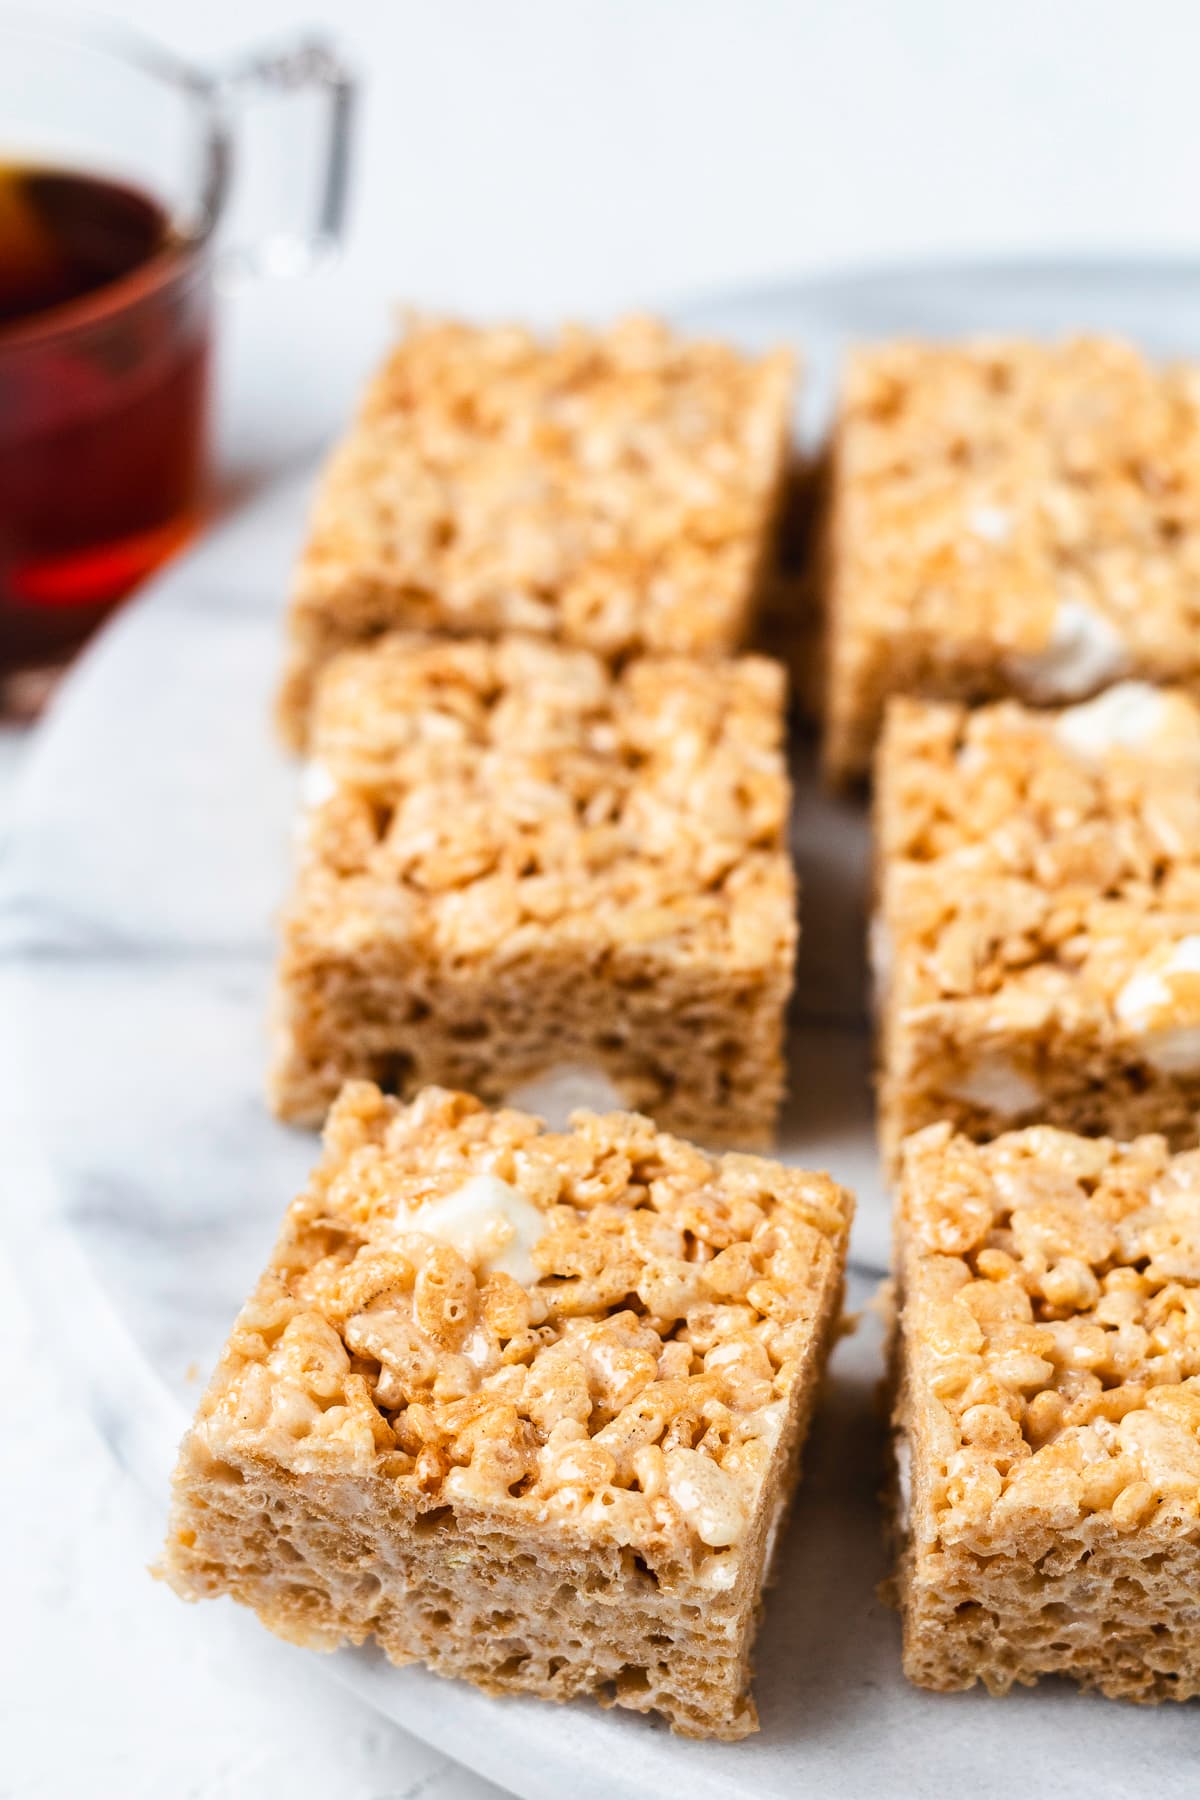
Make these delicious treats all season long. They’re especially convenient to make for those days when you want something sweet, seasonal, but simple.
I love fall desserts, don’t you? I think you’ll really love this caramel apple cobbler. It’s so delicious and surprisingly simple. And our apple crumble is unreal good.
Jump to:
❱❱ PIN IT OR FORGET IT ❰❰
Why You’ll Love This Recipe…
- They’re full of fall flavor. You’re going to smile genuinely because they tastes just like apple cider but in Rice Krispies form. Perfect treat to snuggle up with a book or movie.
- Ideal for fall celebrations. Everyone will love them at Halloween parties, Thanksgiving dessert tables, and classroom parties. And you’ll love how easy they are to pack up and bring.
- While many fall desserts require a counter full of ingredients and a big mess. These fun no-bake treats have just 5 ingredients (say what? 🤯). Perfect for when you want something with autumn flavor but you don’t want the hassle.
Ingredients
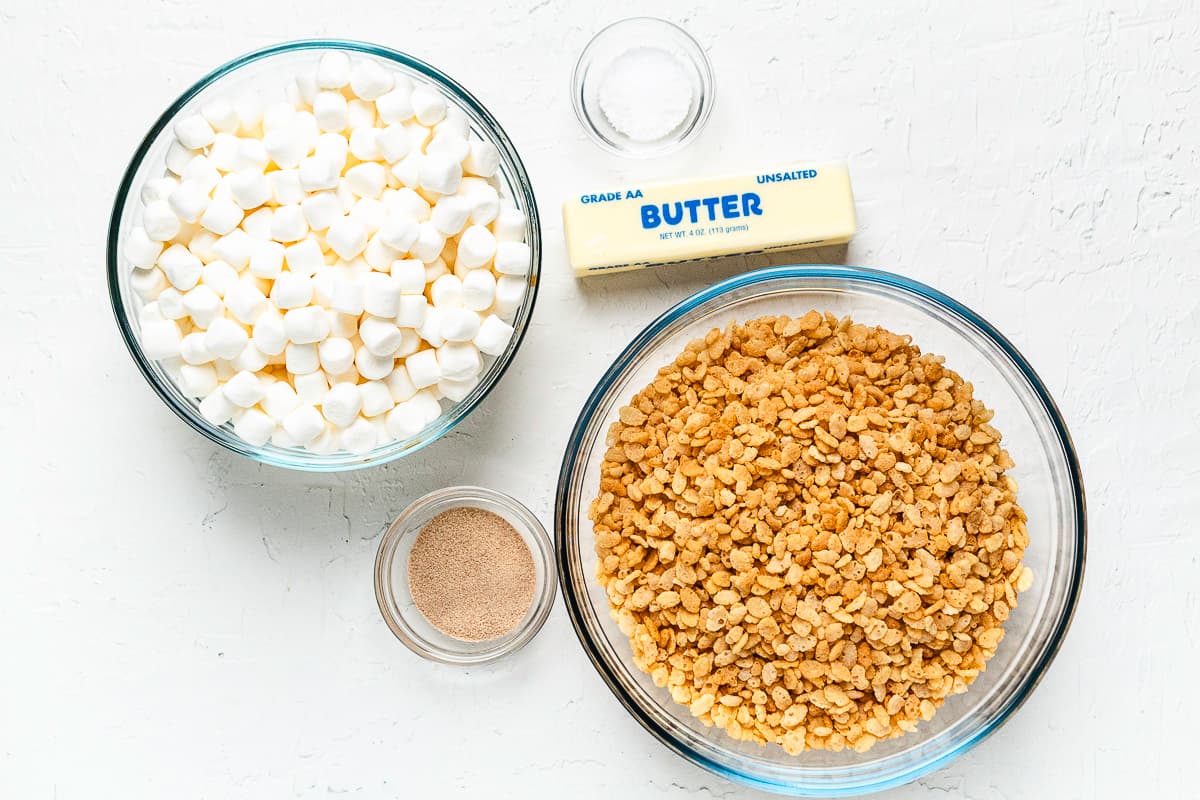
- Rice Cereal – only use fresh cereal.
- Marshmallows – always use fresh mini marshmallows. They melt faster and more evenly.
- Butter – unsalted butter.
- Apple Cider Mix – this little mixture makes the treats just like apple cider in rice krispie treats form.
- Salt – a little bit of salt brings out more of the apple cider flavor.
See the recipe card for quantities.
How to Make The Apple Cider Rice Krispie Treats
Lightly spray a 9×13-inch pan with nonstick spray and set aside.
In a large pot over low heat, melt the butter and dissolve the salt.
Add 14 ounces of the mini marshmallows and stir until melted and smooth.
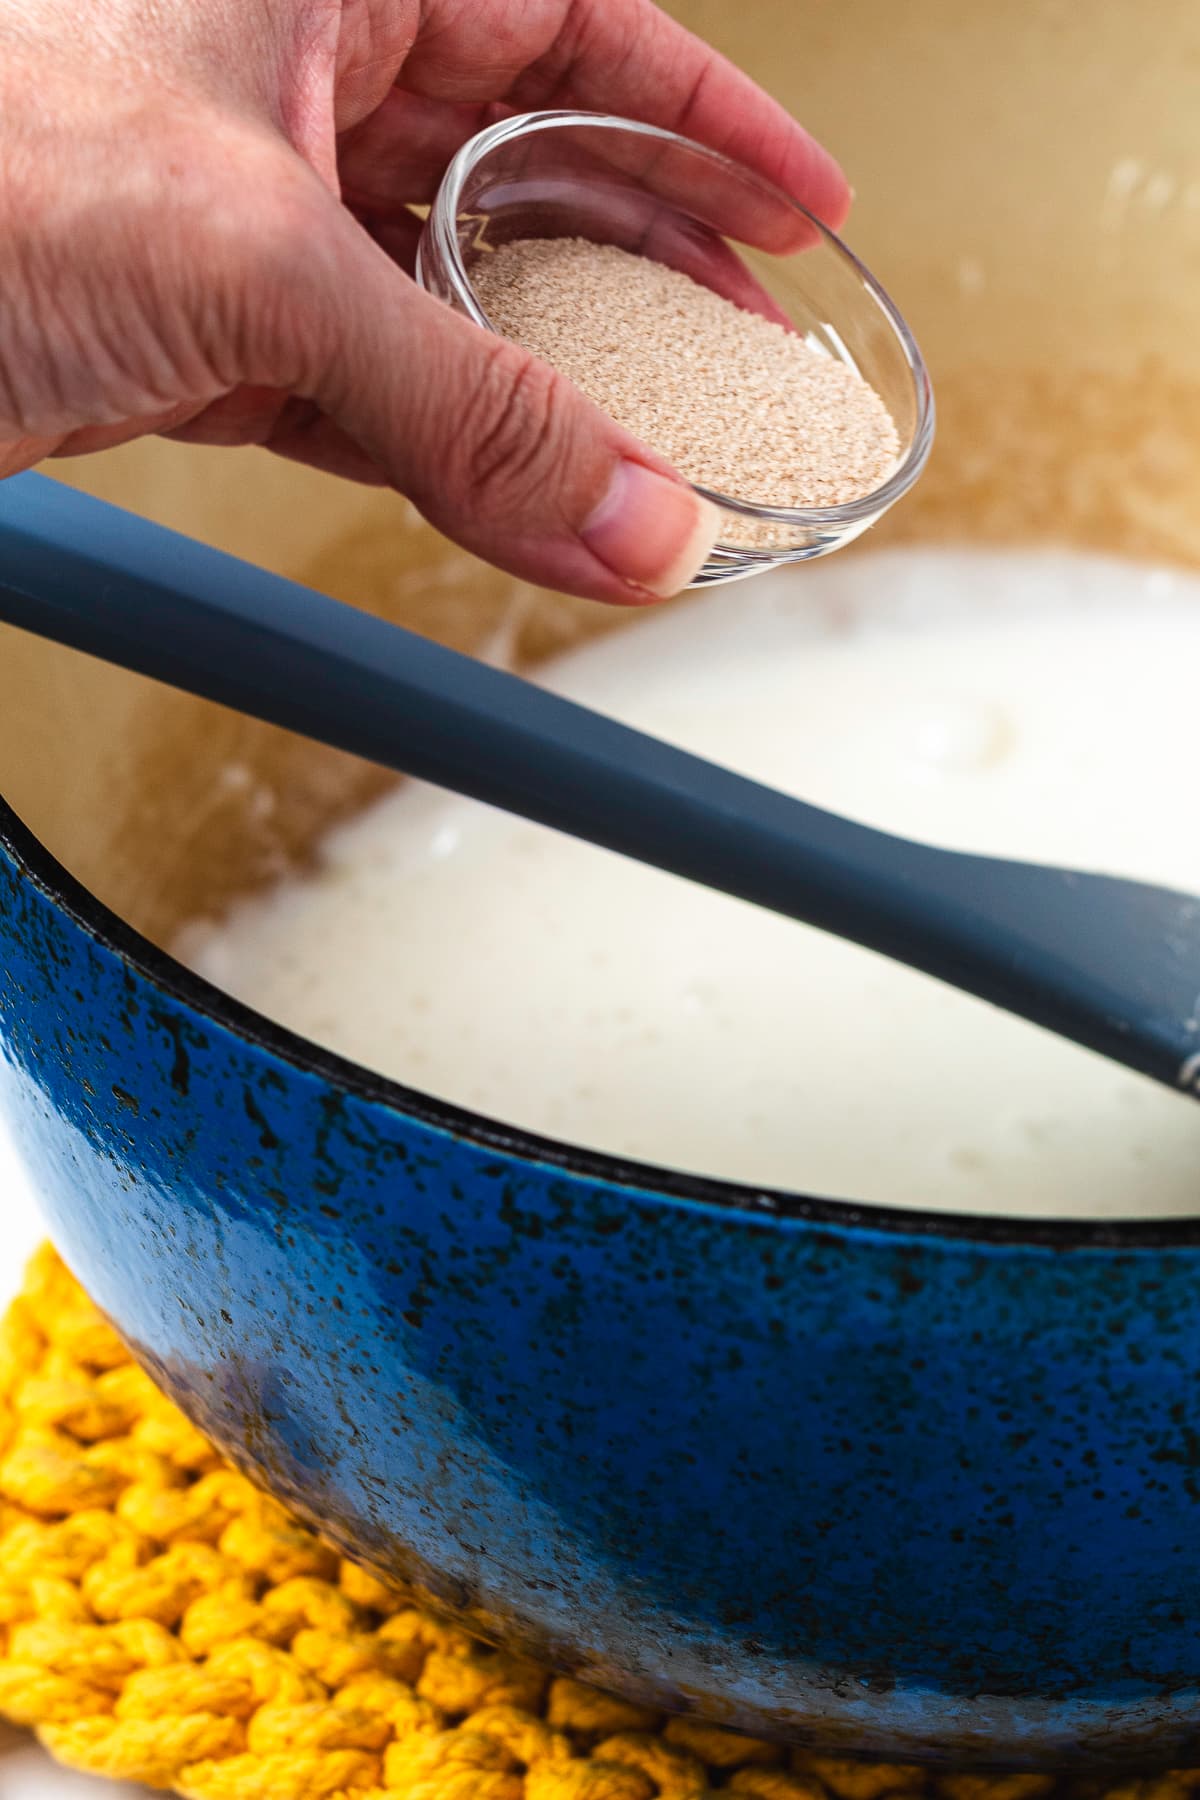
Whisk in the apple cider drink mix, and vanilla until fully dissolved.
Remove from the heat and fold in the Rice Krispies cereal until evenly coated.
Fold in the remaining 2 ounces of mini marshmallows.
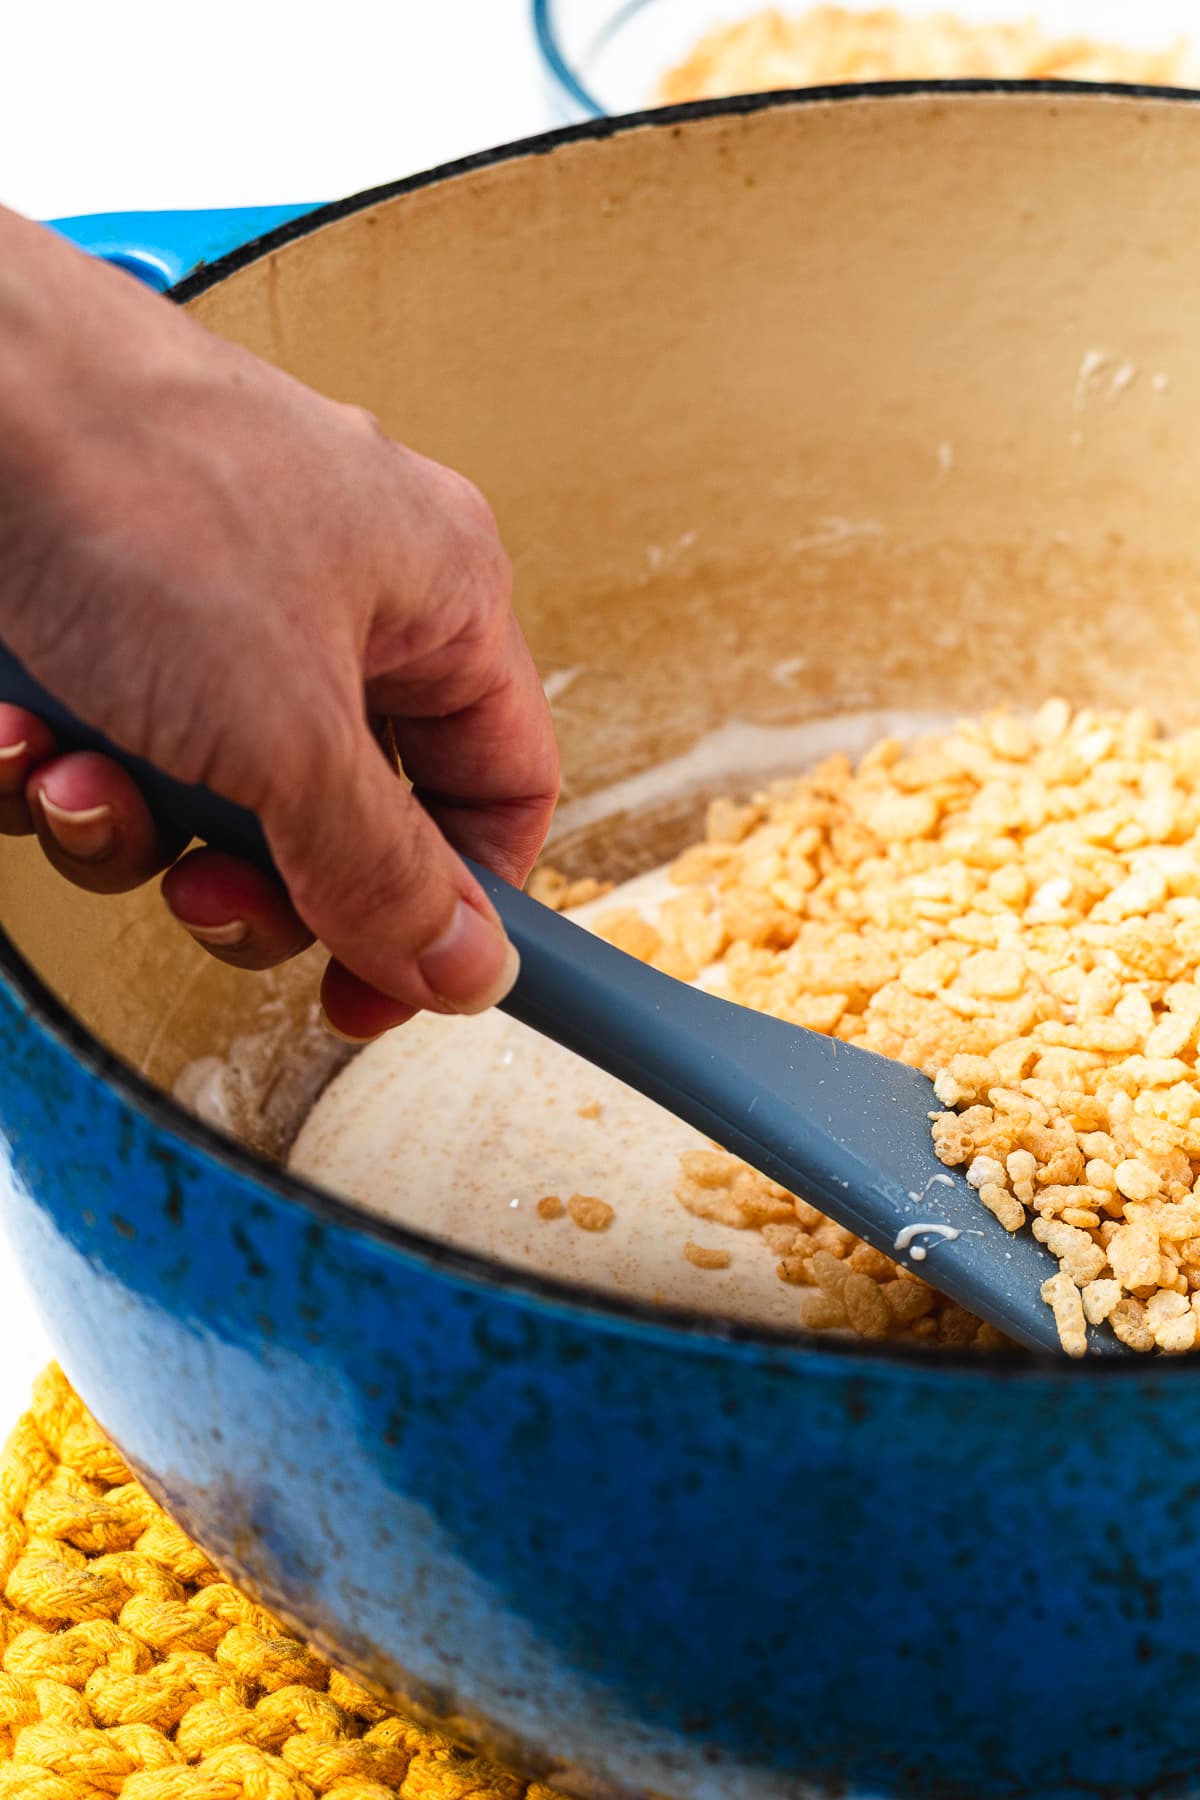
Transfer the mixture to the prepared pan and gently press into an even layer. Avoid packing the treats too firmly.
Let cool for about 1 hour before cutting into 16 squares.
Top Tip
Lightly press the treats into the pan. But don’t press them too firmly into the pan, or they’ll end up hard instead of soft and chewy.
Storage
Like other treats you can store these apple cider treats in an airtight container for up 3 days and they’ll still be ridiculously chewy and full of fall flavor.
Other No Bake Desserts You’ll Love



- No Bake Mixed Berry Cheesecake
- Strawberry Rice Krispie Treats
- Lemon Mousse Recipe
- Strawberry Cheesecake Dip
- Easy Oreo Delight
FAQ
No. We only tested this recipe using apple cider mix. It works because it has concentrated apple flavor without adding more moisture. Liquid apple juice will make the treats too soft. Or you’ll have to add a lot less of the juice which means there won’t be enough apple flavor.
Sure! We haven’t tested this yet, but I think caramel bits would work well for extra flavor.
No. And honestly you’ll be sacrificing flavor and texture if you store them that way. Instead, store them in an airtight container for a few days. Or freeze them for up to 2 months.
Apple Cider Rice Krispie Treats Recipe
Ingredients
- 6 Tbsp Unsalted Butter
- 16 Oz Mini Marshmallows Divided
- 3 Tbsp Apple Cider Drink Mix
- ¼ Tsp Kosher Salt
- 8 Cups Rice Krispie Cereal
Instructions
- Lightly spray a 9×13-inch pan with nonstick spray and set aside.
- In a large pot over low heat, melt the butter and dissolve the salt.
- Add 14 ounces of the mini marshmallows and stir until melted and smooth.
- Whisk in the apple cider drink mix, and vanilla until fully dissolved.
- Remove from the heat and fold in the Rice Krispies cereal until evenly coated.
- Fold in the remaining 2 ounces of mini marshmallows.
- Transfer the mixture to the prepared pan and gently press into an even layer. Avoid packing the treats too firmly.
- Let cool for about 1 hour before cutting into 16 squares.
Notes
- Store leftovers in an airtight container at room temperature for up to 5 days.
- Make sure you spray the utensils with cooking spray; this recipe is sticky.
Leave a Reply