
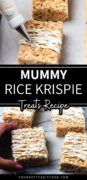
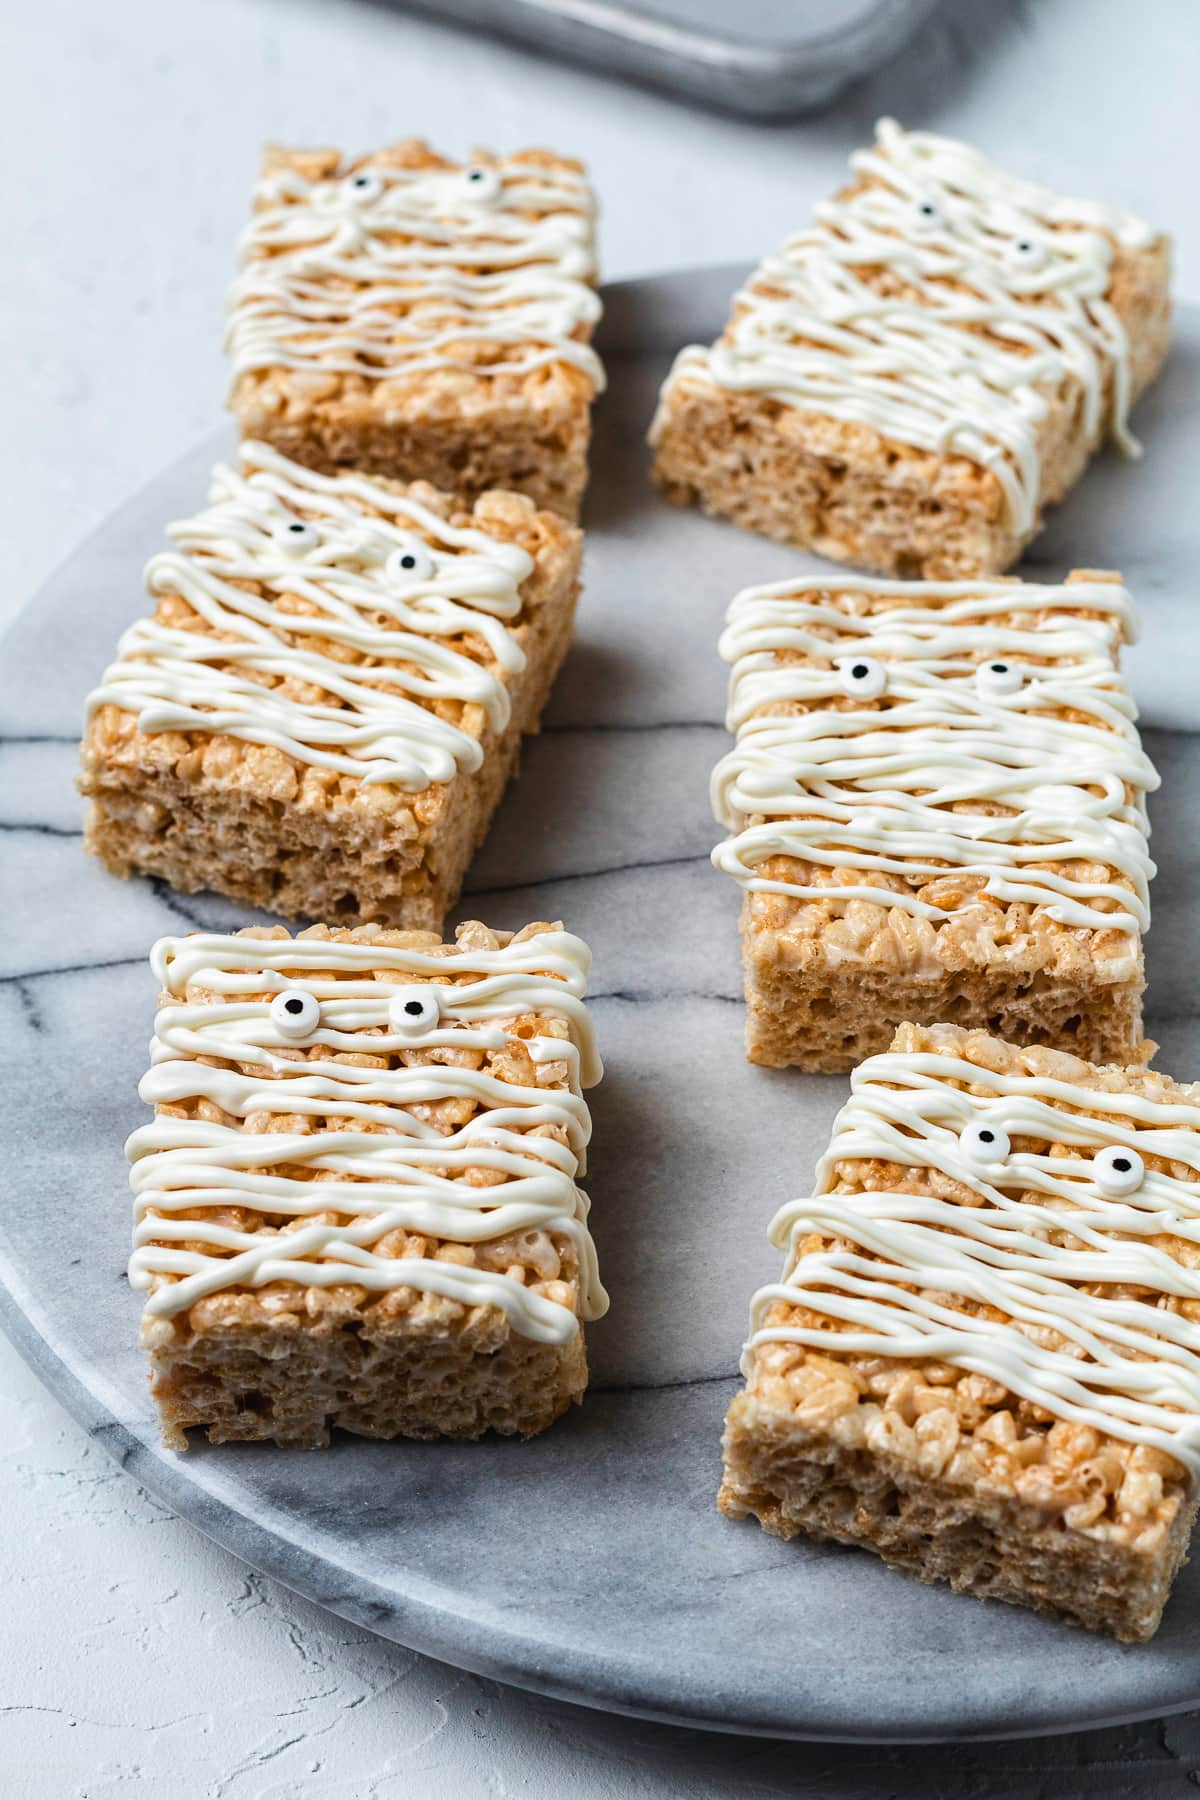
Mummy Rice Krispie Treats are an easy Halloween dessert recipe made simply by combining a base crispy treats with a drizzle of white chocolate or white candy melts and a couple of googly eyes for the look of a mummy.
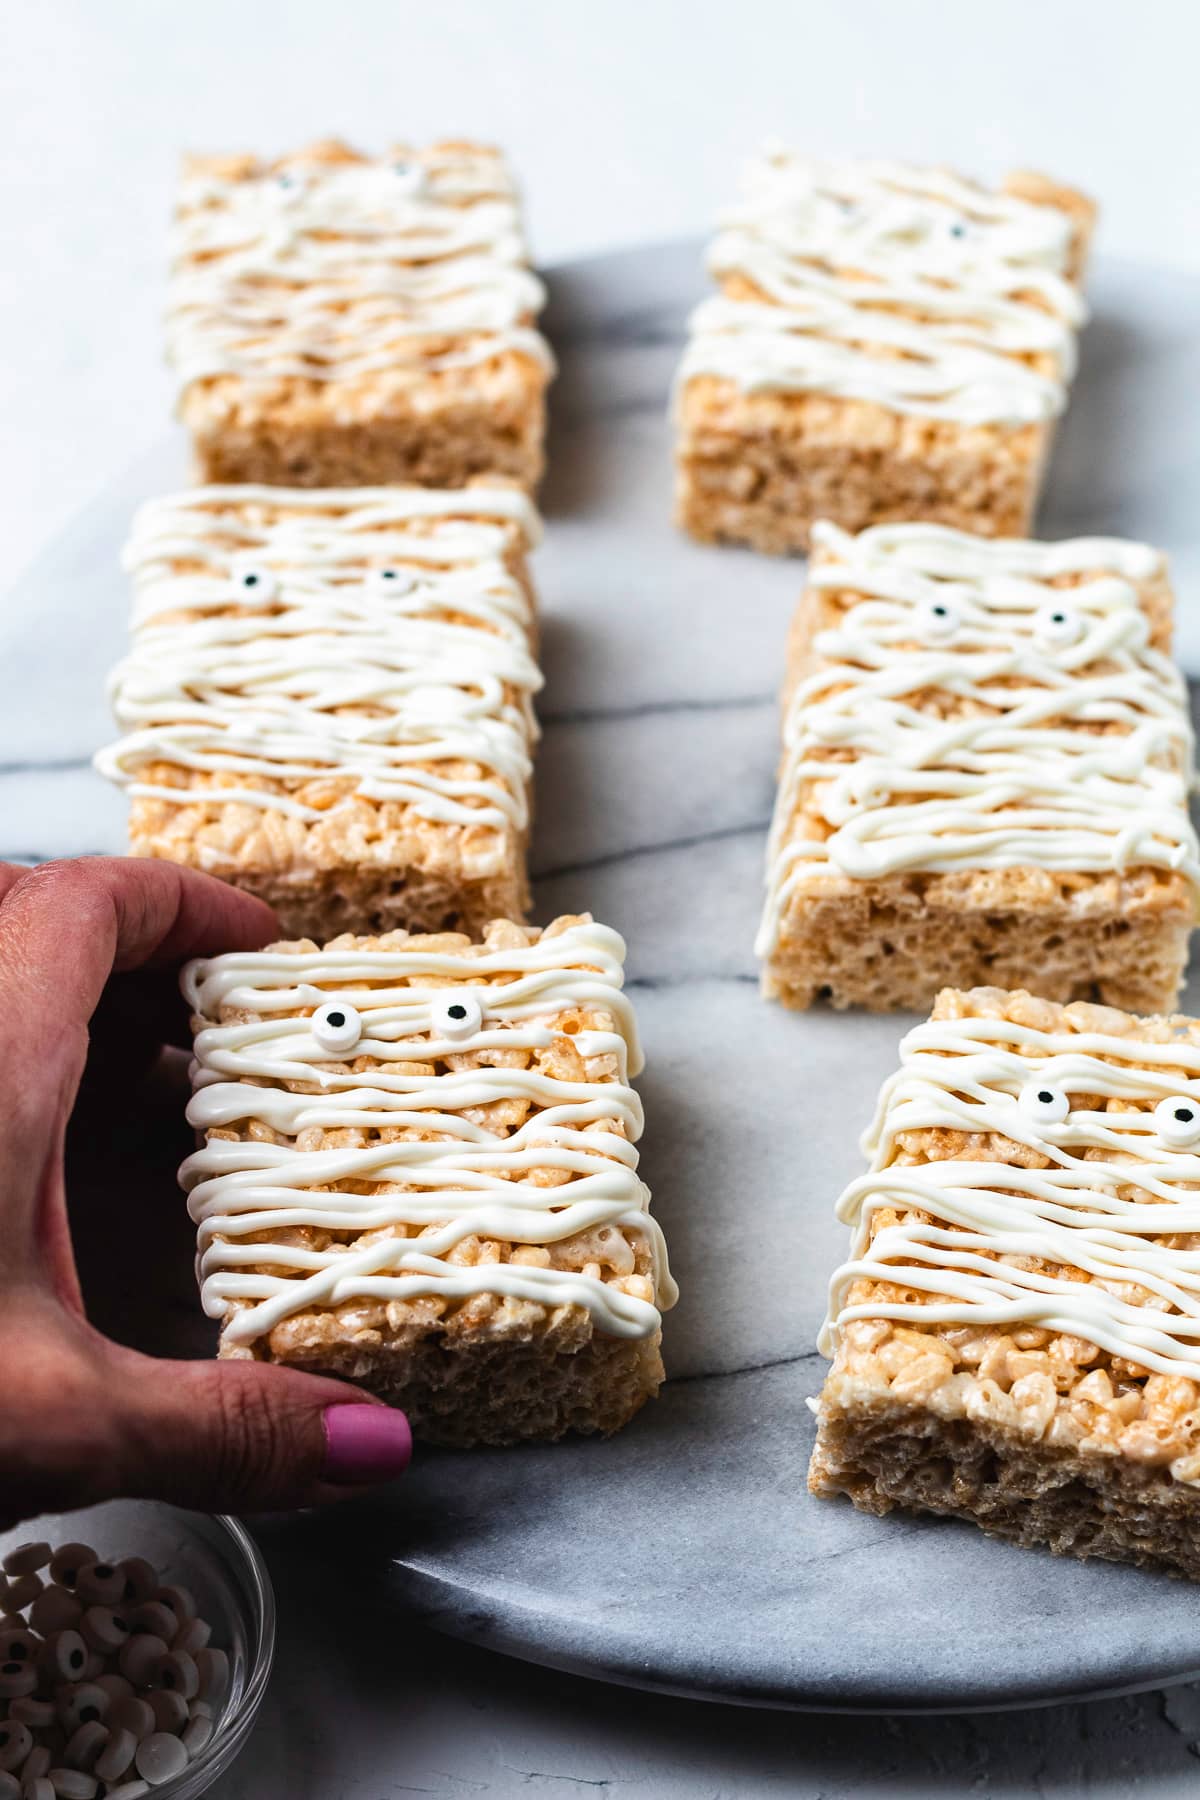
Make them just once, and the kids will beg you to make these cuties from October 1st straight through to Halloween.
Looking for other cute and festive Halloween ideas? Don’t forget to check out our great big list of easy Halloween party ideas. You’re sure to find something to love.
Jump to:
❱❱ PIN IT OR FORGET IT ❰❰
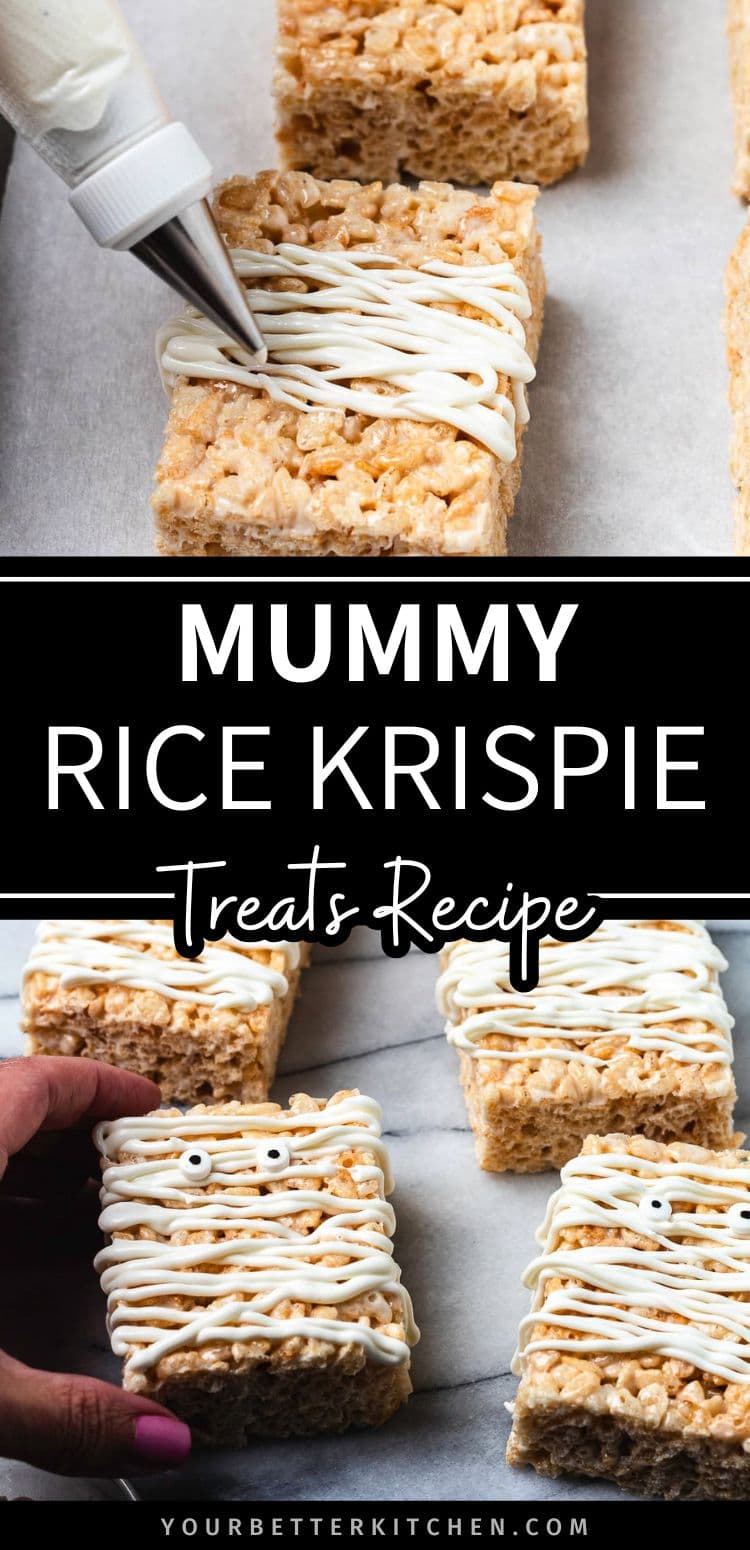
Why You’ll Love This Recipe…
- Everyone will love them if you make them for your Halloween parties, classroom parties, and they’re perfect to round out your Halloween dessert table.
- You won’t stress about how to make them because there aren’t any special skills required to make them.
- It’s such a fun little project for the kids to help you with.
Ingredients
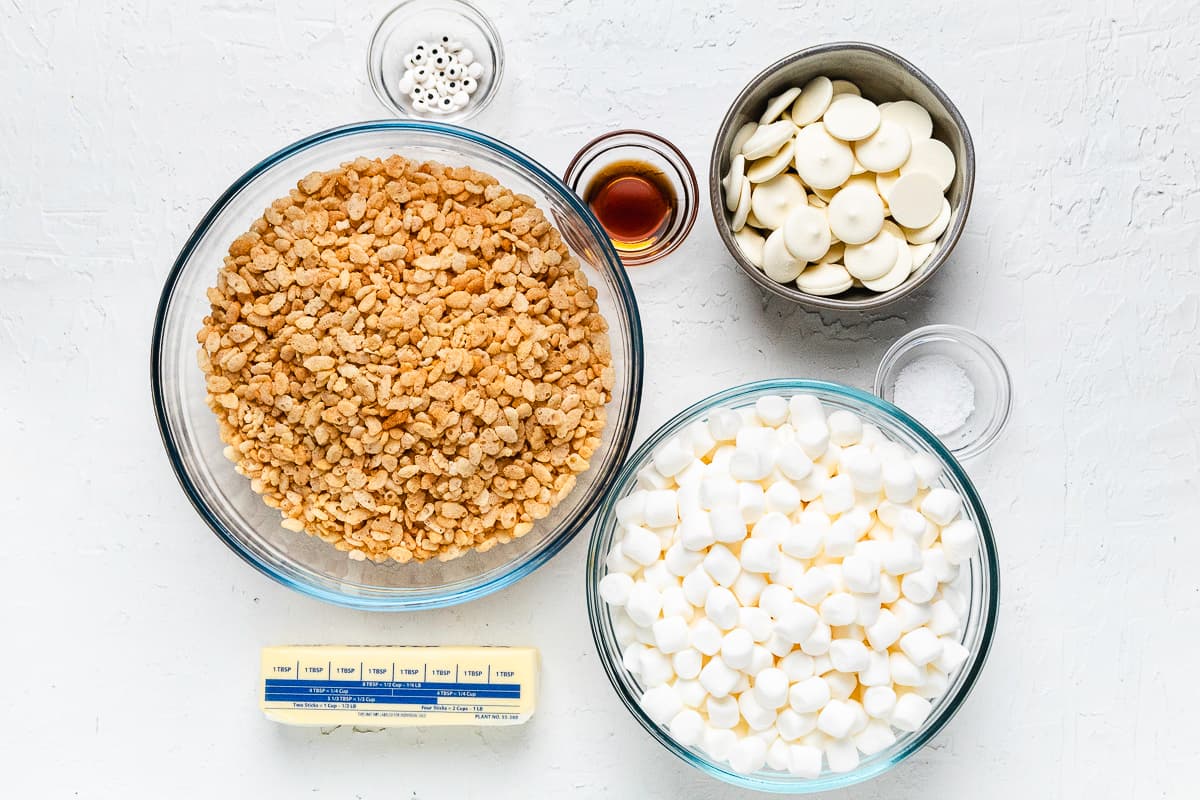
- Rice Cereal – always use fresh cereal.
- Marshmallows – mini marshmallows melt faster and more evenly.
- Butter – unsalted butter.
- Vanilla Extract – makes them tastes as if they came from a bakery.
- Salt – just a little pinch of salt makes them sweeter.
- White Candy Melts – for the mummy wraps. You can also use white chocolate.
- Candy Eyes – to bring the mummy to life. So spooky! 😆
See the recipe card for quantities.
How to Make Mummy Rice Krispie Treats
Lightly spray a 9×13-inch pan with nonstick spray and set aside.
In a large pot over low heat, melt the butter and dissolve the salt.
Add the mini marshmallows and stir until completely melted and smooth. Remove from the heat.
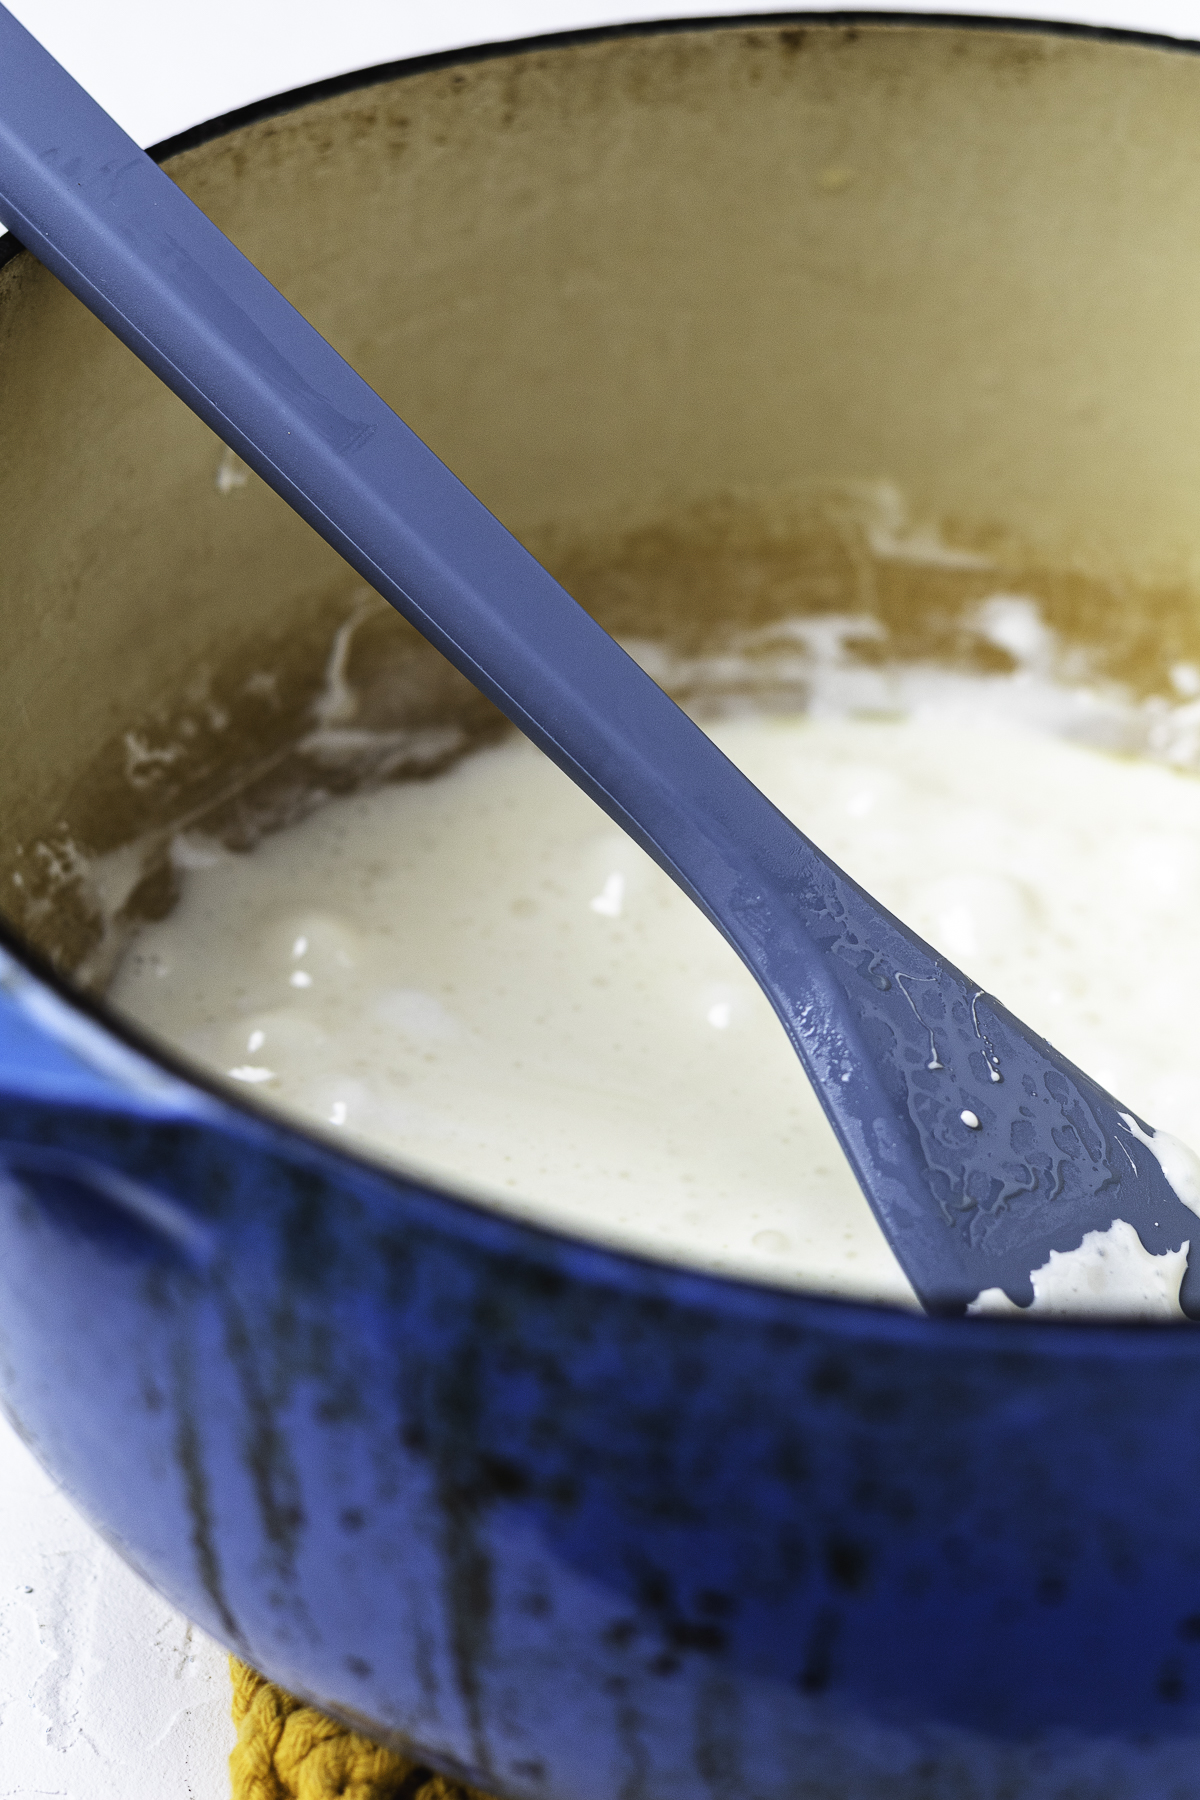
Stir in the vanilla extract. Then fold in the Rice Krispies until evenly coated.
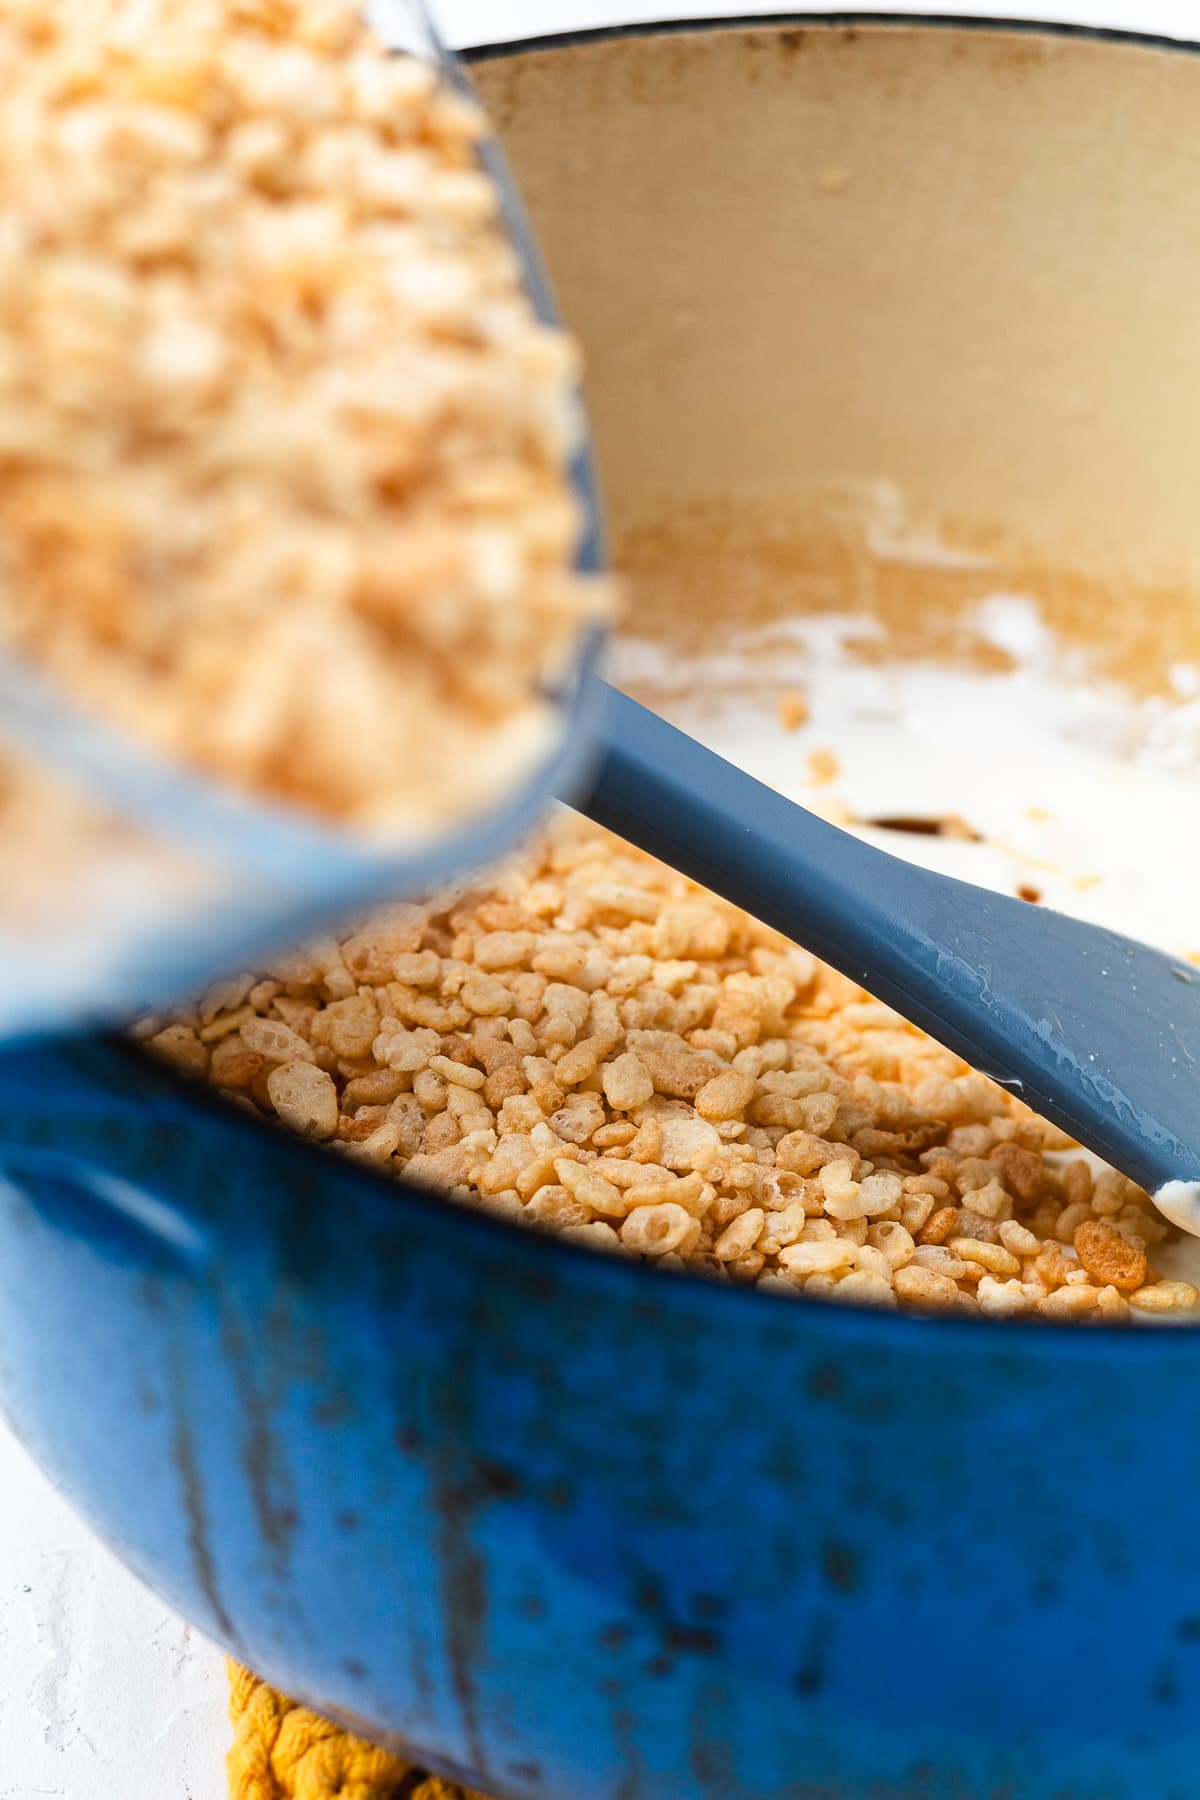
Transfer the mixture to the prepared pan. Use lightly buttered or damp hands to gently press the treats into an even layer. Don’t compact them, or the bars will turn dense.
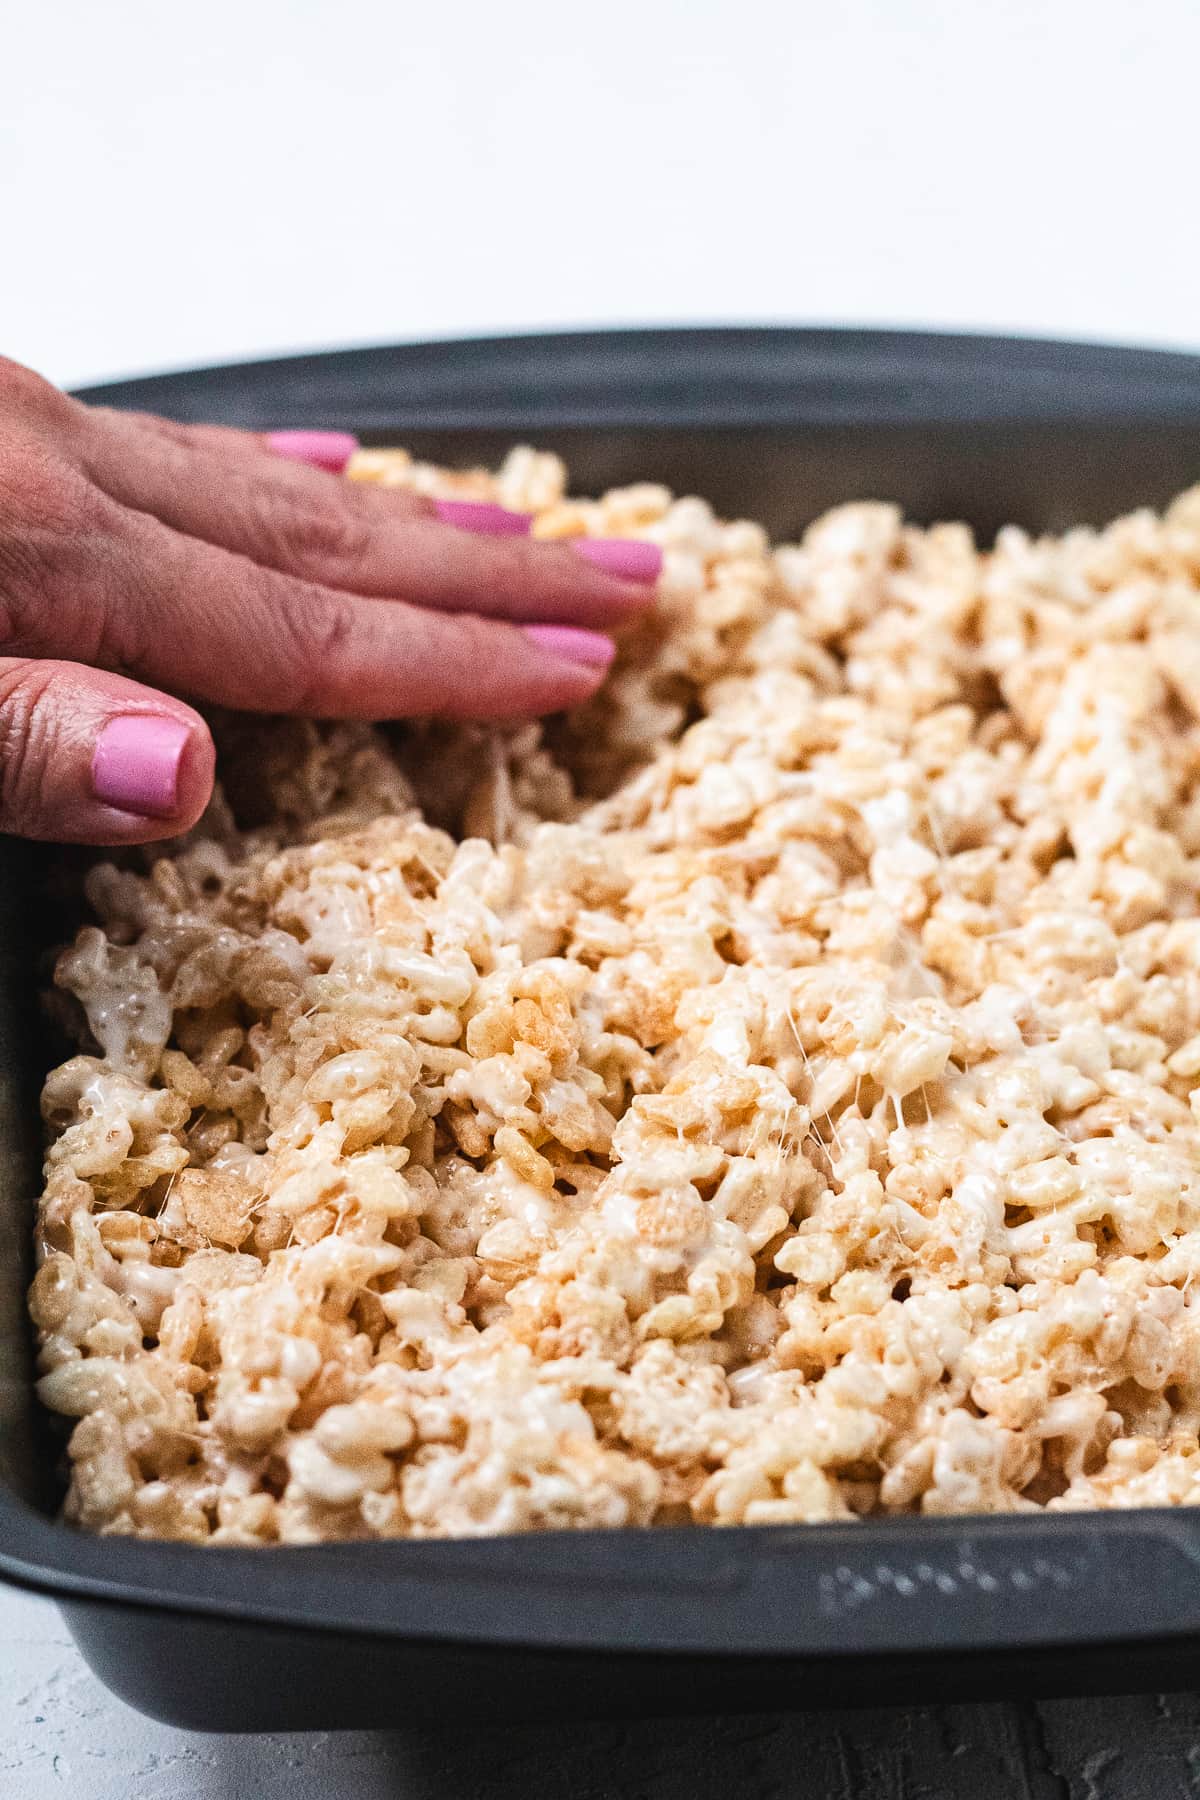
Let cool for 1 hour, then cut into 16 squares.
Add the candy melts to a microwave-safe bowl and microwave until completely melted. Transfer the melted candy to a piping bag and snip off the tip.
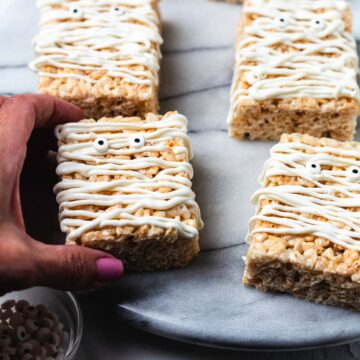
Drizzle the melted candy over each Rice Krispie treat to create the mummy wraps.
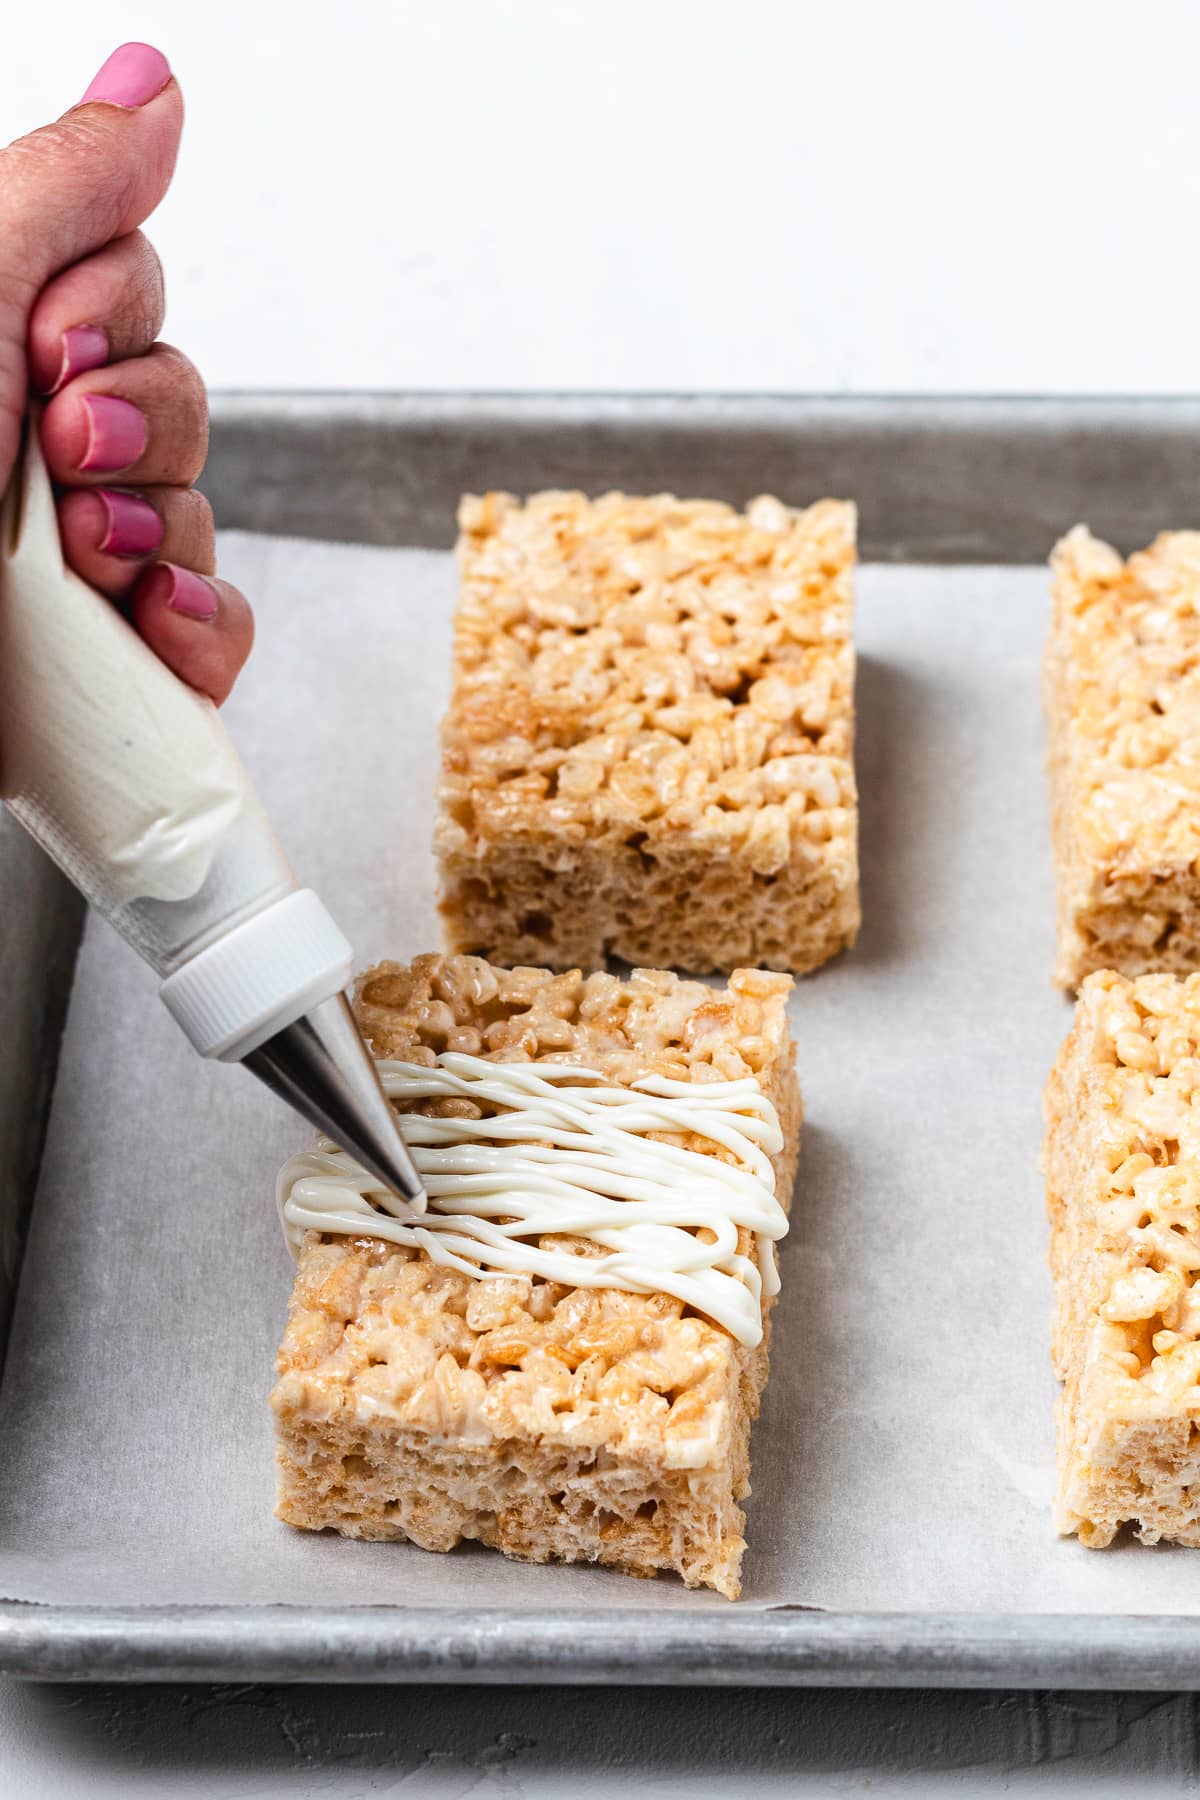
Add the candy eyes, then let the treats sit until the candy coating is set.
Top Tip
Add the candy eyes while the candy melt drizzle is still wet. This ensures that they actually stick to the treats without needing to add more candy melts.
Storage
Store mummy treats in an airtight container for up to 3 days. For longer storage, freeze them. Wrap treats individually and place them in a freezer bag. They stay fresh for up to 2 months.
Other No Bake Desserts You’ll Love



- No Bake Mixed Berry Cheesecake
- Strawberry Rice Krispie Treats
- Lemon Mousse Recipe
- Strawberry Cheesecake Dip
- Easy Oreo Delight
FAQ
Absolutely. Make the treats base and decorate them up to 2 days in advance if storing at room temperature. Always keep them in an airtight container.
You can also freeze them. After decorating, allow them to set, then wrap treats individually and freeze for up to 2 months.
White chocolate is certainly an option. However, candy melts have some practical benefits, such as being easier to melt, decorate with, and being quicker to set.
Apply a bit of candy melt to the back of the candy eyes and reapply. To prevent this from happening in the future, add the candy eyes to the treats while the candy melt or white chocolate is still wet.
Mummy Rice Krispie Treats Recipe
Ingredients
- 6 Tbsp Unsalted Butter
- 16 Oz Mini Marshmallows
- 1 Tsp Vanilla Extract
- ¼ Tsp Kosher Salt
- 8 Cups Rice Krispie Cereal
- 12 Oz White Candy Melts
- Candy Eyes
Instructions
- Lightly spray a 9×13-inch pan with nonstick spray and set aside.
- In a large pot over low heat, melt the butter and dissolve the salt.
- Add the mini marshmallows and stir until completely melted and smooth. Remove from the heat.
- Stir in the vanilla extract. Then fold in the Rice Krispies until evenly coated.
- Transfer the mixture to the prepared pan. Use lightly buttered or damp hands to gently press the treats into an even layer. Don’t compact them, or the bars will turn dense.
- Let cool for 1 hour, then cut into 16 squares.
- Add the candy melts to a microwave-safe bowl and microwave until completely melted. Transfer the melted candy to a piping bag and snip off the tip.
- Drizzle the melted candy over each Rice Krispie treat to create the mummy wraps.
- Add the candy eyes, then let the treats sit until the candy coating is set.
Notes
- Store leftovers in an airtight container at room temperature for up to 5 days.
- Make sure you spray the utensils with cooking spray; this recipe is sticky.
Nutrition
Leave a Reply