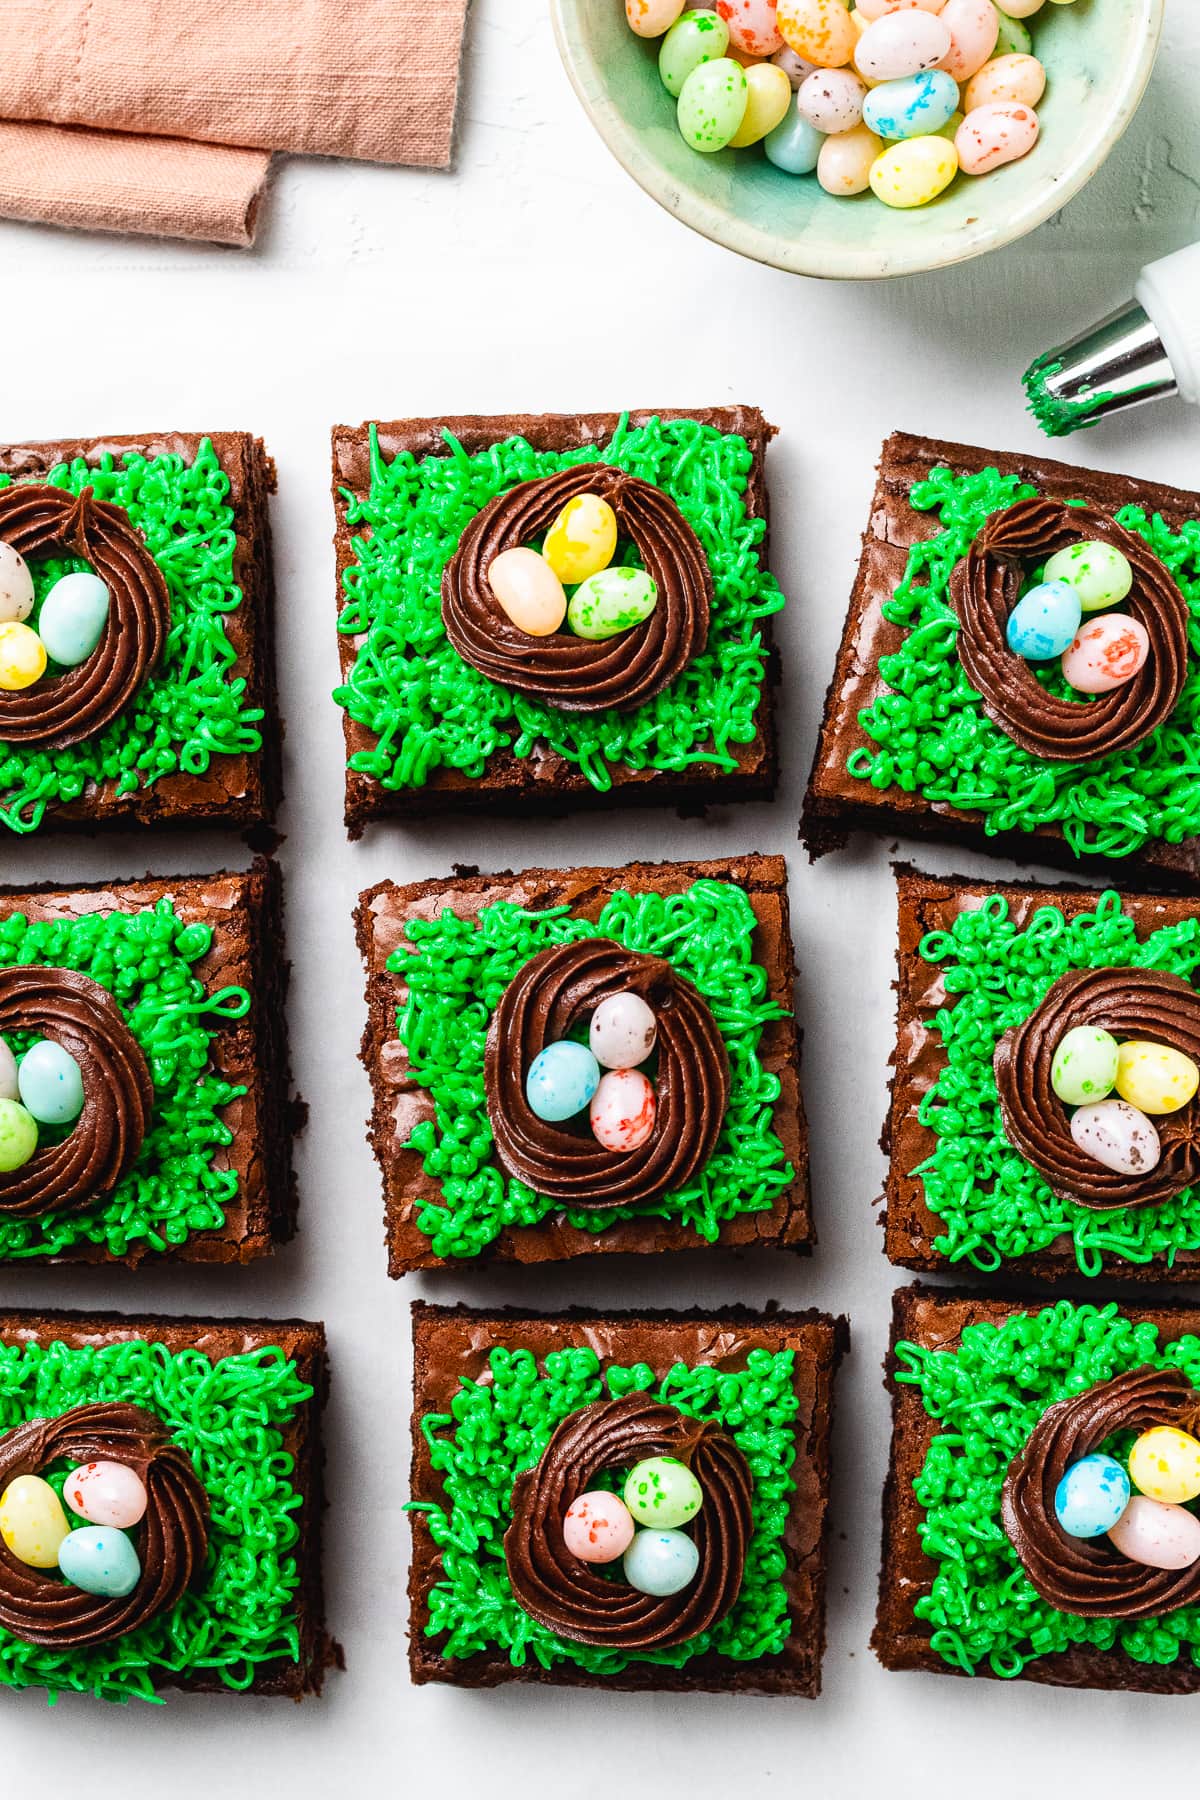
With a brownie base, frosting grass and nest, and candy eggs, these easy Easter Brownies will certainly stand out on the dessert table. Yes, even when carrot cake and hot cross buns are present. Best of all, they’re what I like to call “festive without fuss.”
Sure, you’ll want to make them for Easter, but they’re also a great for any other springtime celebration. So, make them for Easter brunch, family gatherings, or the office potluck. They’re also a fun way to use up leftover Easter candies.
I know you’re ready to hop your bunny butt off to the store and get everything you need to make these treats, but before you do, you gotta see our other Easter and springtime favorites like Easter bunny butt cookies, lemon bars, and strawberry crunch cupcakes.
❱❱ PIN IT OR FORGET IT ❰❰
Jump to:
Why You’ll Love Easter Brownies
- They’re so easy to make, even my aunt Jeanie (sorry, I hope you never see this) couldn’t mess them up. Seriously, all you need is a box of brownie mix, frosting (homemade or store-bought), and some pastel Easter candies.
- Mmmm! Even though they come from the box, they’re amazing with crispy edges, chewy centers, and a chocolatey flavor throughout. The candies on top add a cute, festive holiday flair.
- Like our Santa Hat Brownies, Valentine’s Day Cookies, and St. Patrick’s Day Cookies, these are perfect to get your little helpers involved. The kids will have a great time helping out.
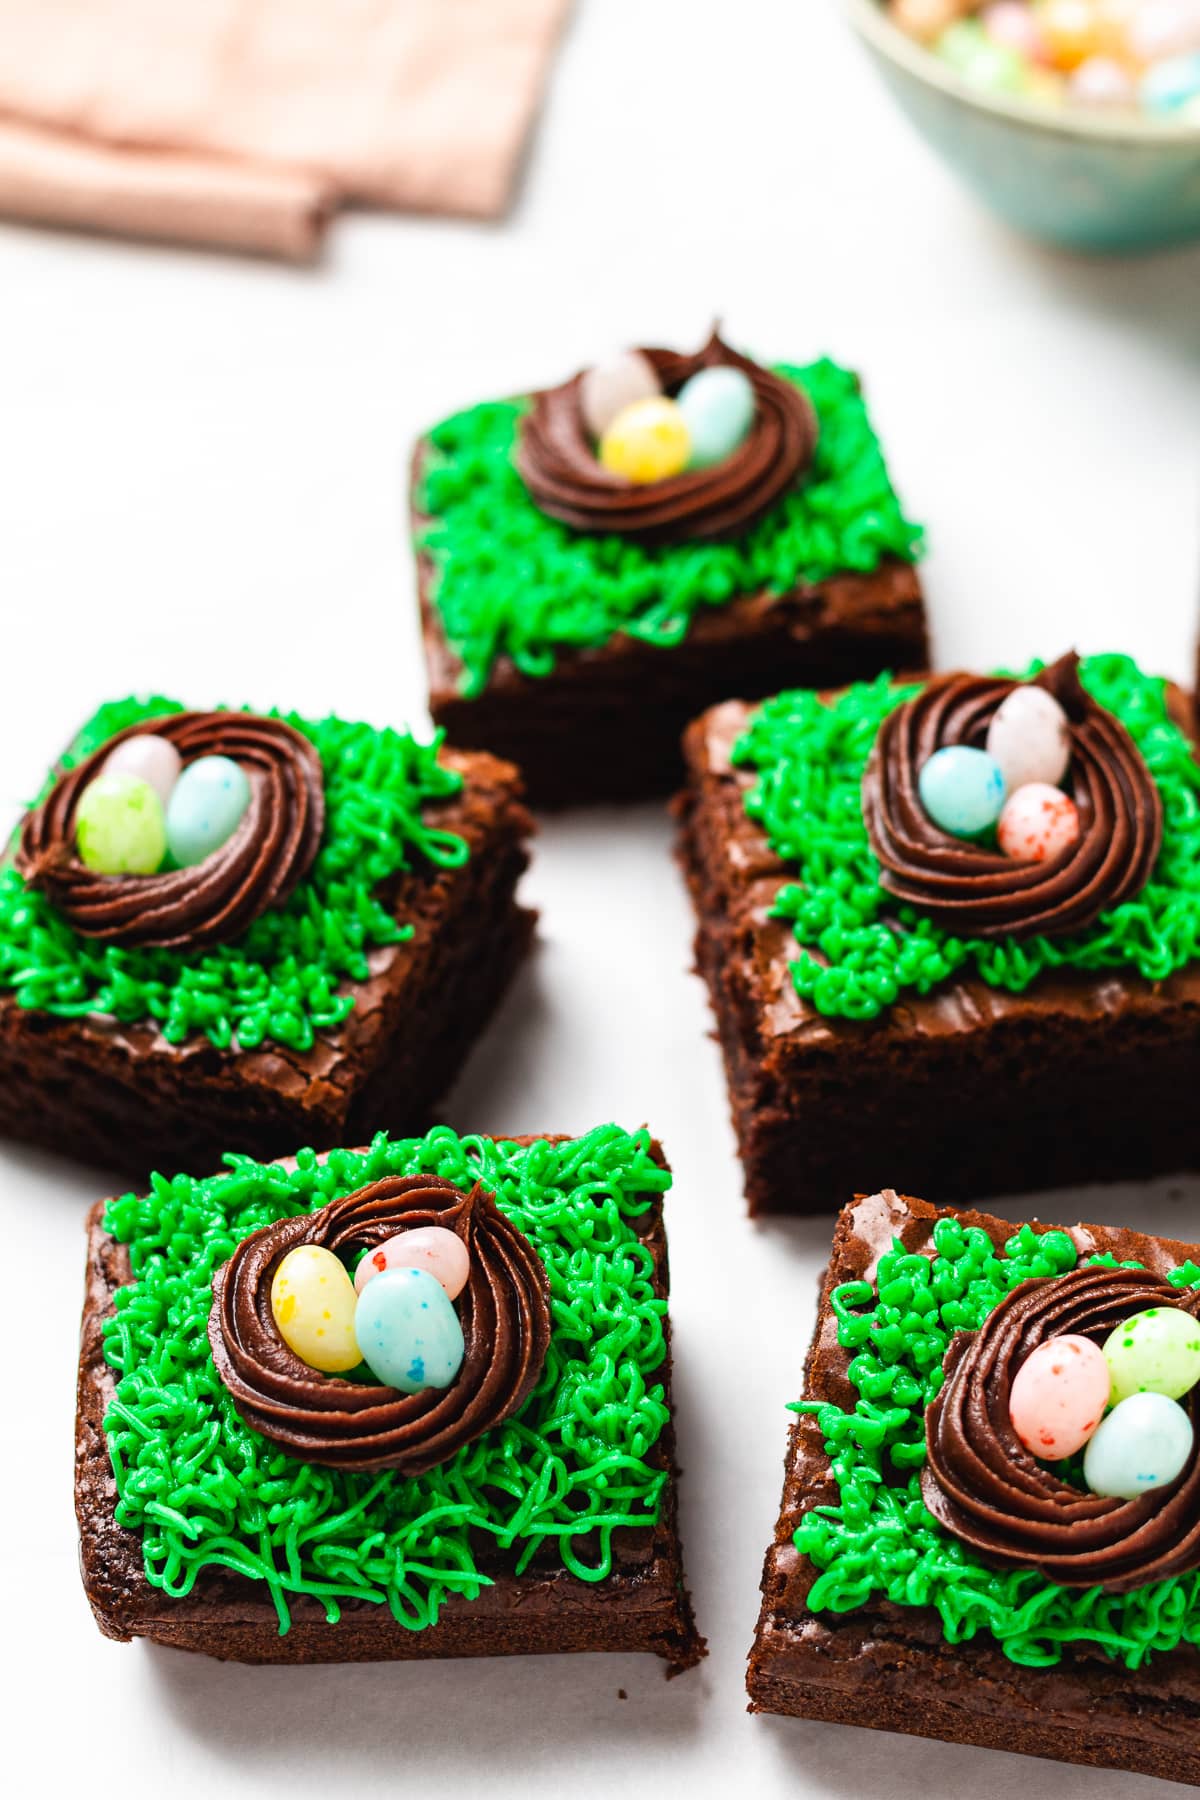
- You can totally make them your own. I’ve seen someone add pretzel sticks to the frosting to make the bird nest look more authentic. We chose jelly beans, but M&M’s or mini eggs would work just as well.
Ingredients

- Prepared Brownies – we made a batch of boxed brownies.
- Green Frosting – store-bought or homemade.
- Candy Eggs or Jelly Beans
See the recipe card for quantities.
How to Make Easy Easter Brownies
After removing the brownies from the oven, let them cool in the pan for 10 minutes. Then transfer them from the pan to a cooling rack and cool for up to 1 hour.
Cut the brownies into 12 equal pieces.

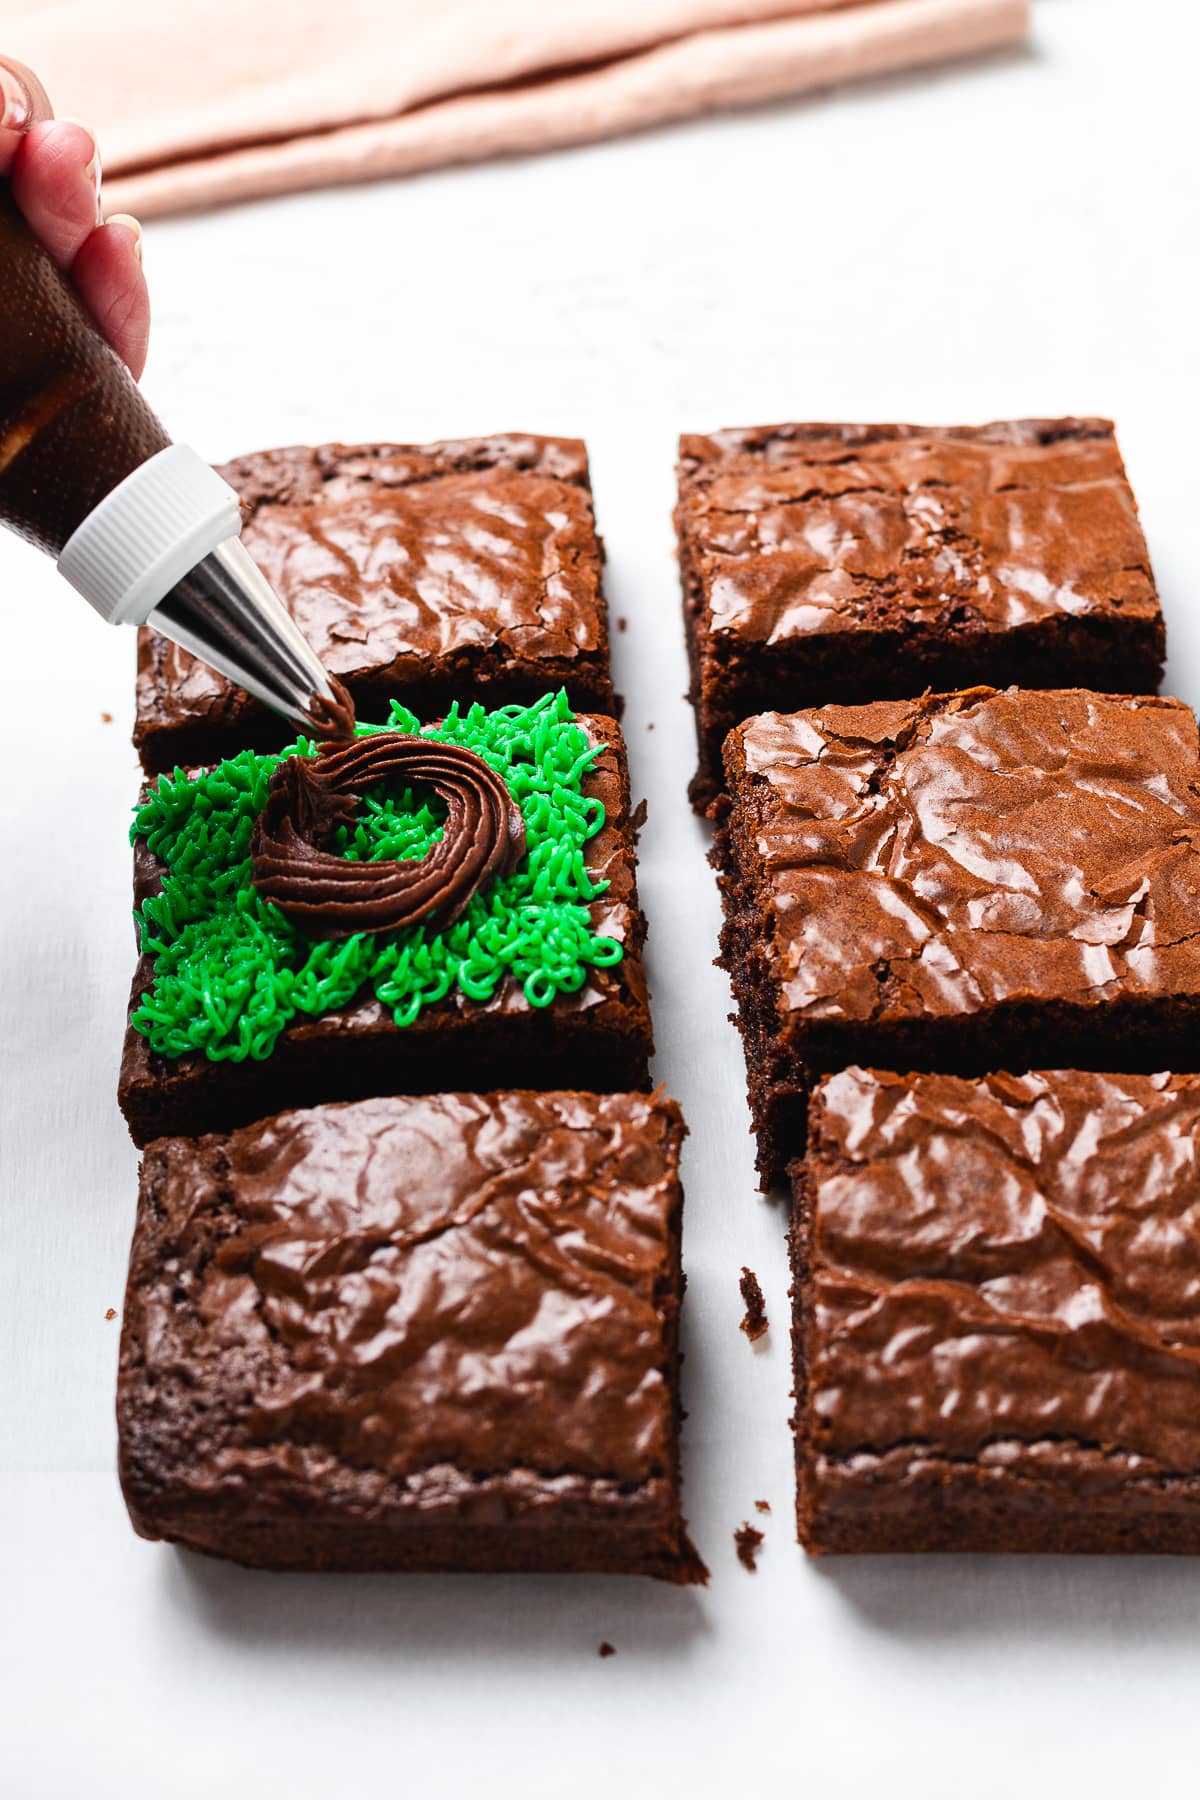
Place the chocolate frosting into a piping bag fitted with a star tip and set it aside.
In a small bowl, add the white frosting and mix in a few drops of green food coloring until you reach the desired color. Transfer the green frosting to a piping bag fitted with a #233 tip to create a grass-like texture.
Pipe green “grass” frosting over each brownie, covering the surface completely.

Using the chocolate frosting, pipe a small circle in the center of each brownie.
Place a few egg-shaped candies in the middle of the chocolate circle.
Repeat the process until all brownies are decorated. Enjoy!
Top Tip
When adding frosting to brownies, cookies, or any other baked treats, ensure they are completely cooled. Otherwise, you’ll end up with a gloopy, melted frosting mess. And well, who wants that?
Storage
They’ll keep fresh in an airtight container for up to 3 days on the counter. Or, you can store them in the fridge for up to five days. If you use our frosting recipe, which includes milk, then you must refrigerate them.
Other Easter & Springtime Treats


- Bunny Butt Cookies
- Strawberry “Cloud 9” Fluff
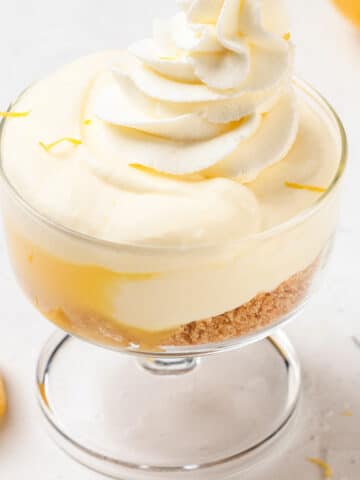
- Easy Lemon Bars
- 20+ Epic Easter Dessert Recipes
- 25 Spring Desserts to Make You Bloom
FAQs
Sure! You can make them up to two days in advance. Always let them cool completely and store them in an airtight container for up to two days. That way they’ll stay soft and fudgy.
Absolutely! That’s what we did. But if you have a favorite brownie recipe, you can use that too.
To get the whole birds nest vibe going, you’ll need to frost the brownies. This will also prevent the candied eggs from rolling around too much.

Easter Brownies Recipe
Ingredients
- 12 Brownies Homemade or Boxed Brownie Mix
- 1 Cup White Frosting Store Bought or Homemade
- 1 Cup Chocolate Frosting Store Bought or Homemade
- Green Gel Food Coloring
- Egg-Shaped Candies
Instructions
- After removing the brownies from the oven, let them cool in the pan for 10 minutes. Then transfer them from the pan to a cooling rack and cool for up to 1 hour.
- Cut the brownies into 12 equal pieces.
- Place the chocolate frosting into a piping bag fitted with a star tip and set it aside.
- In a small bowl, add the white frosting and mix in a few drops of green food coloring until you reach the desired color. Transfer the green frosting to a piping bag fitted with a #233 tip to create a grass-like texture.
- Pipe green frosting over each brownie, covering the surface completely.
- Using the chocolate frosting, pipe a small circle in the center of each brownie.
- Place a few egg-shaped candies in the middle of the chocolate circle.
- Repeat the process until all brownies are decorated. Enjoy!
Notes
- Store brownies in an airtight container in the fridge for up to 3 days.
Nutrition
Leave a Reply