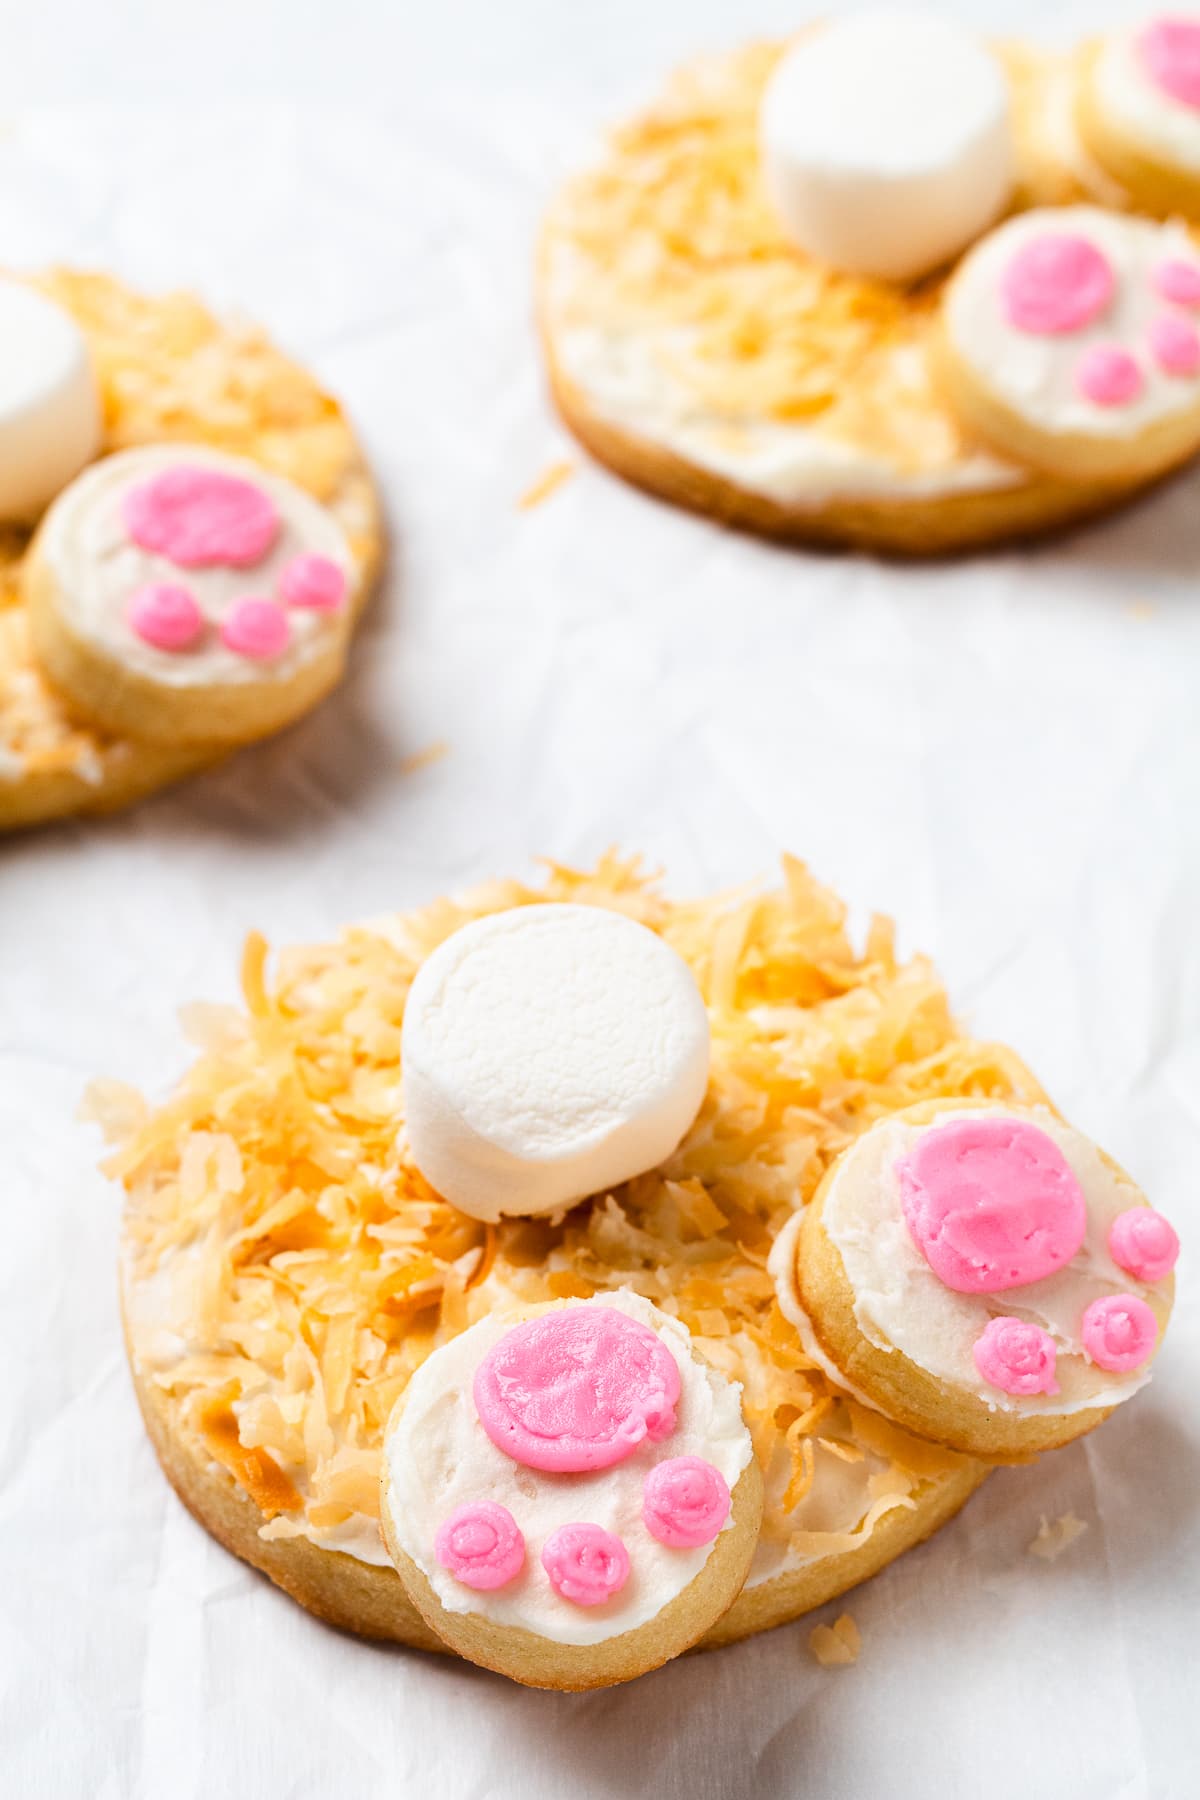
Decorated like bunny butts, our easy Easter Sugar Cookies are the festive spring treat you need in your life. Talk about a trip down memory lane! They’re buttery, soft, and look like a rabbit’s bottom. How cute!? Kids will love them, and the big kids (adults) will too.
But you don’t have to make them only for Easter. They’re perfect for spring classroom parties, bake sales, and spring family get-togethers. You can also wrap them in cellophane and gift them to your favorite teachers, coworkers, and neighbors.
Before you get into these cookies, please check out our Easter Brownies, and Easter Cupcakes. Both are festive, easy, and good til the last crumb. Oh, if you’re looking for some other colorful spring treats try our strawberry crunch cupcakes, and our lemon mousse cups.
Pin it to your favorite dessert board! ⤵️
Jump to:
Why You’ll Love Easy Easter Cookies
- Our Easter cookies are like ridiculously easy to make. Just mix a few ingredients, allow the dough to chill, cut, bake, and decorate.
- Our basic sugar cookie recipe is so good if I do say so myself! Each bite is buttery, soft, and melt-in-your-mouth delicious. Decorate with our frosting, and you’ll have a lot of folks trying to snag a second or third serving.
- You don’t have to make them like us. They’re totally customizable! Use your favorite frosting, add white chocolate chips, or roll them in colored sugar. You can make them however you like!
- They’re so bright, colorful, and pretty that you can wrap them in cellophane and add them to Easter baskets, give them away as gifts, or use them as edible decorations.
Ingredients

- Sugar Cookies—store-bought or our delicious sugar cookie recipe.
- Shredded Coconut
- – sweetened coconut. We toasted ours, but you don’t have to.
- Marshmallows – large or jumbo marshmallows for the tail.
- Frosting
See the recipe card for quantities.
How to Make Easy Easter Cookies
Preheat the oven to 350 degrees. Arrange the coconut on a baking sheet and bake for about 5 minutes. After 5 minutes, stir the coconut and bake for an additional 5 minutes or until golden brown. Allow the coconut to cool completely before using.
Follow the steps through number 7 on the sugar cookie recipe card.
After chilling, use a 3.5-inch circle-shaped cookie cutter to cut out the cookies. Then use a smaller circle cookie cutter to cut out the feet. Place them on a lined baking sheet, leaving about 1 inch between each one.
Bake for 10 to 12 minutes, or until the edges are lightly browned.
Let the cookies cool on the baking sheet for 5 minutes, then transfer them to a wire rack to cool completely.
Divide the frosting between two bowls, making sure the white frosting bowl has the largest amount. In the second bowl, add the remaining frosting and pink food coloring until you get the color you want.

Transfer the pink frosting to a piping bag fitted with a #2 tip.
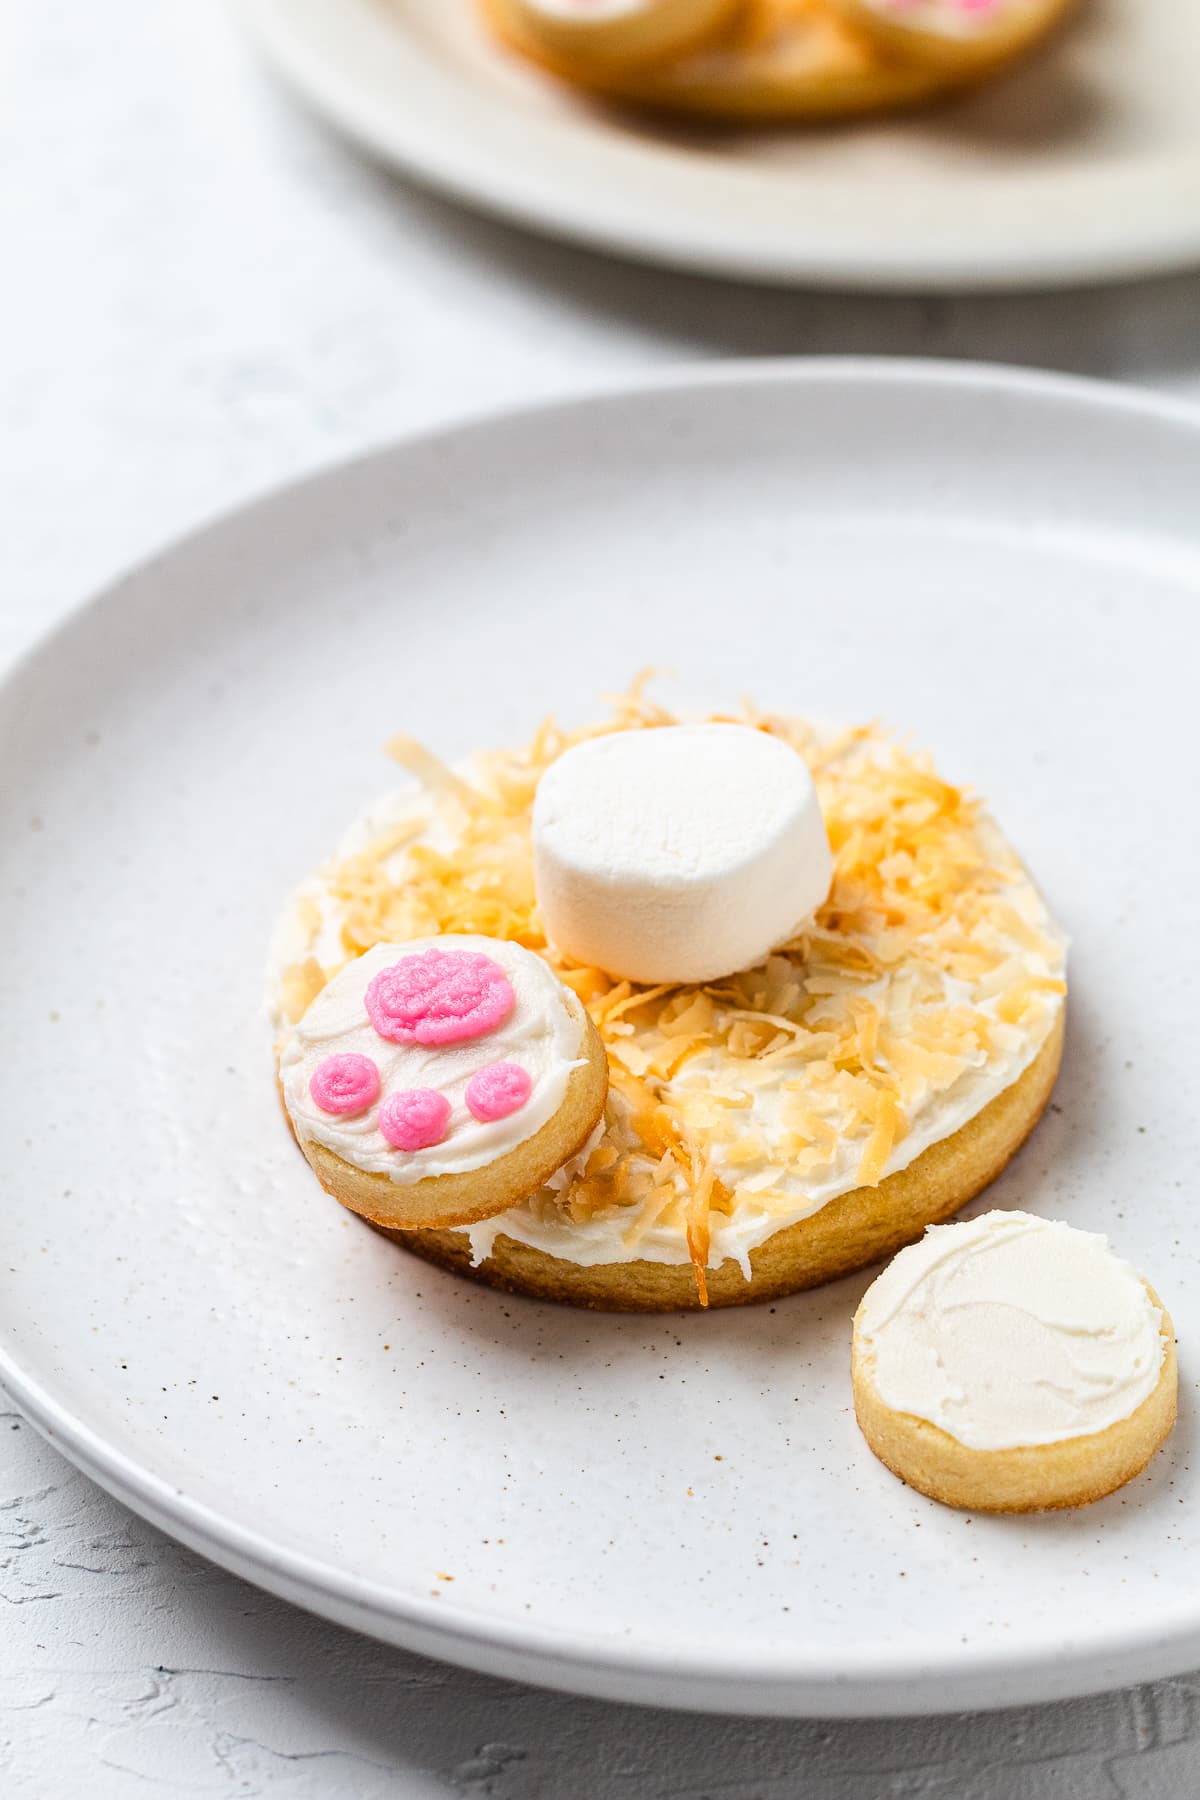
Frost the large cookie with the white frosting. Then dip it into the cooled toasted coconut.

Frost the smaller cookies with white frosting. Then pipe the toes and palm using the pink frosting.
Add frosting to the back of the small cookie and adhere it to the larger cookie to make the feet.
Continue until all cookies are decorated. Enjoy!
Top Tip
As I recommend for all cutout cookies, chill the dough before cutting them out and baking them. It helps the cookies hold their shape while baking.
Storage
If using a frosting that contains milk, store the cookies in an airtight container in the fridge for up to 5 days. If stacking multiple layers, using parchment paper between each layer.
If your frosting is dairy-free, you can store them at room temperature in an airtight container for up to 3 days. You can also store in the fridge for up to 5 days.
Before serving, all them to sit at room temperature for 20 to 30 minutes.
FAQs
Sure! You can freeze unfrosted cookies for a few months as long as you place them in a freezer bag or airtight container.
I always chill the dough to prevent the cookies from spreading too much. Just 30 minutes in the fridge goes a long way to help the cookies hold their shape.
I encourage it! Try colored sugar, crushed mini eggs, or even pastel M&M’s to make them as bright and cheerful as you like.

Easter Bunny Butt Cookie Recipe
Ingredients
- 1 Sugar Cookie Recipe
- 1 Cup Vanilla Frosting Homemade or Store Bought
- Pink Gel Food coloring
- 7 Oz Shredded Coconut
Instructions
- Preheat the oven to 350 degrees. Arrange the coconut on a baking sheet and bake for about 5 minutes. After 5 minutes, stir the coconut and bake for an additional 5 minutes or until golden brown. Allow the coconut to cool completely before using.
- Follow the steps through number 7 on the sugar cookie recipe card.
- After chilling, use a 3.5-inch circle-shaped cookie cutter to cut out the cookies. Then use a smaller circle cookie cutter to cut out the feet. Place them on a lined baking sheet, leaving about 1 inch between each one.
- Bake for 10 to 12 minutes, or until the edges are lightly browned.
- Let the cookies cool on the baking sheet for 5 minutes, then transfer them to a wire rack to cool completely.
- Divide the frosting between two bowls, making sure the white frosting bowl has the largest amount. In the second bowl, add the remaining frosting and pink food coloring until you get the color you want.
- Transfer the pink frosting to a piping bag fitted with a #2 tip.
- Frost the large cookie with the white frosting. Then dip it into the cooled toasted coconut.
- Frost the smaller cookies with white frosting. Then pipe the toes and palm using the pink frosting.
- Add frosting to the back of the small cookie and adhere it to the larger cookie to make the feet.
- Continue until all cookies are decorated. Enjoy!
Notes
- Store in an air-tight container for up to 4 days.

Leave a Reply