
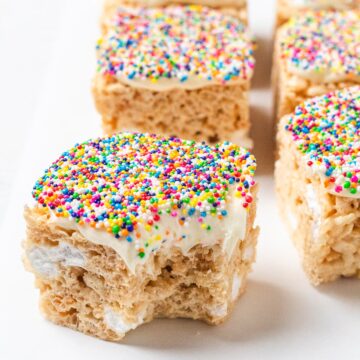
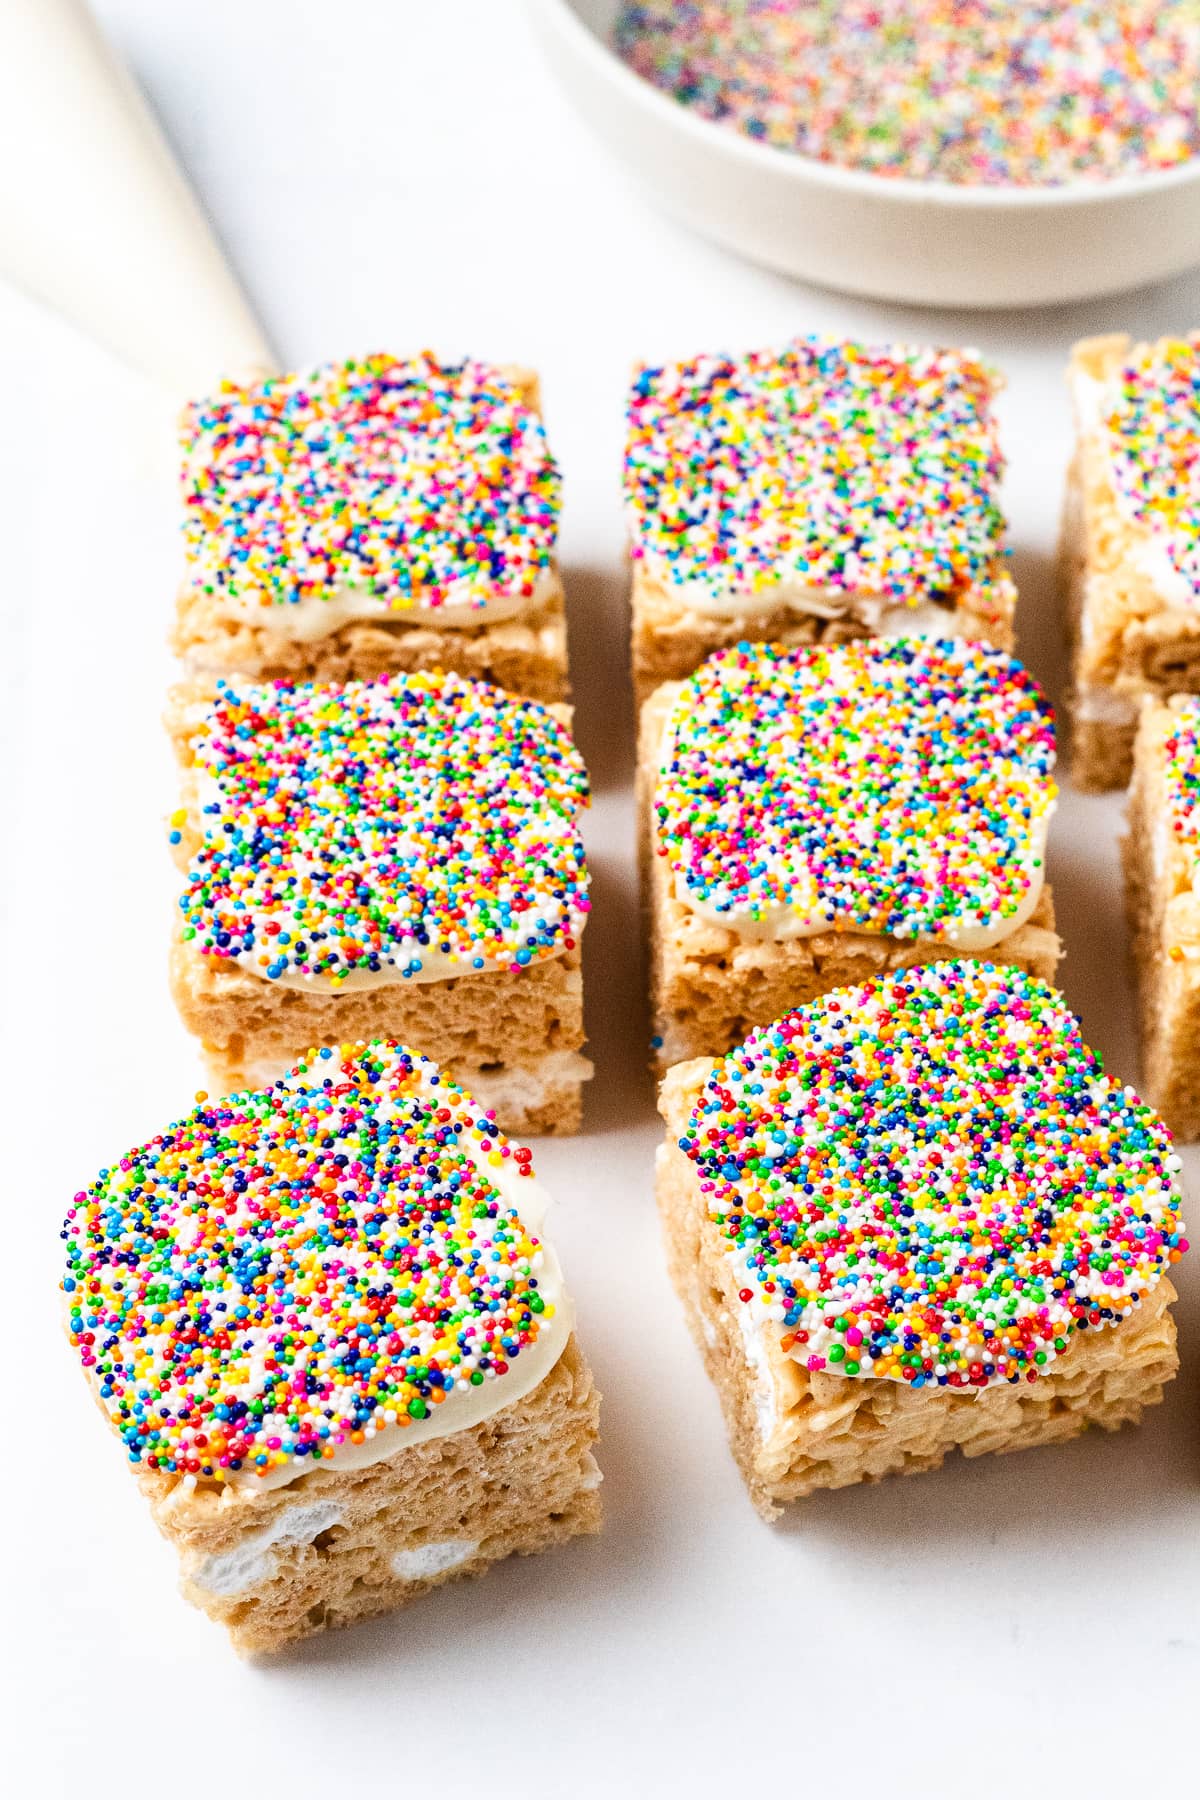
These Dot Cake Rice Krispie Treats are a fun spin on the viral sensation, people wait in line for what is known as “Dot cake.” The colorful snack features a Rice Krispies treat base filled with yellow cake mix, topped with frosting, and little nonpareil “dot” sprinkles.
The result is a cute, buttery, rice cereal treat you’ll be surprised how often you make.
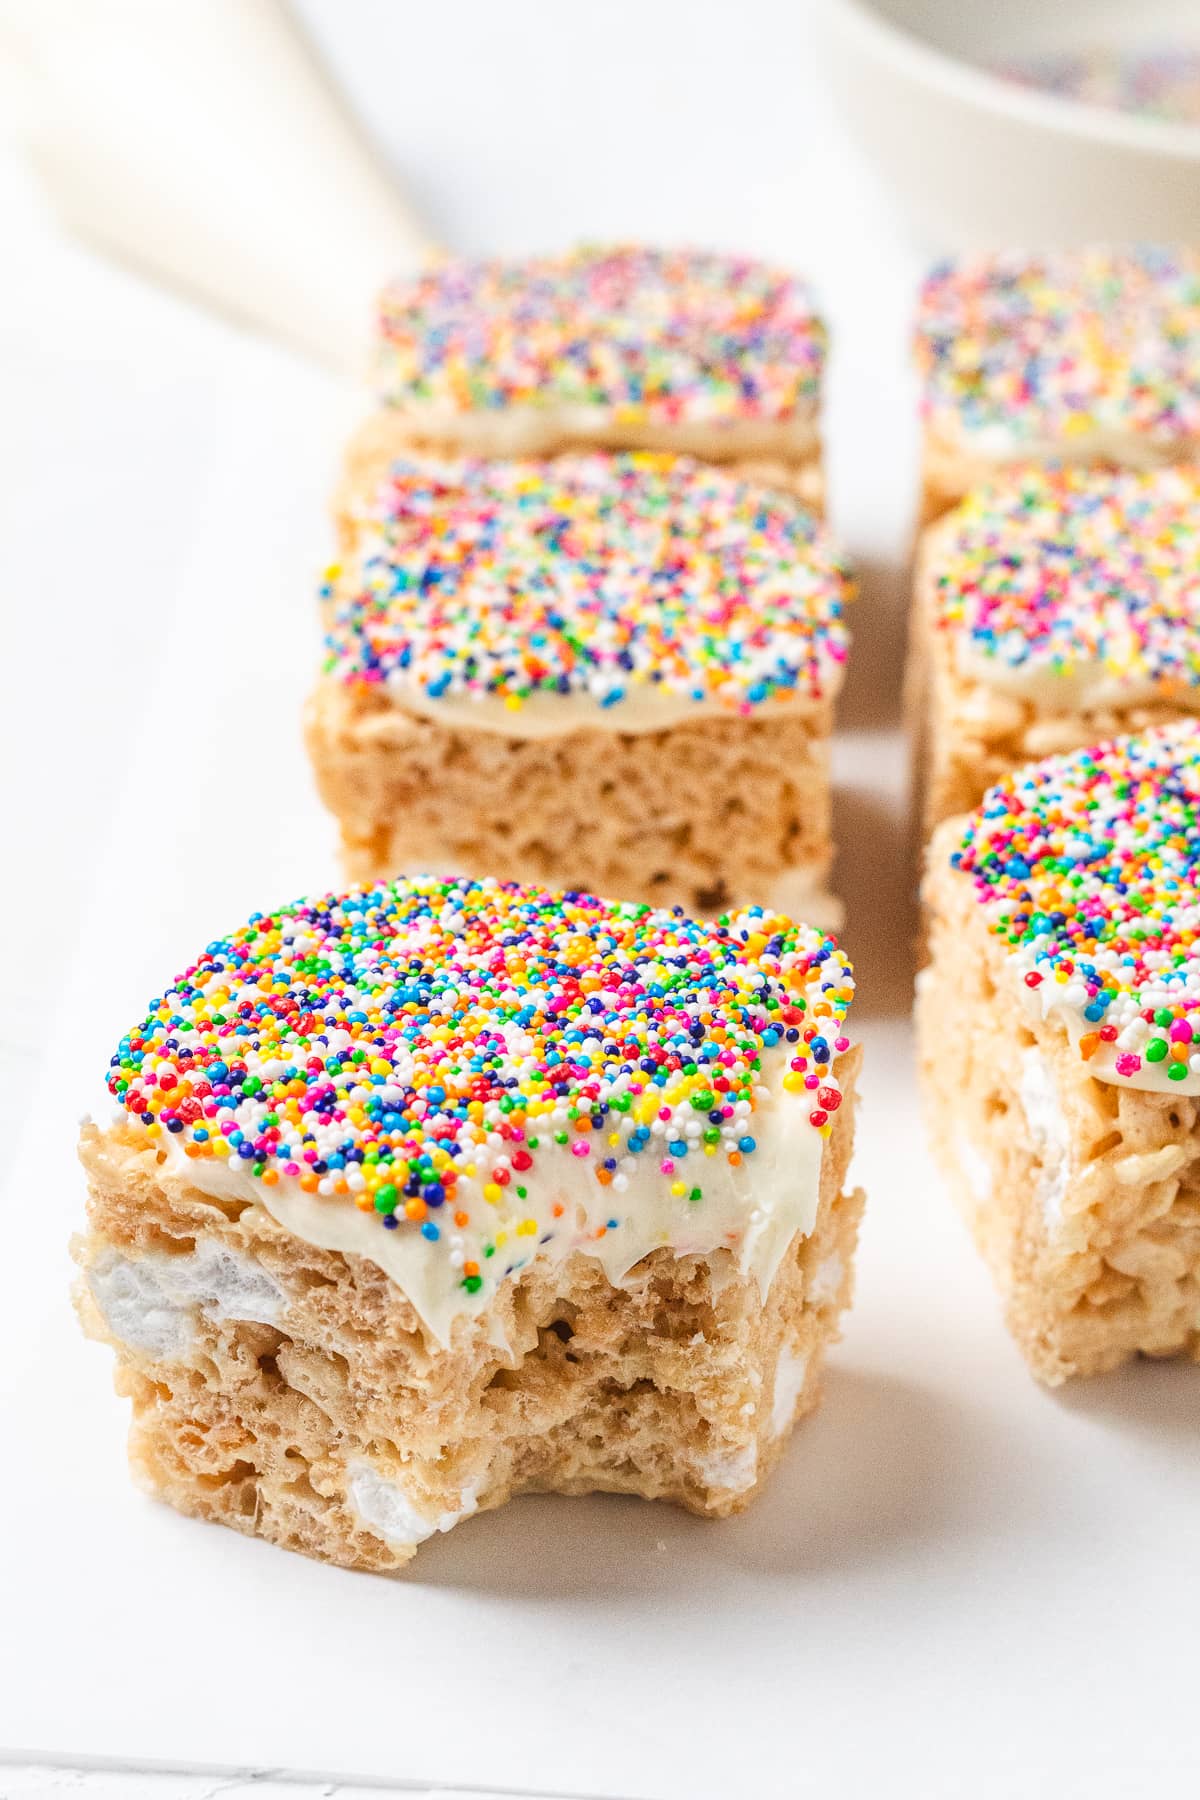
These treats are perfect for any occasion, but especially for birthday parties or any time you want to make someone smile from ear to ear.
By the way, are you looking for other gourmet Rice Krispies treats? Look no further than our birthday cake rice krispie treats or our brown butter rice krispie treats.
Jump to:
❱❱ PIN IT OR FORGET IT ❰❰
Why You’ll Love This Recipe…
- Dot Cake Rice Krispies treats are bright, colorful, and fun. You have a buttery, cake-flavored treat topped with frosting and as many sprinkles as you can fit onto each little square.
- They’re portable and great for gifting. Who wouldn’t be happy to open a box of these treats? They’re guaranteed to put a smile on their face.
- Aside from heat-treating the cake mix and topping them with frosting and sprinkles, they’re still quick and easy to make.
Ingredients
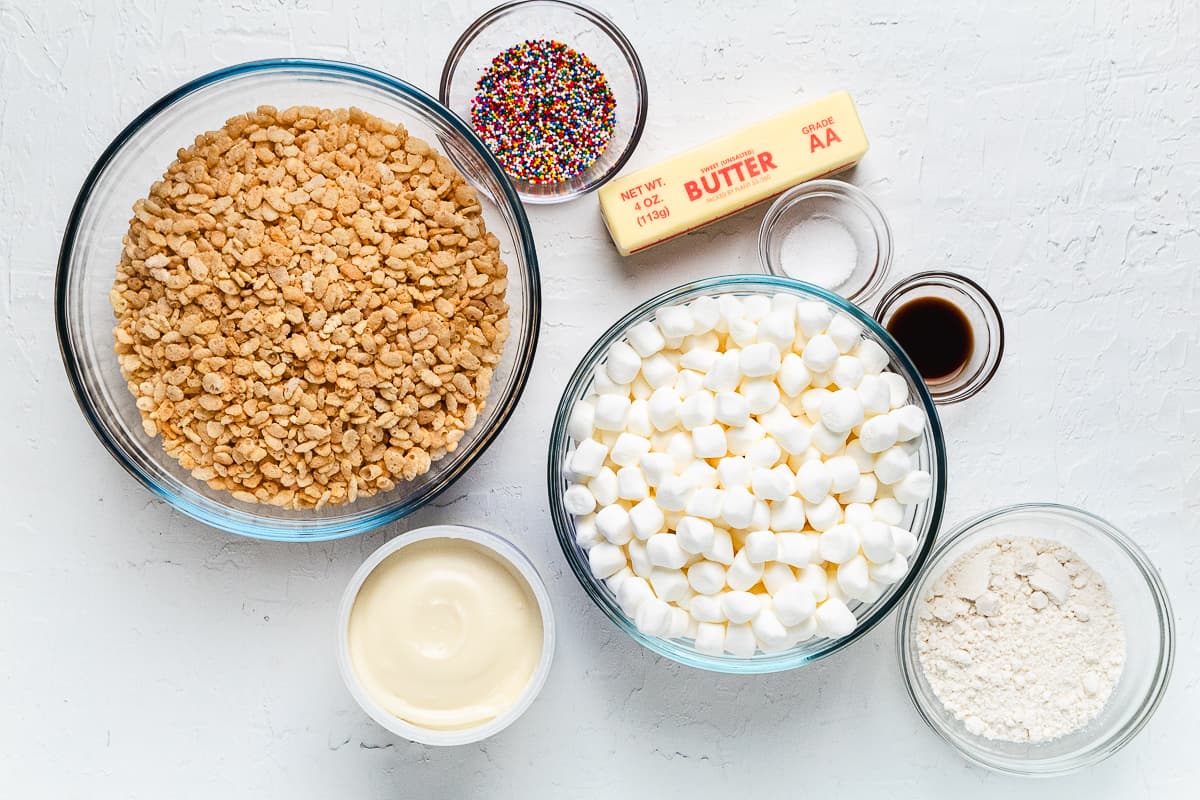
- Rice Cereal – Always use fresh rice cereal.
- Cake Mix – We used yellow cake mix because it’s so buttery and delicious.
- Marshmallows – Use a fresh bag of mini marshmallows because they melt faster and more evenly.
- Butter – I usually use unsalted butter to control the amount of salt that goes into the recipe.
- Vanilla Extract – A little bit of vanilla extract elevates them to another level. This is what makes the treats taste as if they came from a bakery.
- Salt – A pinch of salt brings the flavors together. Don’t worry, it won’t make your treats salty.
- Frosting – Store-bought frosting will work, but honestly, use your favorite homemade vanilla frosting recipe…it will taste better.
- Sprinkles – Nonpareil “dot” sprinkles are what you want, not the longer “Jimmies.”
See the recipe card for quantities.
How to Make Dot Cake Rice Krispie Treats
Spread the cake mix on a baking sheet and bake at 350°F for 5 minutes. Let cool completely.
Lightly spray a 9×9-inch pan with nonstick spray and set aside.
In a large pot over low heat, melt the butter and salt.
Add 10 oz of the marshmallows and stir until completely melted and smooth.
Remove from the heat and stir in the vanilla and cooled cake mix until fully combined.
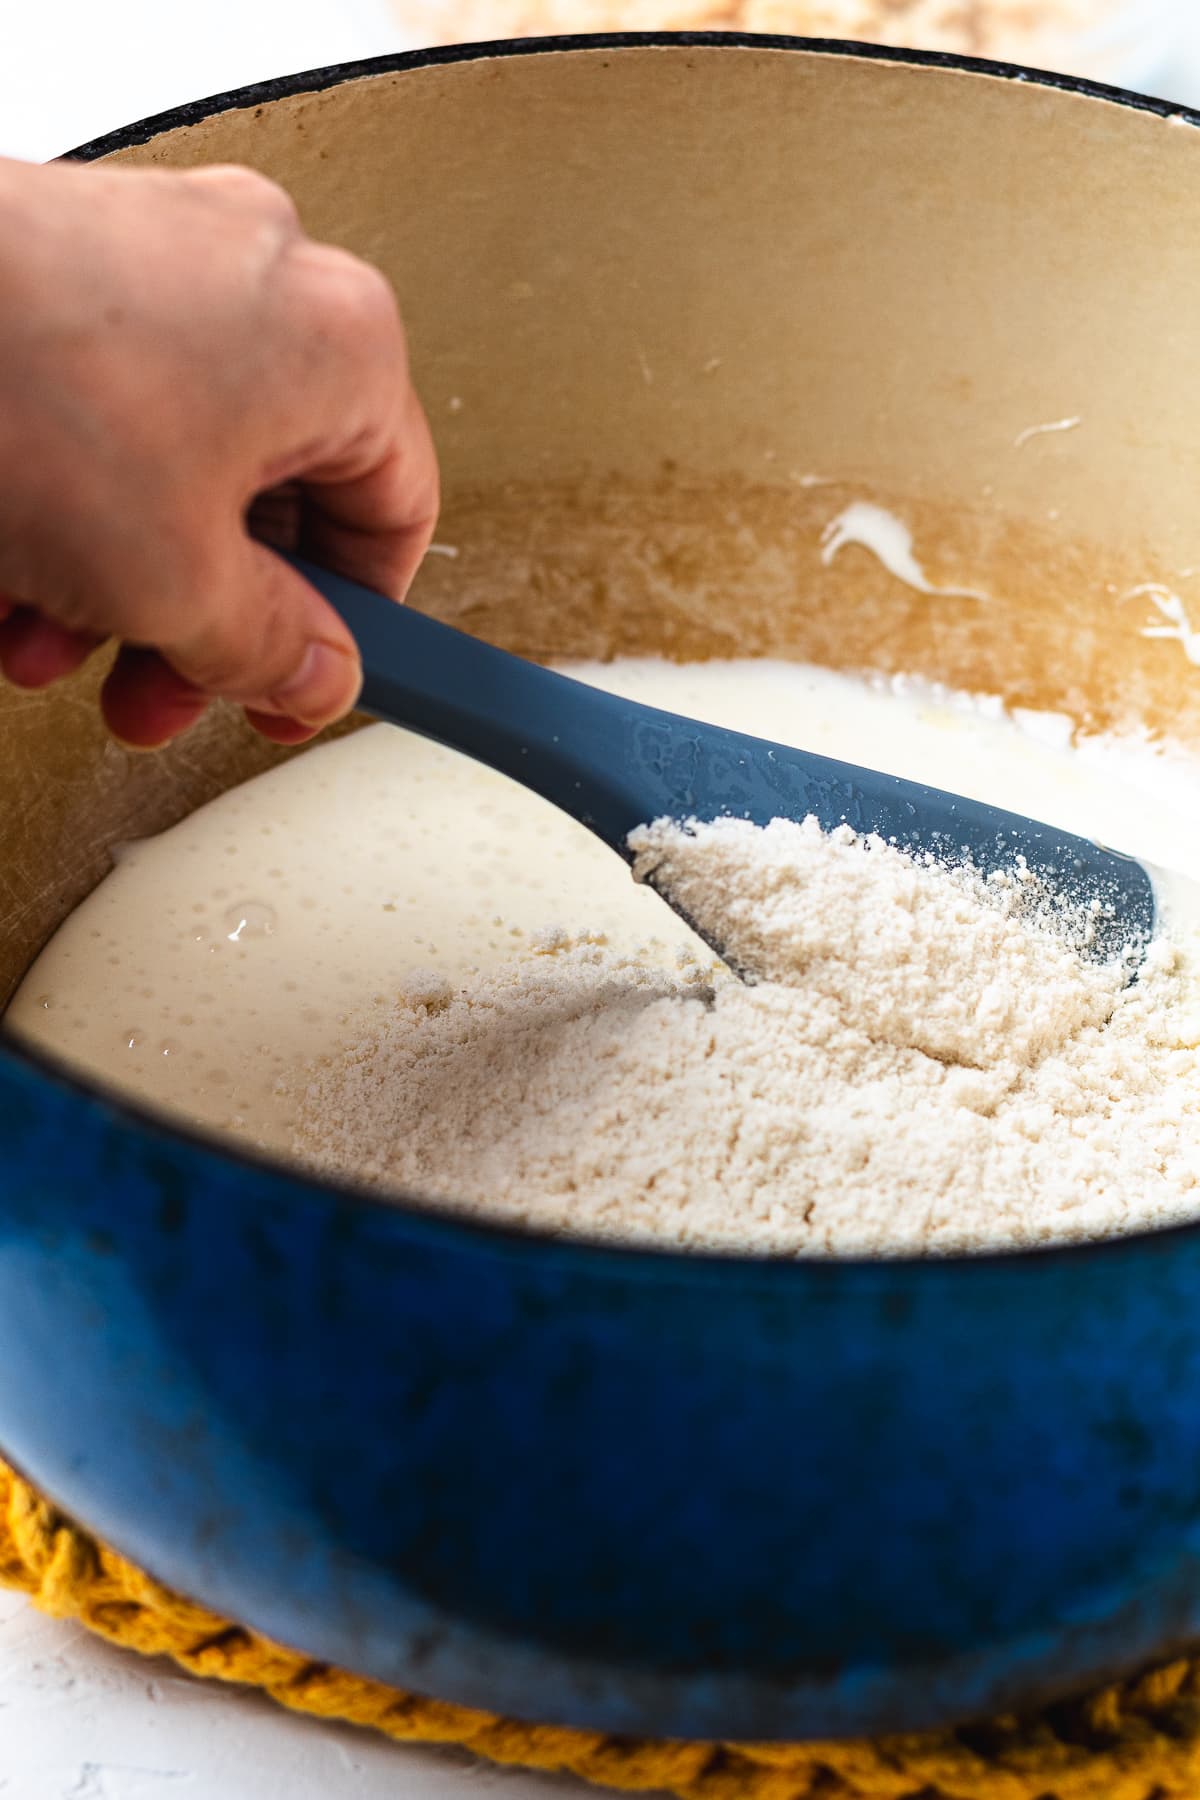
Fold in the Rice Krispies until evenly coated.
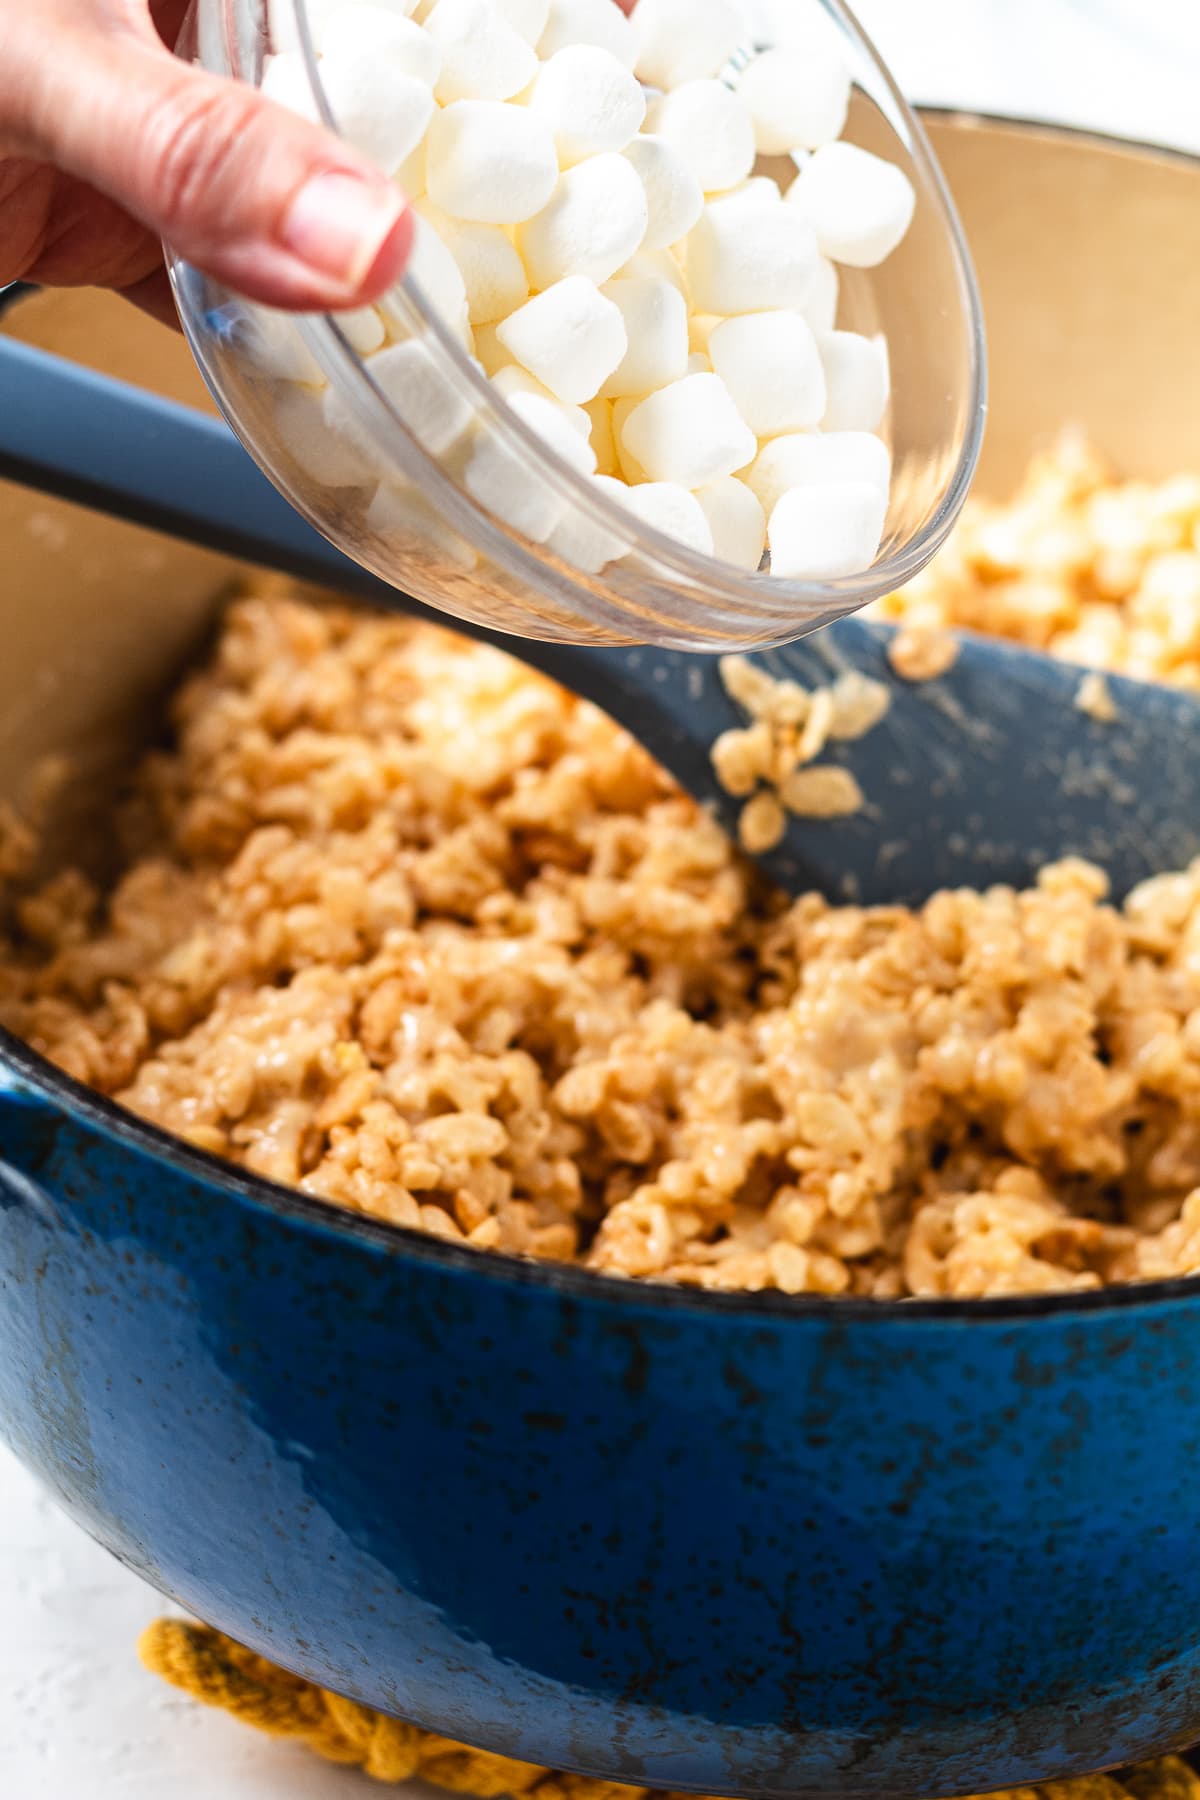
Stir in the remaining marshmallows.
Transfer the mixture to the prepared pan. Use lightly buttered or damp hands to gently press the treats into an even layer. Don’t compact them, or the bars will turn dense.
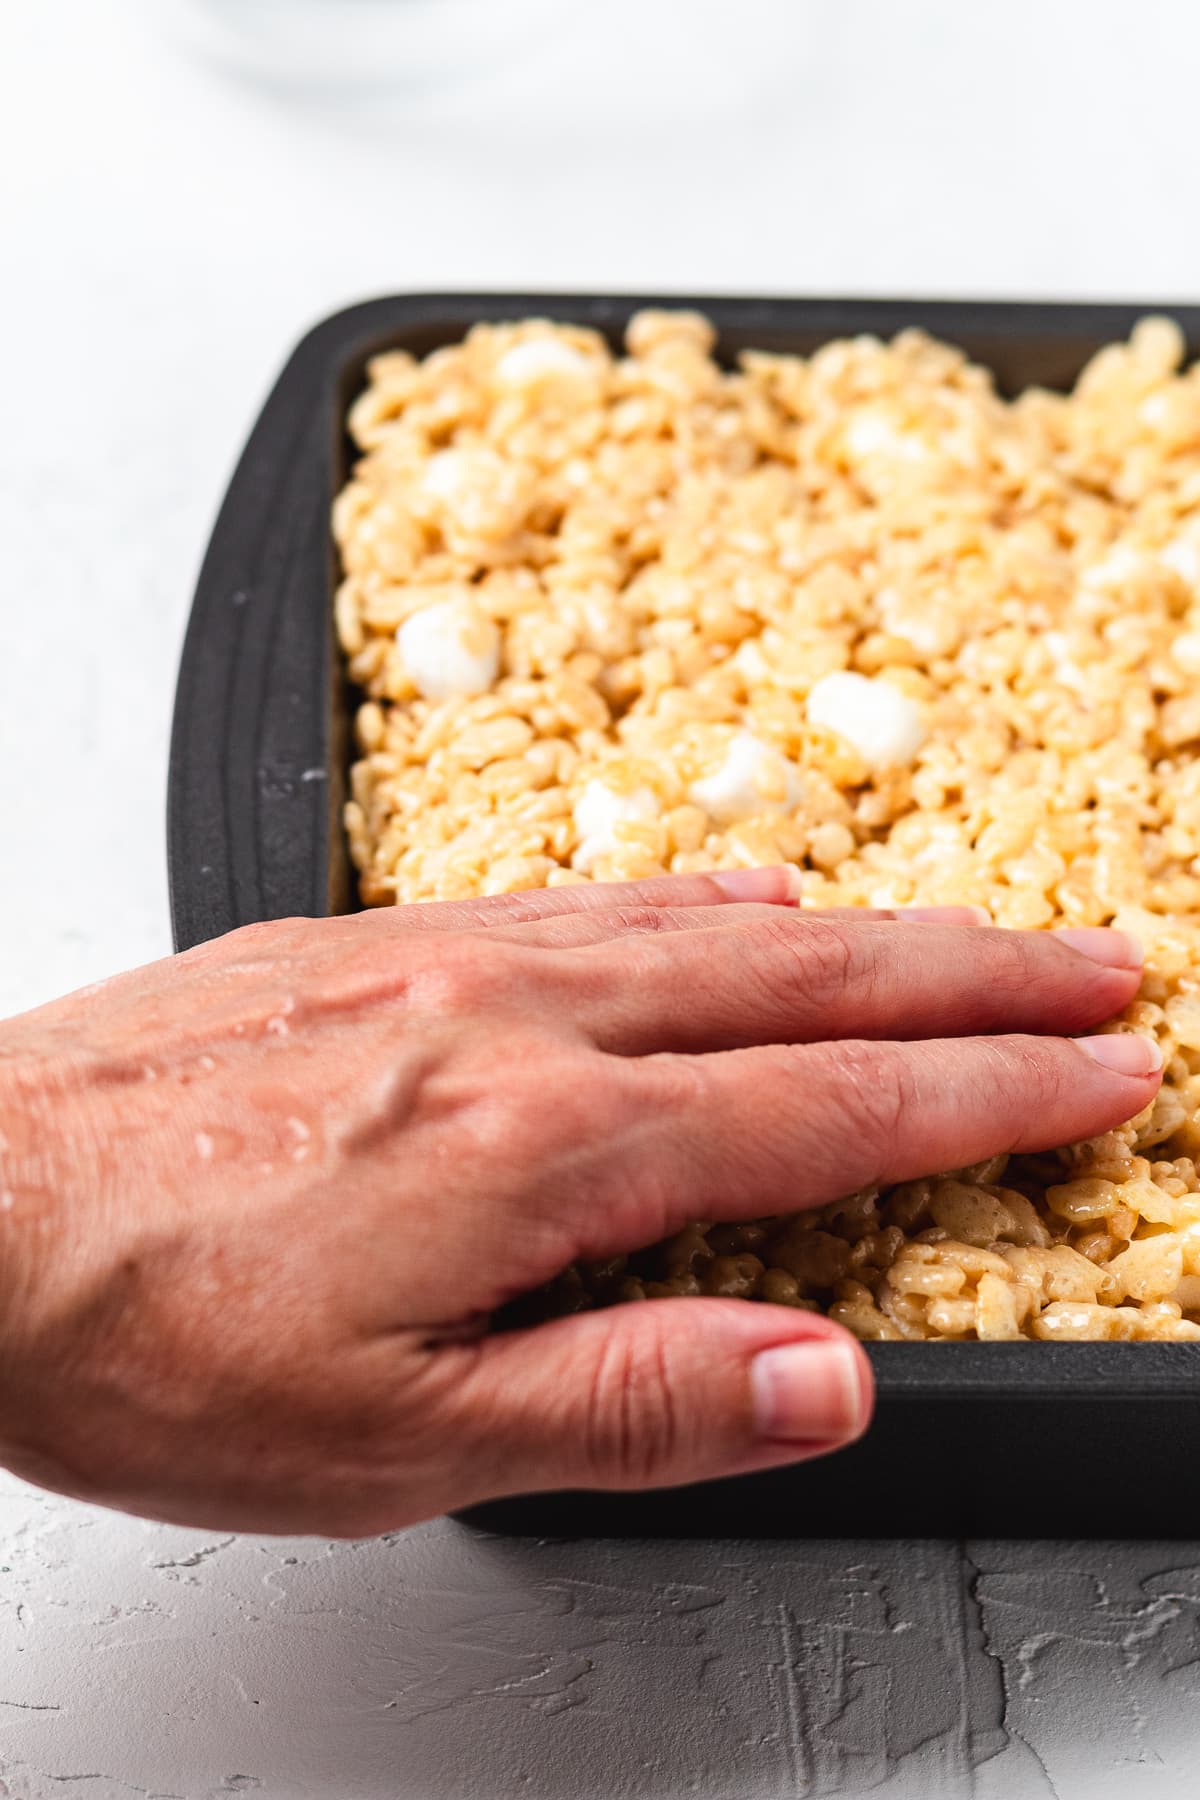
Let it sit for 1 hour before cutting into squares.
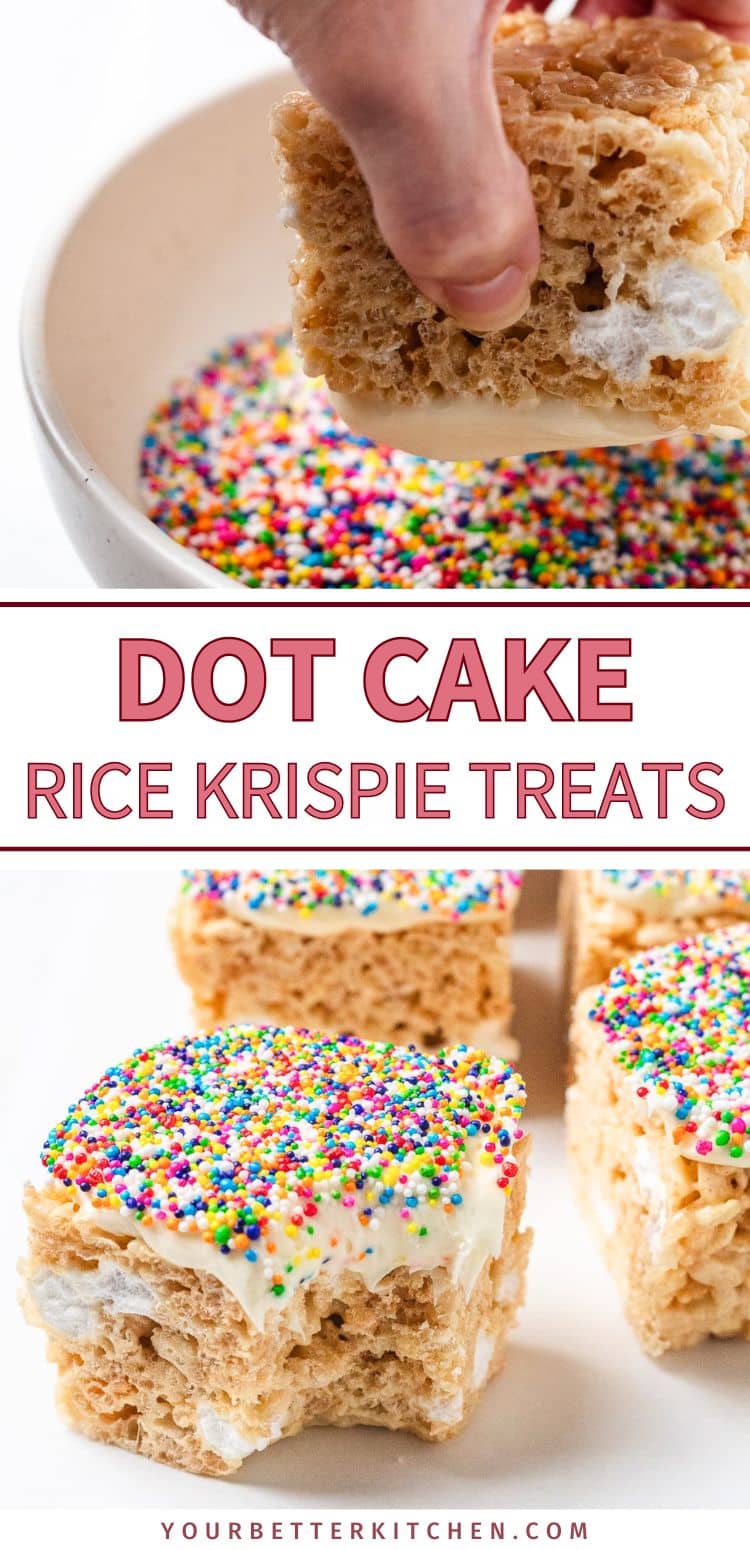
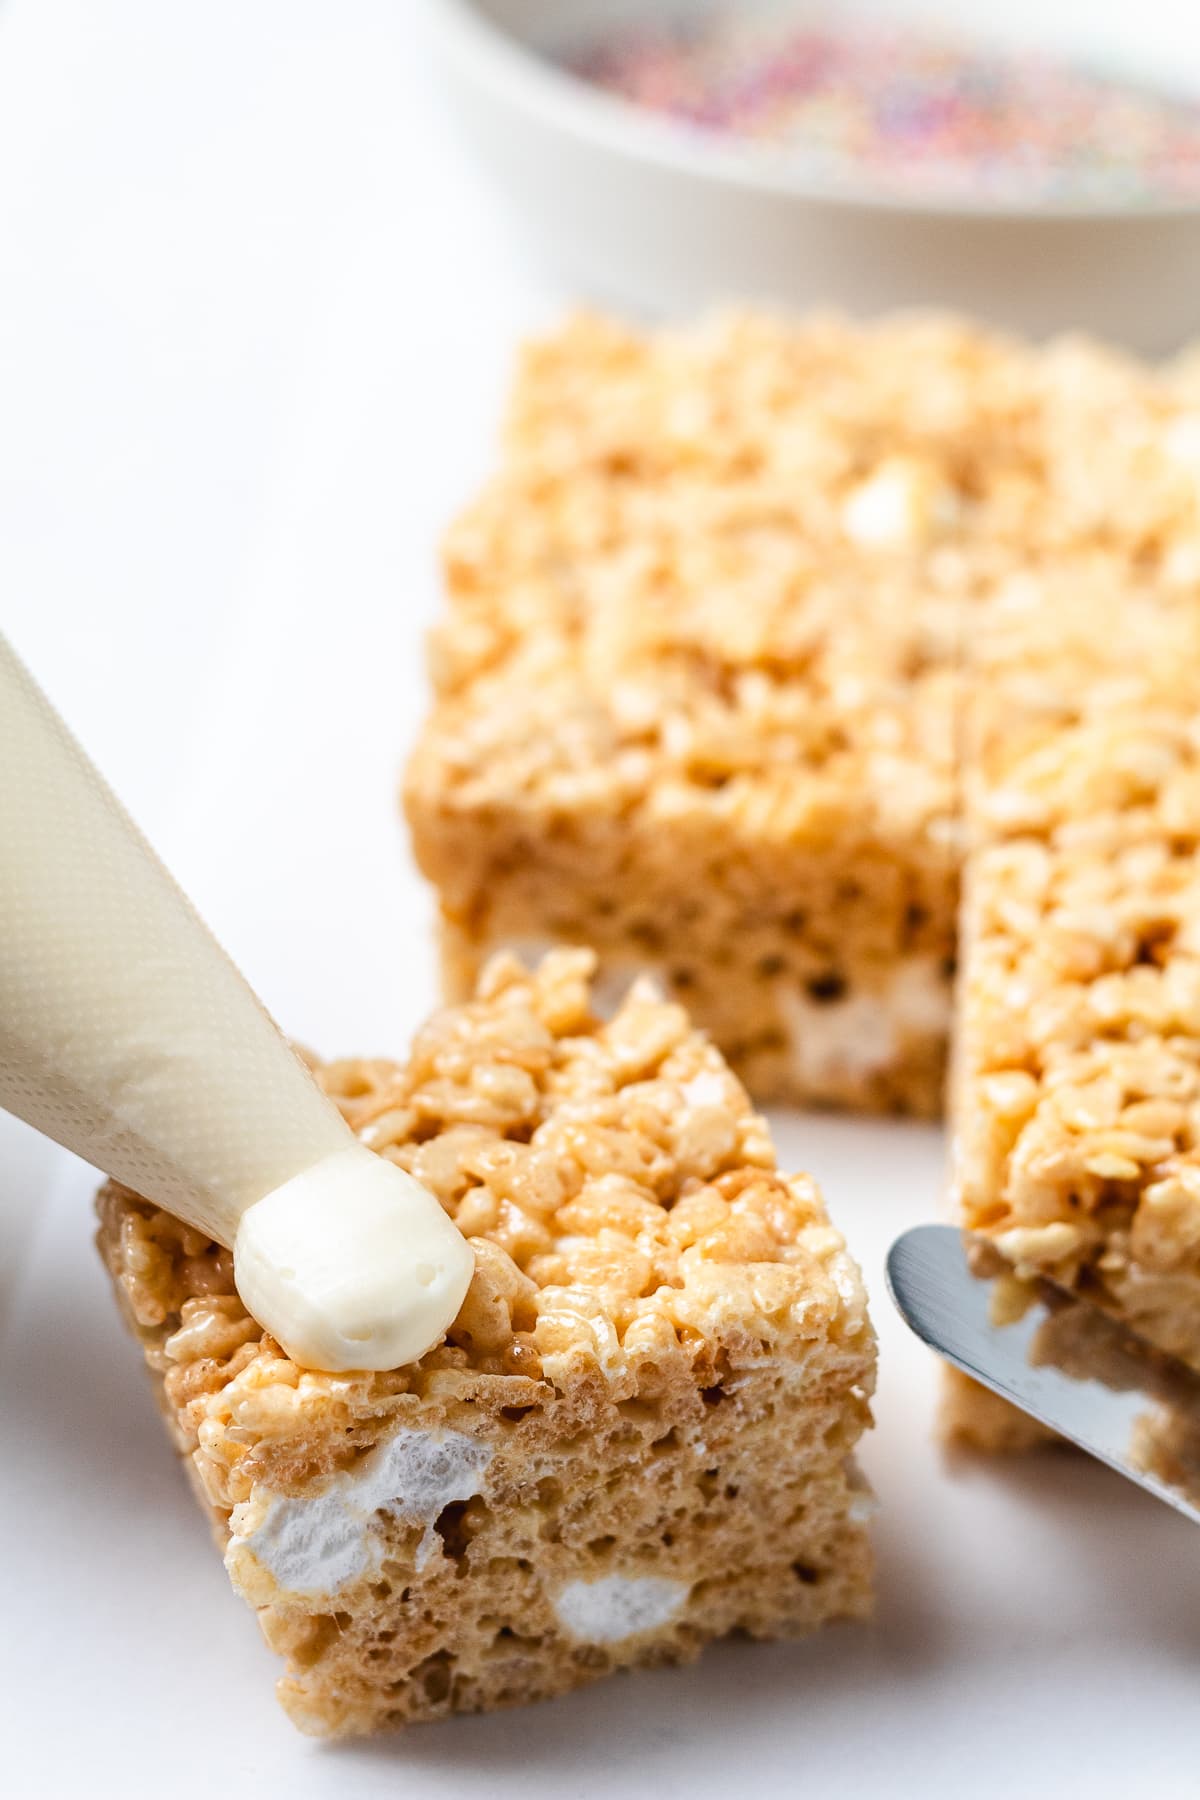
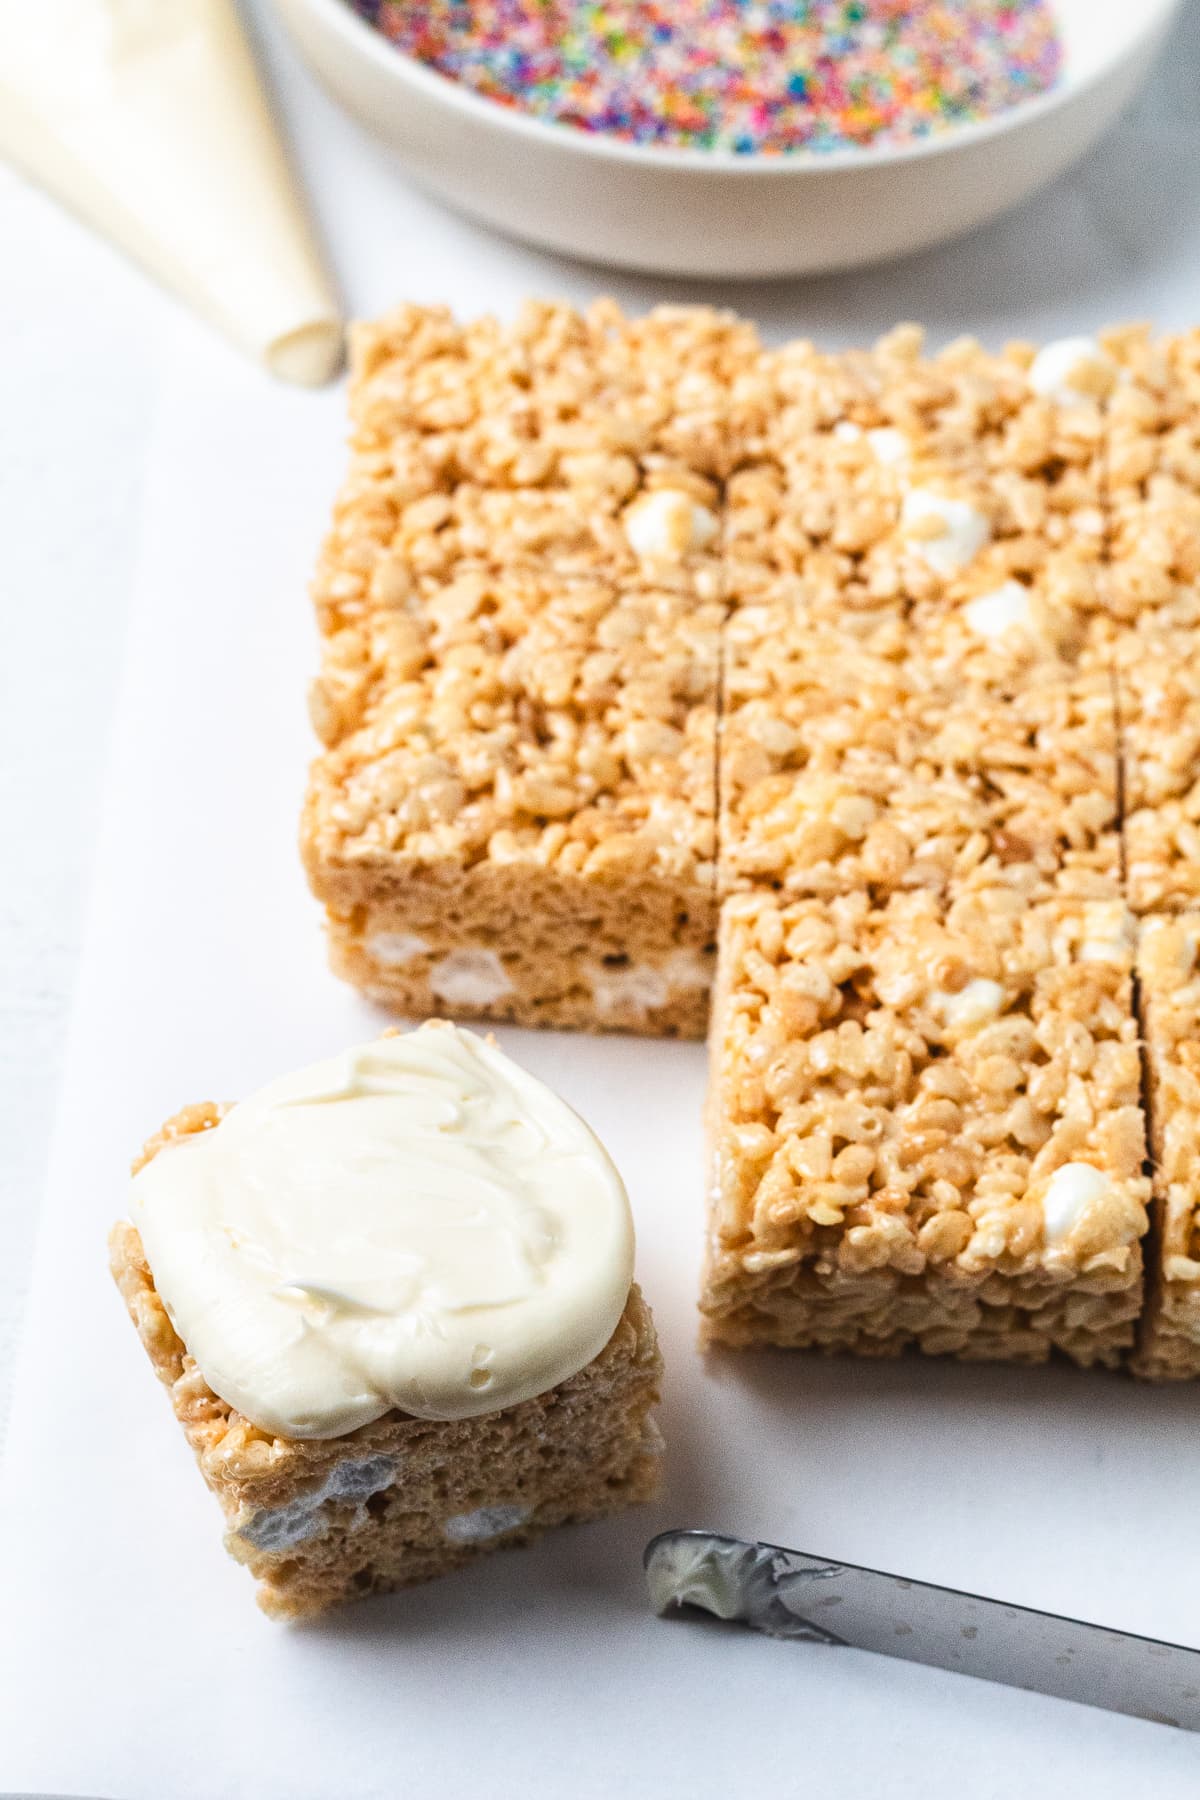
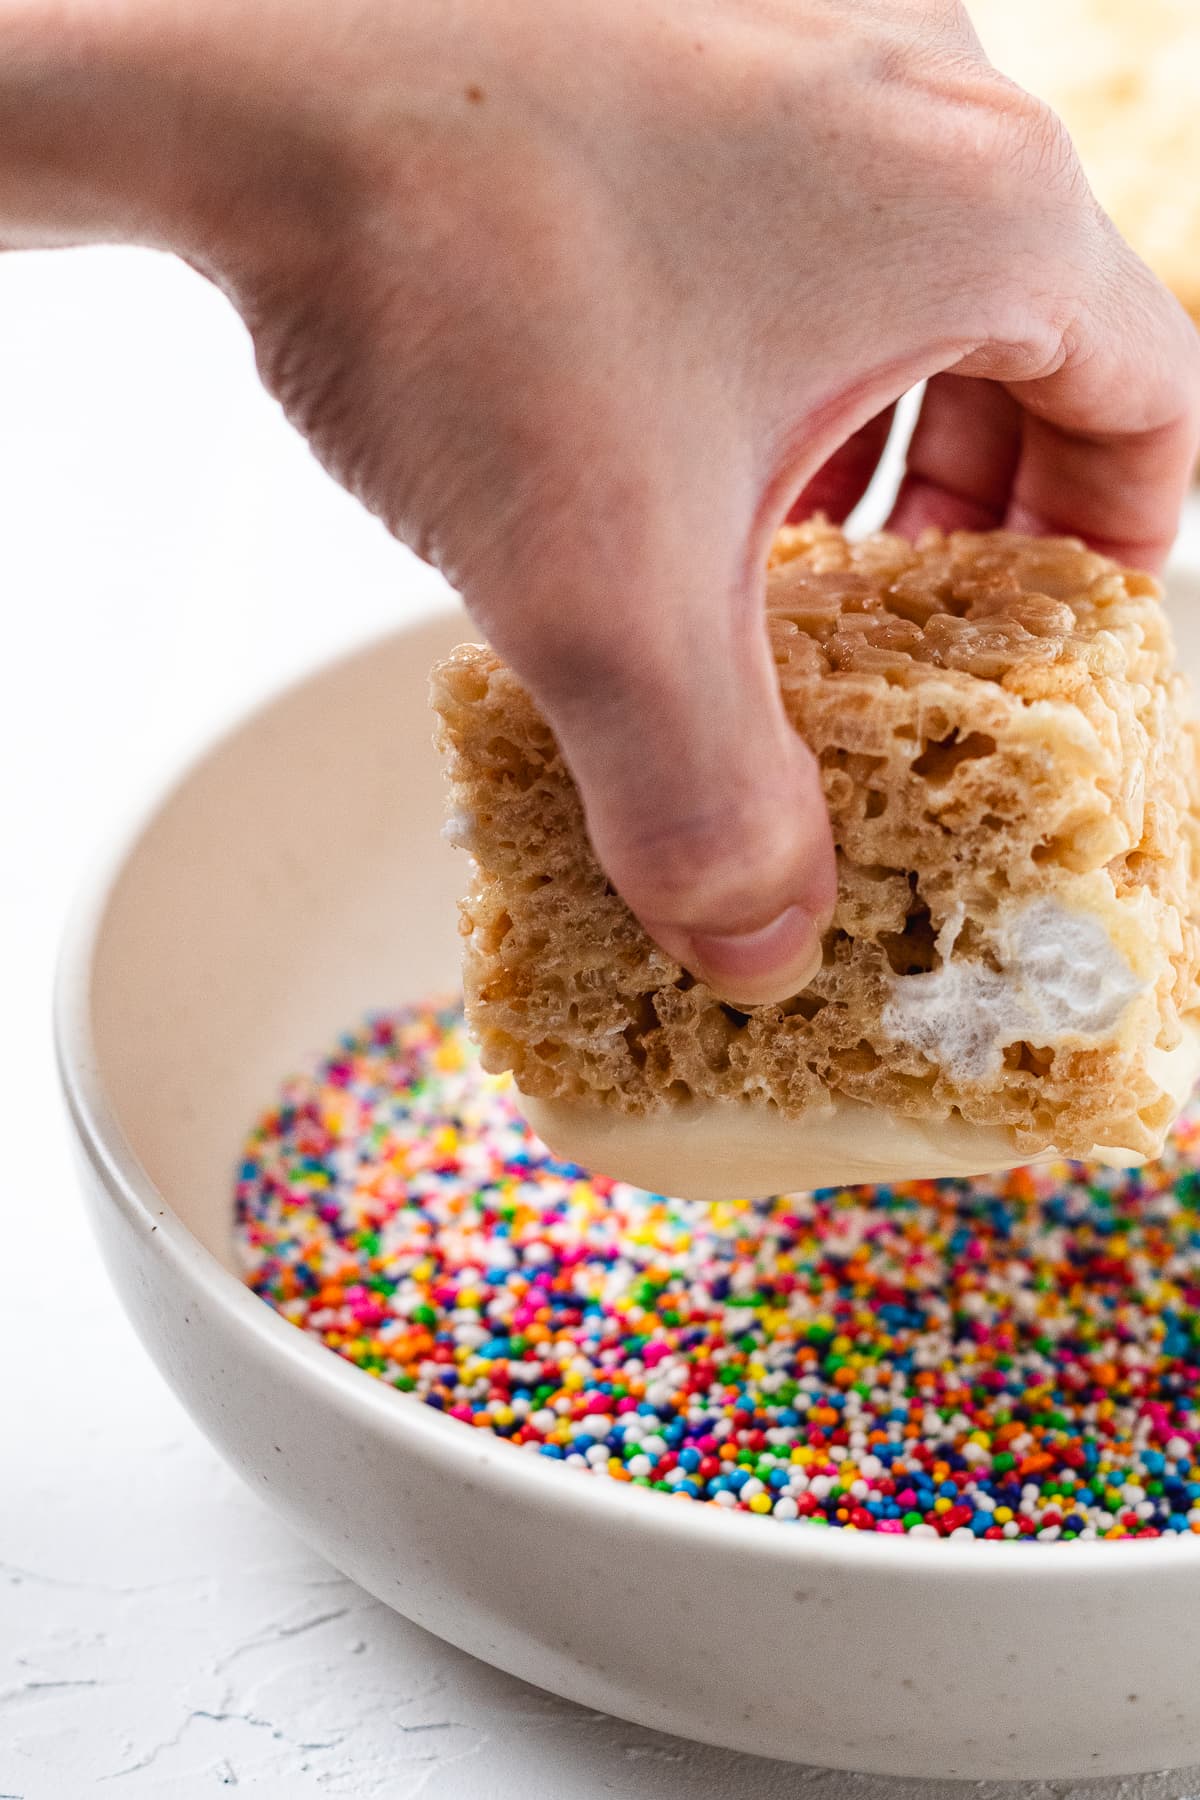
Spread a thick layer of frosting over each Rice Krispie treat, then dip the frosted side into the sprinkles. Enjoy!
Top Tip
Be sure to heat treat the cake mix before adding it to the Krispie treat mix, as raw cake mix isn’t meant to be eaten raw. This step takes just a few minutes and will ensure it’s safe to eat.
Storage
You can store leftover dot cake rice krispie treats in an airtight container at room temperature.
For longer storage, you can freeze them by wrapping each one individually. Then, place them in a freezer bag. You can store them for up to two months this way.
Other No Bake Desserts You’ll Love


- No Bake Mixed Berry Cheesecake
- Strawberry Rice Krispie Treats
- Lemon Mousse Recipe
- Strawberry Cheesecake Dip
- Easy Oreo Delight
FAQ
Dot cake is a frosted cake topped with bead-like, nonpareil sprinkles. It’s a fun trend. We decided to make a Rice Krispies treat version. Because…why not!
Yes! Cake mix is a raw ingredient, so it’s best to heat-treat it before adding it to the treat mixture. It takes just a few minutes and keeps the recipe safe to consume.
This happens for a couple of reasons. For one, you likely overheated the marshmallow mixture or you pressed the mixture too firmly into the pan.
Dot Cake Rice Krispie Treats Recipe
Ingredients
- 12 Oz Mini Marshmallows Divided
- 5 Tbsp Unsalted Butter
- 1 Tsp Vanilla Extract
- ¼ Tsp Fine Salt
- ½ Cup Yellow Cake Mix Heat Treated
- 1 Cup Vanilla Frosting
- 1 Cup Non-pareils
Instructions
- Spread the cake mix on a baking sheet and bake at 350°F for 5 minutes. Let cool completely.
- Lightly spray a 9×9-inch pan with nonstick spray and set aside.
- In a large pot over low heat, melt the butter and salt.
- Add 10 oz of the marshmallows and stir until completely melted and smooth.
- Remove from the heat and stir in the vanilla and cooled cake mix until fully combined.
- Fold in the Rice Krispies until evenly coated.
- Stir in the remaining marshmallows.
- Transfer the mixture to the prepared pan. Use lightly buttered or damp hands to gently press the treats into an even layer. Don’t compact them, or the bars will turn dense.
- Let it sit for 1 hour before cutting into squares.
- Spread a thick layer of frosting over each Rice Krispie treat, then dip the frosted side into the sprinkles. Enjoy!
Notes
- Store leftovers in an airtight container at room temperature for up to 5 days.
- Make sure you spray the utensils with cooking spray; this recipe is sticky.
Nutrition
Leave a Reply