Are you looking for a chicken tender recipe without all the oil and mess? Well, you’re in luck with our air fryer chicken tenders recipe! Here’s why you’ll love them! They’re crispy, juicy, tender, and oh so flavorful. Best of all, they are tasty but healthier than their fried counterparts.
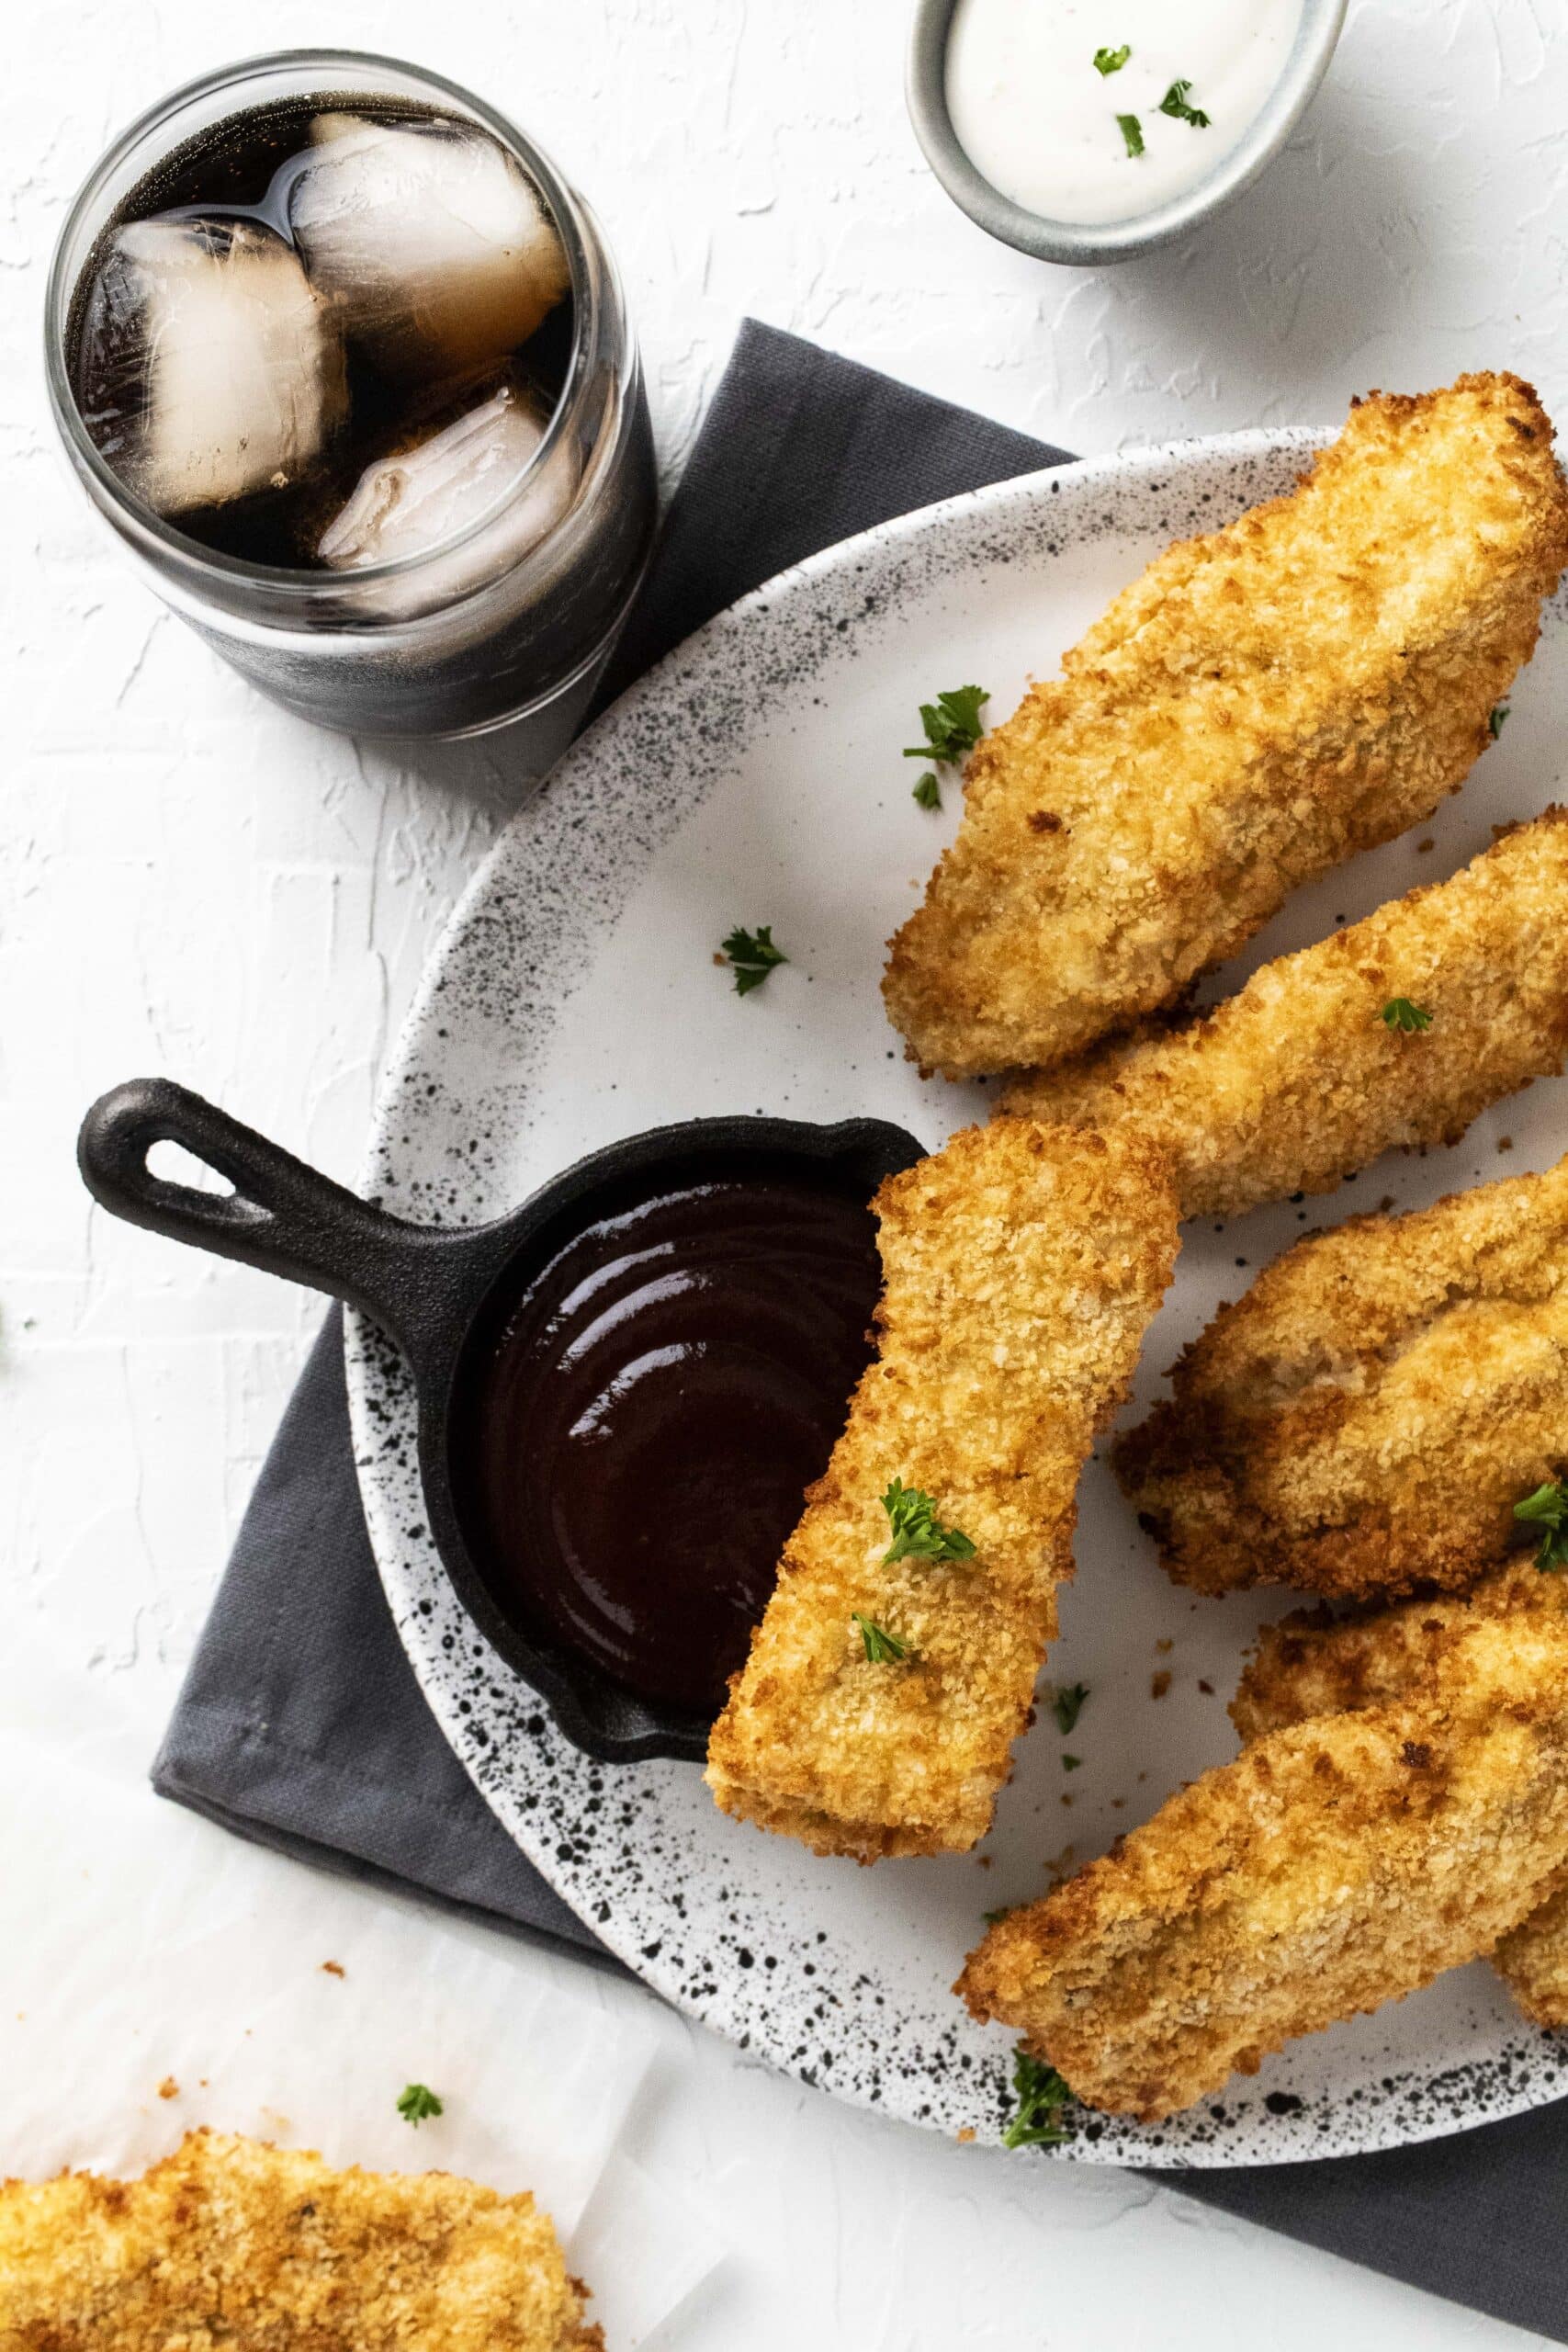
Wait a minute! I didn’t mention how quick they are to make (with some advance planning) making them ideal for lunch, dinner, or a snack.
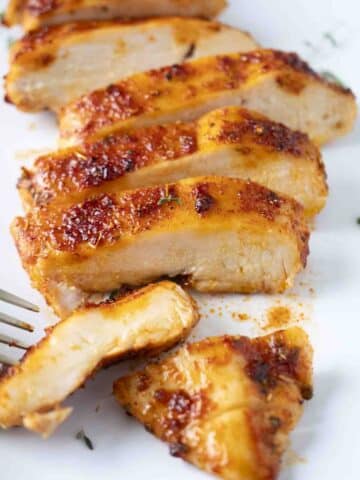
Oh, and if you like these tenders, you’ll also love this air fryer chicken breast recipe.
Jump to:
Ingredients
Making these crispy air fryer chicken tenders is simpler than you might think! With just about 10 ingredients on your shopping list, you’ll be set to whip up this delicious meal in no time.
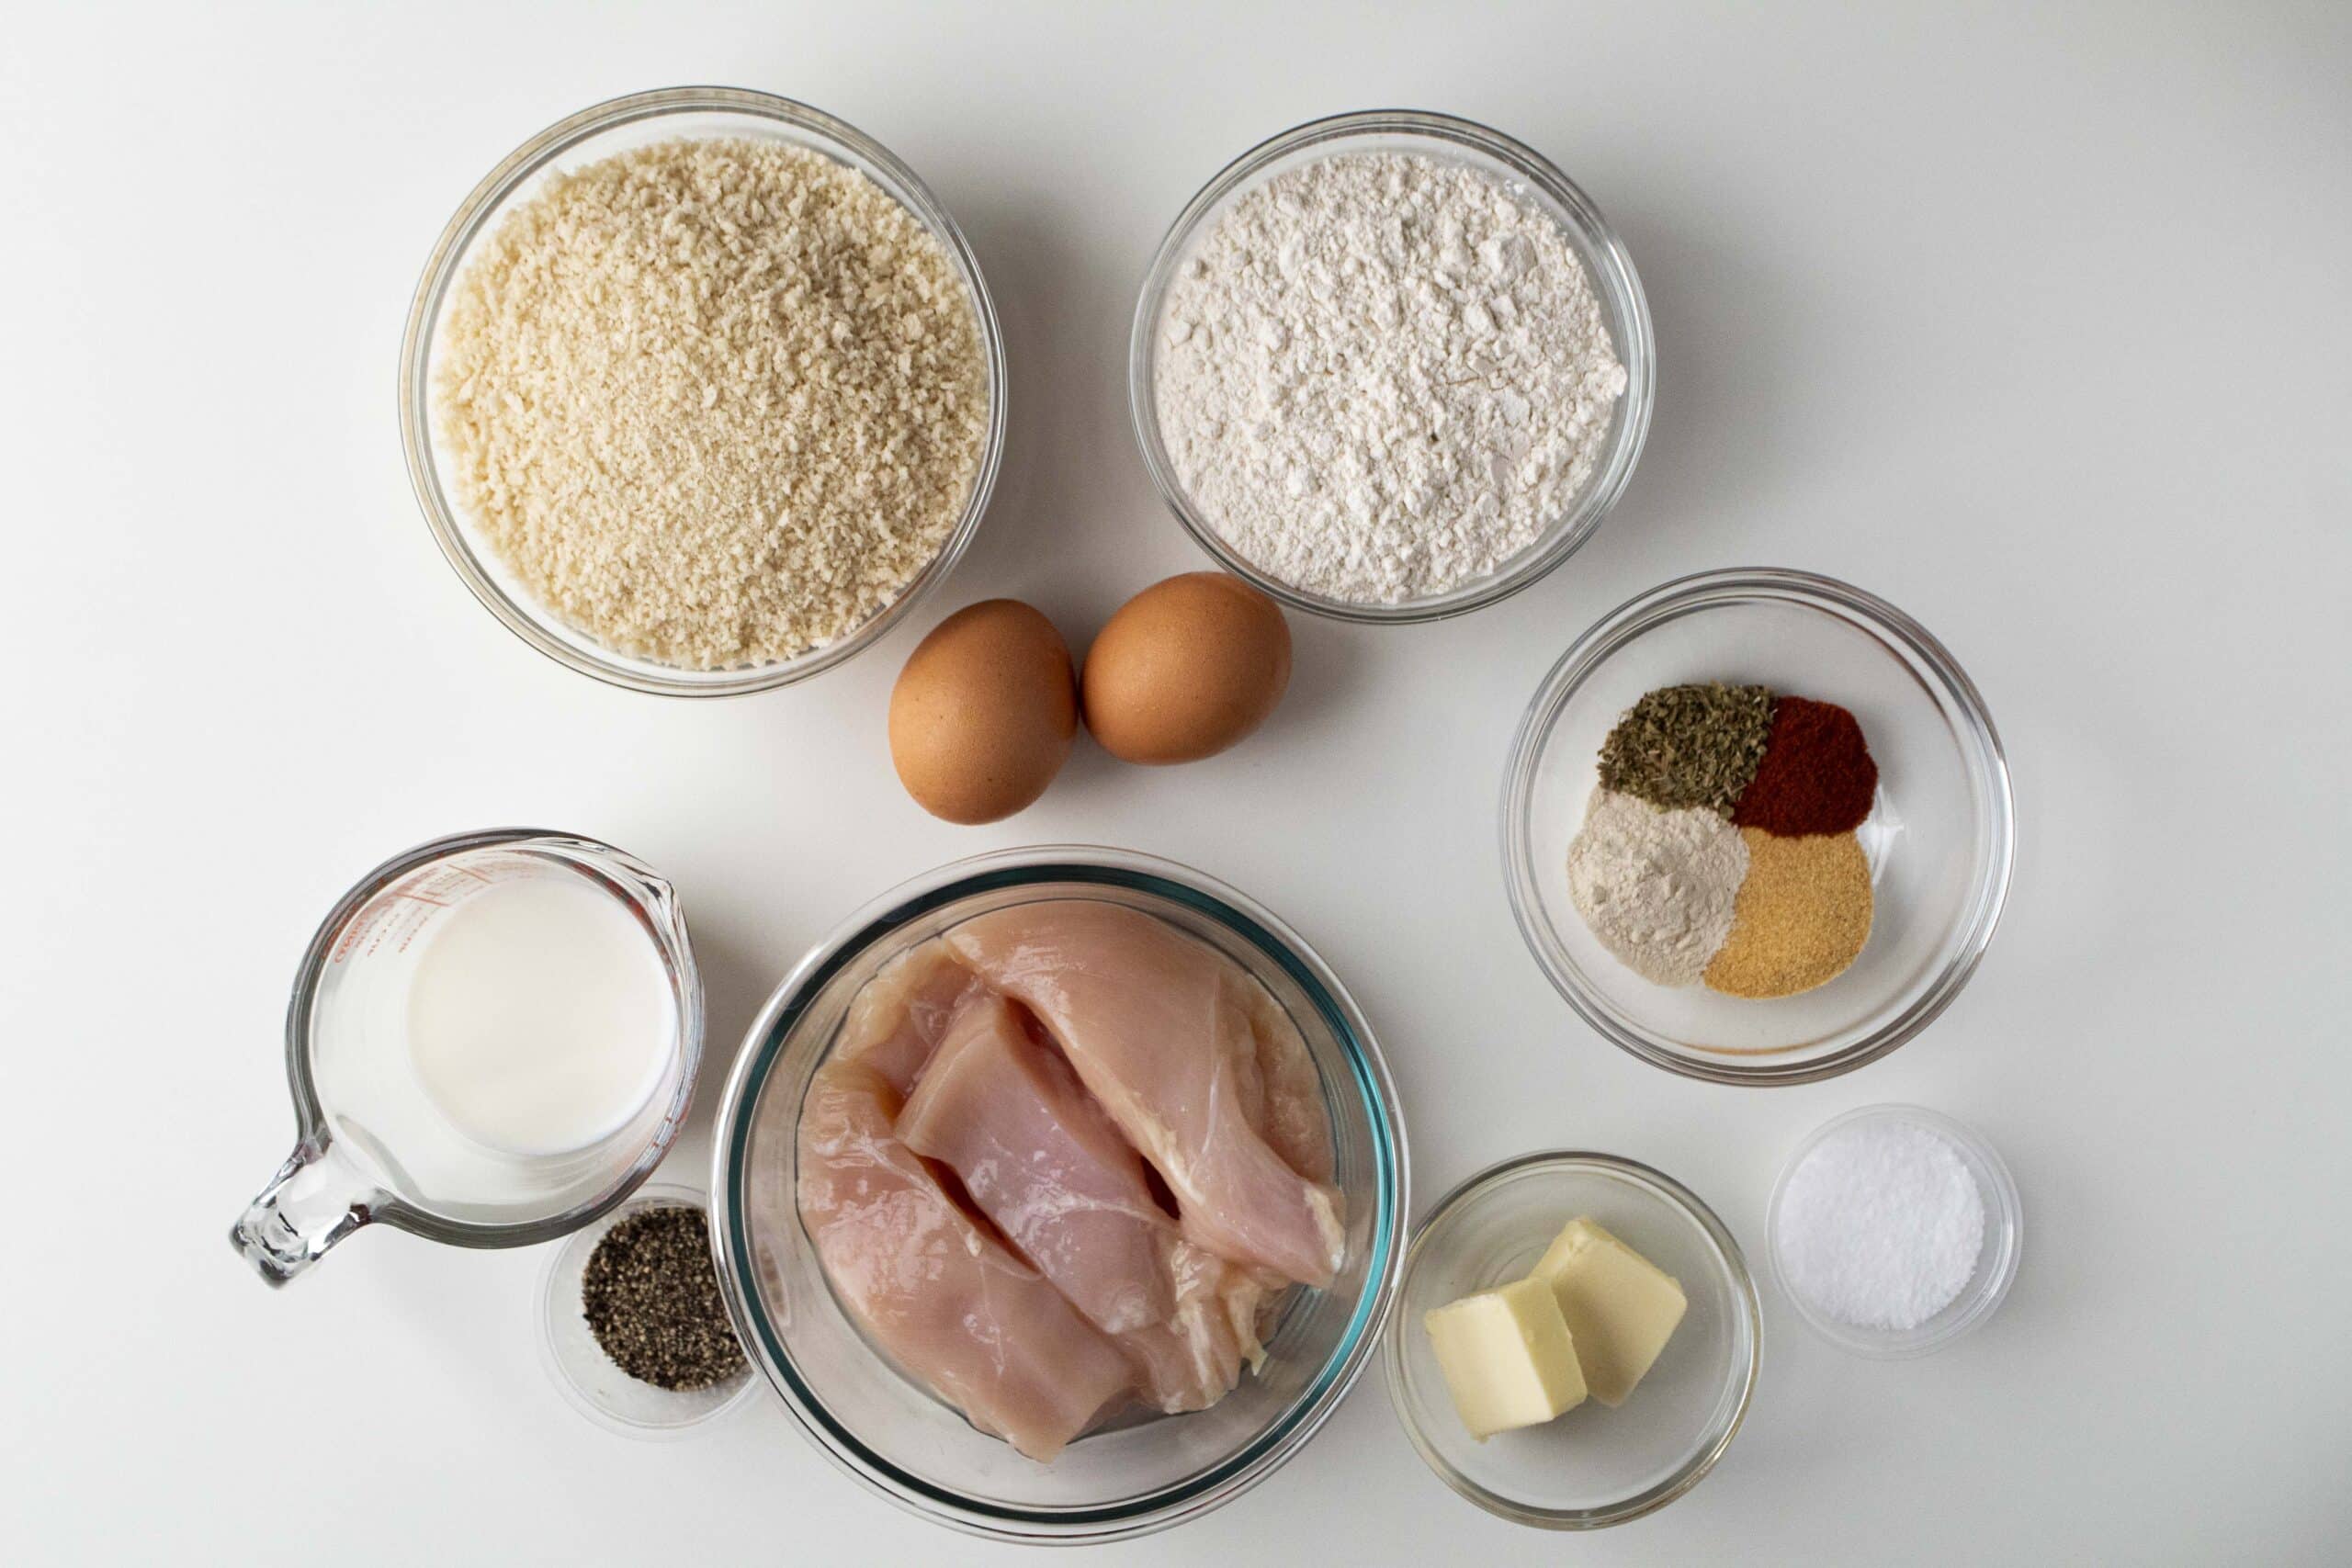
- Chicken Breast – So we tried several different brands of chicken breast, and let’s just say that some are better than others. So while we cannot recommend a specific brand, we encourage you to do a bit of research to find a quality one.
- Salt – Kosher salt is the top choice for brining. It’s not as salty as table salt, which can sometimes leave a metallic taste. So, for the best flavor, go with kosher!
- Water – For the brine.
- Panko Bread Crumbs – Toasted panko bread crumbs are one of the secrets to making the crunchiest chicken tenders.
- Melted Butter – Use unsalted butter to toast the bread crumbs.
- Pepper – Fresh cracked black pepper is best.
- Oregano – This herb gives the seasoning mix a tasty, fresh flavor boost. It’s a game-changer!
- Garlic powder – It brings a zesty and slightly spicy kick to the seasoning. It’s what makes the mix pop!
- Onion powder – This gives the seasoning a hint of warmth and a fragrant twist. It really enhances the overall taste!
- Paprika – It sprinkles in a smoky touch, giving the dish warmth.
- Eggs – For the breading process, the egg mixture plays a key role. It helps the breadcrumbs stick to the chicken, ensuring a crispy finish.
- Milk – Add a few tablespoons of milk to the egg.
- Flour – Flour is essential for the first step of breading the chicken breast. It ensures the rest of the breading sticks well, giving you that crispy outer layer.
See the recipe card for quantities.
What’s The Secret to Juicy Yet Crispy Air Fryer Chicken Tenders?
You need to follow a few steps to ensure you make the juiciest yet crispest air fryer chicken breast.
- Pounding – Using a meat mallet or rolling pin to manually tenderize your chicken before brining ensures tantalizing results.
- Brine – A brine (a water/salt mixture) makes the chicken mouthwateringly juicy.
- Bread Crumb Coating – We’ve tried many different ways to get that crispy coating. We’ve tried a flour coating, flour with cornstarch, spraying the tenders with oil while in the basket to crisp them up but all of those methods failed to consistently produce reliably crispy results. Toasted bread crumbs is the way to do it.
How to Toast Breadcrumbs
There are many ways to toast bread crumbs. First you will need to melt butter and combine it with the breadcrumbs. Then you can cook them in the microwave for about 90 seconds, stirring halfway through.
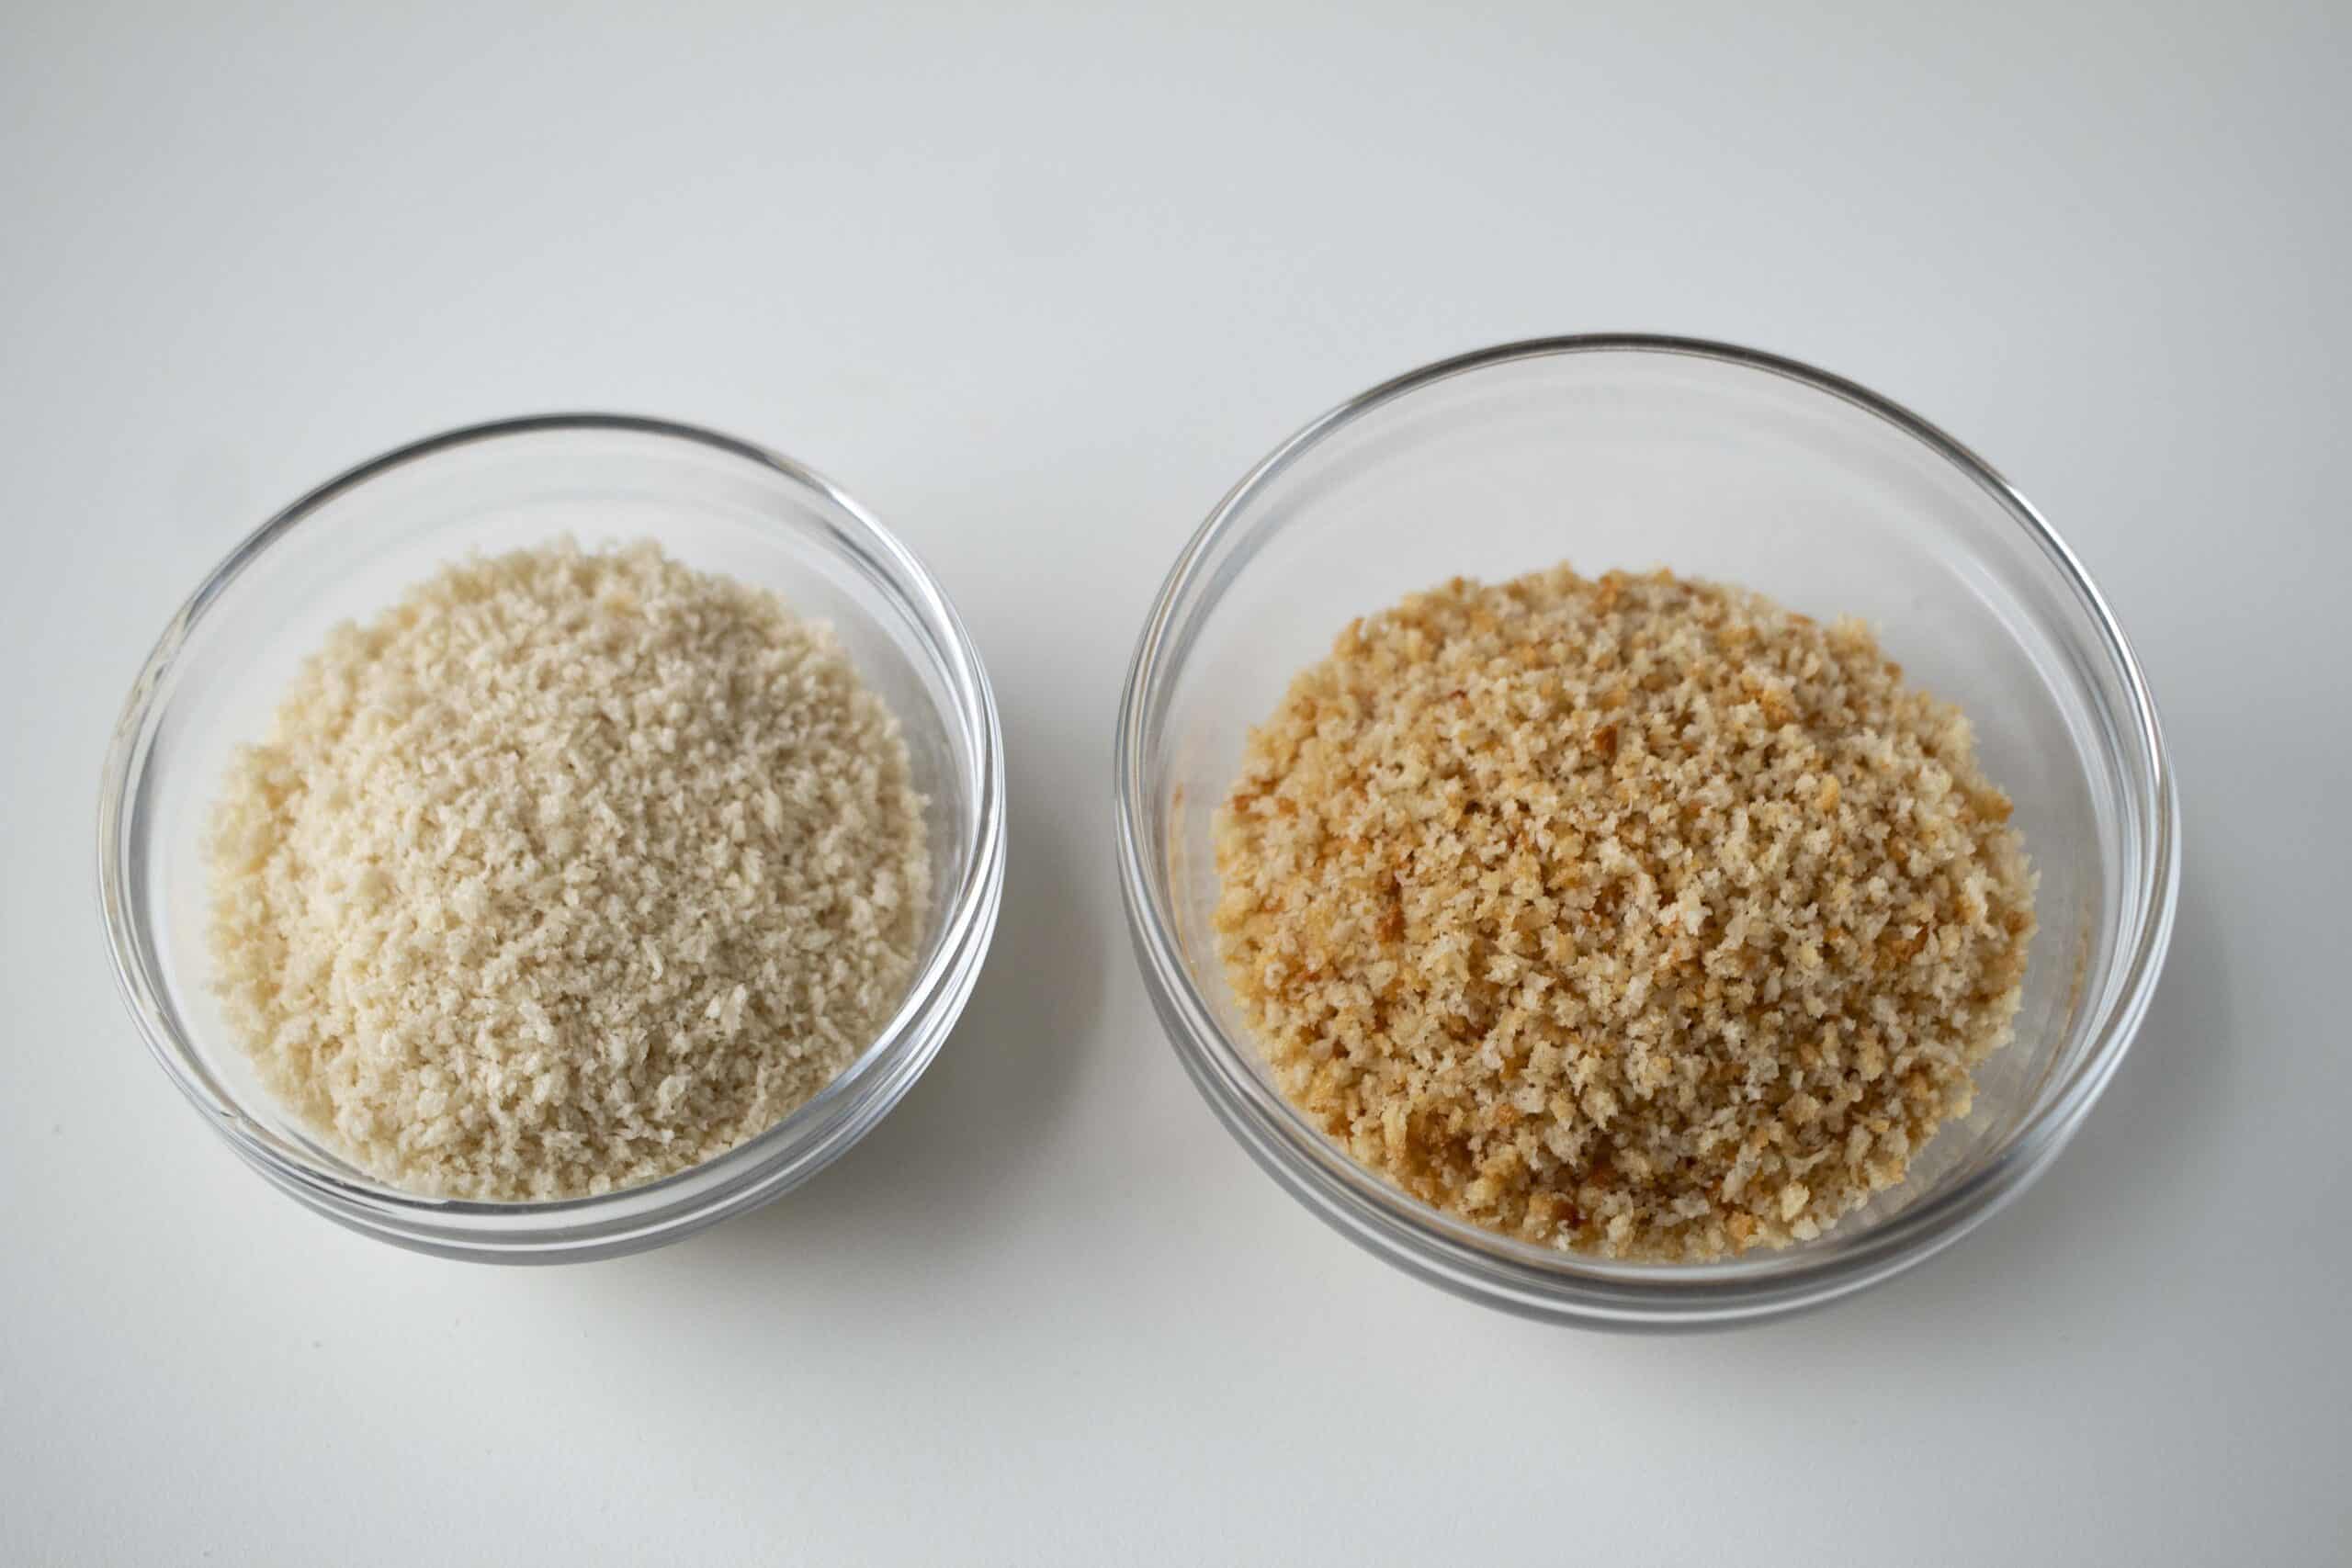
If you don’t have a microwave, you can toast them in the air fryer. Just remove the tray from the air fryer basket, and preheat it to 400 degrees. Finally, add the breadcrumbs to the basket, cook for 90 minutes, while stirring every 30 seconds with a wooden spoon or rubber spatula.
How to Make Crispy Air Fryer Chicken Tenders
Although it’s easy to make, there are some necessary steps to keep your chicken strips nice and juicy, tender, flavorful, and crispy. Follow along.
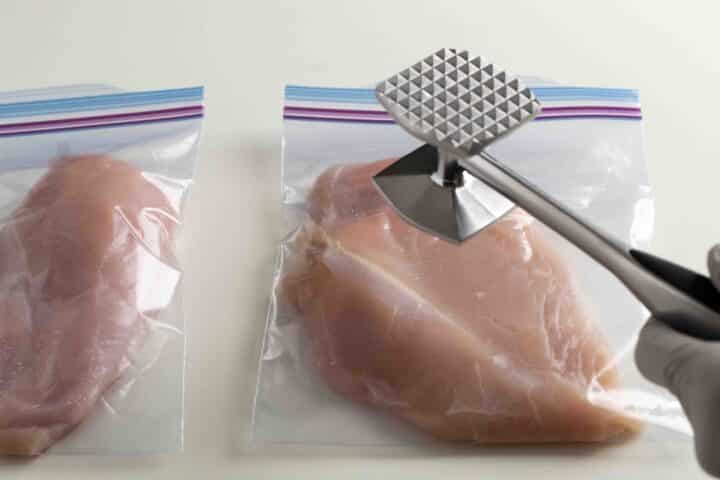
The first step is to dissolve the salt in boiling water. Then allow the water to cool. While the brine is cooling, prepare the chicken by pounding it to 1/2 inch thickness using a kitchen mallet or rolling pin. Next, soak the chicken in the salt water brine for 30 minutes up to overnight. Do not skip this step, this is key to making it juicy and tender.
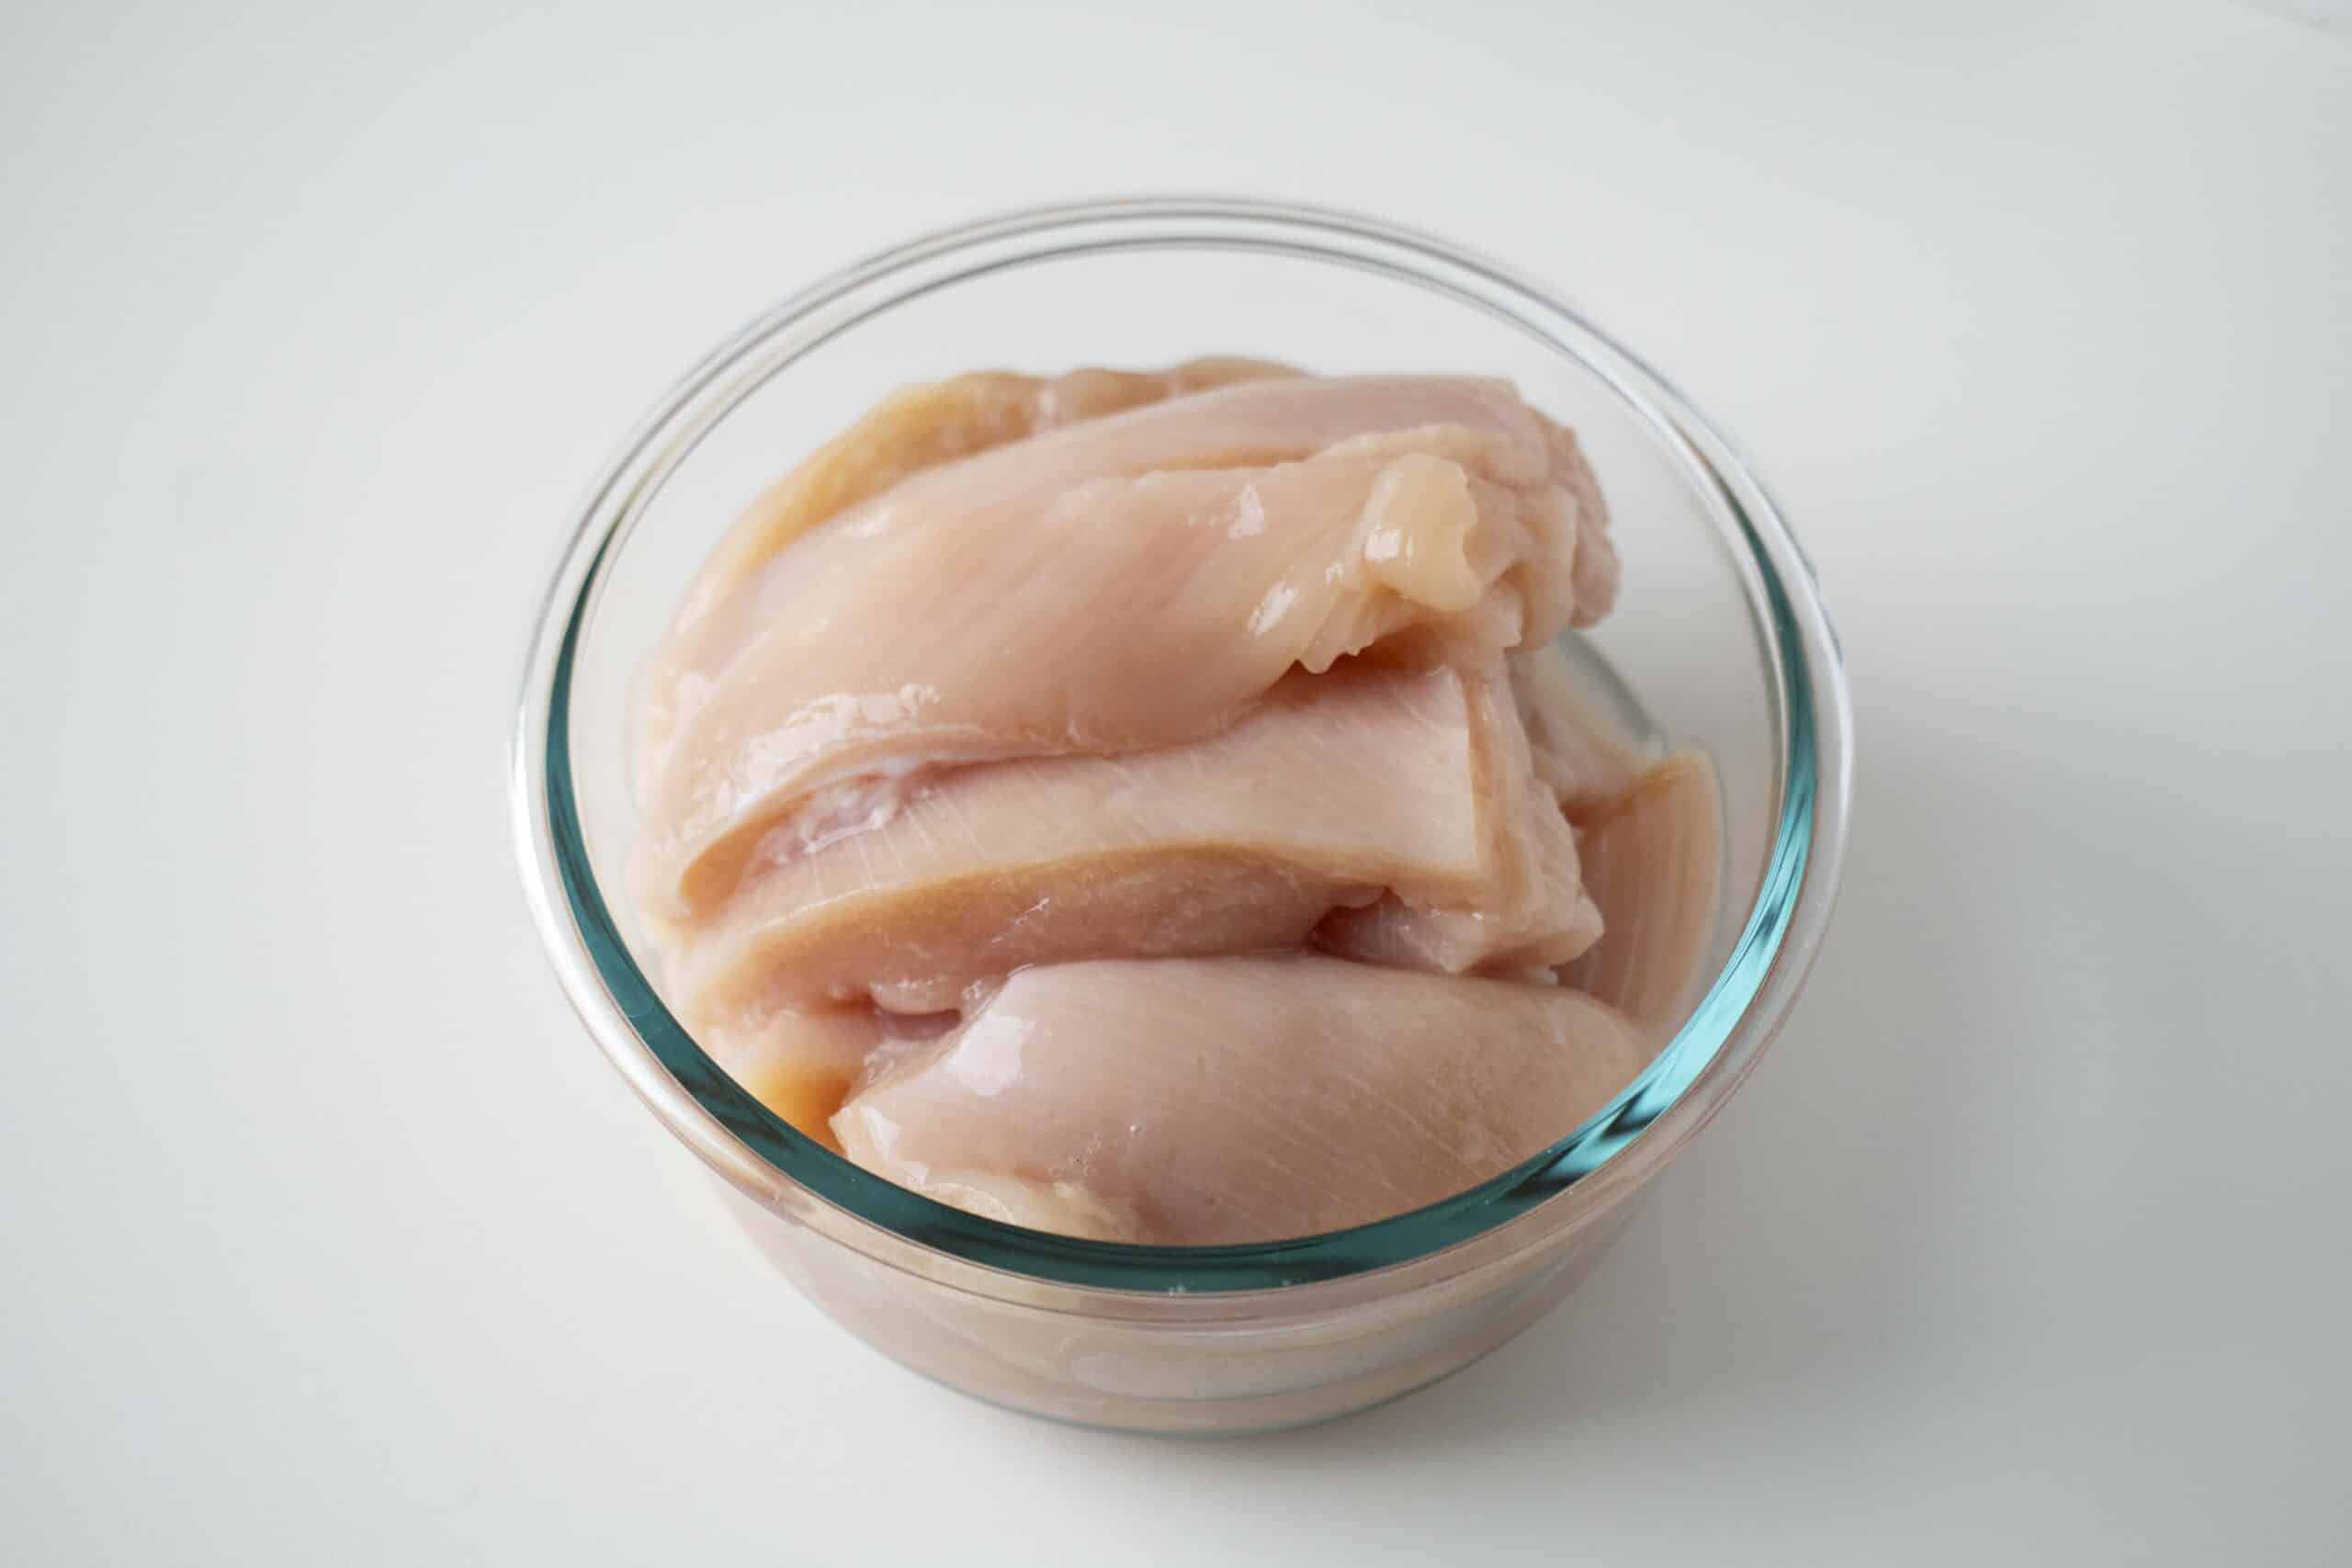
When you are ready to cook, remove them from the brine and pat them dry with a paper towel. Then, cut the chicken breast into 1′ to 1.5″ wide by 4″ to 5″ long strips, and season them well.
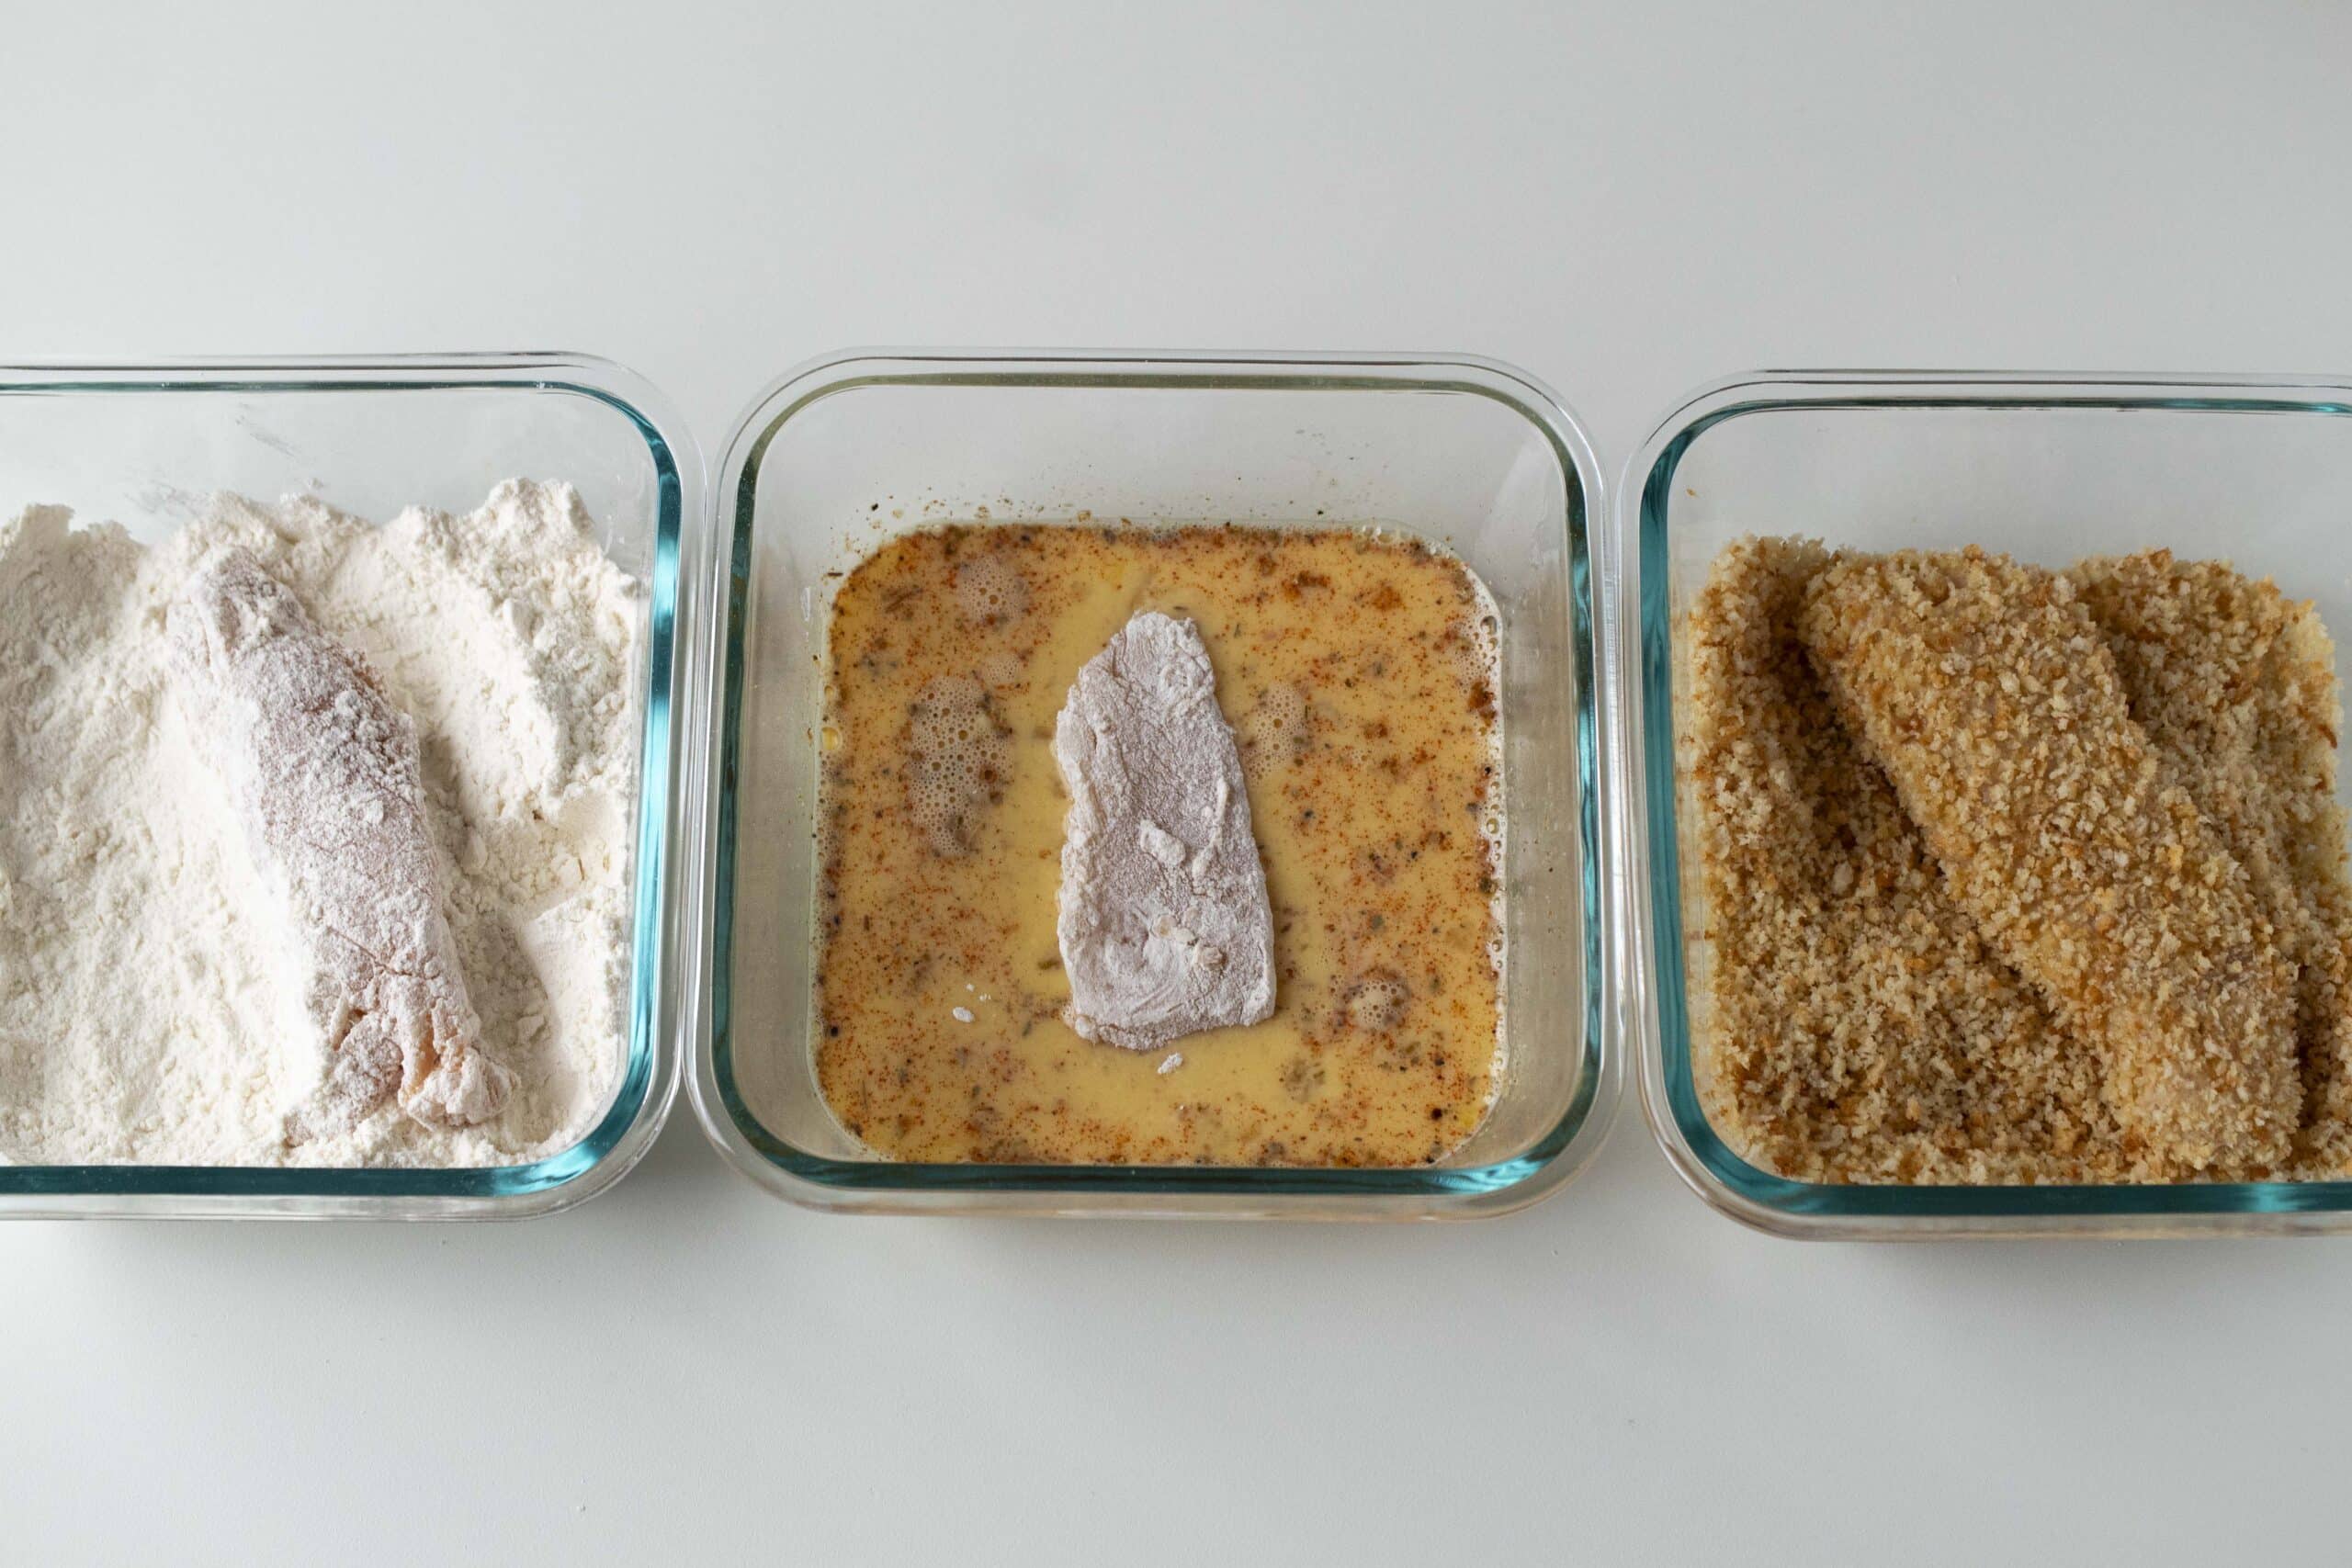
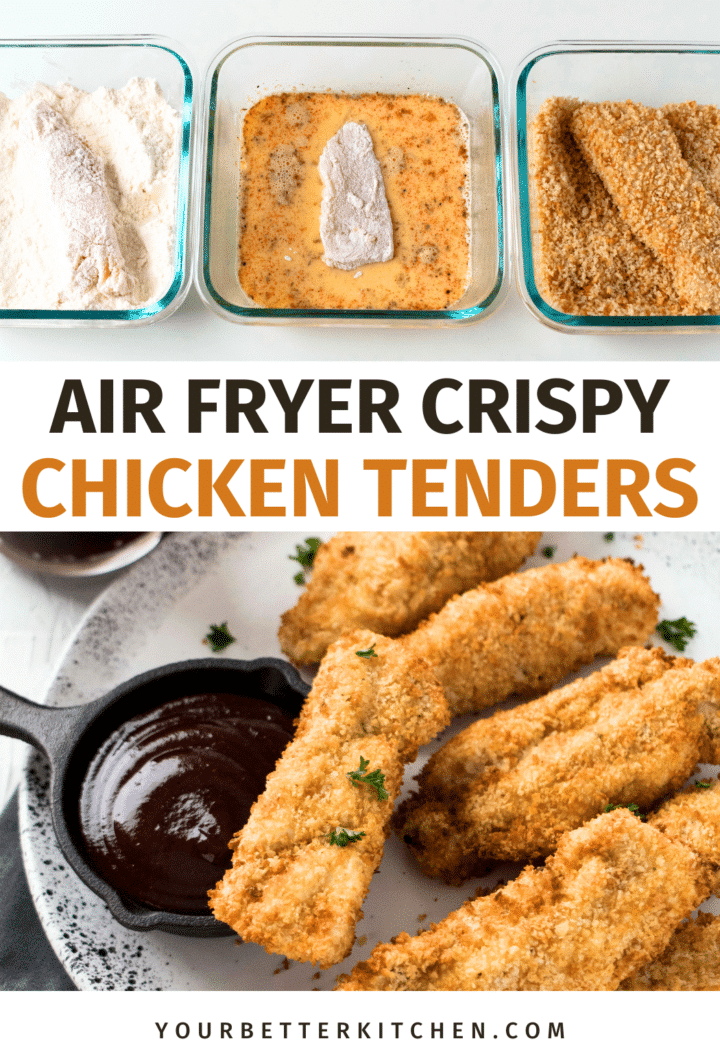
Next, create your dipping station. Use three dishes, one for flour, egg mixture, and breadcrumbs. Now you want to dip the raw strips in the flour, then egg, and finally, breadcrumbs. Preheat the air fryer to 360 degrees.
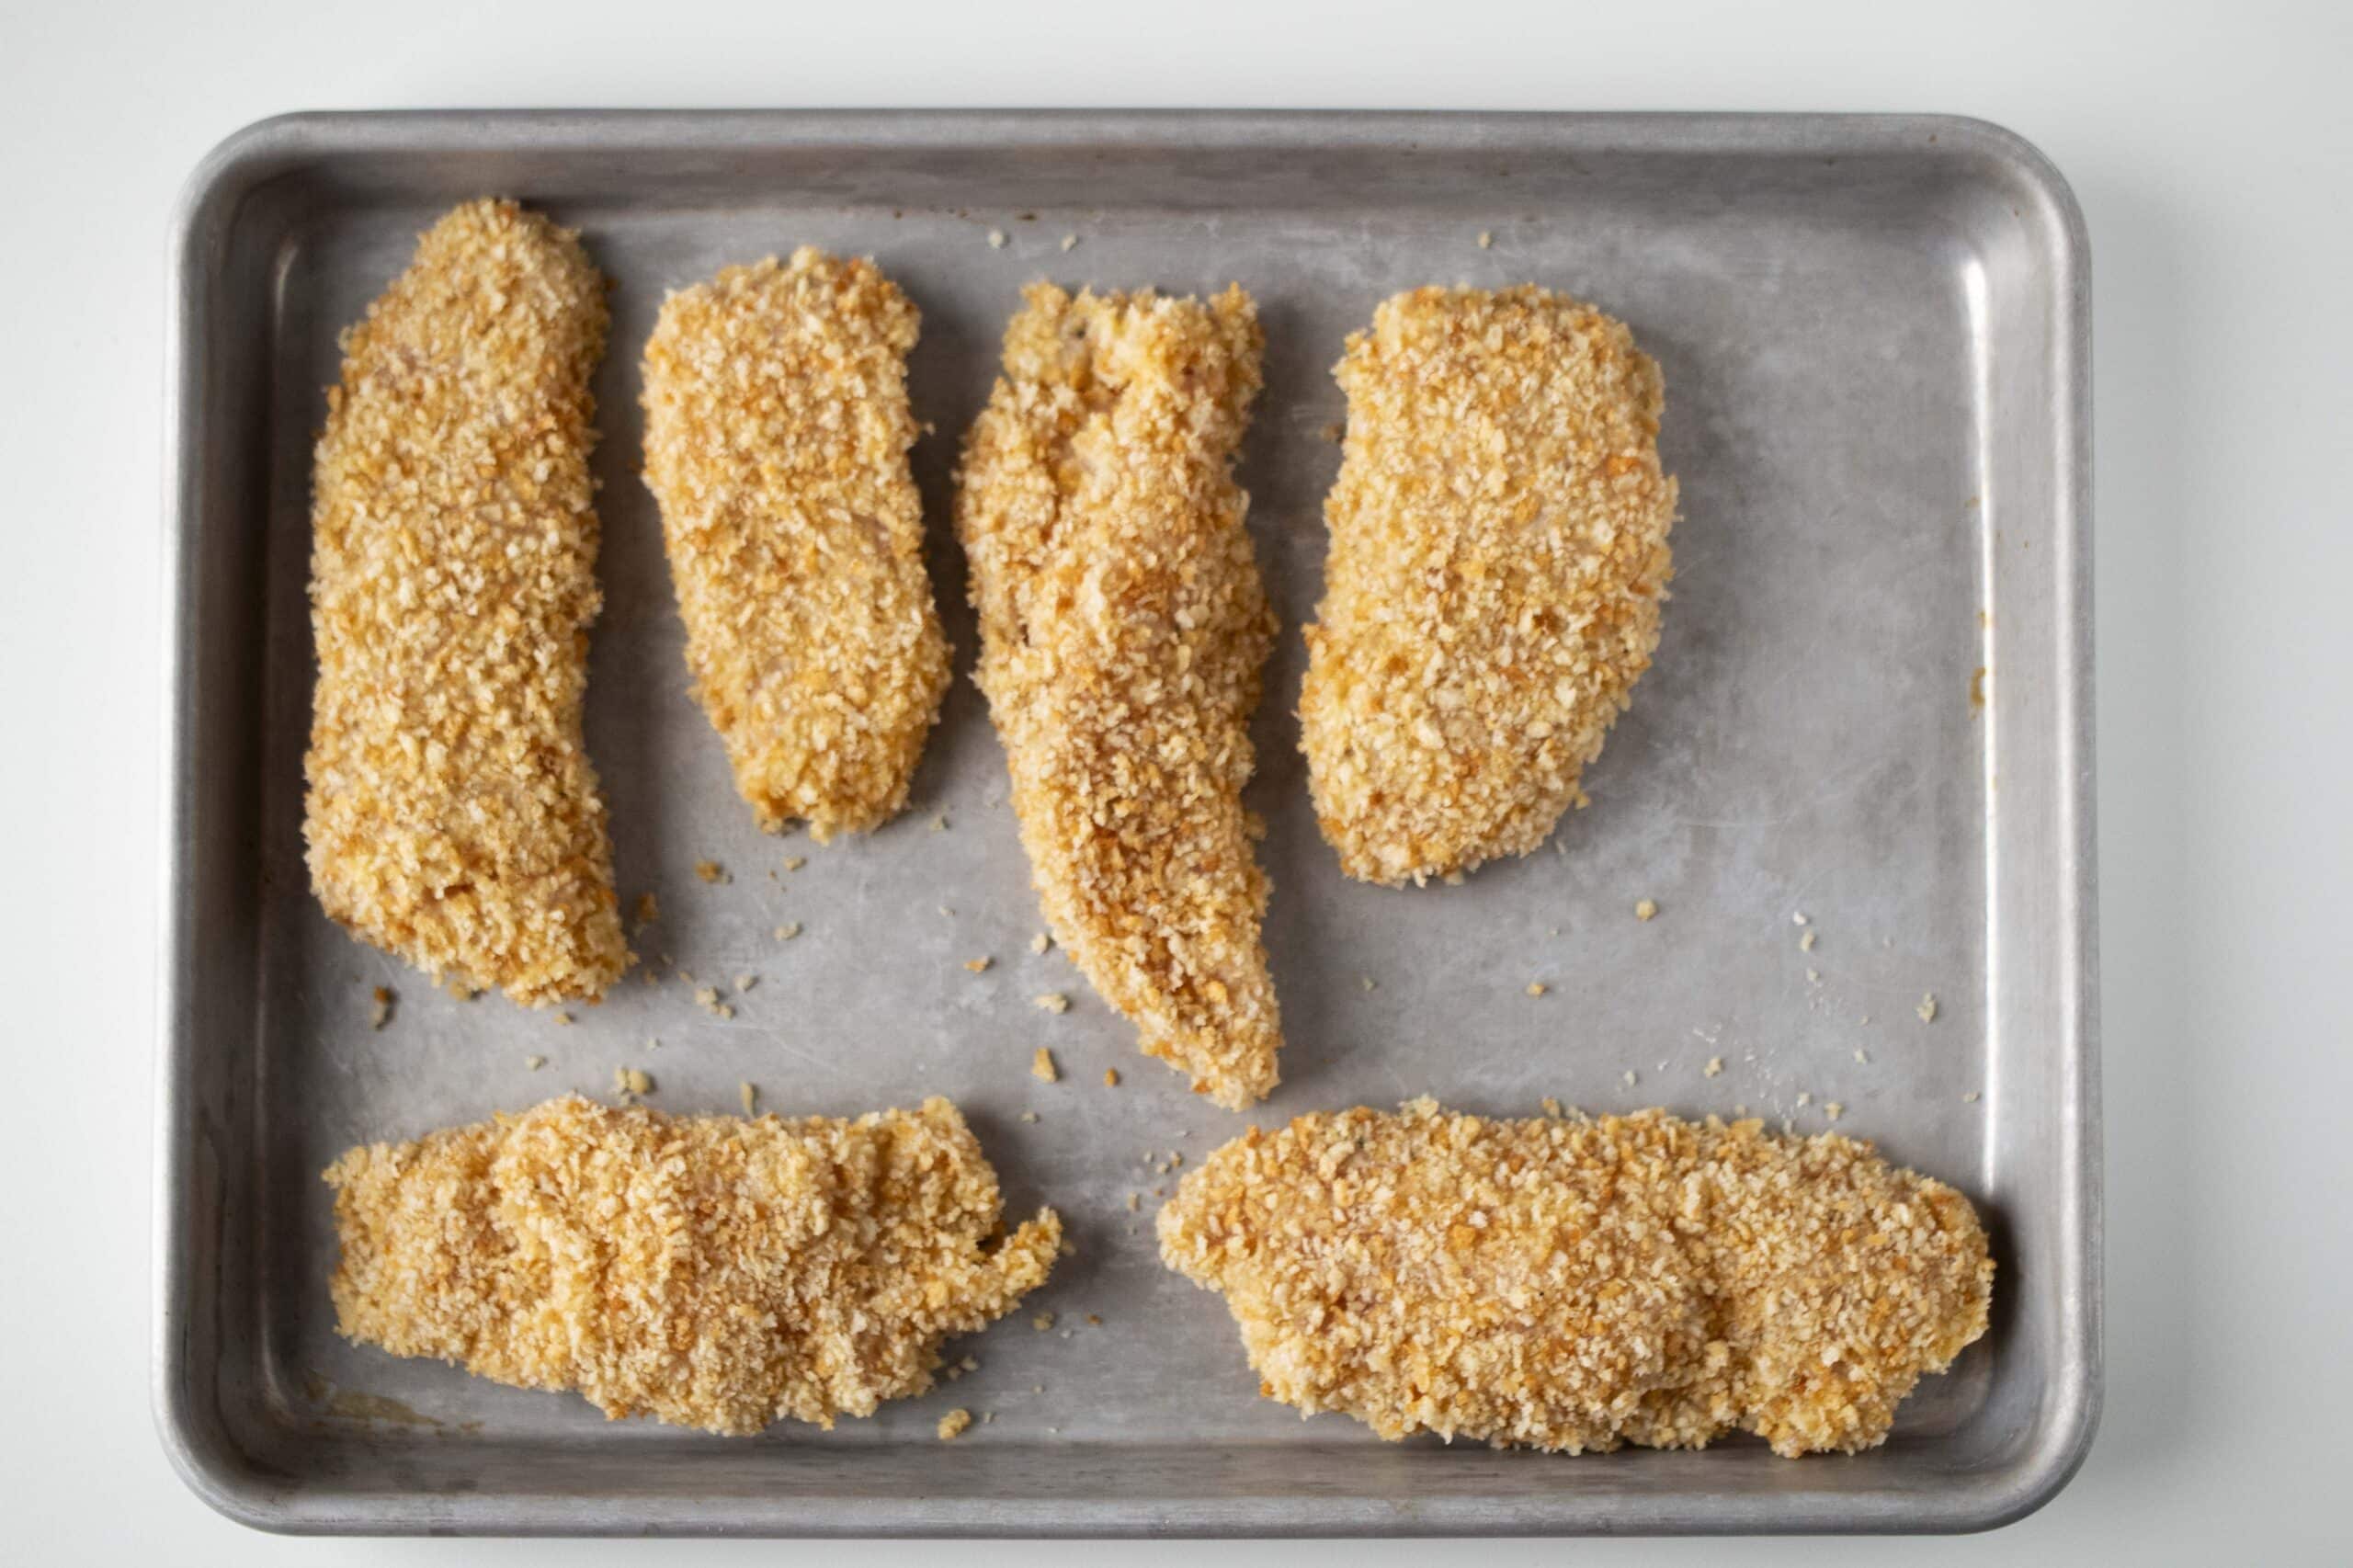
Be sure to coat the entire chicken strip. Repeat these steps until all of the strips are breaded. Then, place the chicken strips on a tray. Next, add the tray back to the basket. Spray the tray with cooking spray. Put four or five chicken strips in the air fryer. Then air fry for 10 minutes, flip them halfway through.
Hint: Be sure to completely coat the raw chicken strips in the bread crumbs by lightly pressing the breadcrumbs on the chicken so that it sticks.
Dipping Sauces
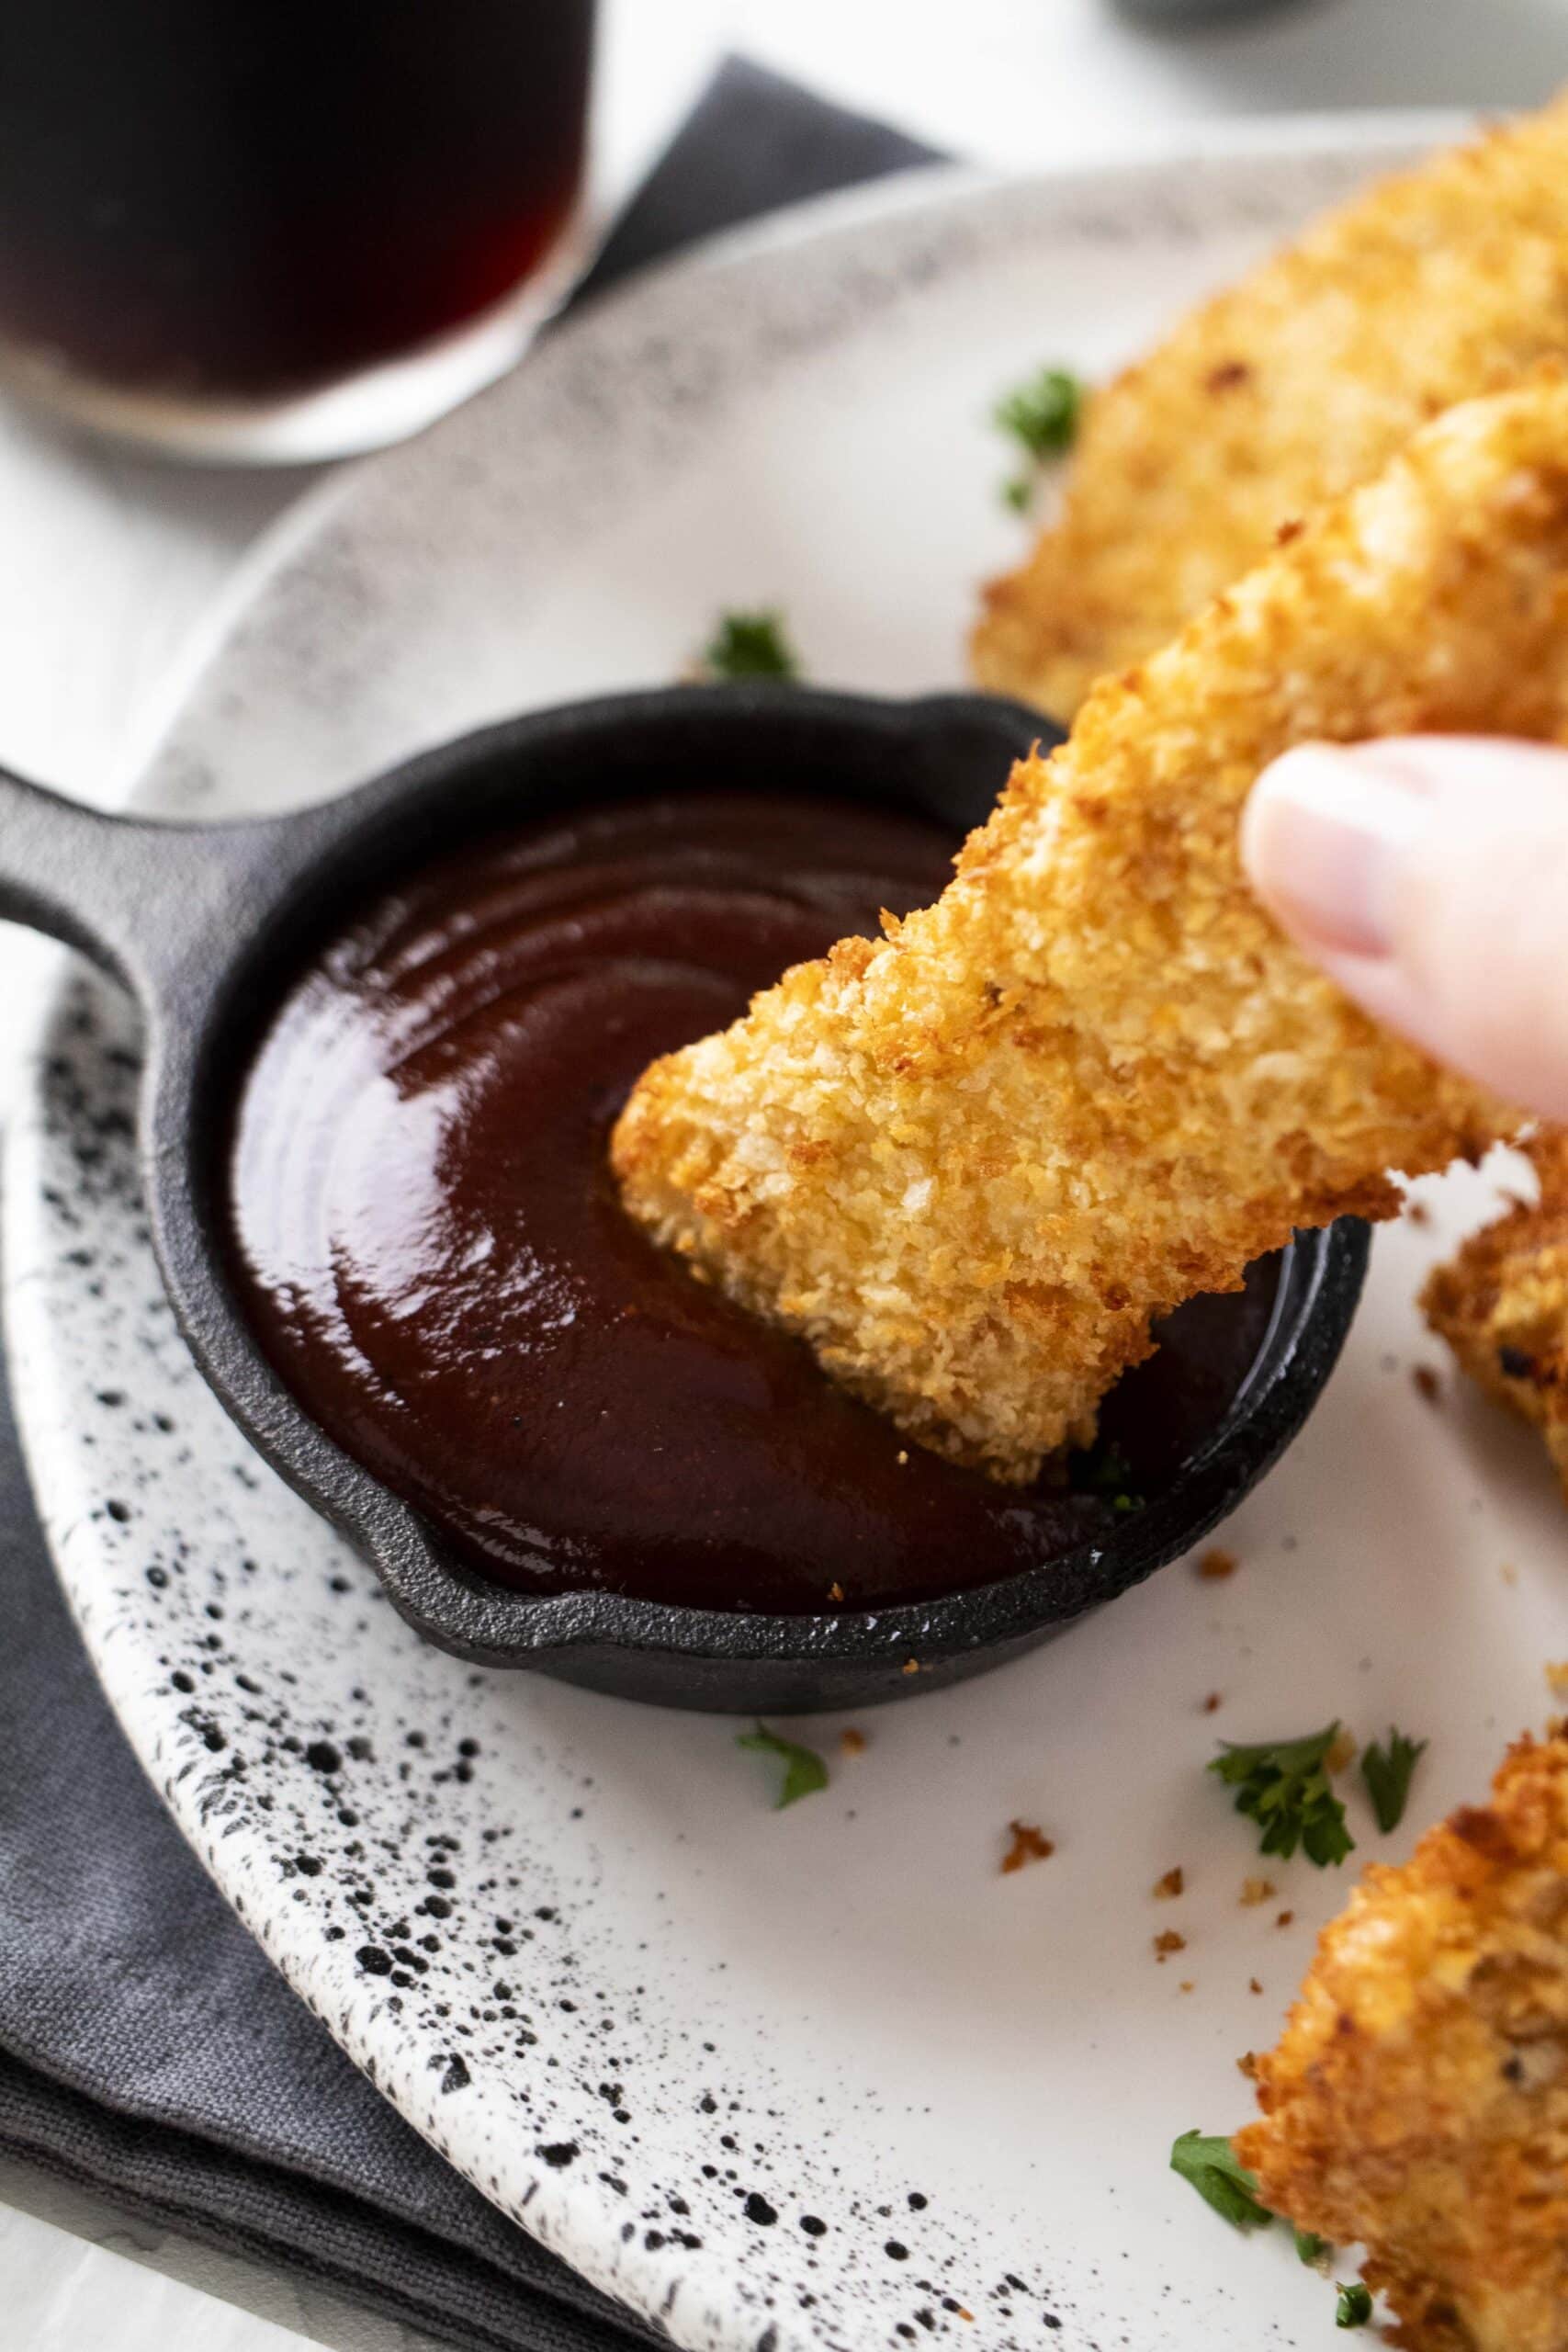
There are so many different dipping sauces that you can use for these chicken strips. You can go traditional with bbq, ranch, or honey mustard or even this quick alfredo sauce? If you’re for something a little more exotic, see this list of chicken sauce recipes.
Variations
Craving a unique spin on the classic air fryer chicken tenders? You’re in for a treat! While the traditional recipe is always a hit, there are countless ways to mix things up and add some pizzazz to your plate.
- Spicy Kick – Add a bit of cayenne pepper and chili powder before breading for a spicy bite.
- Lemon-Pepper – Use lemon zest and cracked black pepper in your breading mixture for this classic zesty and spicy combo. Mmmm!
- Garlic Lover’s – Marinate the chicken in a mix of olive oil, minced garlic, and a touch of lemon zest.
- Asian Twist – Use teriyaki or soy sauce, sesame seeds, and a touch of ginger in your marinade.
Equipment
Other than your air fryer, you will need a mallet or rolling pin to tenderize the chicken breast. Also useful is a food thermometer.
How to Store
You can keep these crispy air fryer chicken fingers in the fridge for up to three days. But perhaps the best part about this recipe is that you can batch cook a bunch of these babies and freeze them for up to six months.
Then, to reheat, add them to the air fryer basket and cook them for 12 to 15 minutes.
Top tip
My top tip is to follow all of the little details including patting the chicken dry once you take it out of the brine. Another small detail that is important to keep in mind is preheating the air fryer prior to adding the chicken strips to the basket.
FAQ
We’ve made and tested many batches of chicken strips and while we do spray the tray inside of the air fryer basket with cooking spray, we do not apply any oil to the strips themselves. The butter from the toasted panko should be all the fat you need.
As long as you follow our recipe, your air fryer chicken strips will become incredibly crispy while still juicy and tender on the inside. They are the best of both worlds.
For best results we recommend that you preheat your air fryer prior to cooking. That way they are cooking at the needed temperature for the proper amount of time.
Yes! Flipping the strips halfway through ensures that the chicken tenders end up irresistibly crispy.
First, make sure that you preheat your air fryer to 400 degrees. Next, make sure that you set the timer for the right amount of time. That should do it. But, if you won’t to be absolutely sure, you will need to get a food thermometer and make sure that the internal temperature is 165 degrees.
You will have some oddly shaped chicken strips but for the most part we cut them to 1.5″ x 4.5″. Also, be sure to cut your strips against the grain as shown here.

Air Fryer Chicken Tenders Recipe
Ingredients
- 2 Pounds Boneless Skinless Chicken Breast
Breading
- 2 Large Eggs
- 2 Tbsp Milk
- 3/4 Cup All-Purpose Flour
- 2 Cups Panko
- 2 Tbsp Unsalted Butter Melted
Seasoning Blend
- 2 Tsp Garlic Powder
- 2 Tsp Onion Powder
- 1 Tsp Paprika
- 1 Tsp Kosher Salt
- 1 Tsp Oregano
- 1/2 Tsp Black Pepper Freshly Ground
Brine
- 20 Oz Water
- 1 Oz Kosher Salt
Instructions
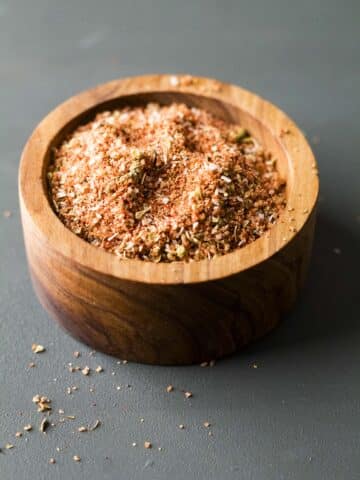
- In a small bowl add all the ingredients for the blend and mix until completely combined. Set aside.
- For the Brine, put the salt and half the water in a small saucepan. Heat until the salt has dissolved. Then, add the remaining water to help cool it down.
- Put the chicken breast in a ziplock bag and place it on a cutting board. Using a meat mallet, lightly pound the meat into an even thickness and set aside.
- Pour the cooled brine into the ziplock bag with the chicken making sure it's completely submerged. Then refrigerate for at least 30 minutes or up to a day.
- For the panko, add the melted butter and panko in a medium bowl. Mix until the panko is completely coated with the butter. Preheat the Air Fryer to 400 degrees. Add the panko and toast for up to 4 minutes or until golden brown. Make sure to shake the basket a few times throughout this process. (See note)
- Remove the chicken from the brine and pat dry with a paper towel. Cut them into strips, lightly drizzle with olive oil, and add about 2/3 of the seasoning blend. (See note)
- To prepare the breading you will need 3 shallow dishes. In the first one, add the flour. In the second dish, lightly whisk the egg, milk, and the remaining seasoning blend. In the third dish, add the toasted panko.
- Dip each chicken strip in the flour, then in the egg mixture, and finally into the panko. Place the breaded chicken into the basket of the air fryer. Make sure to space them out. You don't want to overcrowd them. (See note)
- Cook the chicken tenders at 400 degrees for 6 minutes. Carefully flip and cook for an additional 4 minutes or until the internal temperature reaches 165 degrees. (See note)
- Continue until all chicken tenders have been cooked. Serve with your favorite dipping sauce. Enjoy!
Notes
- When toasting the panko, you want to watch it. It can go from brown to burnt. The cooking time may vary based on the Air Fryer you have.
- You want to cut the breast into 1 1/2 inches wide and about 5 inches long.
- You will need to cook them in batches so the tenders will come out crispy.
- Depending on how you cut your chicken strips, make sure to check the internal temperature, which should read 165. If it’s not, please cook the tenders for a couple more minutes.
- You can store them in an air-tight container for up to 4 days.
- You can reheat the chicken tenders at 375 degrees for up to 6 minutes. This temperature will keep the coating crispy.
Nutrition
Related
Looking for other recipes like this? Try these:


Leave a Reply