Get ready! This air fryer chicken breast is going to be the most flavorful and juiciest you’ve ever tasted. Save this page now – you’ll want to keep it close!
Ever thought chicken breast was kind of boring?
You’re not alone. Chicken breasts are less fatty than thighs and have lots of protein. But they can be tricky. While thighs stay yummy even if cooked a bit too long, chicken breasts can get dry and tough.
Trust us, we’ve had our fair share of chicken breast nightmare meals no one wants to eat. But, no more my friend!
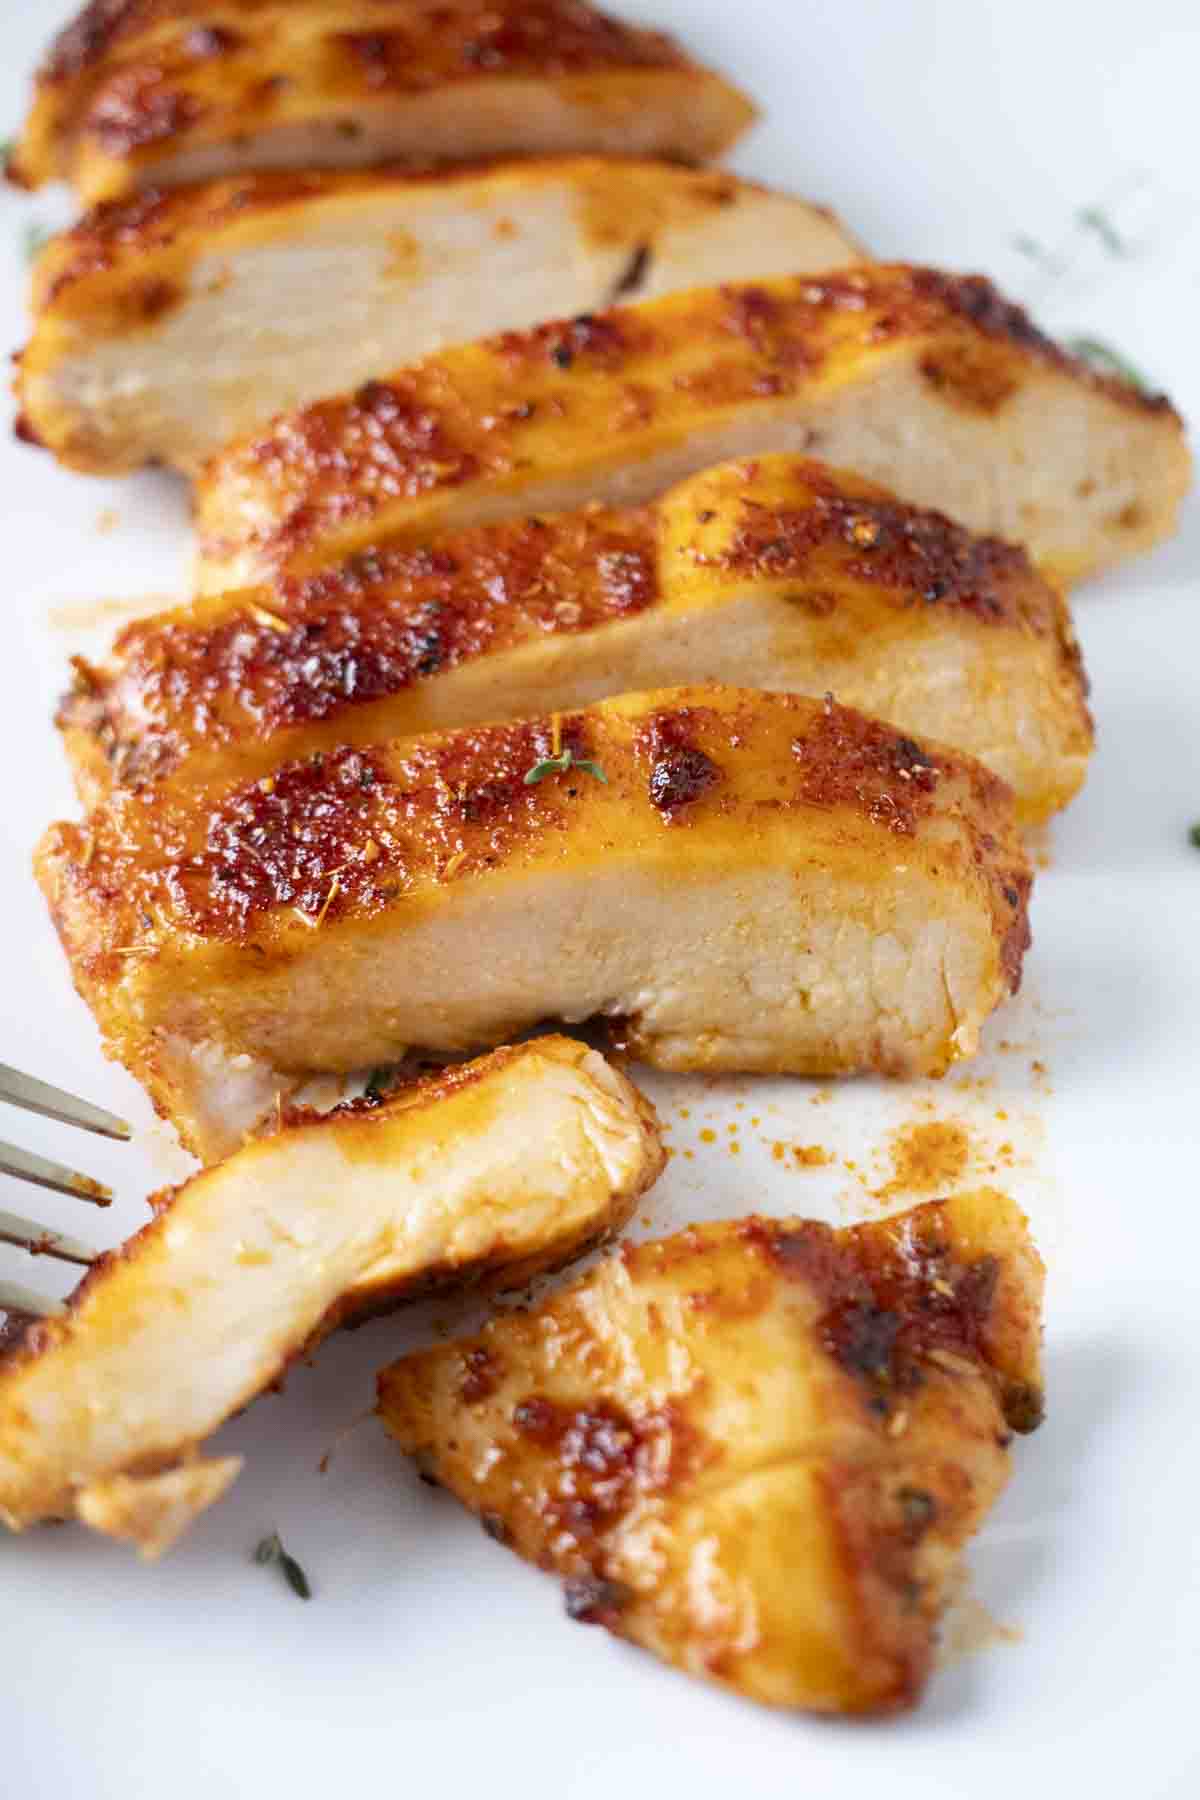
After so much testing – and trust me, it was a heck of a lot – we nailed it. Now, we have a recipe you’ll love and keep coming back to. Dig in and enjoy!
Jump to:
Ingredients
Whipping up the juiciest air fryer chicken breast is easy! You just need a few common ingredients, most of which you probably already have in your pantry. It takes a little planning, but trust us, the end result is so worth it.

- Chicken breast – We choose boneless, skinless chicken breasts because they’re simpler to cook. Plus, without the skin, they have less fat.
- Water – Dissolve the salt using warm water.
- Salt – Kosher salt and table salt differ in many ways, from flavor to crystal size. Table salt has smaller grains, meaning you get more salt per teaspoon than with Kosher salt. Also, table salt can sometimes have a metallic aftertaste.
- Olive oil – Use a light-tasting oil.
- Spice blend – Our tasty mix consists of smoked paprika, brown sugar, garlic powder, onion powder, oregano, salt, and freshly cracked black pepper. It’s a burst of flavors! But feel free to use your favorite spice blend.
See recipe card for the quantities.
What’s The Secret to Juicy Chicken Breast?
Want the best chicken breast ever? Here are some key steps to get you there.
- Flatten It Out: Start by pounding the breast to about half an inch thick. You can use a meat mallet or even a rolling pin.
- Brine Time: Next, it’s time to brine. Brining is soaking meat in a water and salt mix to make it tender. Some people add herbs, spices, or even stock to their brine. But we’re keeping it simple. Let your chicken sit in the brine for at least 30 minutes, or as long as overnight.
- Cooking Right: Last, it’s all about the right temperature and time. We cook our chicken in the air fryer at 360 degrees. It takes 10 to 13 minutes, depending on how thick the meat is. To be sure it’s cooked perfectly, use a kitchen thermometer. The chicken is ready when the inside hits 165 degrees.
Why Should I Pound The Chicken Breast Before Cooking?
Pounding the chicken breast with a meat mallet isn’t just about tenderizing. It’s also about consistency. By making the chicken an even thickness, you ensure that it cooks uniformly. This way, every bite is perfectly cooked and juicy.
Seasoning
We’ve crafted a special seasoning blend featuring smoked paprika, brown sugar, garlic powder, onion powder, oregano, salt, and freshly cracked black pepper (details in the recipe card below). It’s truly delightful. However, if you have a favorite blend you’d like to use, feel free. Just remember, since the chicken has been brined, you might want to cut back on the salt in your seasoning to balance things out.
Instructions
To whip up the juiciest chicken breast in the air fryer, follow these key steps: manually tenderize the meat, give it a good brine, season it to perfection, and let the air fryer do its magic. Here are the detailed steps:
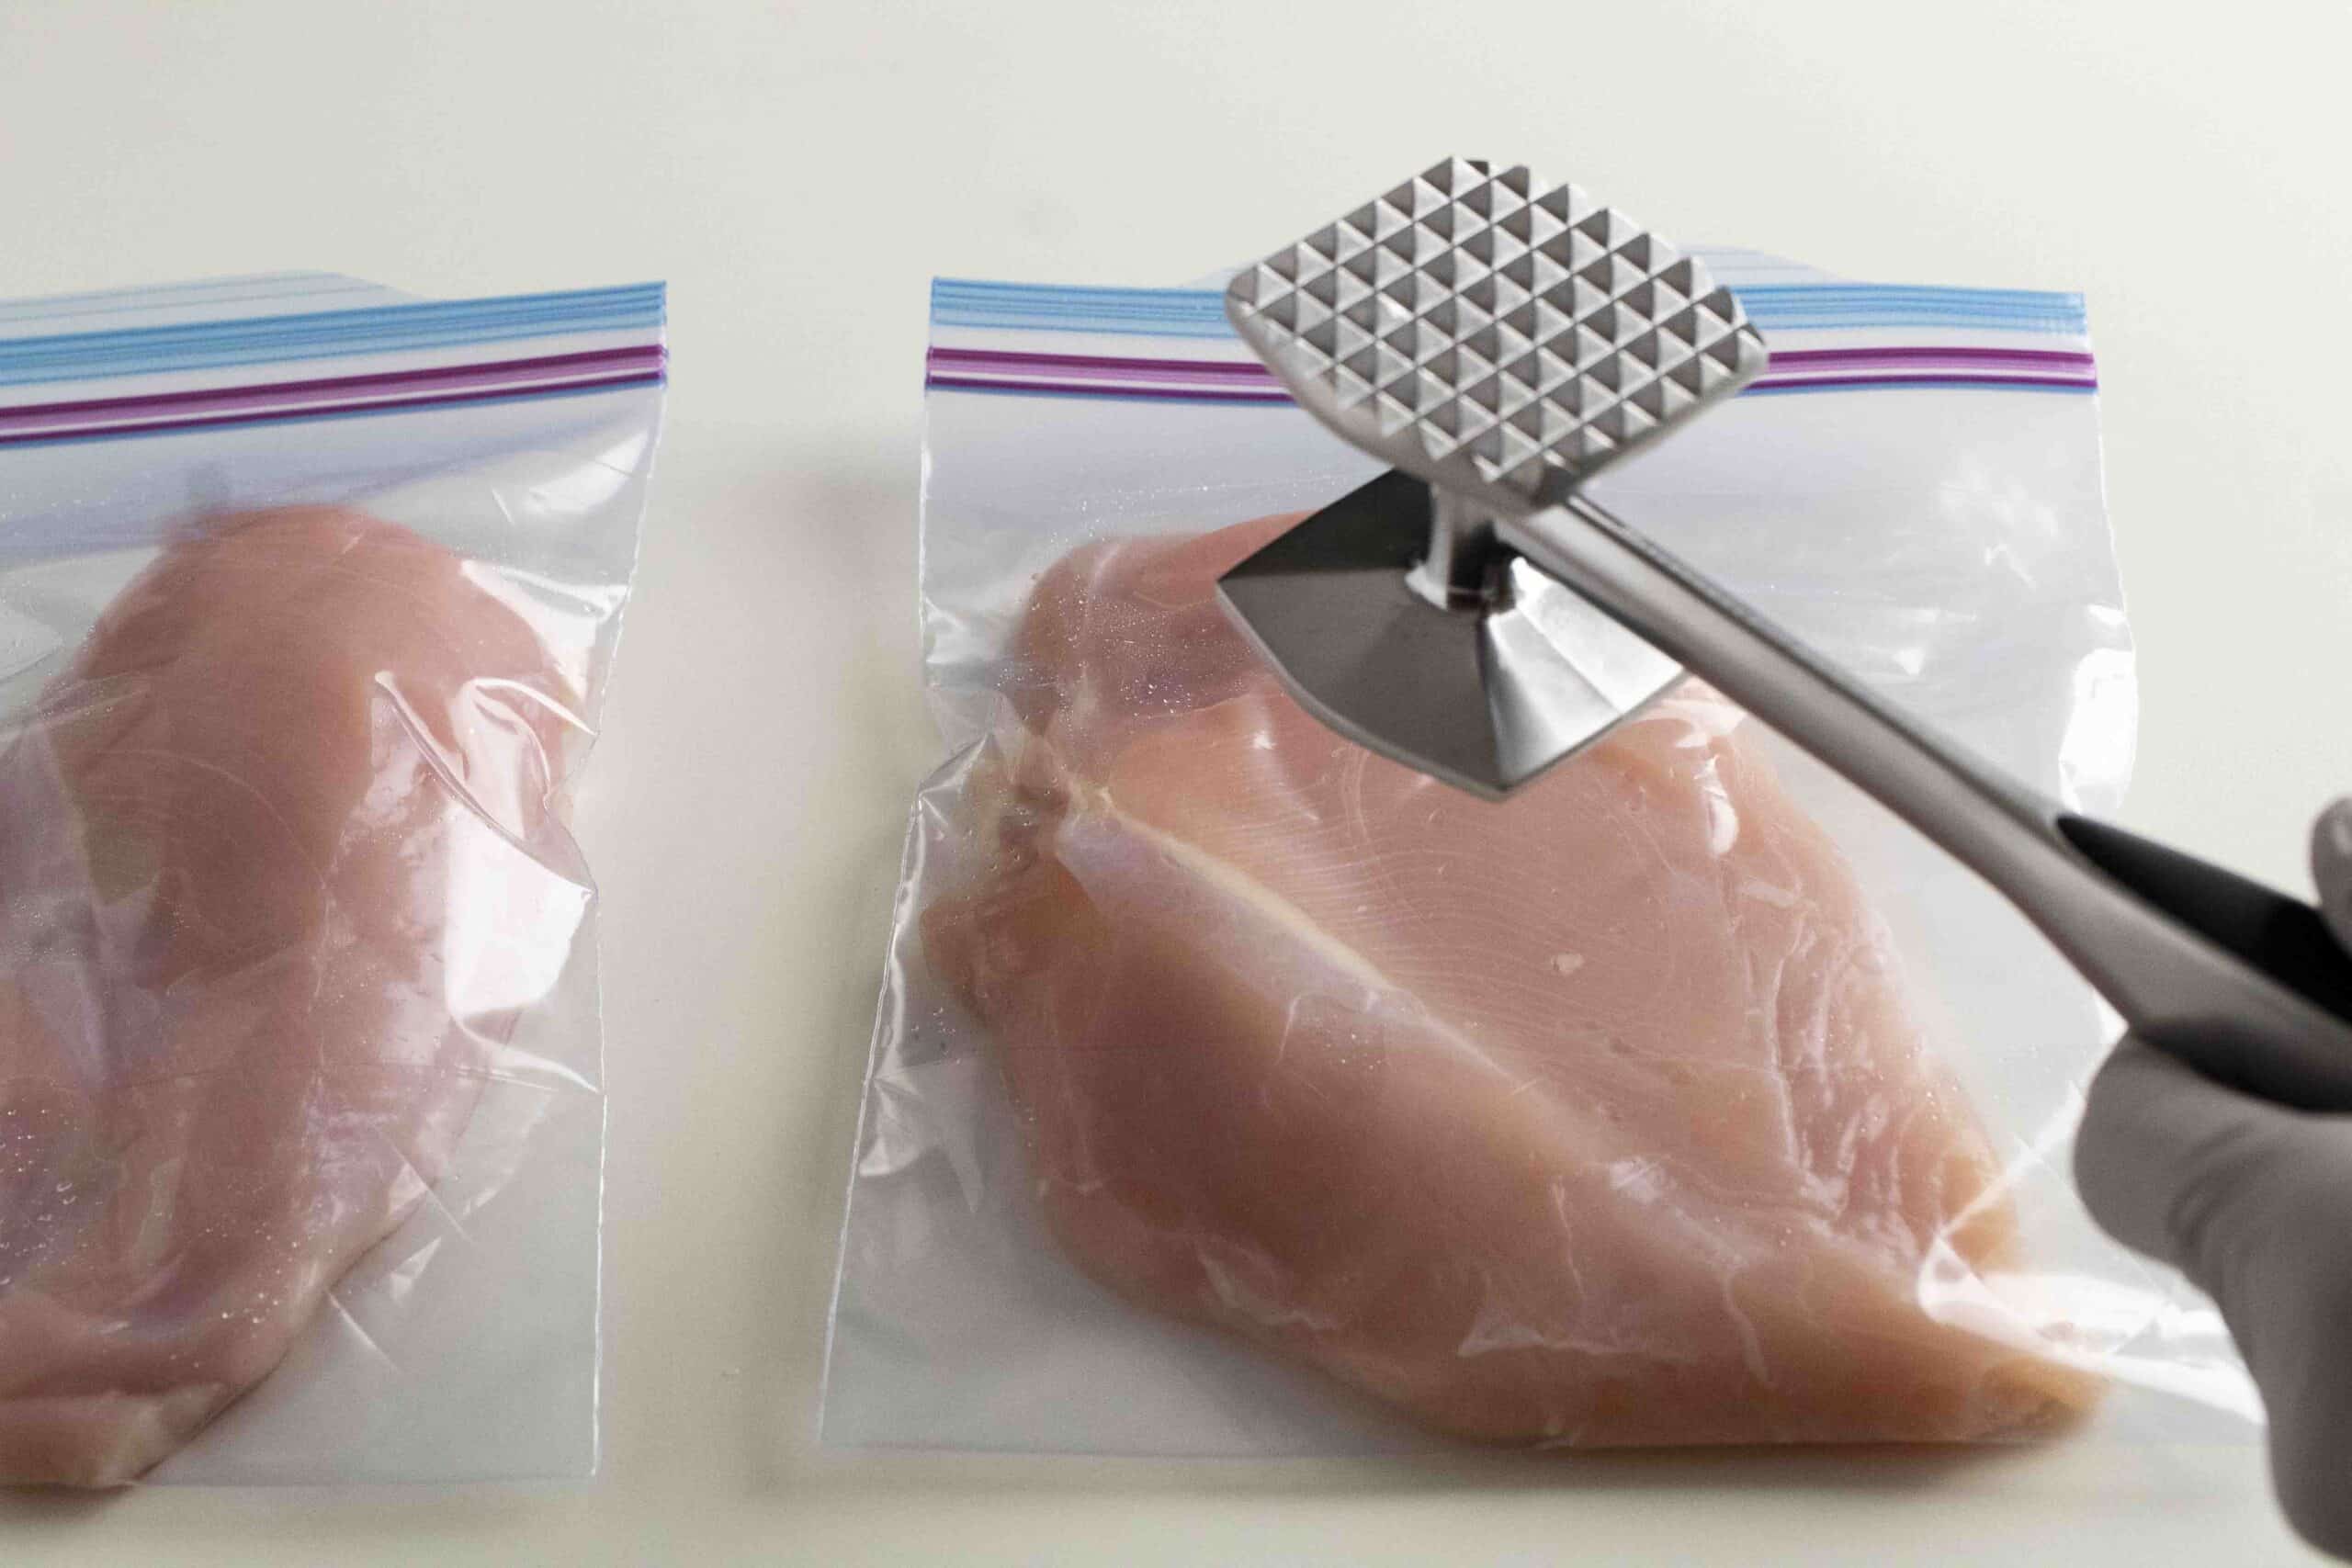
Put the chicken inside a freezer bag and then use a meat mallet to pound it to a uniform 1/2 inch thickness.
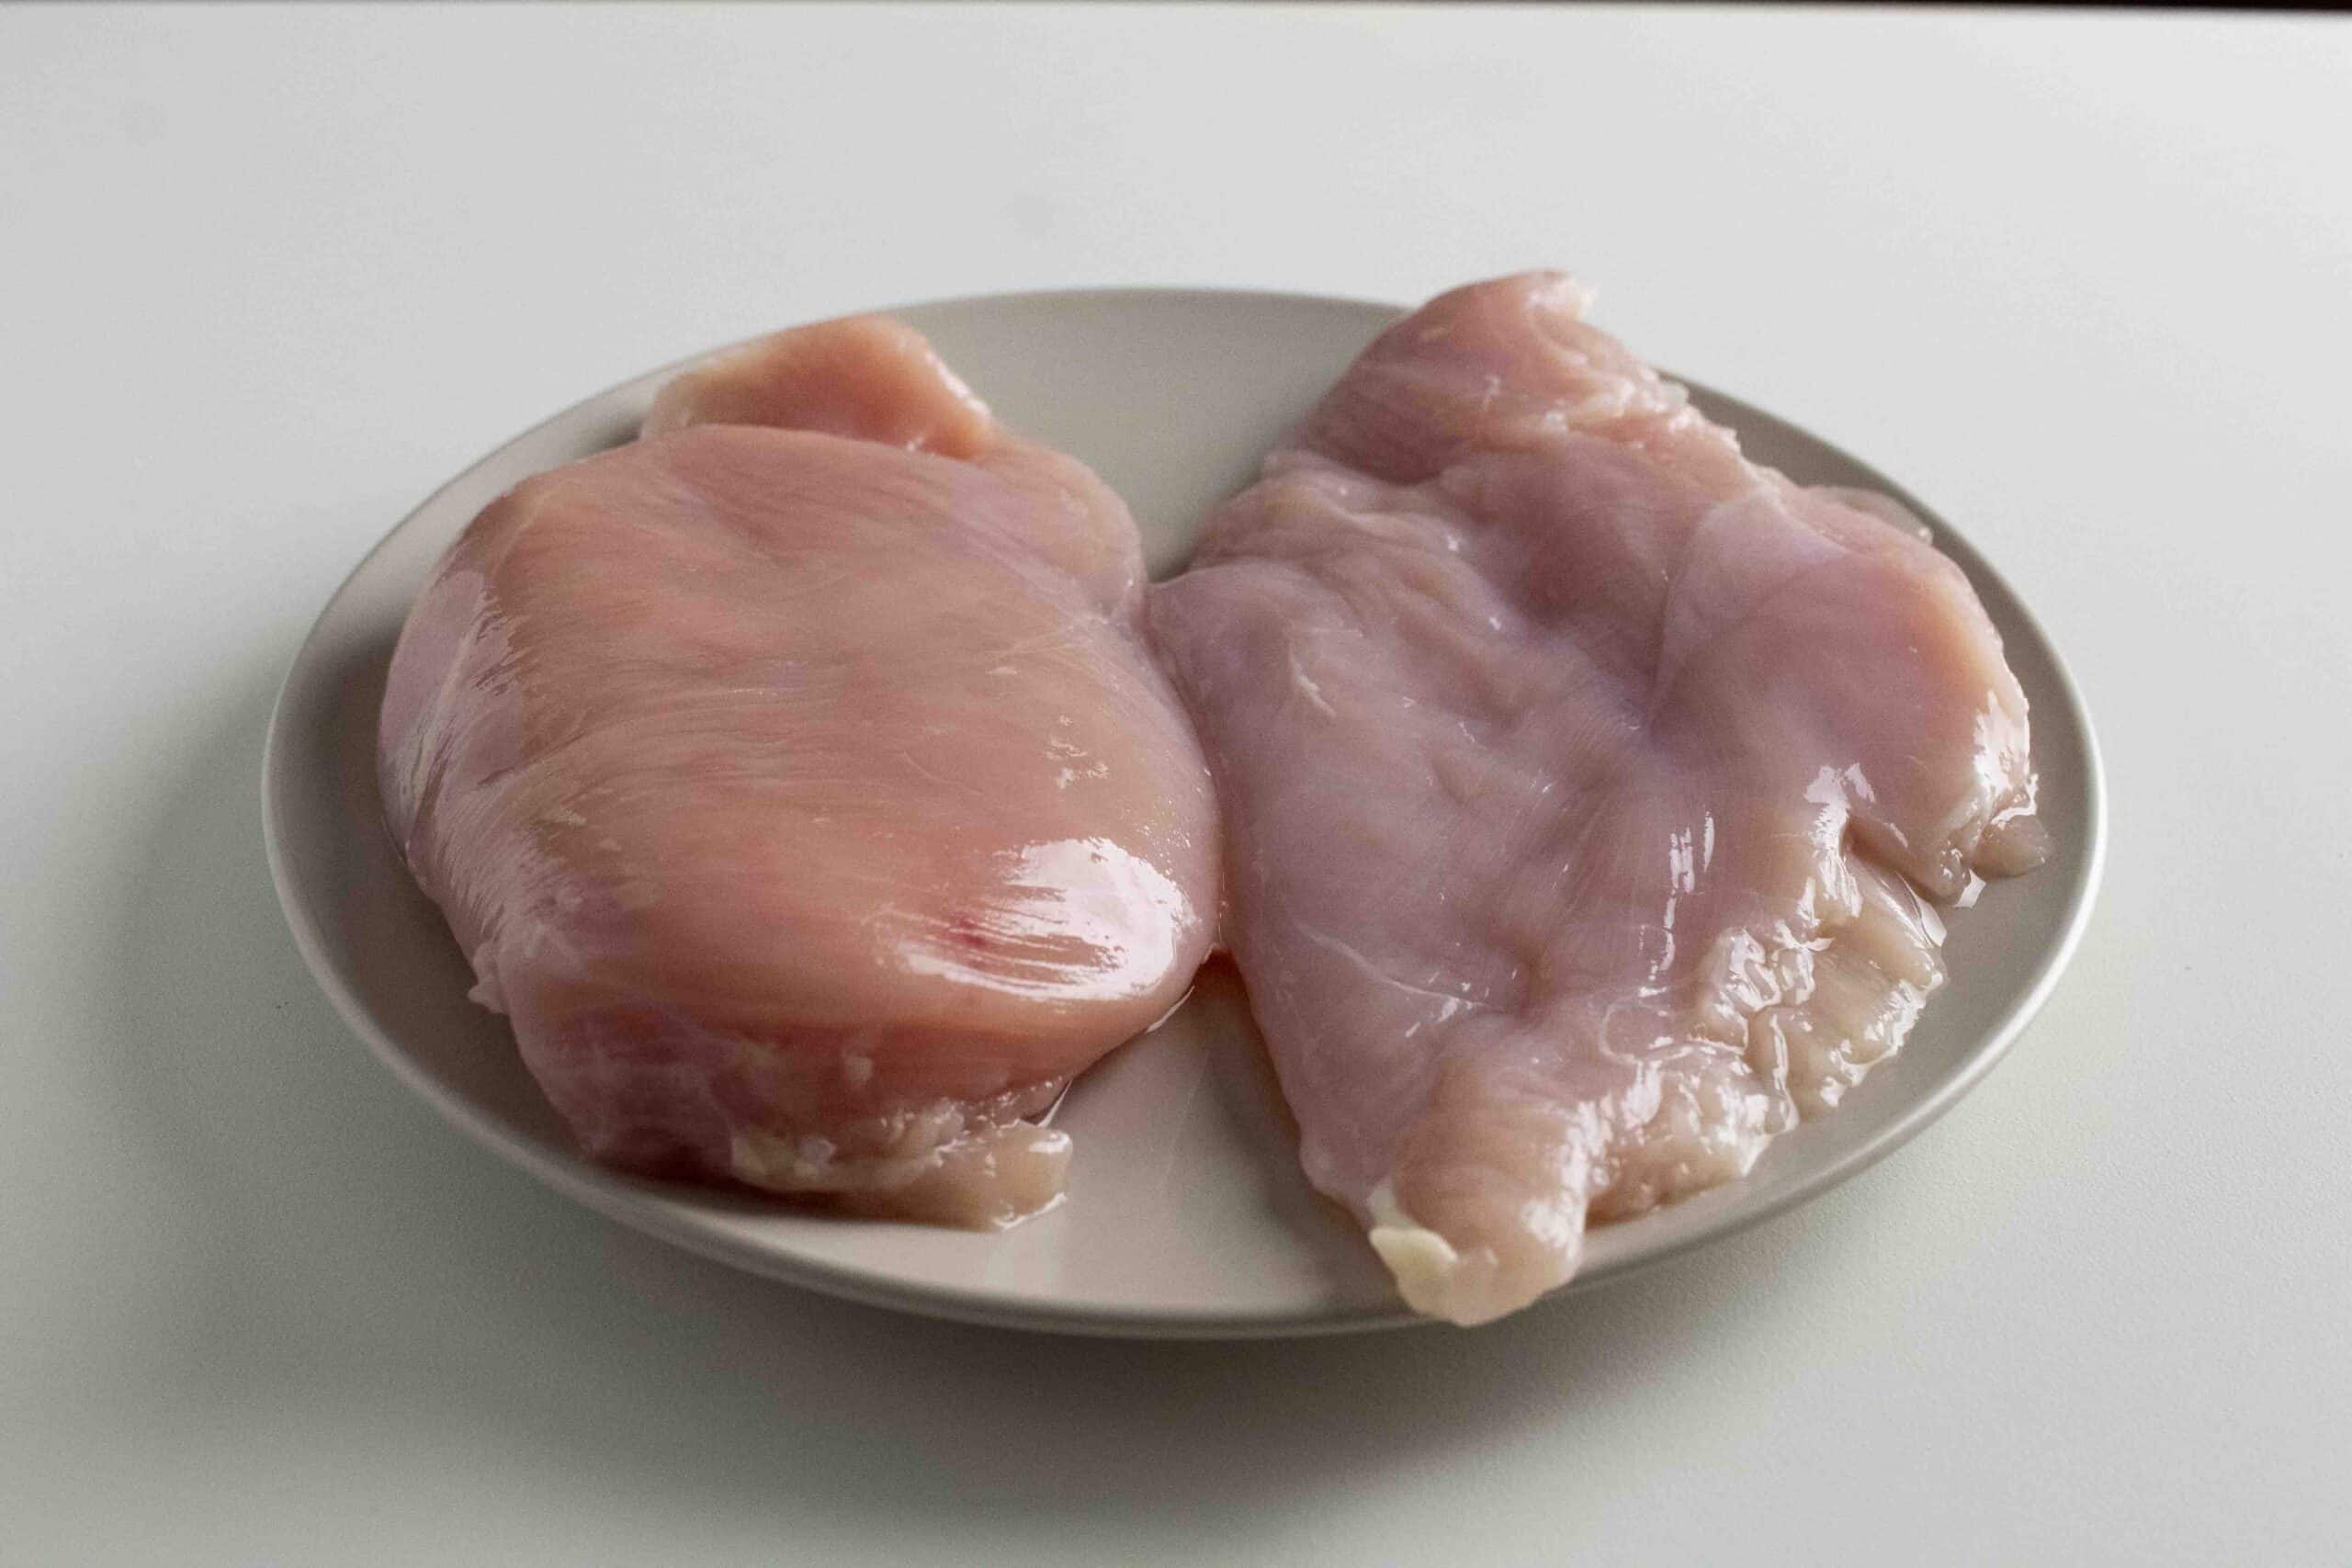
Notice the contrast: the chicken breast on the left is untouched, while the one on the right has been pounded to the desired thickness.
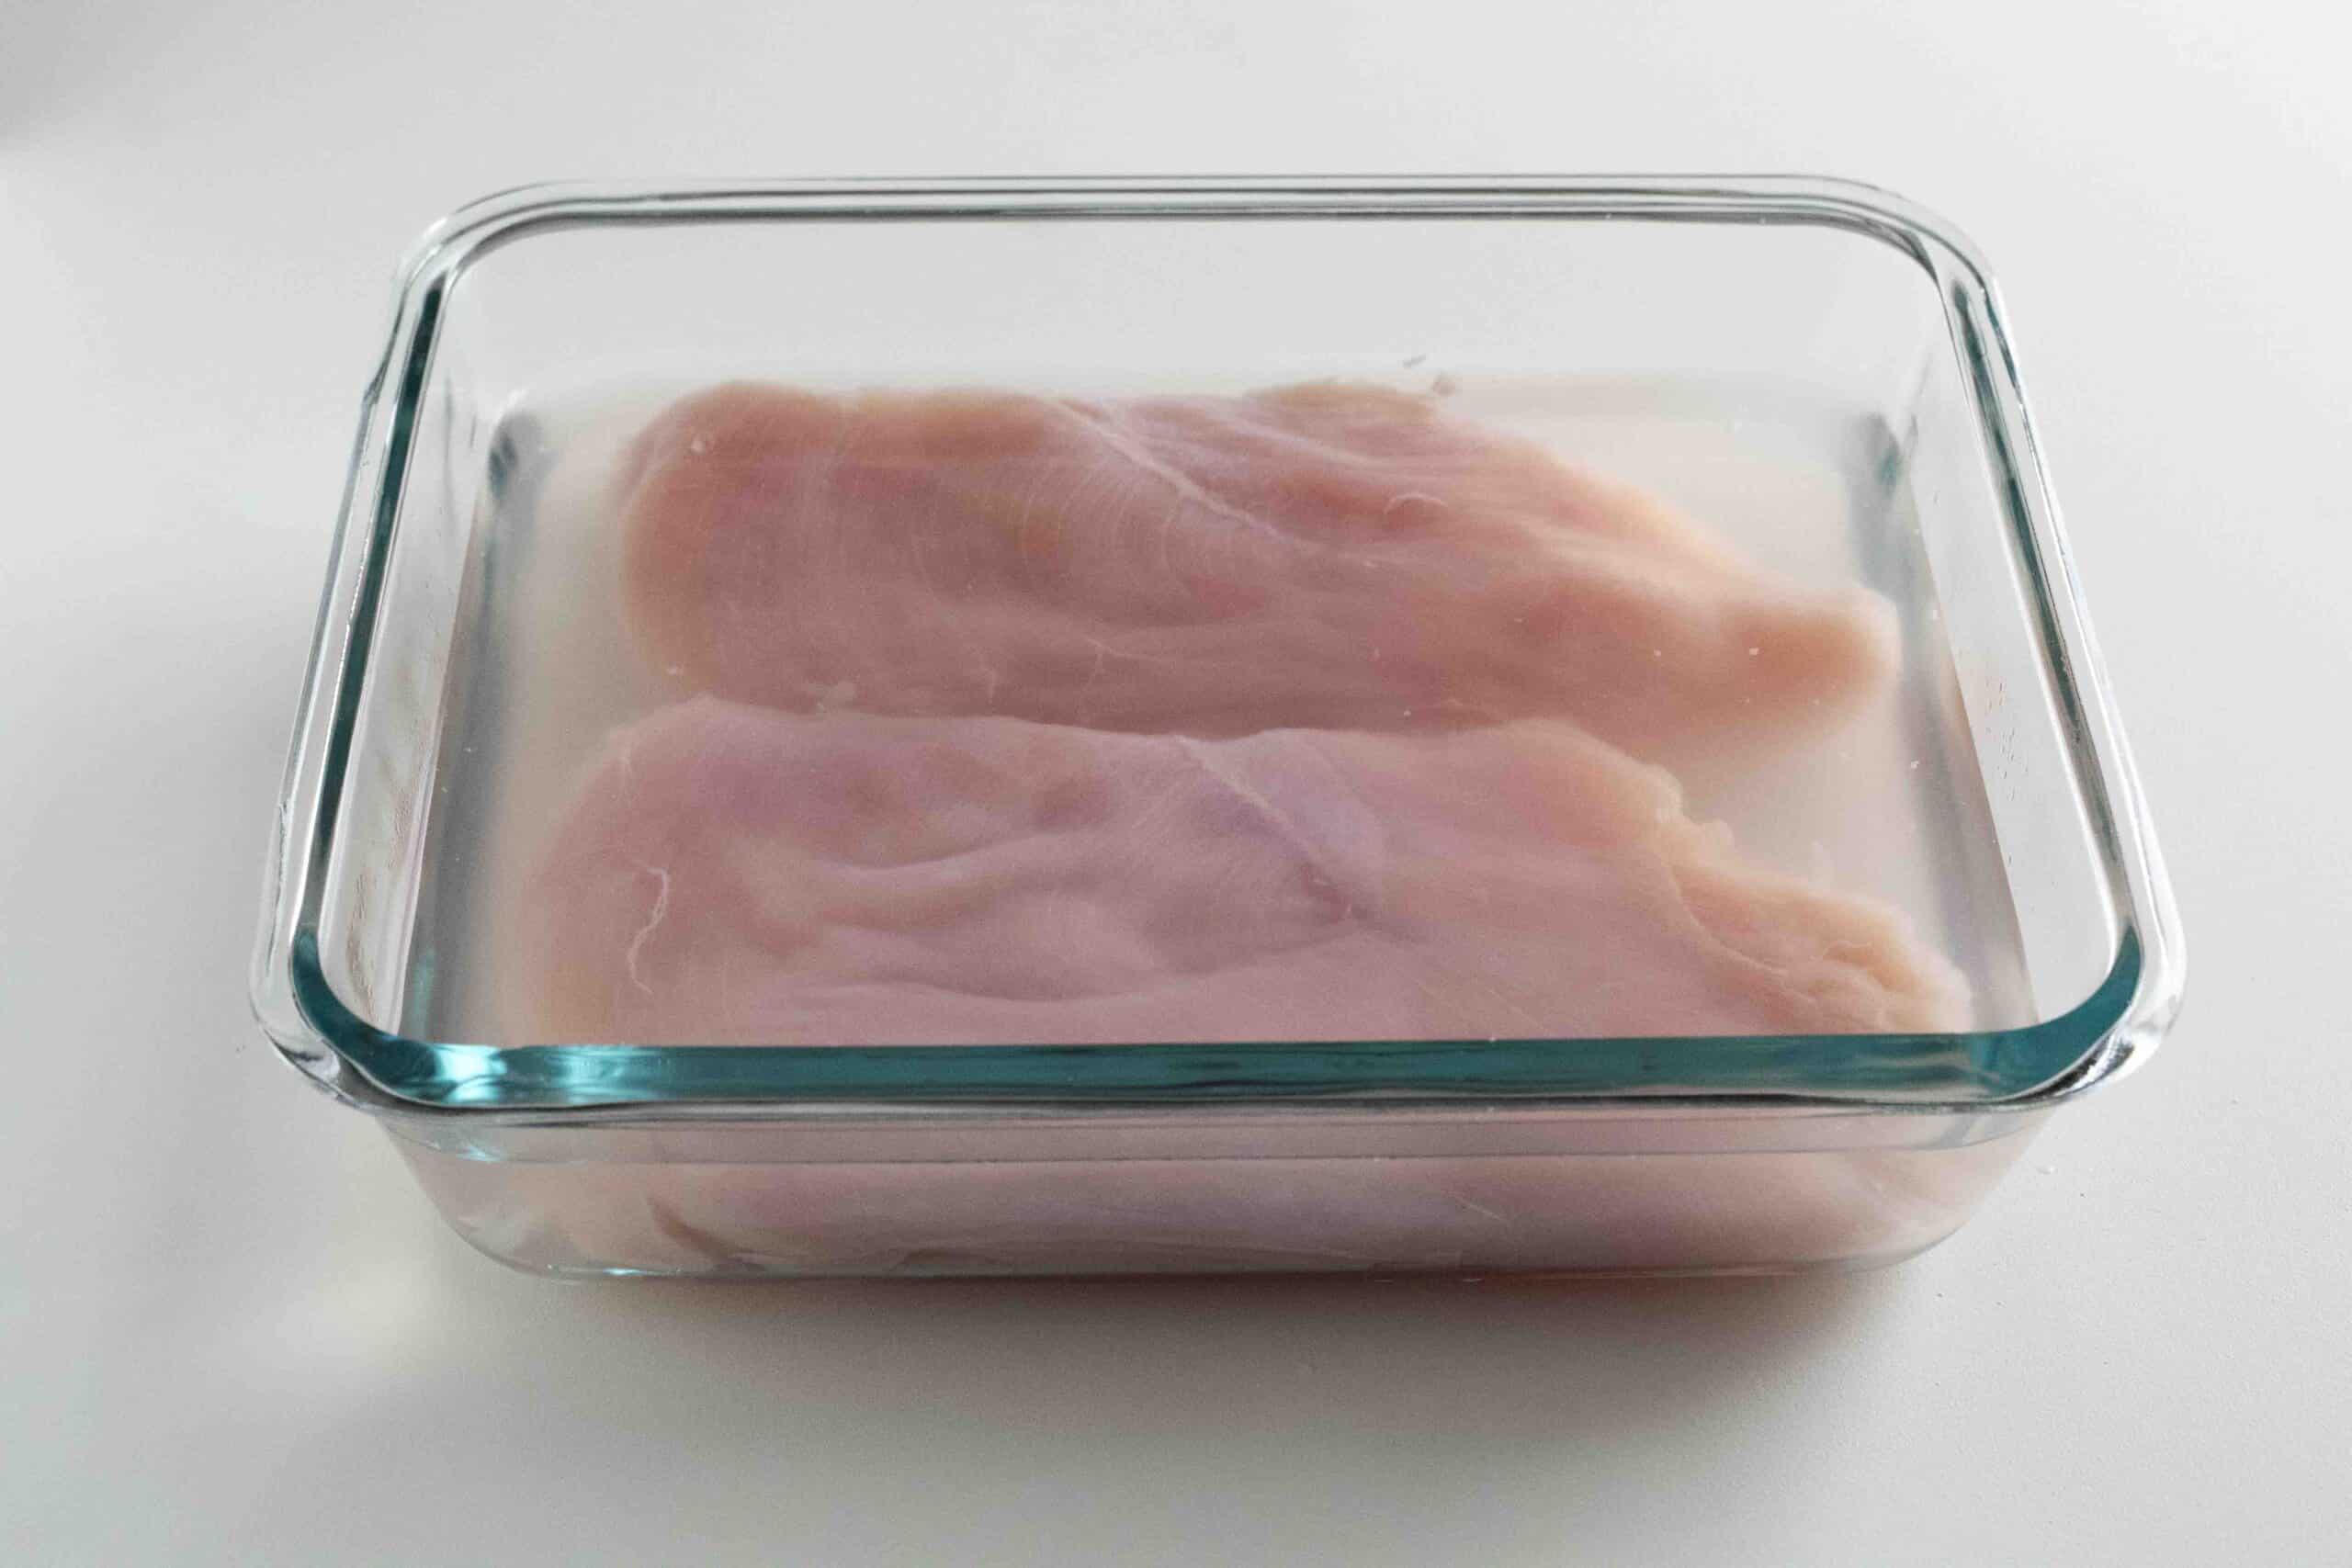
Mix the salt with warm water until it’s fully dissolved. After that, let the chicken soak in this solution for a minimum of 30 minutes, or you can leave it overnight for best results.
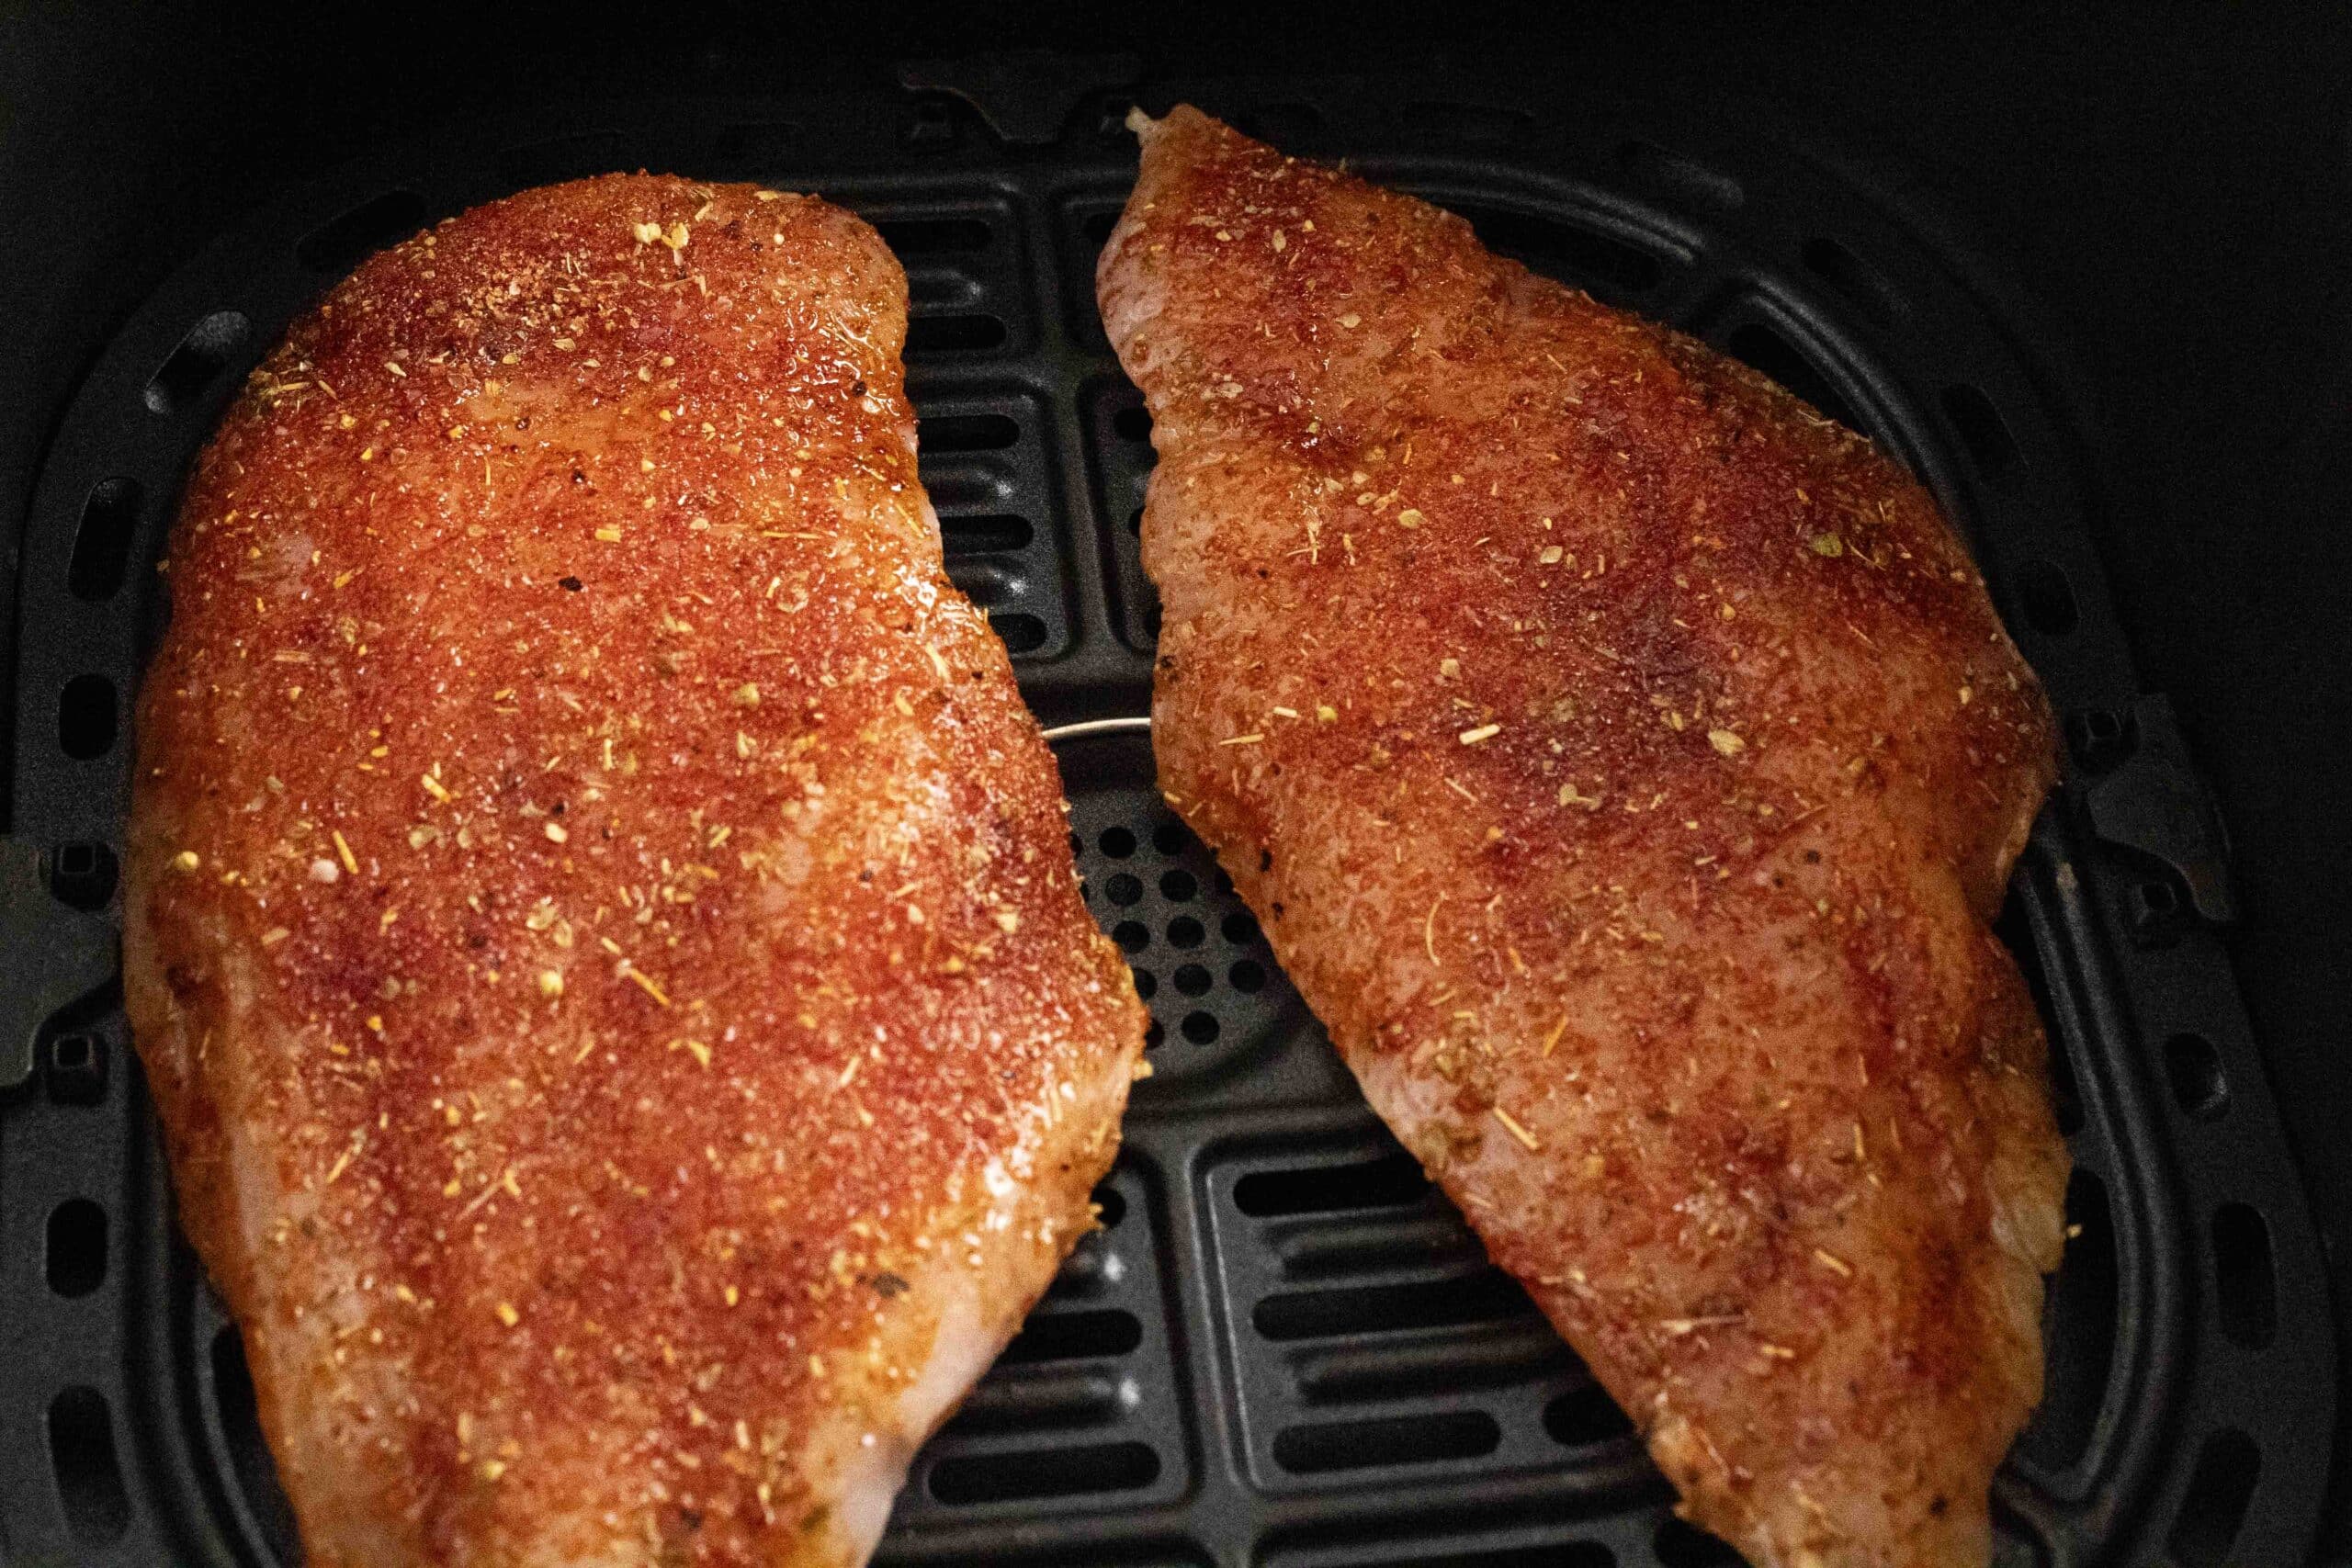
Put the chicken in the air fryer basket and set the temperature to 360 degrees. Cook for 10 to 13 minutes, varying based on the chicken’s thickness. Always use a food thermometer to ensure the internal temperature is just right.
Hint: To guarantee juicy, perfectly-cooked chicken, use a food thermometer. Check the internal temperature around the 10 or 11-minute mark. This will help you ensure it’s cooked just right.
Should You Rest…?
I’m not talking about you taking a break, but the chicken. The debate on whether to rest meat is age-old. Experts, including BBQ guru Meathead, suggest that for meats cooked to 165 degrees or below, resting might not always be beneficial. Yet, many cookbooks advise it. So, what should you trust? From our experience, whether we let this chicken breast rest or served it right out of the fryer, the juiciness seemed pretty consistent.
Equipment
Using a food thermometer is our go-to method to guarantee that our chicken breasts are cooked just right and are safe to consume. It’s truly the most dependable way to check if your chicken is ready to eat.
Storage & Reheating
To keep your juicy chicken breast fresh, store it in a sealed container for up to three days. When you’re ready to enjoy it again, reheat it on the stovetop using a skillet. Add some stock and warm it over medium-high heat for about three to five minutes.
Top Tip
The best tip for making air fryer chicken breast is to ensure even thickness. By pounding the chicken breast to a uniform thickness (usually about 1/2 inch), it ensures even cooking. This way, the entire piece of chicken cooks at the same rate, preventing parts of it from drying out while waiting for thicker sections to cook through.
FAQ
We set our cooking temperature for the chicken breast at 360 degrees. When we experimented with a higher temperature, the chicken ended up being less tender.
Once you’ve pounded the chicken breast, it becomes quite thin. Through our testing, we discovered that air frying them for a maximum of 13 minutes results in perfectly tender chicken.
Liberally! We prefer giving the chicken a hearty sprinkle with our special seasoning mix. The blend offers a delightful mix of sweet, salty, and tangy flavors that elevate the chicken to a whole new level of yum!
Juicy Air Fryer Chicken Breast Recipe
Equipment
- 1 Kitchen Thermometer
- 1 Air Fryer
Ingredients
- 2 Boneless Chicken Breast 6-8 Ounces Each
Brine
- 20 Oz Tap Water
- 1 Oz Kosher Salt
Seasoning Blend
- 1 Tbsp Light Brown Sugar
- 1 Tsp Smoked Paprika
- 1 Tsp Dried Oregano
- 1/2 Tsp Garlic Powder
- 1/2 Tsp Kosher Salt
- 1/4 Tsp Onion Powder
- 1/4 Tsp Freshly Ground Black Pepper
Instructions
- Put the chicken breast in a ziplock bag and place it on a cutting board. Using a meat mallet, lightly pound the meat into an even thickness and set aside.
- For the Wet Brine, put the salt and half the water in a small saucepan. Heat until the salt has dissolved. Then, add the remaining water to help cool it down.
- Pour the cooled brine into the ziplock bag with the chicken making sure it's completely submerged. Then refrigerate for at least 30 minutes or up to a day.
- In a small bowl, add the brown sugar, paprika, oregano, garlic powder, salt, onion powder, and black pepper. Mix until completely combined and set aside.
- Preheat the Air Fryer to 360 degrees.
- Remove the chicken from the brine and pat dry with a paper towel. Lightly brush the chicken with olive oil and season with this blend or use your favorite blend.
- Place the chicken in the air fryer basket and cook for 6 minutes.
- Carefully flip the chicken and cook for an additional 4-7 minutes or until the chicken has reached 165 degrees.
- Remove the chicken and allow it to rest for 5 minutes. Enjoy!
Notes
- You want to pound the meat before cooking. This will ensure that the meat cooks evenly without the thinner part being overcooked and dry.
- You can use a rolling pin or a heavy skillet if you don’t have a meat mallet.
- The brine should be completely cooled before you add the chicken.
- Make sure you rub the seasoning blend all over the chicken.
Nutrition


Leave a Reply