
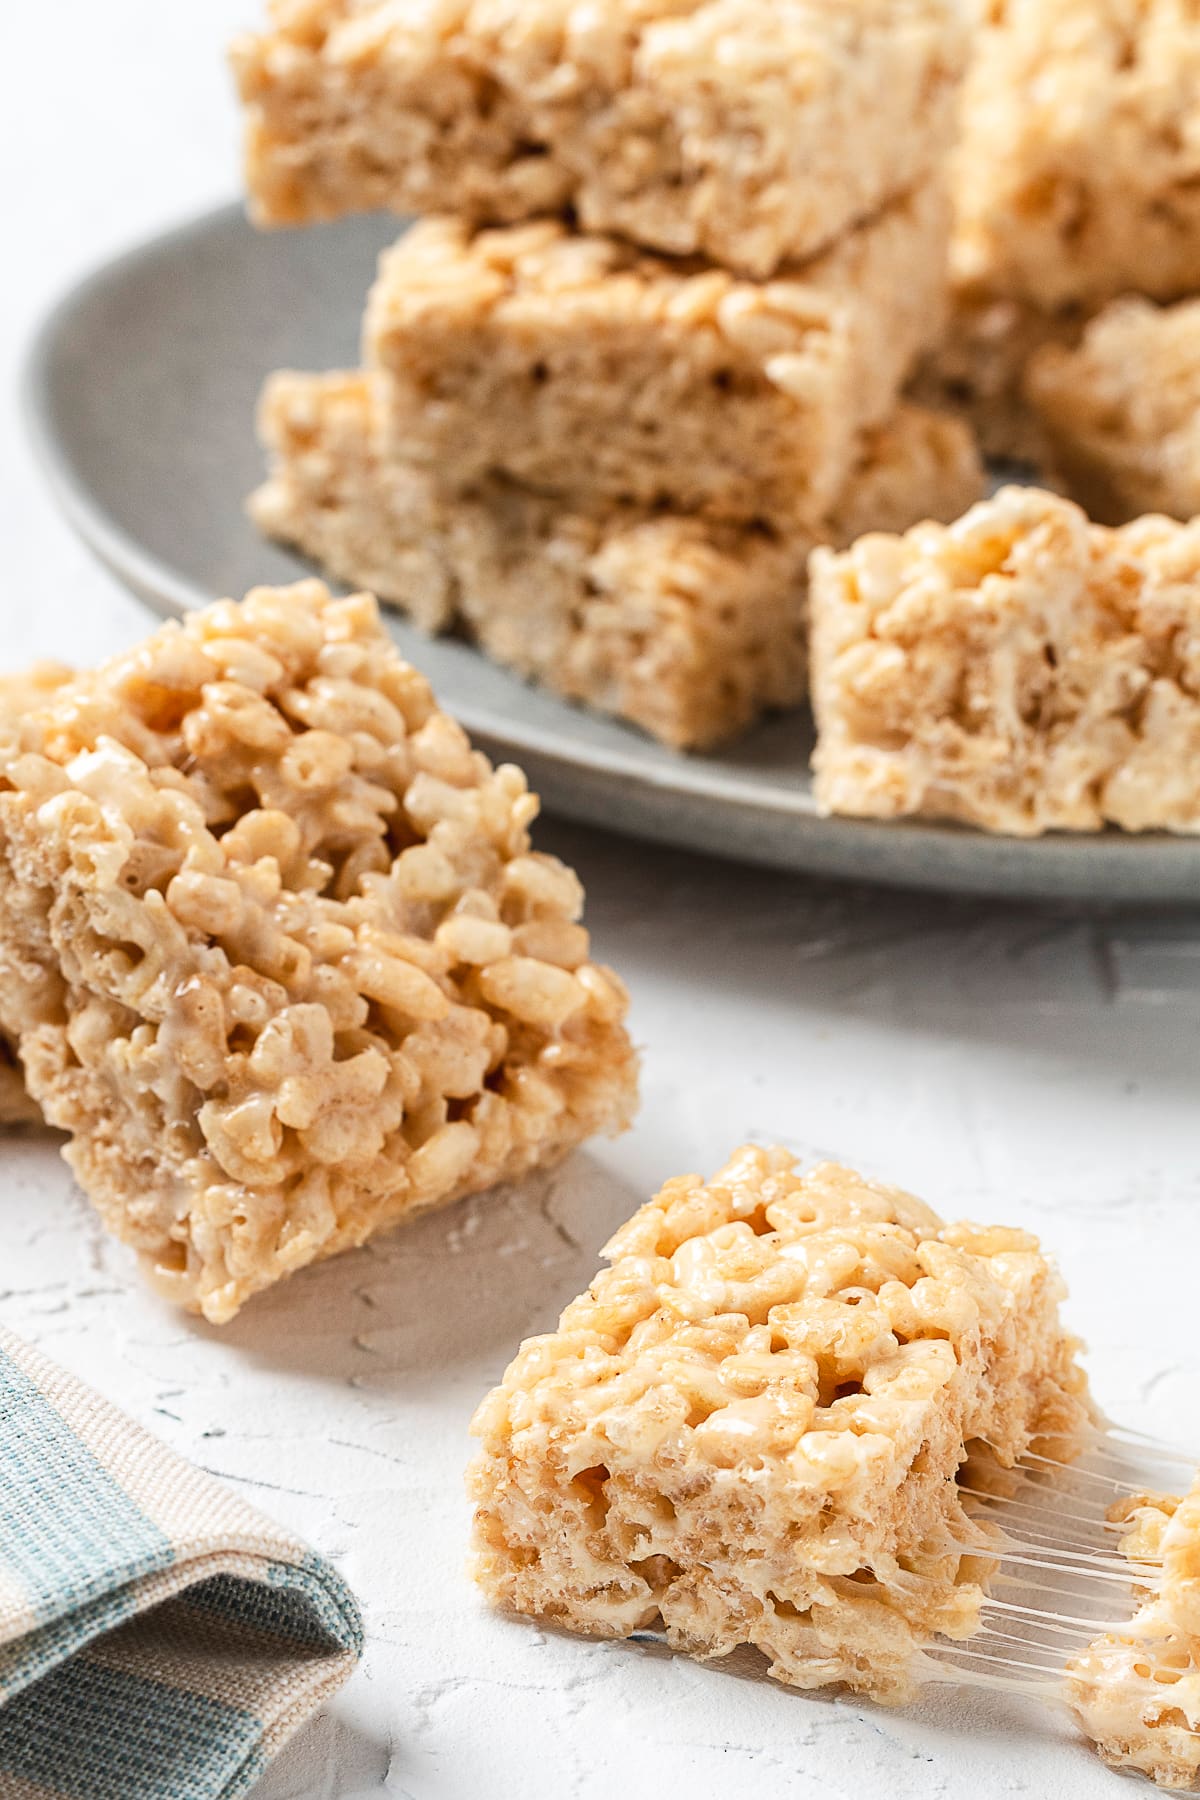
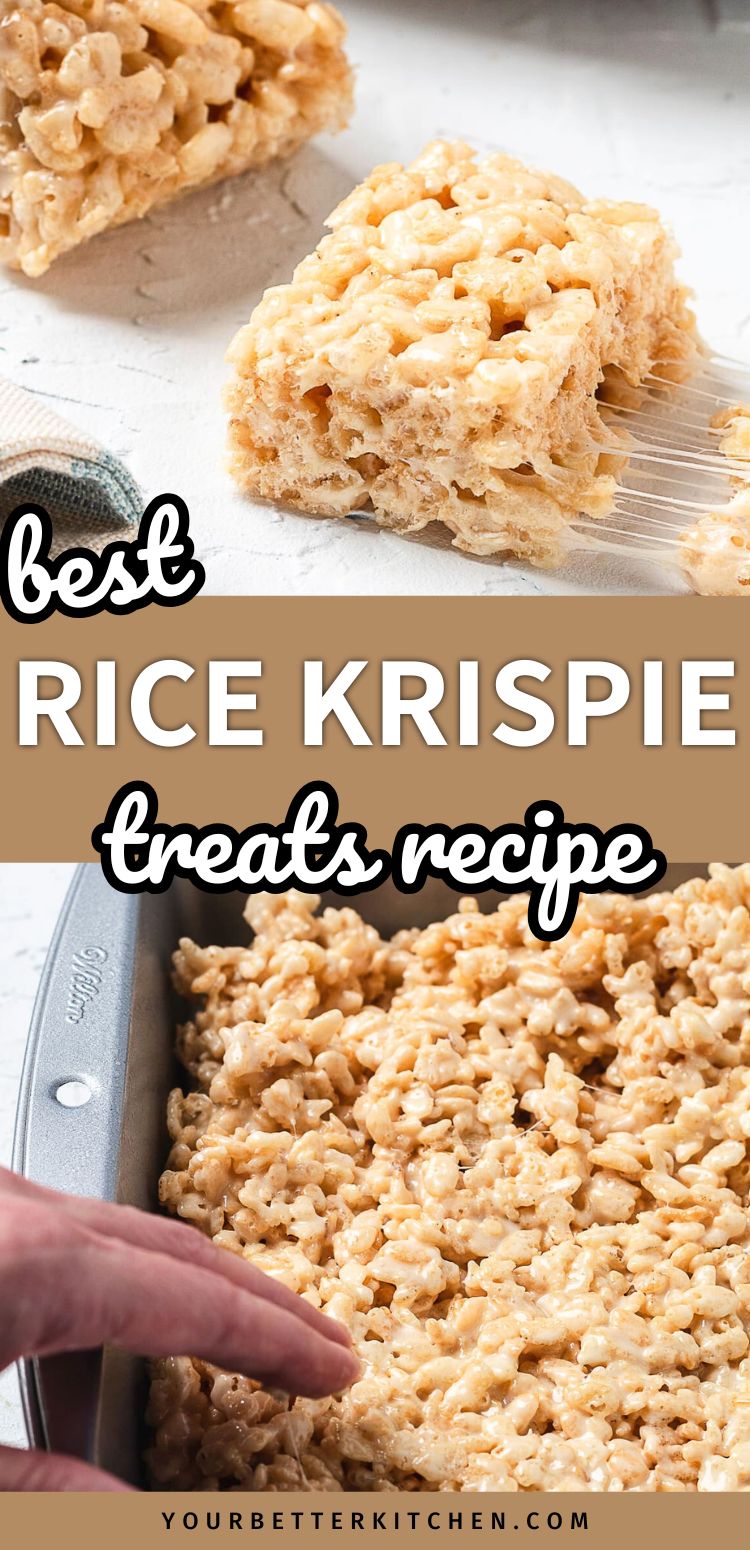
Our Condensed Milk Rice Krispie Treats are gooey, chewy, yet slightly crispy, and stay soft for days. But not all rice cereal treat recipes hit the mark. So, we created one of our own. It’s extra gooey and extra addictive!
Don’t you just love throwback treats like this? Just one itty bitty bite can take you on a walk down memory lane, you know, to simpler times. But only for a moment. You’ve got bills, work, and DIY projects to do. 😉
Treats are great any time of year. We love them in the summer when turning on the oven is out of the question. But they really take center stage for celebrations like birthdays, holidays, and even grad parties. Kids will go bonkers when they see a big tray of them (who am I kidding, adults will too).
By the way, are you on the hunt for delicious rice krispie treats? Check out the Rice Krispie treat recipes people keep making again and again.
Jump to:
❱❱ PIN IT OR FORGET IT ❰❰
Why You’ll Love This Recipe…
- Are you the worst cook you know? Do you start sweating when you’re invited to a potluck? Well, stop stressing, my dear. This is a no-fail, no-bake dessert that you can’t really mess up…unless you try to. It’s literally one of the easiest desserts you can make.
- You can’t talk about Rice Krispie Treats without talking about how gooey and delicious they are. But I wasn’t satisfied with the amount of gooiness most recipes have, so I upped the ante. But don’t worry, they still have the right balance of chewy and crispy.
- You can’t go wrong with rice cereal treats. I’ve literally never met a person that doesn’t like them. Have you? I didn’t think so. Does your kid have a birthday party coming up? Add them to the menu. Office holiday party? Bring a tray and watch them vanish (just make sure to set some aside for yourself).
- You can make them your own! As is, this recipe is a winner, but really it’s just the base. Make your treats gourmet. Better yet, make them Insta-worthy. Spread on chocolate and peanut butter, sprinkle in freeze-dried fruit, cookies…I could go on forever, baby! (obscure Home Alone 2 reference)
Ingredients
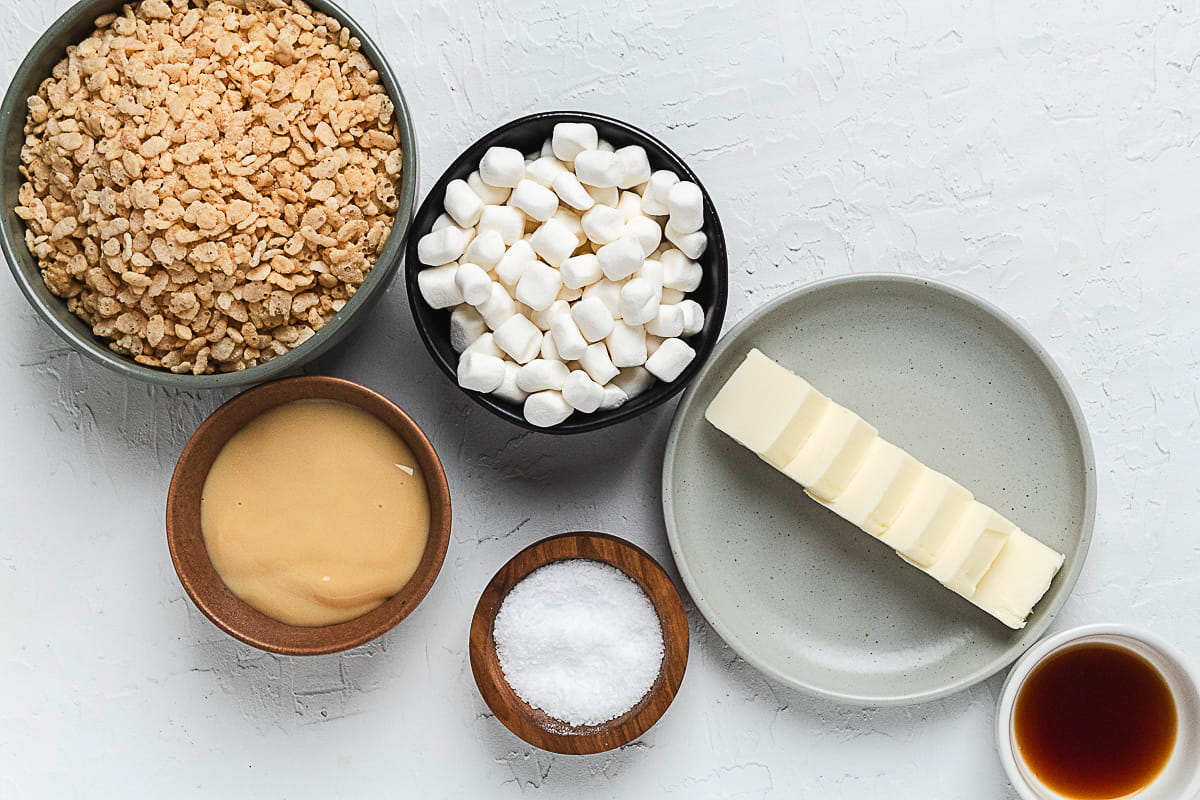
- Rice Cereal – we’ve used both the national and generic brands. The results are similar.
- Marshmallows – use mini marshmallows because the melt faster.
- Butter – unsalted butter.
- Vanilla Extract – adds a professional baker-quality touch. We’ve tried them with and without vanilla and it definitely makes a difference.
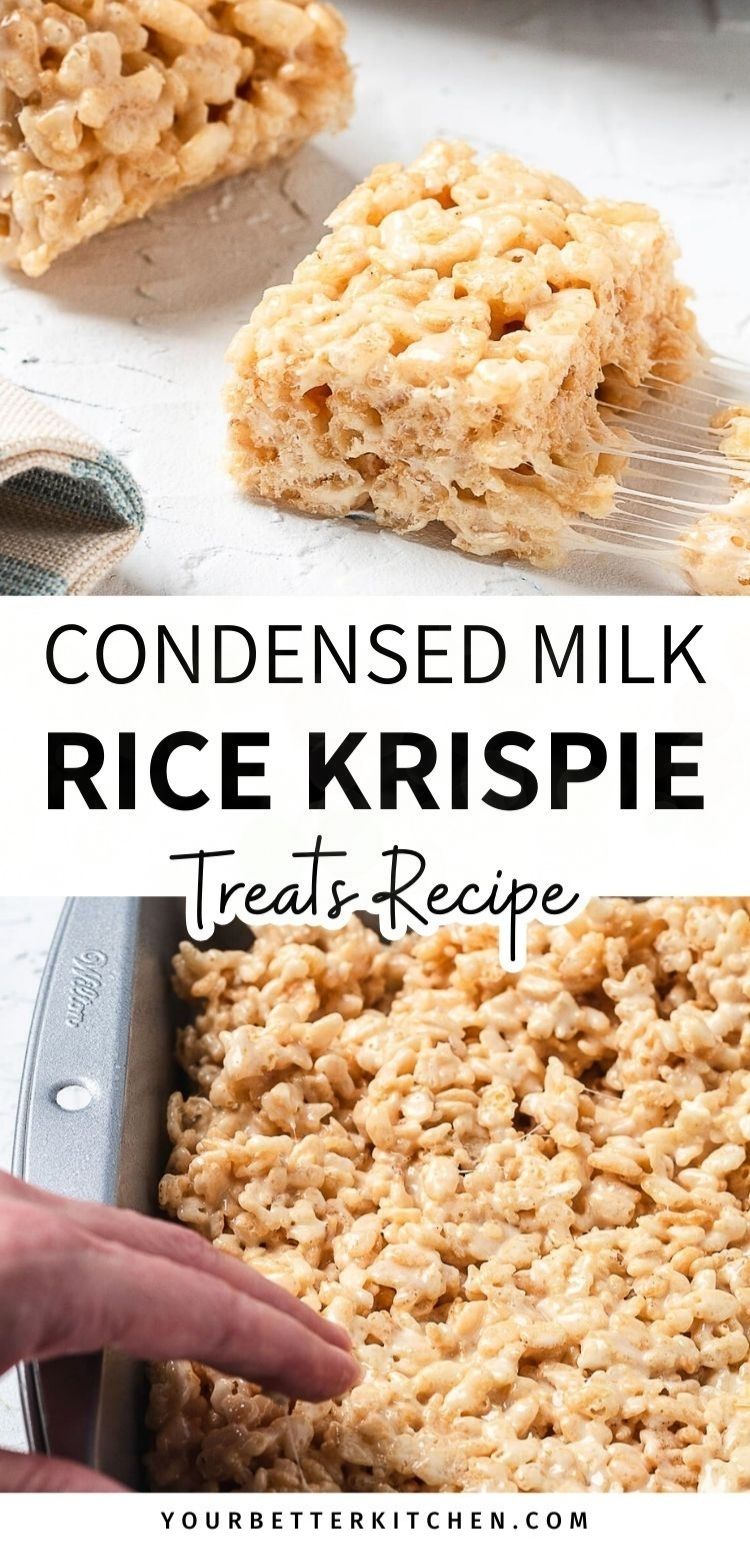
- Condensed Milk – the secret ingredient for extra rich and gooey gourmet treats.
- Salt – a pinch of salt makes them taste just a little sweeter. That’s a good thing!
See the recipe card for quantities.
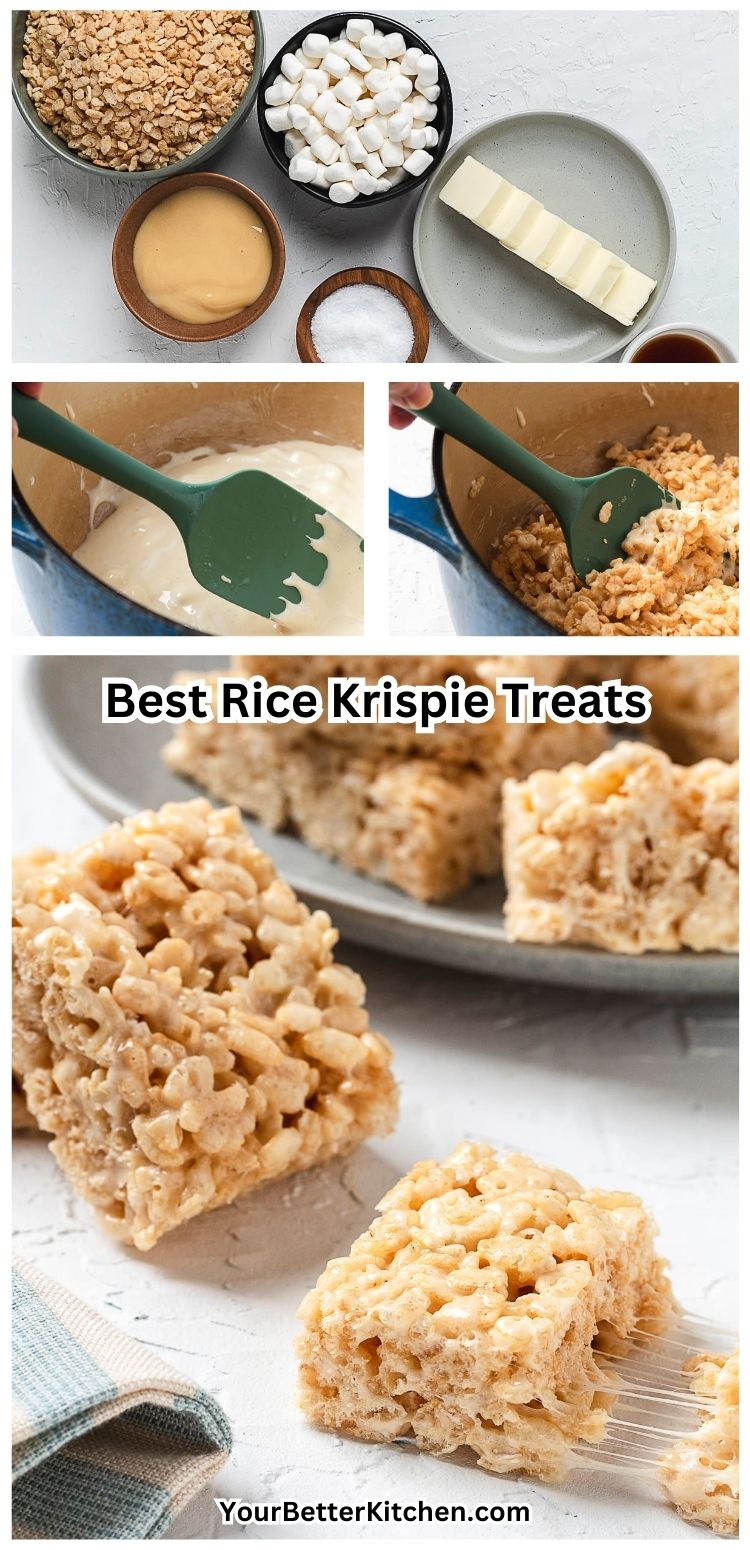
How to Make The Best Rice Krispie Treats
Prepare a 9×13 inch pan by spraying it with butter cooking spray. Set aside.
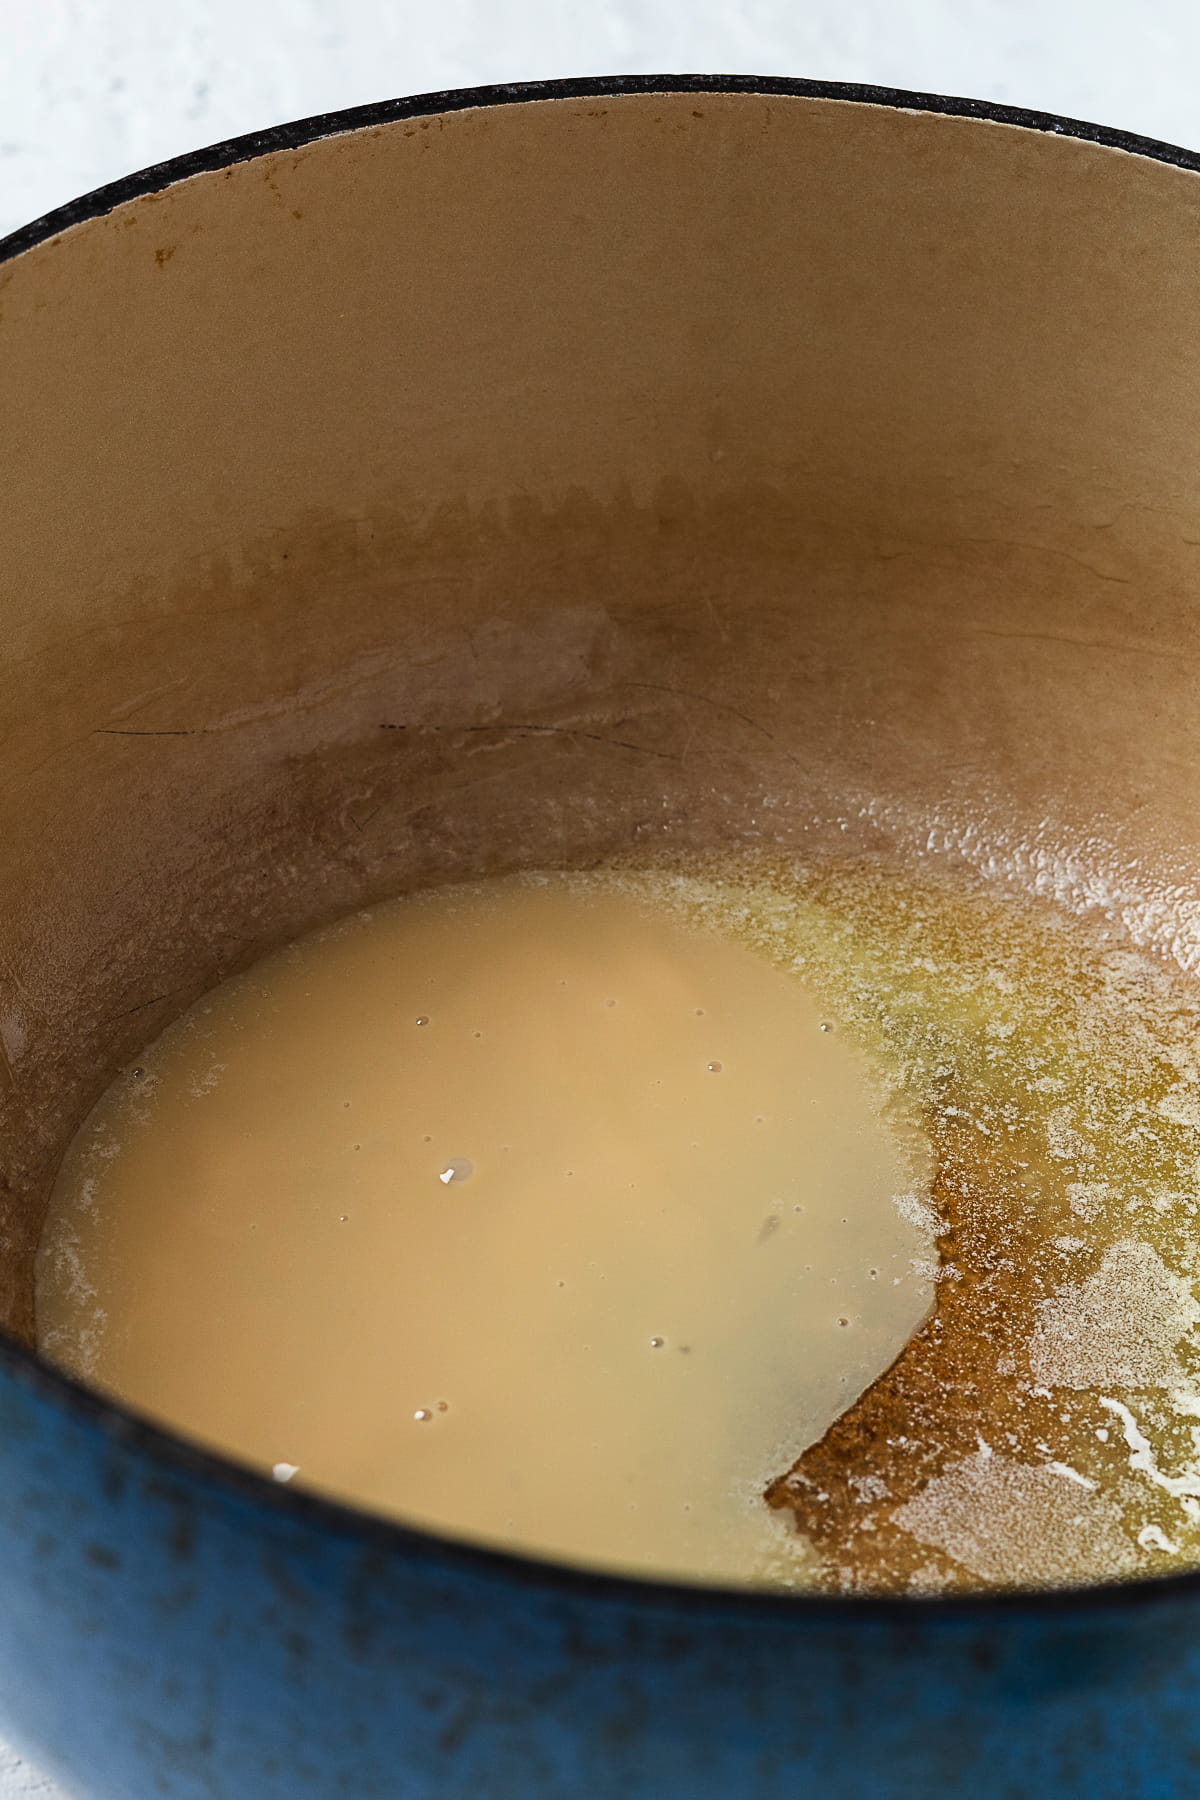
Add a large pot over medium heat, melt the butter with the salt. Stir as the butter melts. Spread some of the butter onto the sides of the pot. This helps prevent the mixture from sticking to the sides.
Next, add the sweetened condensed milk. Stir to combine.
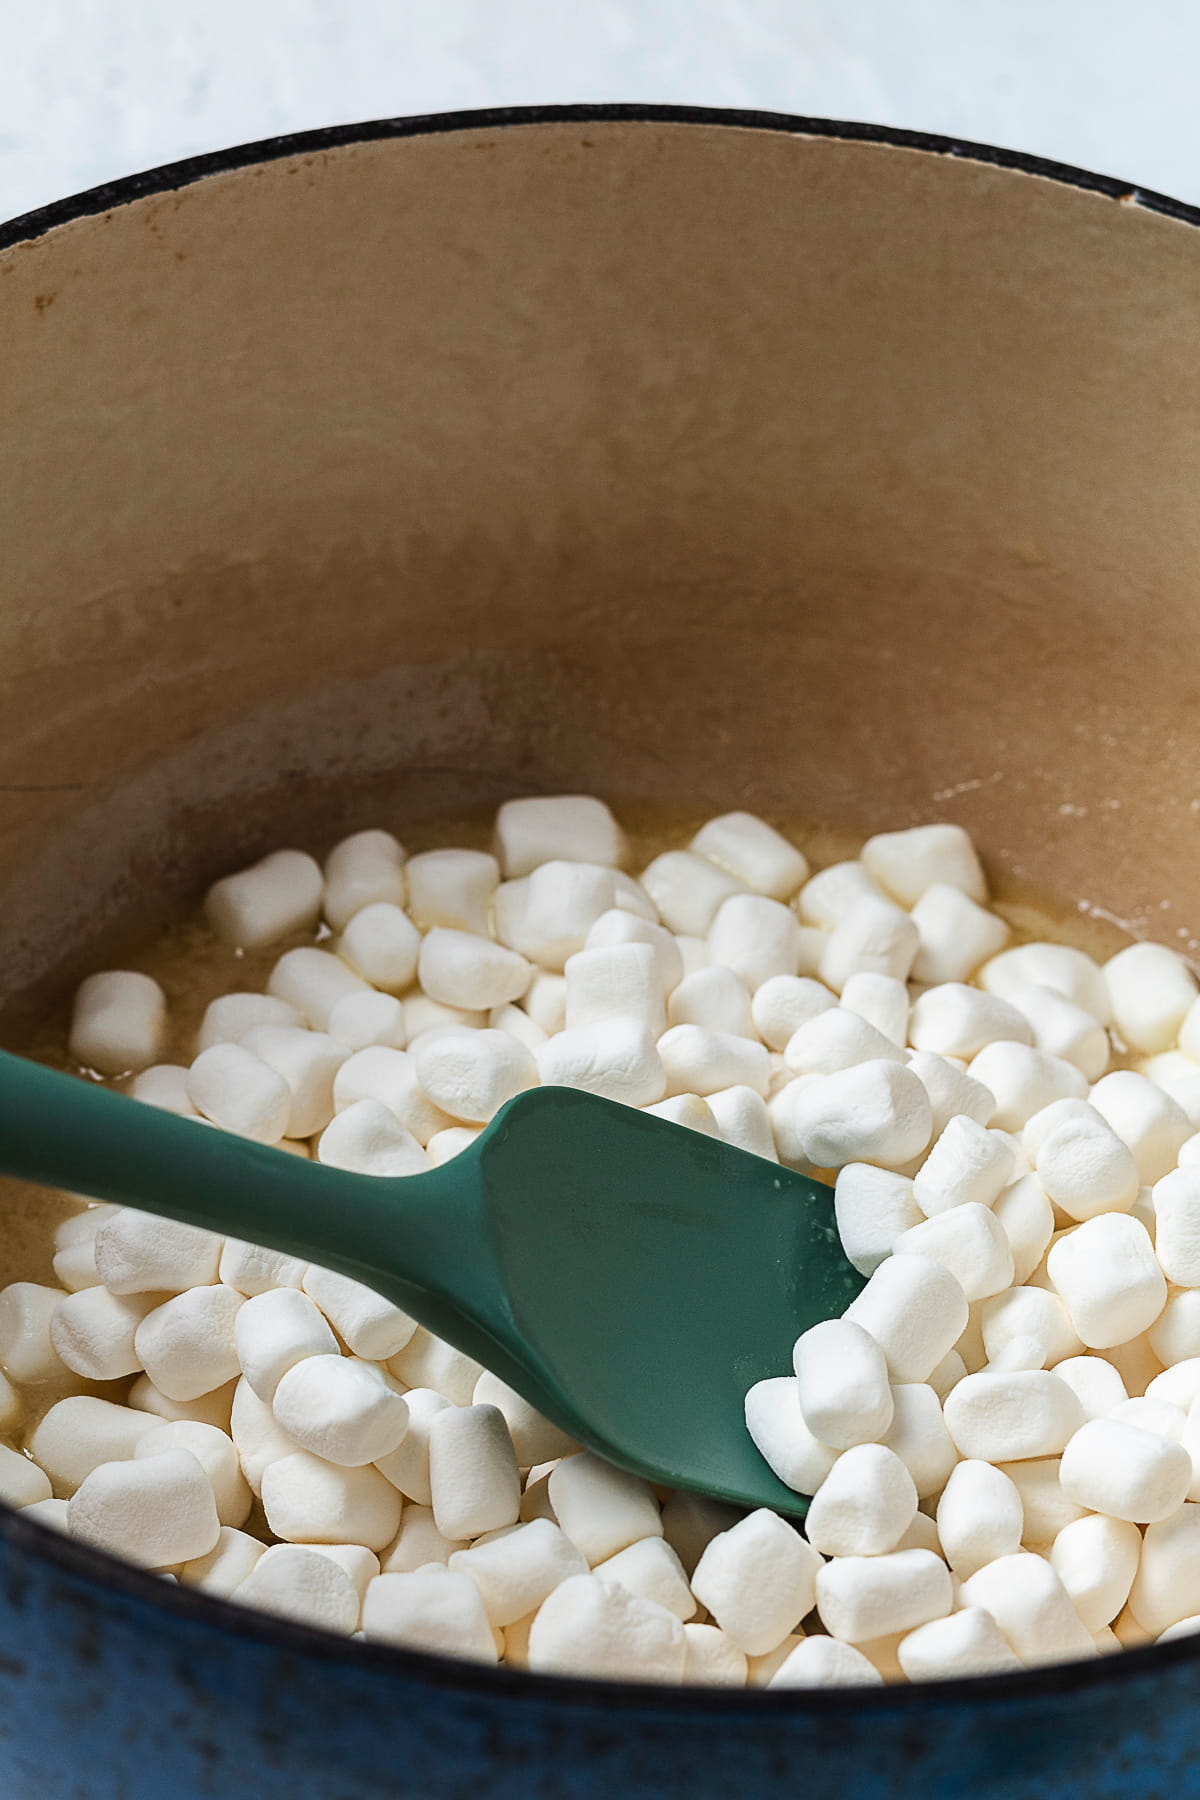
Add the 12 ounces of mini marshmallows. Stir over medium heat until they are completely melted. Remove them from the heat.
Add the 1 teaspoon vanilla and stir it all together.

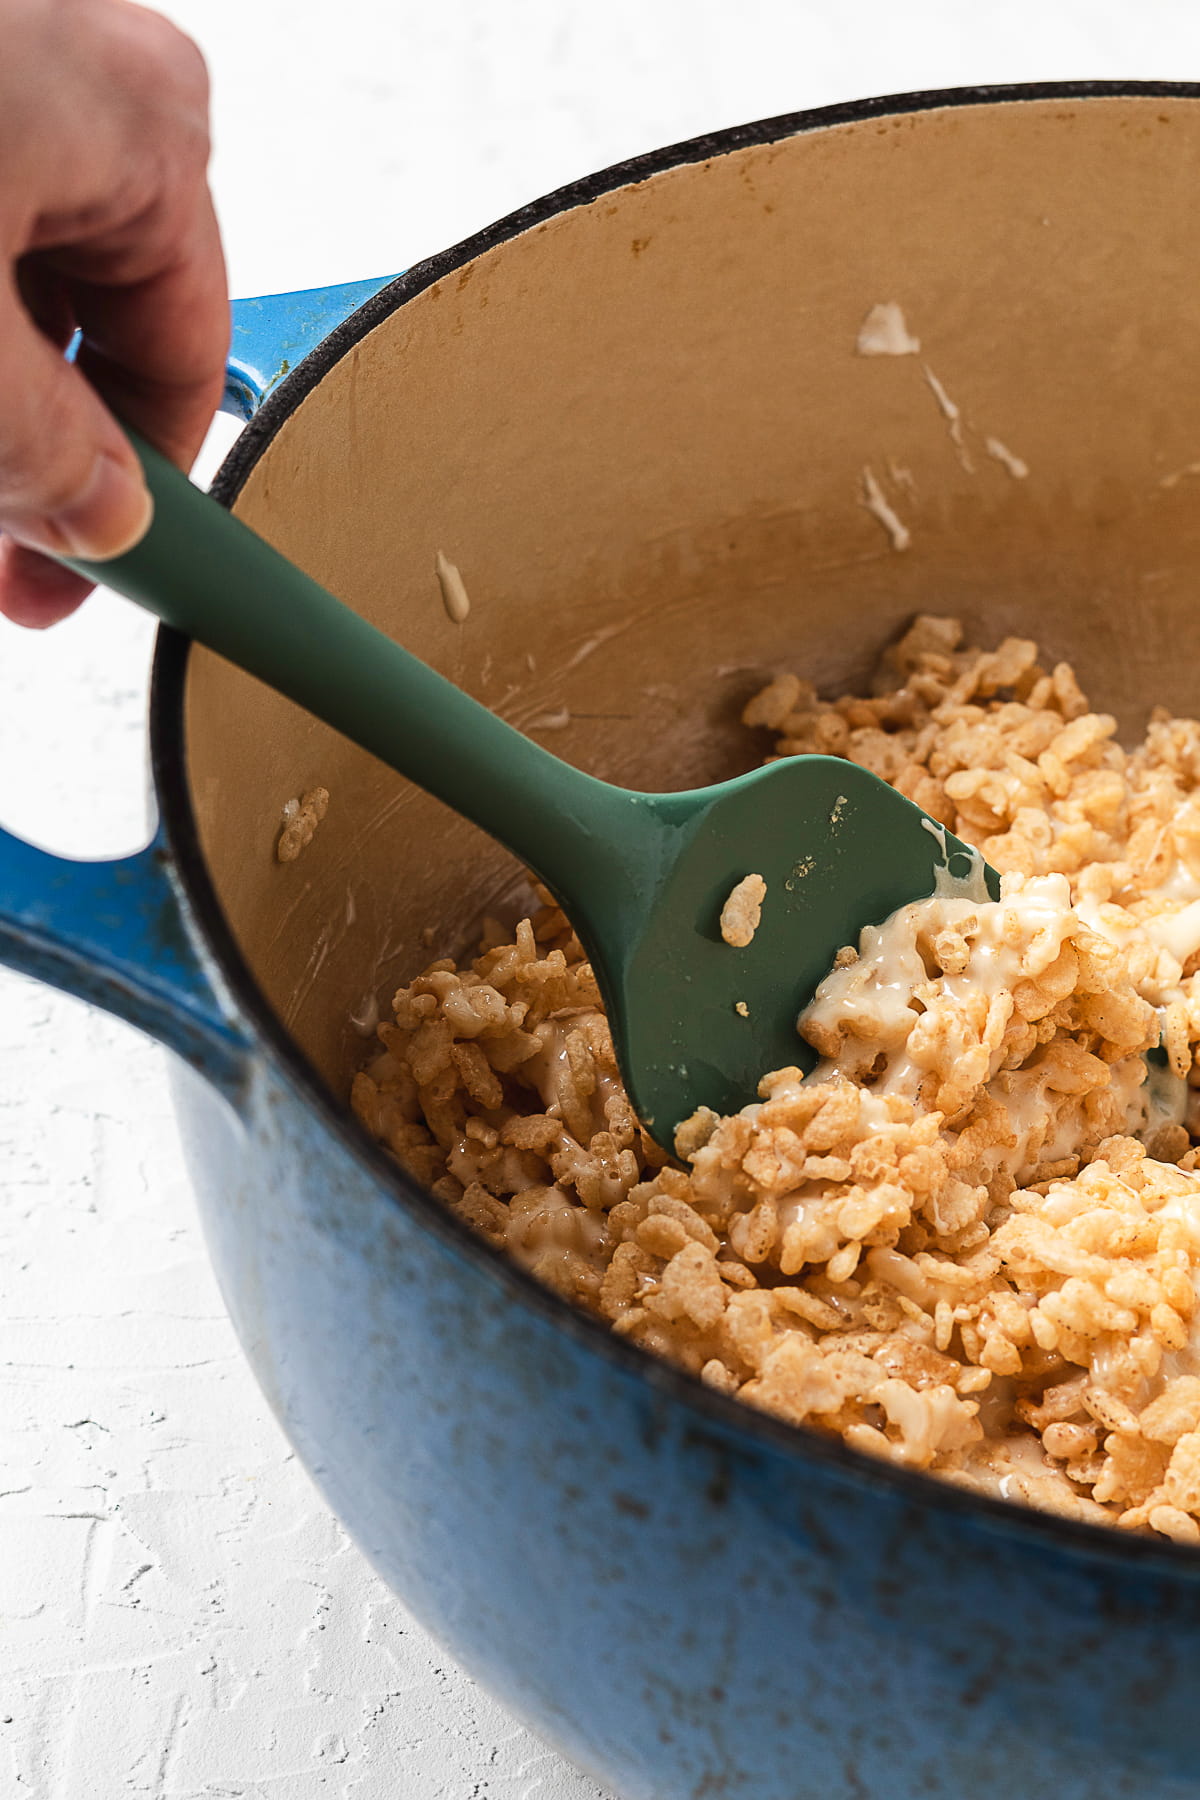
Add the 8 cups of rice cereal. Stir it all together.
Pour the mixture into the prepared 9×13 inch pan. Wet your hands, shake off the excess water, and use your hands to gently press the rice krispies mixture into the pan.
Don’t press them down too hard. This makes your treats hard to bite into! Allow the them to cool at room temperature for an hour.

Using the rubber spatula, remove the treats from the pan. Use a knife to cut the them into squares. Enjoy!
Top Tip
To help keep the rice cereal treats chewy, don’t overheat the marshmallow mixture. Instead, remove it from the heat as soon as all of the marshmallows are melted.
Storage
You can keep them on the counter for up to 3 days and they’ll stay soft and chewy (and surprisingly still crispy).
If you want them to last longer, place them in the fridge or freezer in a food storage container or freezer bag. If you have more than one layer, use parchment paper to separate them. They’ll last up to 2 months in the freezer.
Bring them to room temperature before serving.
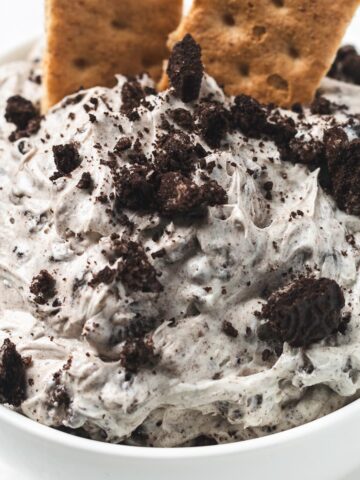
Other No Bake Desserts You’ll Love


FAQ
Do you have a forgotten bag of old, dried-up, seen-better-days marshmallows in the back of the cabinet? Yeah, don’t use those. Buy fresh marshmallows instead. Next, heat the marshmallow/butter mixture over low heat. Don’t rush the process. Lastly, store the treats in an airtight food container.
I’ve done this before! You probably used too many marshmallows. The key is to measure the ingredients and keep the right amounts. Don’t eyeball it. 😉
If the mixture feels too soft, you can easily fix it by folding in additional cereal ½ cup at a time. You’ll know it’s ready when the mixture starts pulling away from the bowl.
Good question. First, let them cool, then cut them evenly. If you need picture-perfect cuts, grease your knife with butter or cooking spray before cutting.
Hmmm…if your treats are falling apart, there are two likely culprits: too much butter and too few marshmallows. Just stick to the ratios for the best results.

Rice Krispie Treats Recipe
Ingredients
- 6 Tbsp Unsalted Butter
- ¼ Tsp Kosher Salt
- ⅔ Cup Sweetened Condensed Milk 5 Oz
- 12 Oz Mini Marshmallows
- 1 Tsp Vanilla Extract
- 8 Cups Rice Krispie Cereal 8 Oz
Instructions
- Prepare a 9×13 inch pan by spraying it with butter cooking spray. Set aside.
- In a large pot over medium heat, melt the butter and add salt. Use a rubber spatula to spread the butter up the sides to prevent the mixture from sticking.
- Add the sweetened condensed milk to the melted butter and stir to combine.
- Add the 12 ounces of mini marshmallows. Stir over medium heat until they are completely melted. Then remove from the heat.
- Add the 1 teaspoon vanilla and stir it all together.
- Add the 8 cups of rice krispie cereal. Use the rubber spatula to stir it all together.
- Pour the mixture into the prepared 9×13 inch pan. Wet your hands, shake off the excess water, and use your hands to gently press the Rice Krispies into the pan. Don't press them down too hard as doing so makes your Rice Krispies hard to bite into! Let the treats cool at room temperature for an hour.
- Using the rubber spatula, remove the treats from the pan. Use a knife to cut them into squares. Enjoy!
Notes
- The butter and sweetened condensed milk will look like they’re separated, but they will come together.
- If the mixture seems too wet, add another ¼ cup of cereal until you get the desired consistency.
- Store leftovers in an air-tight container at room temperature for up to 5 days.
- Make sure you spray the utensils with cooking spray; this recipe is sticky.
Nutrition
Love this recipe! It is so nice that the rice krispie treats are still soft, delicious and easy to cut the next day and also the day after that. This is definitely a keeper!
Thank you for trying them! It’s one of our favorites.
The blog part says striving 7 cups Rice Krispies, the actual recipe part says 8 cups. Which?
Oops. It’s 8 cups, Diane. I fixed it. Thank you for bringing that to my attention.