Can You Really Get More Kitchen Cabinet Space In Just 20 Minutes?
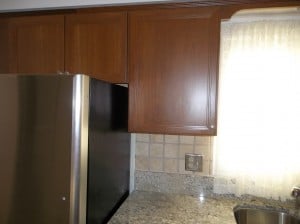
After organizing our dish cabinet, we still wanted to free up more kitchen cabinet space, just in case we wanted or needed to add more dishes. As we browsed our local target we happened upon utility hooks. Immediately we thought about adding hooks to the underside of our dish cabinet. Now, this was no innovative idea. Many kitchens have these same hooks.
These hooks are vinyl coated to protect the mugs that we would place there. So we decided to go ahead and start another small project. We knew that these simple little hooks would give us more room in our cabinet, while taking advantage of space that wasn’t being used at all, the space under our cabinet.
We moved pretty slowly and it only took us around 20 minutes to measure, drill and screw in the hooks. Below, we detailed each step to show you exactly how to install utility hooks and easily get more space in your cabinets.
Tools and supplies that you may need:
- Drill
- Appropriate drill bit
- Utility hooks
- Measuring tape
- Square/Straight edge
- Pencil
- Washable Marker
Step 1.
Determine how many hooks you want or have enough room for. We chose four.
Step 2.
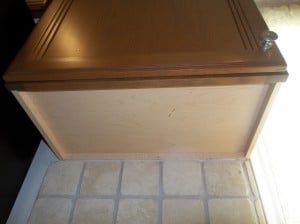
Before purchasing hooks, measure the thickness of the bottom of your kitchen cabinet. If the threaded part of the hook you choose is too long, it will go all the way through the bottom of your cabinet.
Step 3.
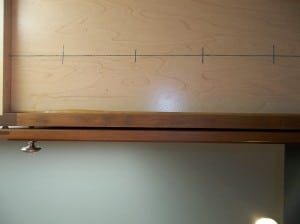
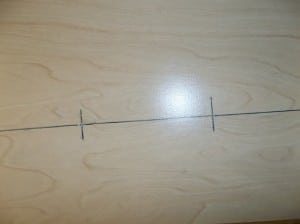
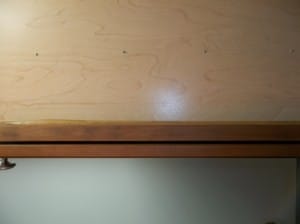
Measure and mark the spots you would like for your hooks to go with a pencil first, then go over the markings with a washable marker. To avoid having the mugs bumping into one another, we decided on placing the hooks 4″ in towards the wall, from the front of the cabinet, and each hook was about 3.5″ spaced apart. Choose whatever setup will work best for you.
Step 4.
Drill holes at the marks you made for each of the hooks. In the picture below, you can see that we drilled holes at the intersections from our measuring in step 3.
Caution:
Do not drill all the way through the bottom of your cabinet. I would suggest only drilling in about ¼″, as the bottom of your kitchen cabinet should be thicker than that. Make sure that the bit is smaller that the threaded part of the hook. This will ensure that the hook screws in securely.
Step 5.
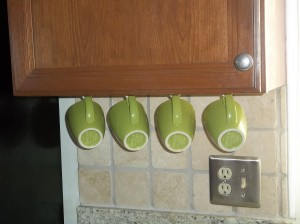
Screw in the hooks and place your mugs.
Here are some tips to keep in mind if you add utility hooks underneath your kitchen cabinet:
- Do not rush when you drill.
- Mark with a washable marker. This will make it easier to see where to drill.
- Wear safety goggles. This is a must.
- If there are any, refer to the directions on the box of utility hooks
This was a very easy do-it-yourself project. In less than half an hour, we were able to get more kitchen cabinet space. As an added bonus, our green mugs provided a much needed splash of color to our kitchen.
Leave a Reply