We bought our home little more than a year ago. It’s been great, but it comes with a decent amount of maintenance. We learned to do some plumbing, patch dry wall, and some electrical too.
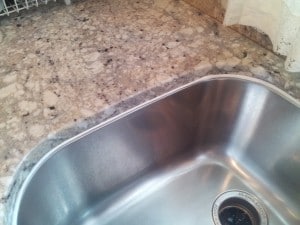
Recently we noticed a black substance peeling away from the sink. This was great, a new opportunity. I got to learn how to re-caulk a kitchen sink. I knew that I had to jump on this issue right away because I didn’t want the cabinets below the sink to get damaged. Below are the simple steps I took to re-caulk the kitchen sink.

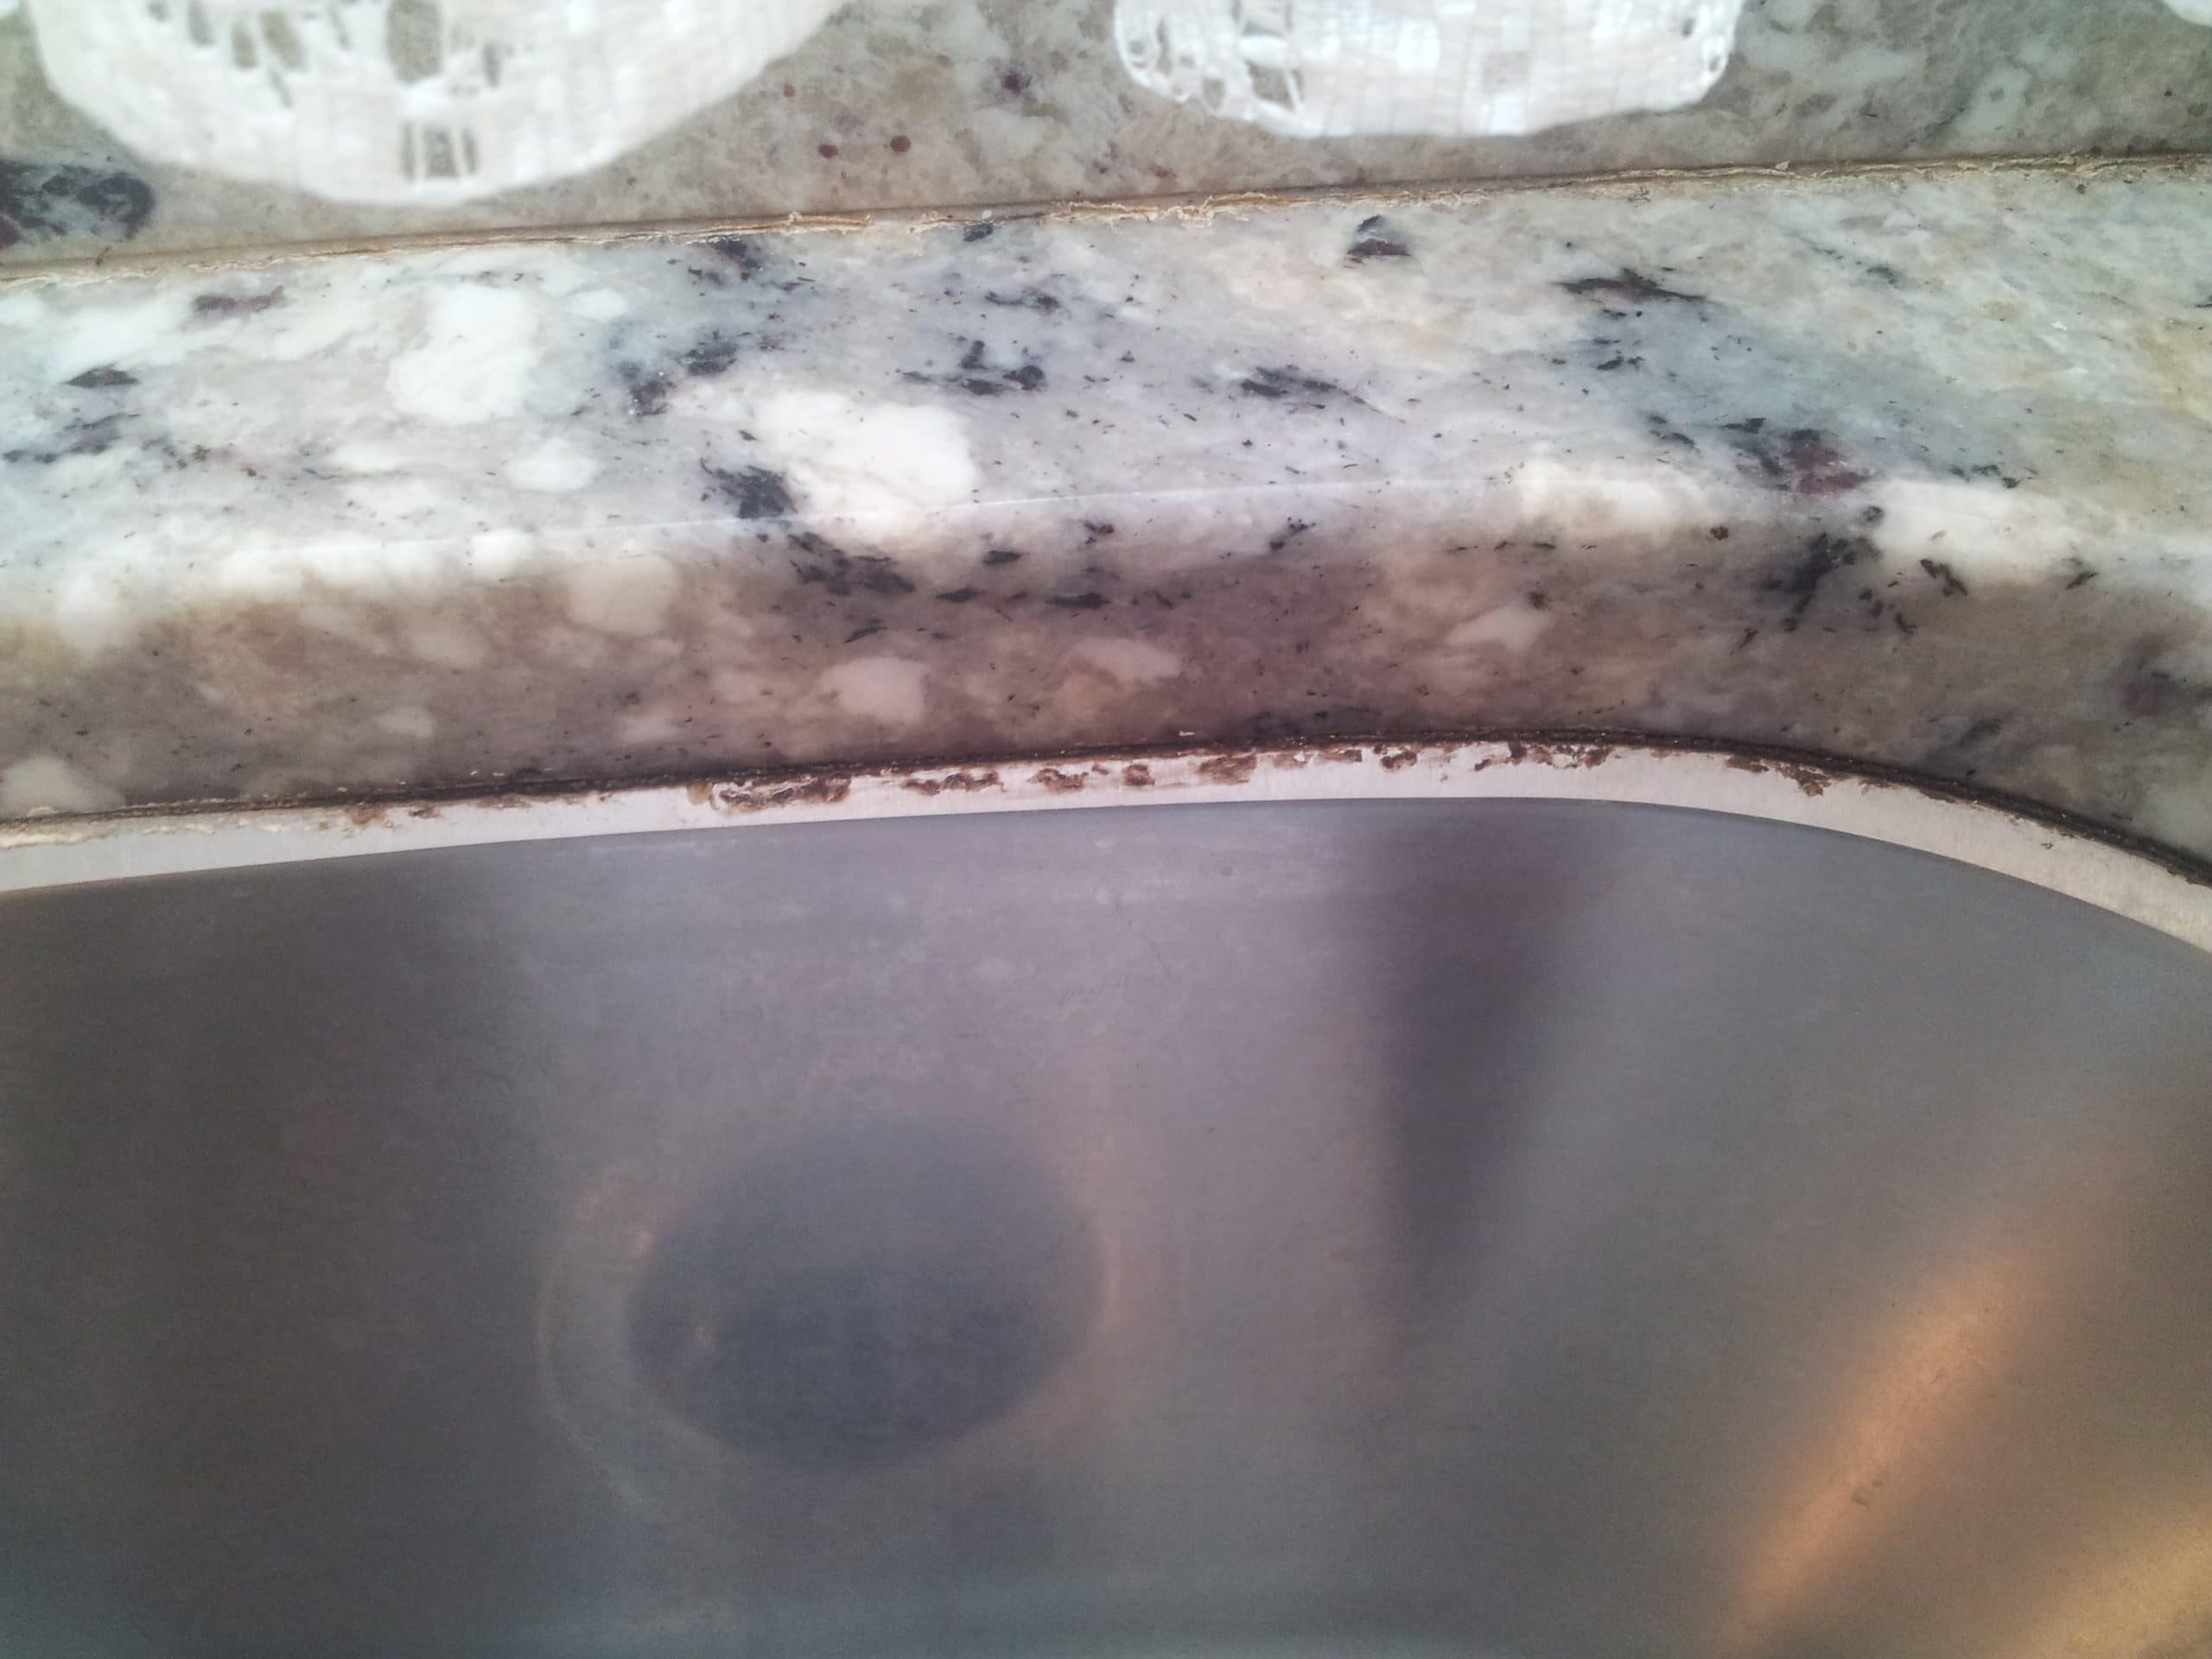
(Caulk line peeling away from the sink and counter top)
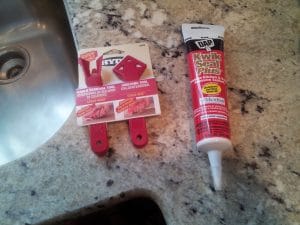
Tools and supplies needed:
- Caulk (I used kwik seal plus by DAP)
- Knife or Scissors
- Scraping tool (I used one by Hyde)
- Caulk smoothing tool (I used one by Hyde)
Cost: About $10.
Step 1.
Using a scraping tool like the Caulk-Away, remove the old caulk.
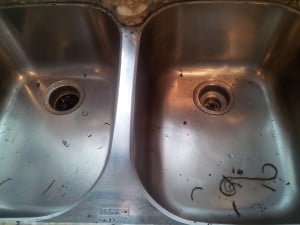
Step 2.
Once you scrape off the old caulk, clean it away from the surrounding area.
Step 3.
Using a knife or a pair of scissors, cut the nozzle to open the tube of caulk.
Step 4.
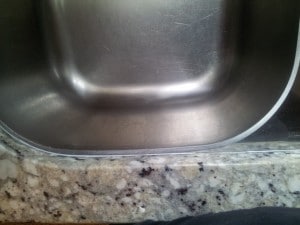
Run a bead of caulk around seam between the counter top and the sink.
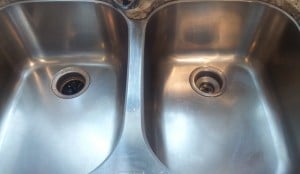
Step 5.
Using a tool such as the Caulk-Rite, run the tool against the line of caulk to remove excess caulk.
Tips: Be careful, if you cut off too much of the caulk nozzle you will end up with excess caulk(like I did) on the caulk line.
Follow the directions on the tube of caulk to ensure proper use. For example, make sure that you wait at least 24 hours before getting water on the caulk line to avoid damaging it.
If your sink needs to be re-caulked, do so quickly, it’s a low cost way to both improve the look of your kitchen and prevent water damage to your cabinetry. As long as you follow the directions on the caulk tube you will be just fine.
Leave a Reply