
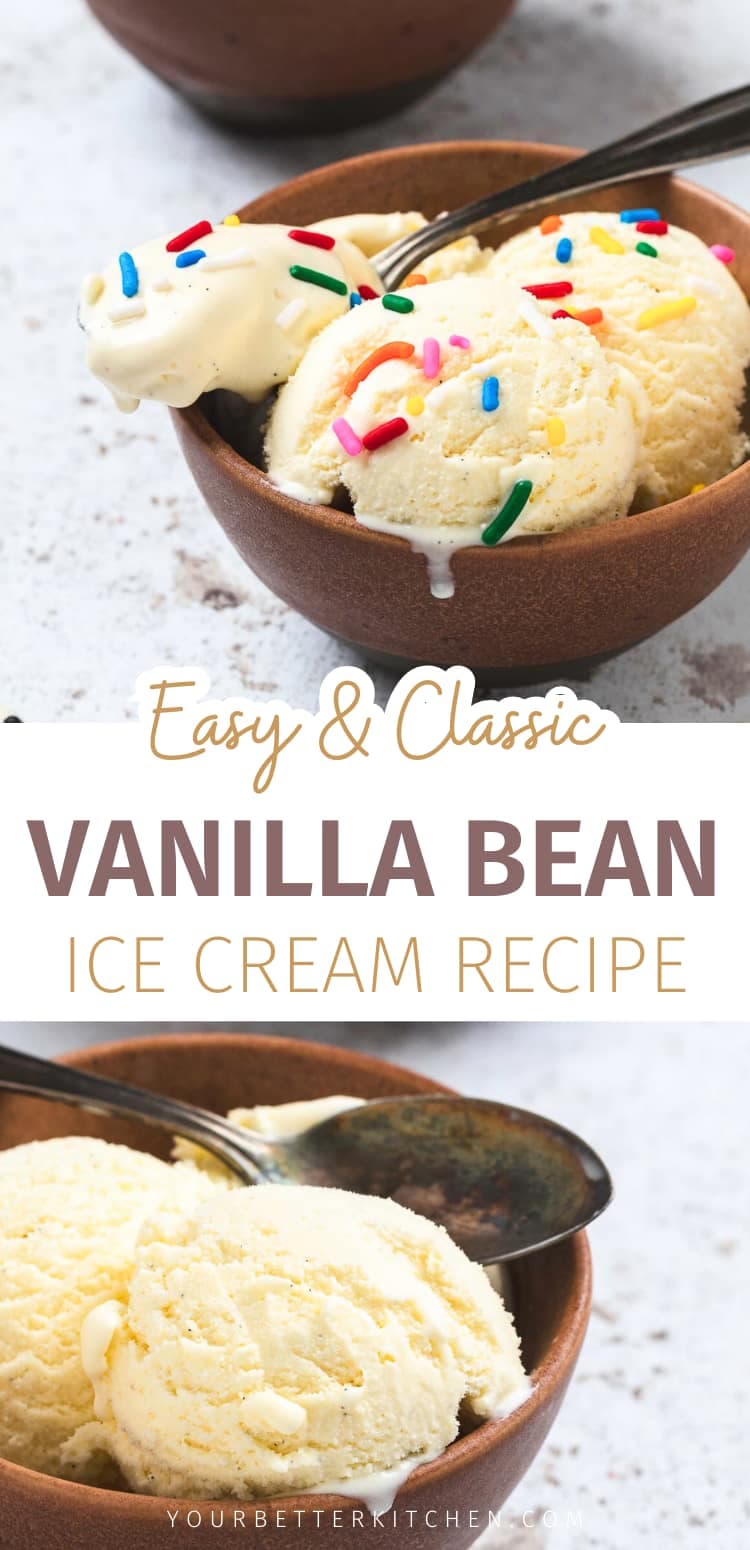
At the very first taste of our Best Vanilla Bean Ice Cream, you’ll whisper to yourself, “Oh, wow.” It’s just that good! We’re talking about a next-level creamy, deep, yet subtle vanilla flavor, unlike the sad store-bought stuff 😞.
And best of all, it’s easy to make; no, seriously, there are just seven simple ingredients, most of which you have RIGHT NOW in your kitchen.

You can’t have a summer party without vanilla ice cream, so why not this recipe. It’s perfect for small backyard BBQs, summer birthdays, or keep it tucked in the back of your freezer as a treat after a long day.
But before you jump into this dreamy, creamy vanilla ice cream, allow me to tempt you with some more cold treats, like our s’mores popsicles, homemade chocolate ice cream, or even our light and airy, perfectly lemony lemon mousse.
Pin to your best dessert board! ⤵️

Jump to:
Why You’ll Love The Best Vanilla Bean Ice Cream
- While most store-bought vanilla ice creams are rather bland, this recipe is an upgrade because it’s made with actual vanilla bean. As a result, you get those little flecks in every spoonful. This is a massive upgrade in flavor!
- Whether it’s a slice of apple or cherry pie, brownies, or chocolate cake, it makes other desserts even better. Seriously, what doesn’t pair well with vanilla ice cream?
- Milk, cream, and egg yolks form a super team of ice cream ingredients. The result is a creamy, custardy texture that feels expensive, but it’s not.
- If you’ve ever been intimidated by ice cream making, don’t worry, it’s surprisingly easy to make! There aren’t any complicated steps or odd ingredients. In fact, you probably have most ingredients in your kitchen right now.
- Vanilla ice cream is a delicious yet safe bet. It works well for dinner parties, backyard BBQs (although you’ll need several batches), or movie night with your favorite toppings.
Ingredients
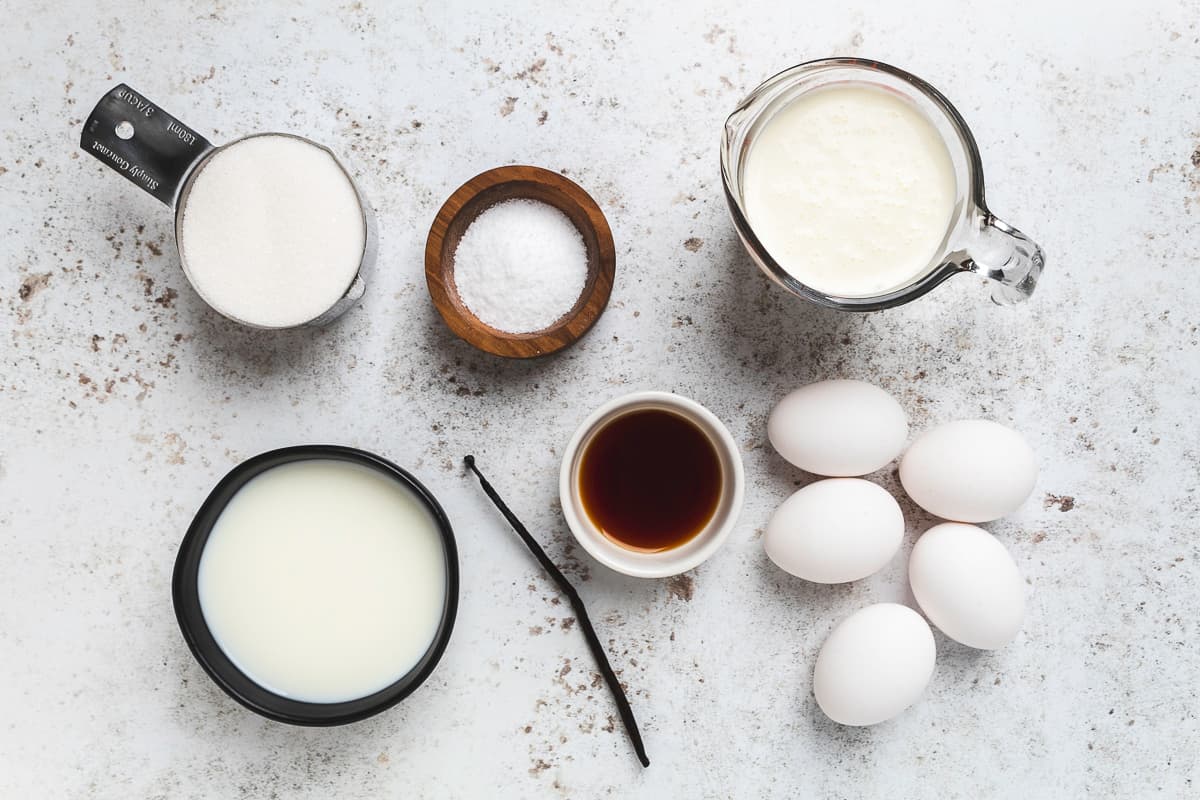
- Milk – We prefer two percent for this recipe, but whole will work too.
- Heavy Cream
- Vanilla Bean
- Vanilla Extract
- Sugar
- Eggs – Just the yolks.
- Salt – Sea salt or kosher is best, but anything other than tablesalt.
See the recipe card for quantities.
How to Make The Best Vanilla Bean Ice Cream
Pour the heavy cream into a medium bowl and set it aside.
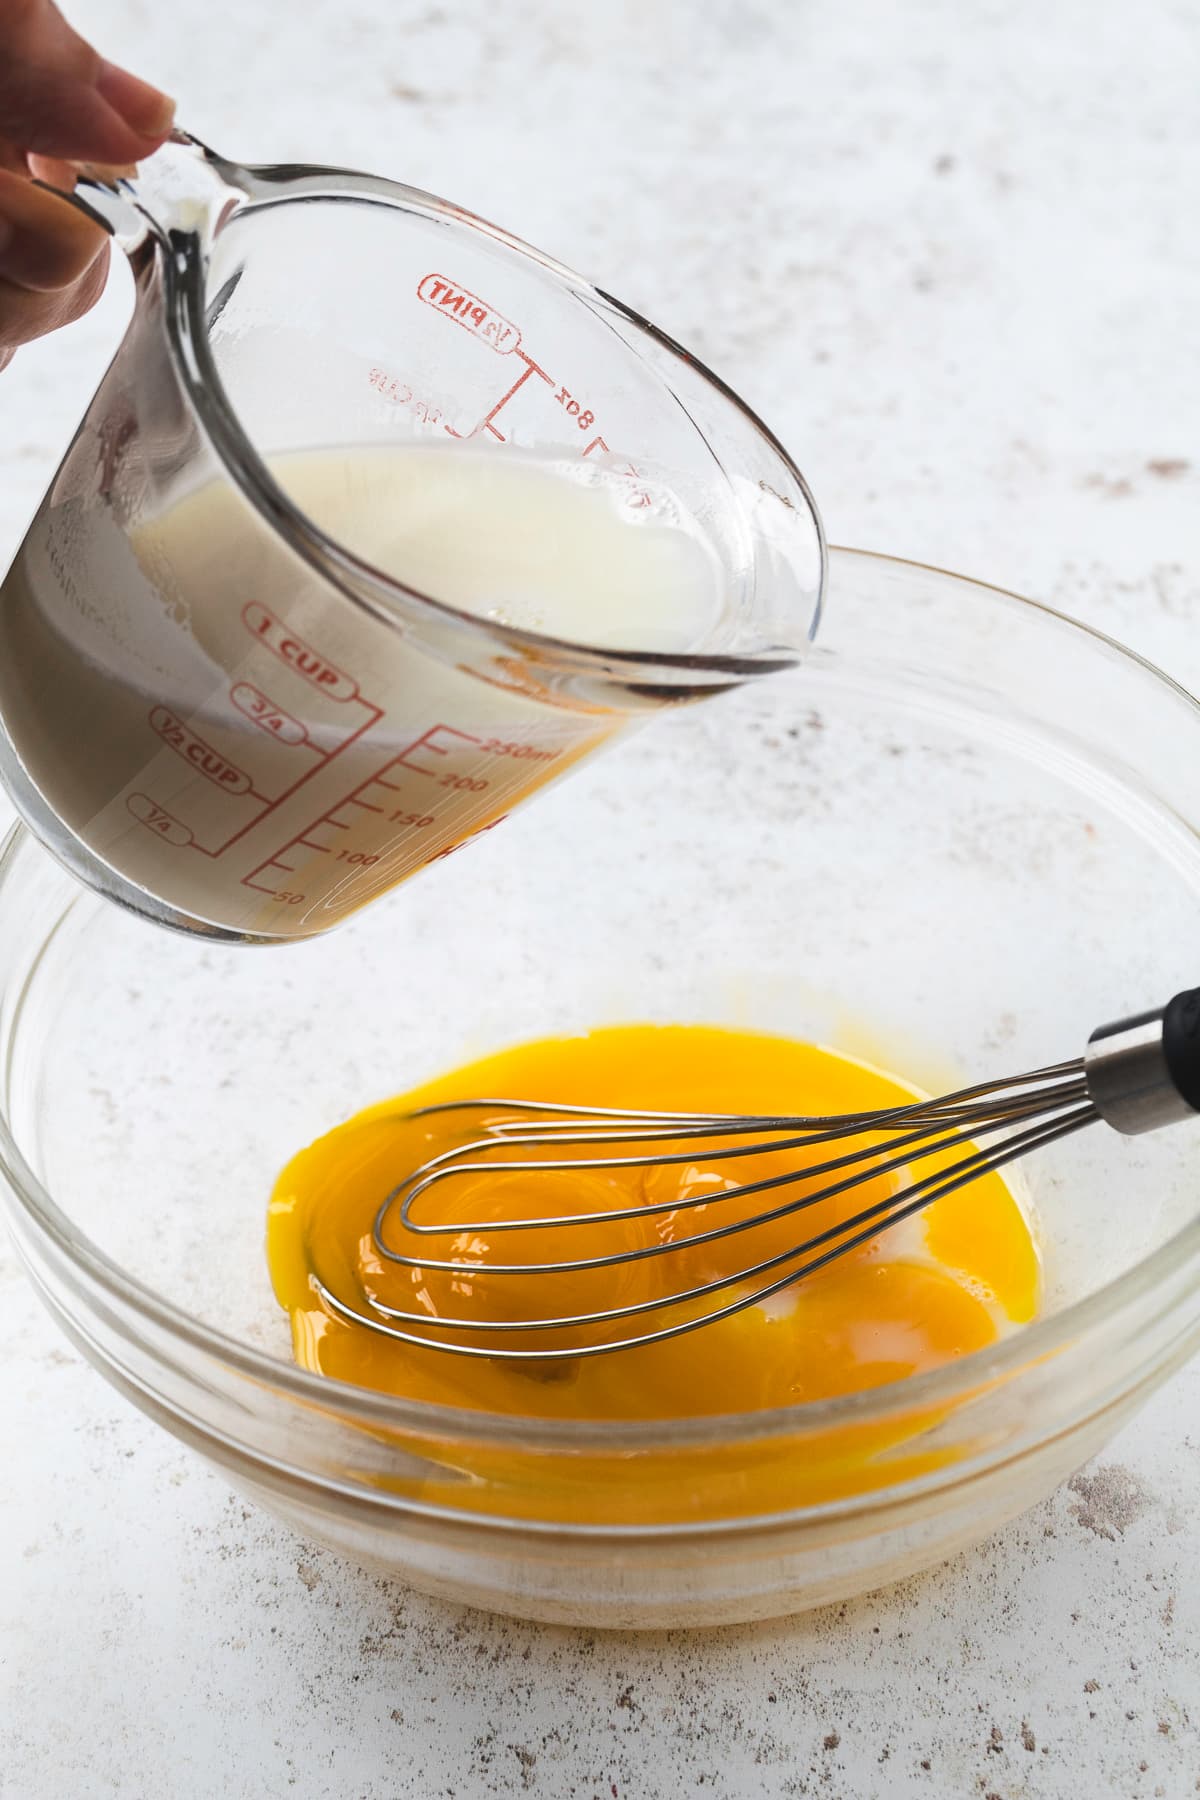
In another medium bowl, add the egg yolks.
In a medium pot, mix together the milk, sugar, and salt. Heat it over medium heat for about 3 minutes, until the sugar and salt have dissolved.
Slowly pour about a ½ cup of the hot milk mixture into the egg yolks, whisking the eggs the whole time so they don’t scramble.
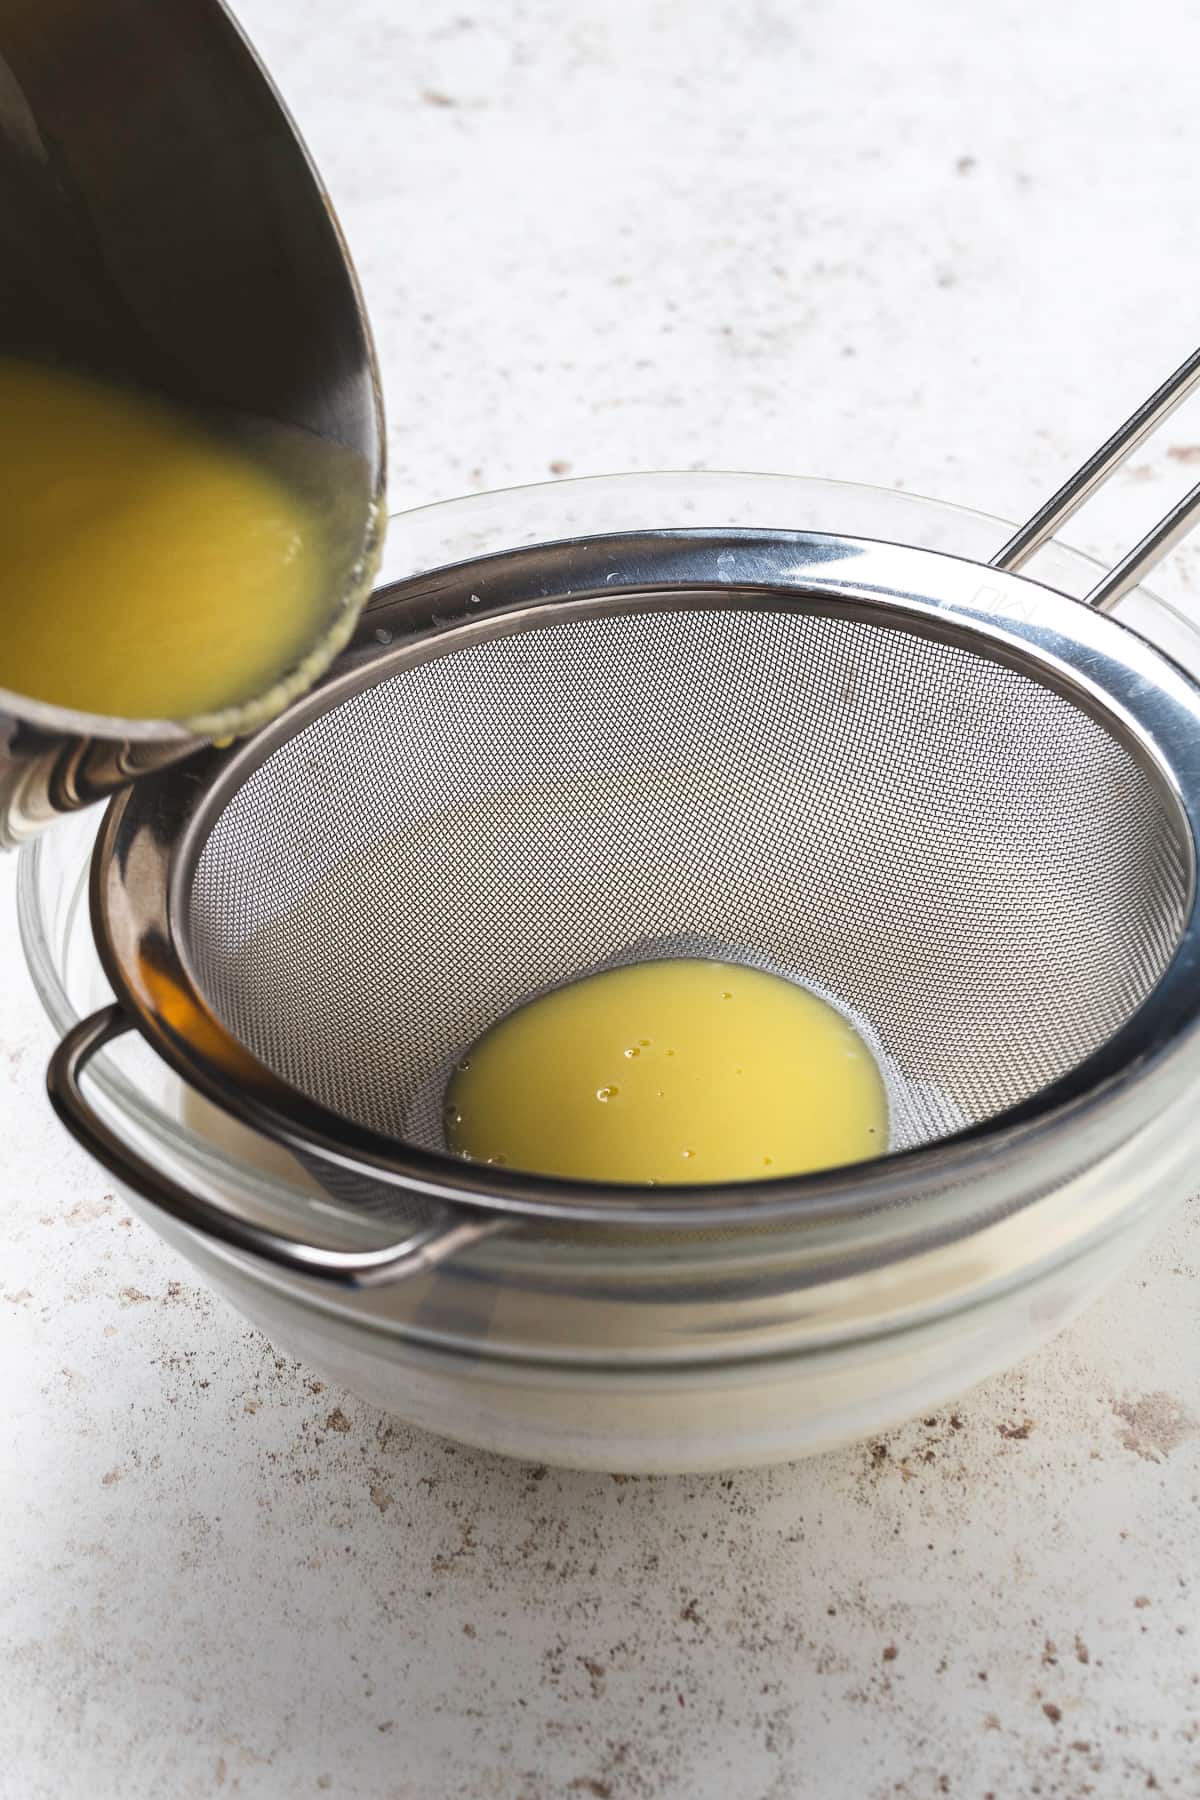
Pour the egg yolk mixture back into the pot with the rest of the milk. Cook over medium heat, stirring constantly, for about 7–10 minutes, until the mixture thickens and can coat the back of a spoon.

Place a mesh strainer over the bowl of heavy cream and pour the hot mixture through it. This helps catch any lumps.
Use a paring knife to split the vanilla bean in half. Then, scrape out the seeds with the back of the knife and add them to the mixture.
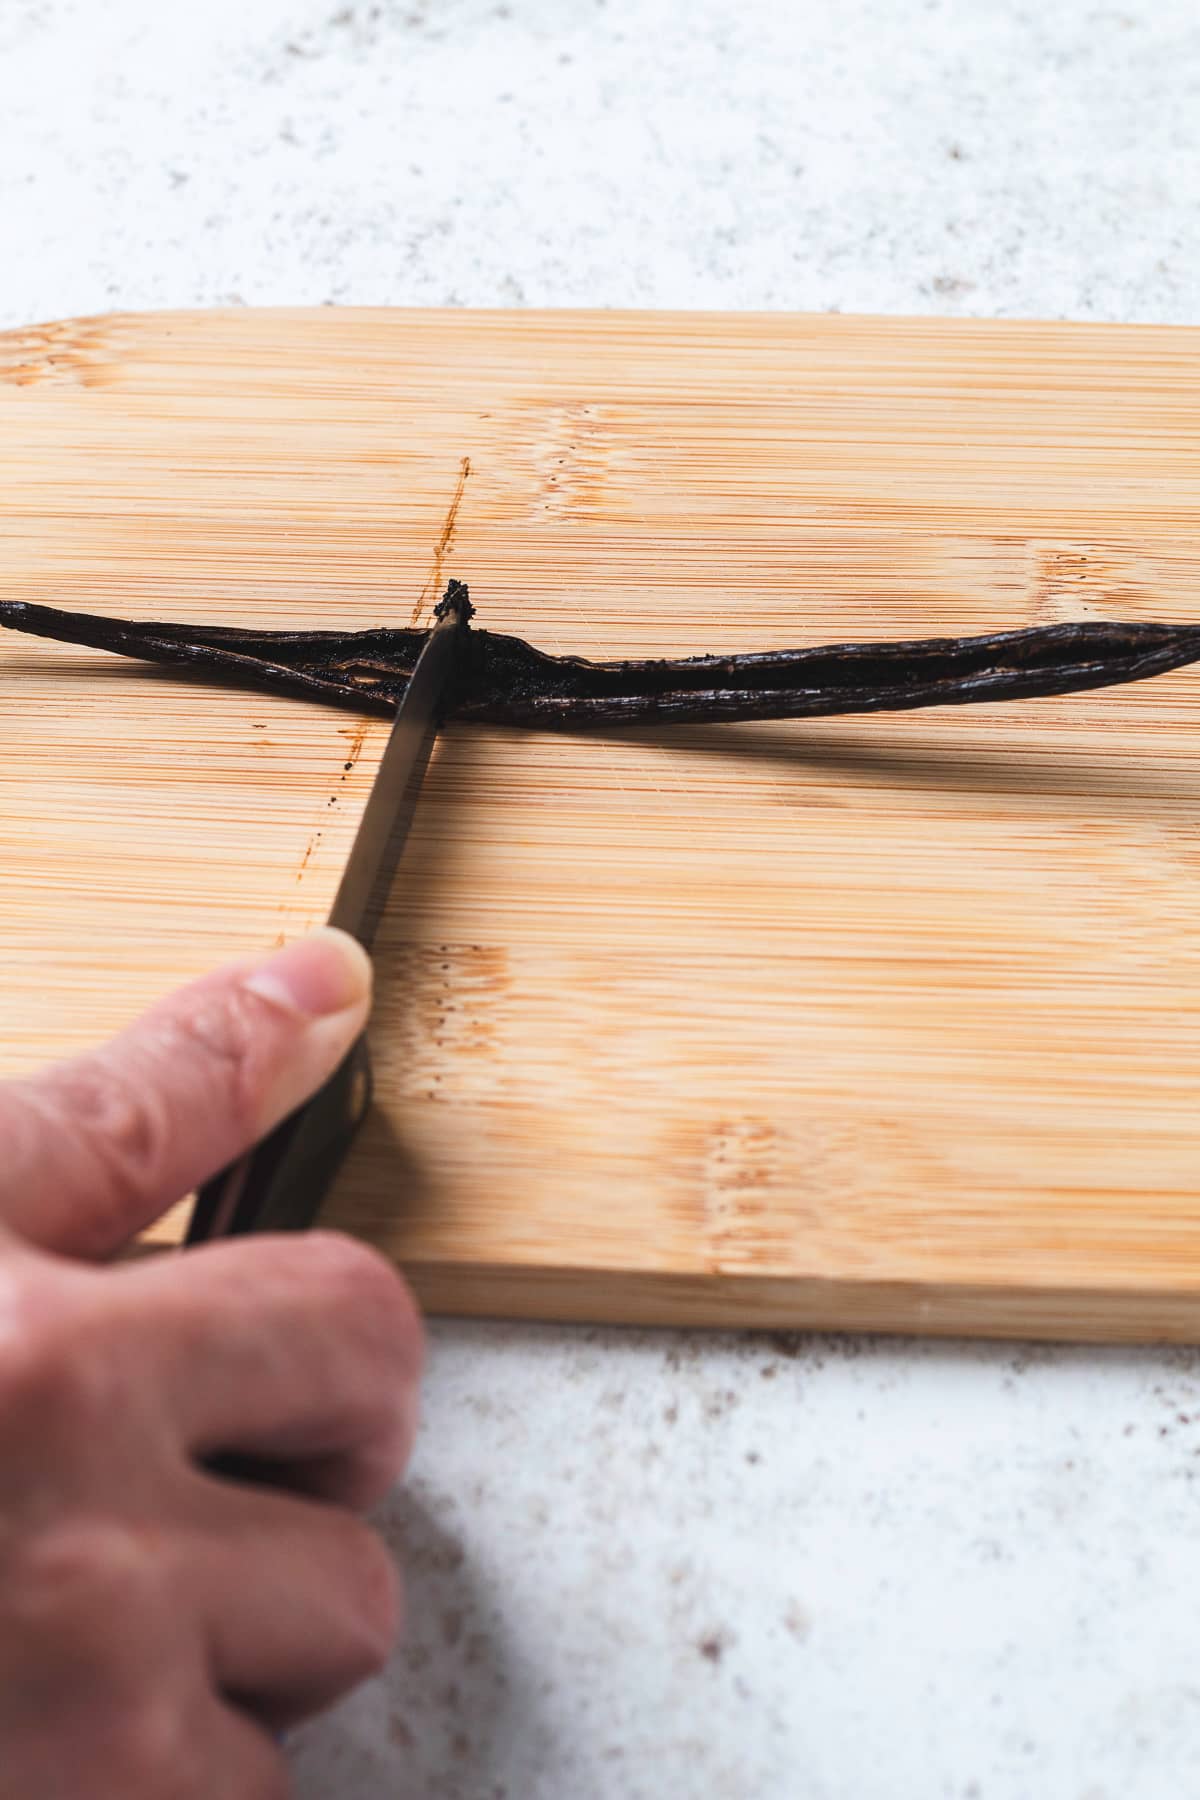
Next, add the vanilla extract and stir everything together.

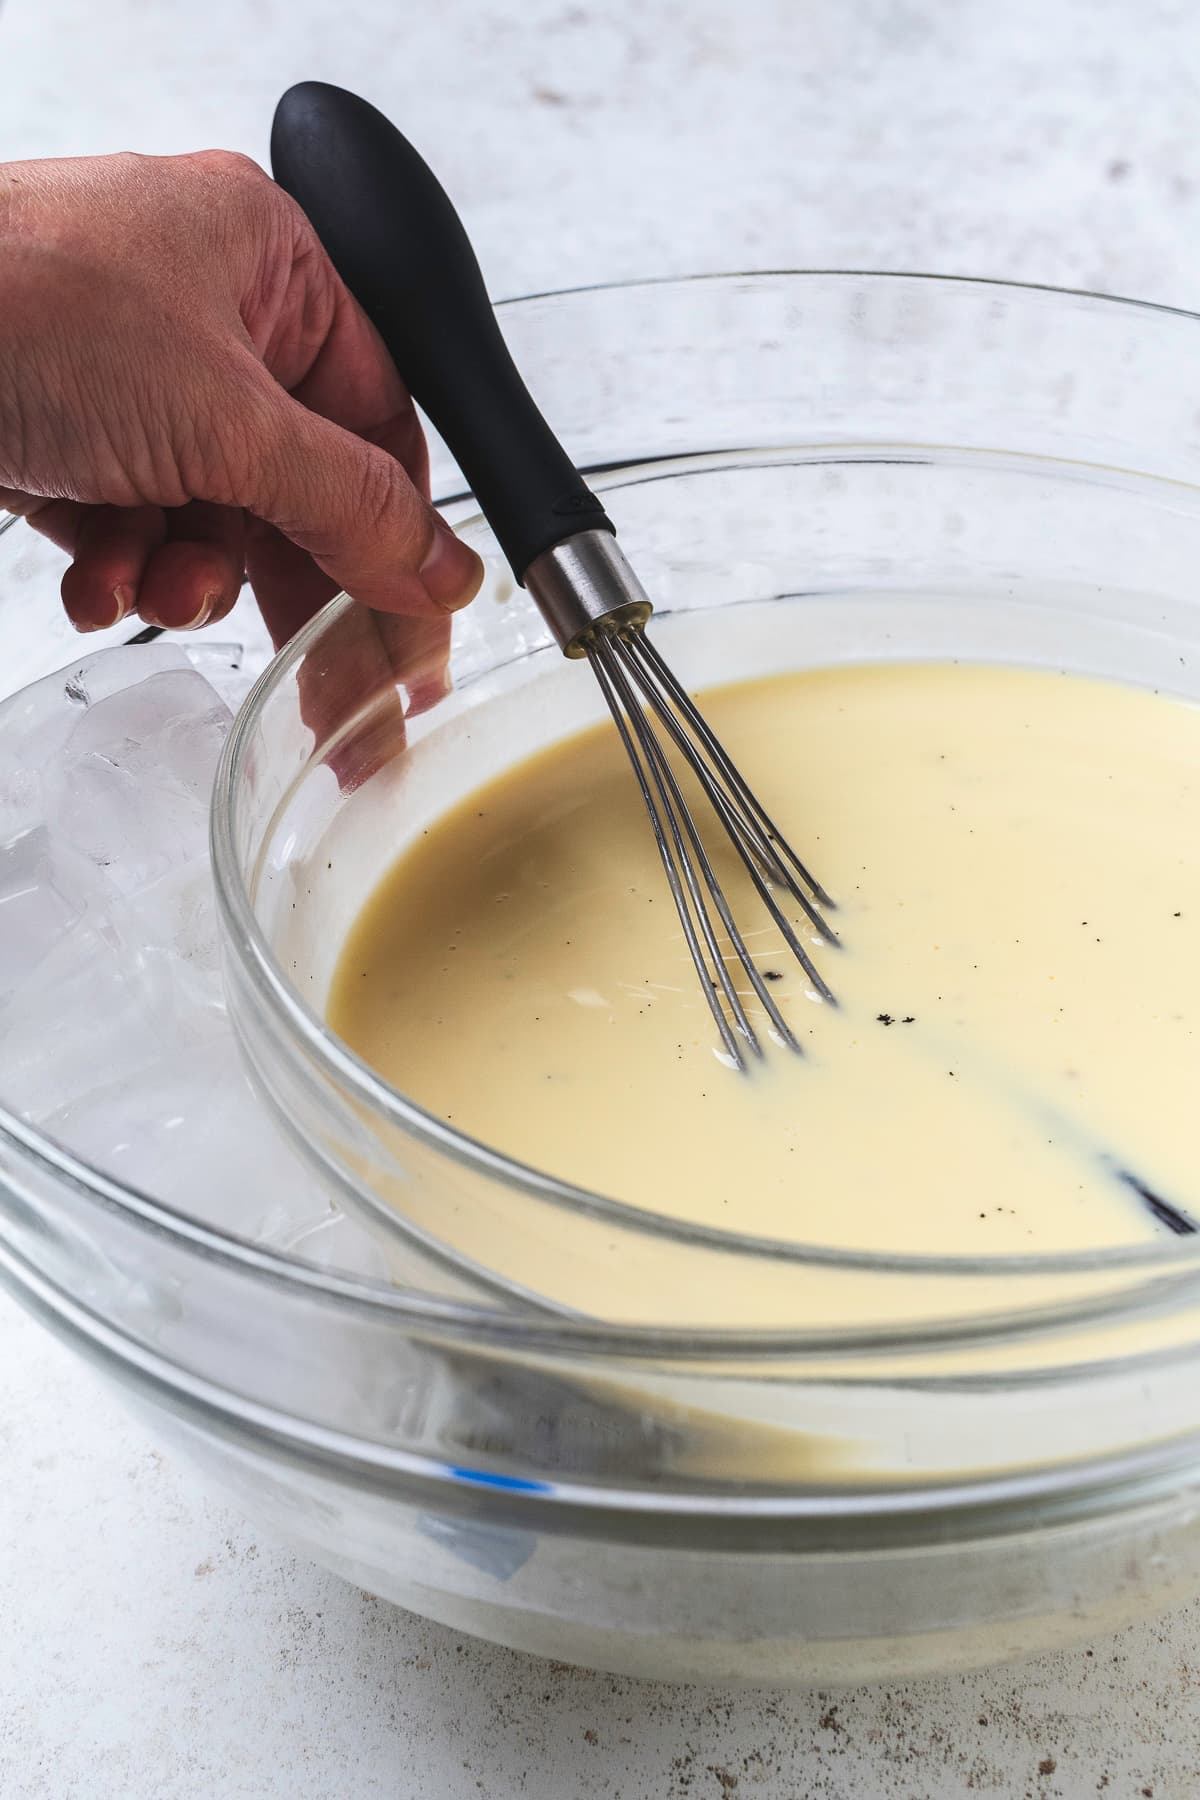
Place the bowl into an ice bath (a larger bowl filled with ice and water) to cool the mixture down faster.
Once it’s cool, cover it with a lid or plastic wrap and place it in the fridge for at least 2 hours.
After it’s chilled, pour the mixture into your ice cream maker and follow the instructions to churn it. This could take 30-40 minutes depending on your machine.
Once it’s done churning, freeze the ice cream for at least 4 hours or overnight.
Scoop into bowls or cones, add your favorite toppings, and enjoy!
Top Tip
For super deep vanilla flavor, don’t discard the vanilla bean. Instead, put it in the ice cream mixture while it cools in the fridge.
Use an ice bath to chill the base ice cream mixture before storing it in the refrigerator. Make sure the mixture is cooled in the fridge for a few hours before churning, or you’ll have nothing more than an icy mess.
Equipment
If it’s within your budget and you plan to make a lot of homemade ice cream, we recommend an ice cream maker with a condenser, such as the Cuisinart ICE-100. We’ve had it for years and it still works great!
Otherwise, we’ve heard good things about the Cuisinart ICE-30.
Storage
How you store your ice cream matters, here’s some tips:
- We prefer to store our ice cream batches in a shallow food storage container, as tall tubs aren’t as easy to scoop.
- Place plastic on the surface of the ice cream to prevent ice crystal formation.
- Chill the storage container while the ice cream is churning. If you place the churned ice cream in a warm container, it will start to melt, and when it freezes, ice crystals will form. You don’t want this to happen!
- Chill the serving bowls for the same reason as above.
- Before serving, allow the ice cream to sit on the counter for about 5 minutes before scooping. This will make it easier to scoop.
FAQ
Yes! For that deep, rich, vanilla bean flavor, we use both vanilla bean and extract. But vanilla bean adds that warm, subtle floral taste that extract alone can’t match.
While it can last for up to two weeks, it is best eaten within a week.
Yes! We tried this recipe with both whole milk and 2% milk, and we prefer the 2% milk. However, it’s just a personal preference. Whole milk works just as well.

Vanilla Bean Ice Cream Recipe
Ingredients
- 1 ½ Cup Heavy Cream
- 1 ½ Cup 2% Milk
- ¾ Cup Sugar
- ⅛ Tsp Salt
- 5 Large Egg Yolks
- 2 Tsp Vanilla Extract
- 1 Vanilla Bean
Instructions
- Pour the heavy cream into a medium bowl and set it aside.
- In another medium bowl, add the egg yolks.
- In a medium pot, mix together the milk, sugar, and salt. Heat it over medium heat for about 3 minutes, until the sugar and salt have dissolved.
- Slowly pour about a ½ cup of the hot milk mixture into the egg yolks, whisking the eggs the whole time so they don’t scramble.
- Pour the egg yolk mixture back into the pot with the rest of the milk. Cook over medium heat, stirring constantly, for about 7–10 minutes, until the mixture thickens and can coat the back of a spoon.
- Place a mesh strainer over the bowl of heavy cream and pour the hot mixture through it. This helps catch any lumps.
- Use a paring knife to split the vanilla bean in half. Then, scrape out the seeds with the back of the knife and add them to the mixture. Then add the vanilla extract. Stir it all together.
- Place the bowl into an ice bath (a larger bowl filled with ice and water) to cool the mixture down faster.
- Once it’s cool, cover it with a lid or plastic wrap and place it in the fridge for at least 2 hours.
- After it’s chilled, pour the mixture into your ice cream maker and follow the instructions to churn it. This could take 30-40 minutes depending on your machine.
- Once it’s done churning, freeze the ice cream for at least 4 hours or overnight.
- Scoop into bowls or cones, add your favorite toppings, and enjoy!
Notes
- Allow the ice cream to sit at room temperature for 5-10 minutes before scooping. This will make it easier to scoop and give you beautiful-looking scoops.
- Freeze for up to 2 weeks.
- If you don’t want to do the ice bath, let the ice cream mixture sit on the counter for 30-45 minutes or until it has cooled down. Then, put it in the fridge for 2 hours.
- You can make the mixture a day in advance, then put it in your ice cream machine.
Nutrition
Leave a Reply