
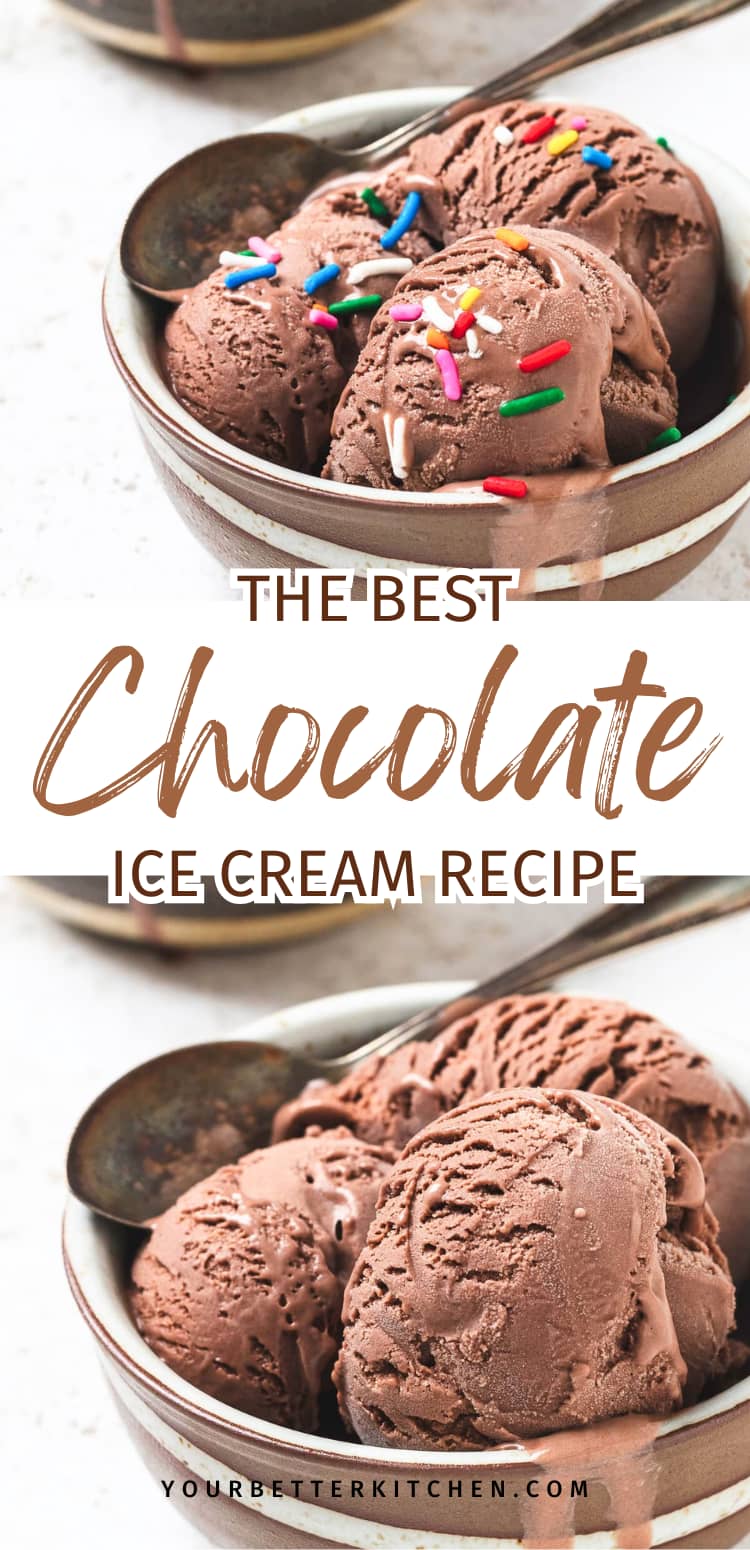
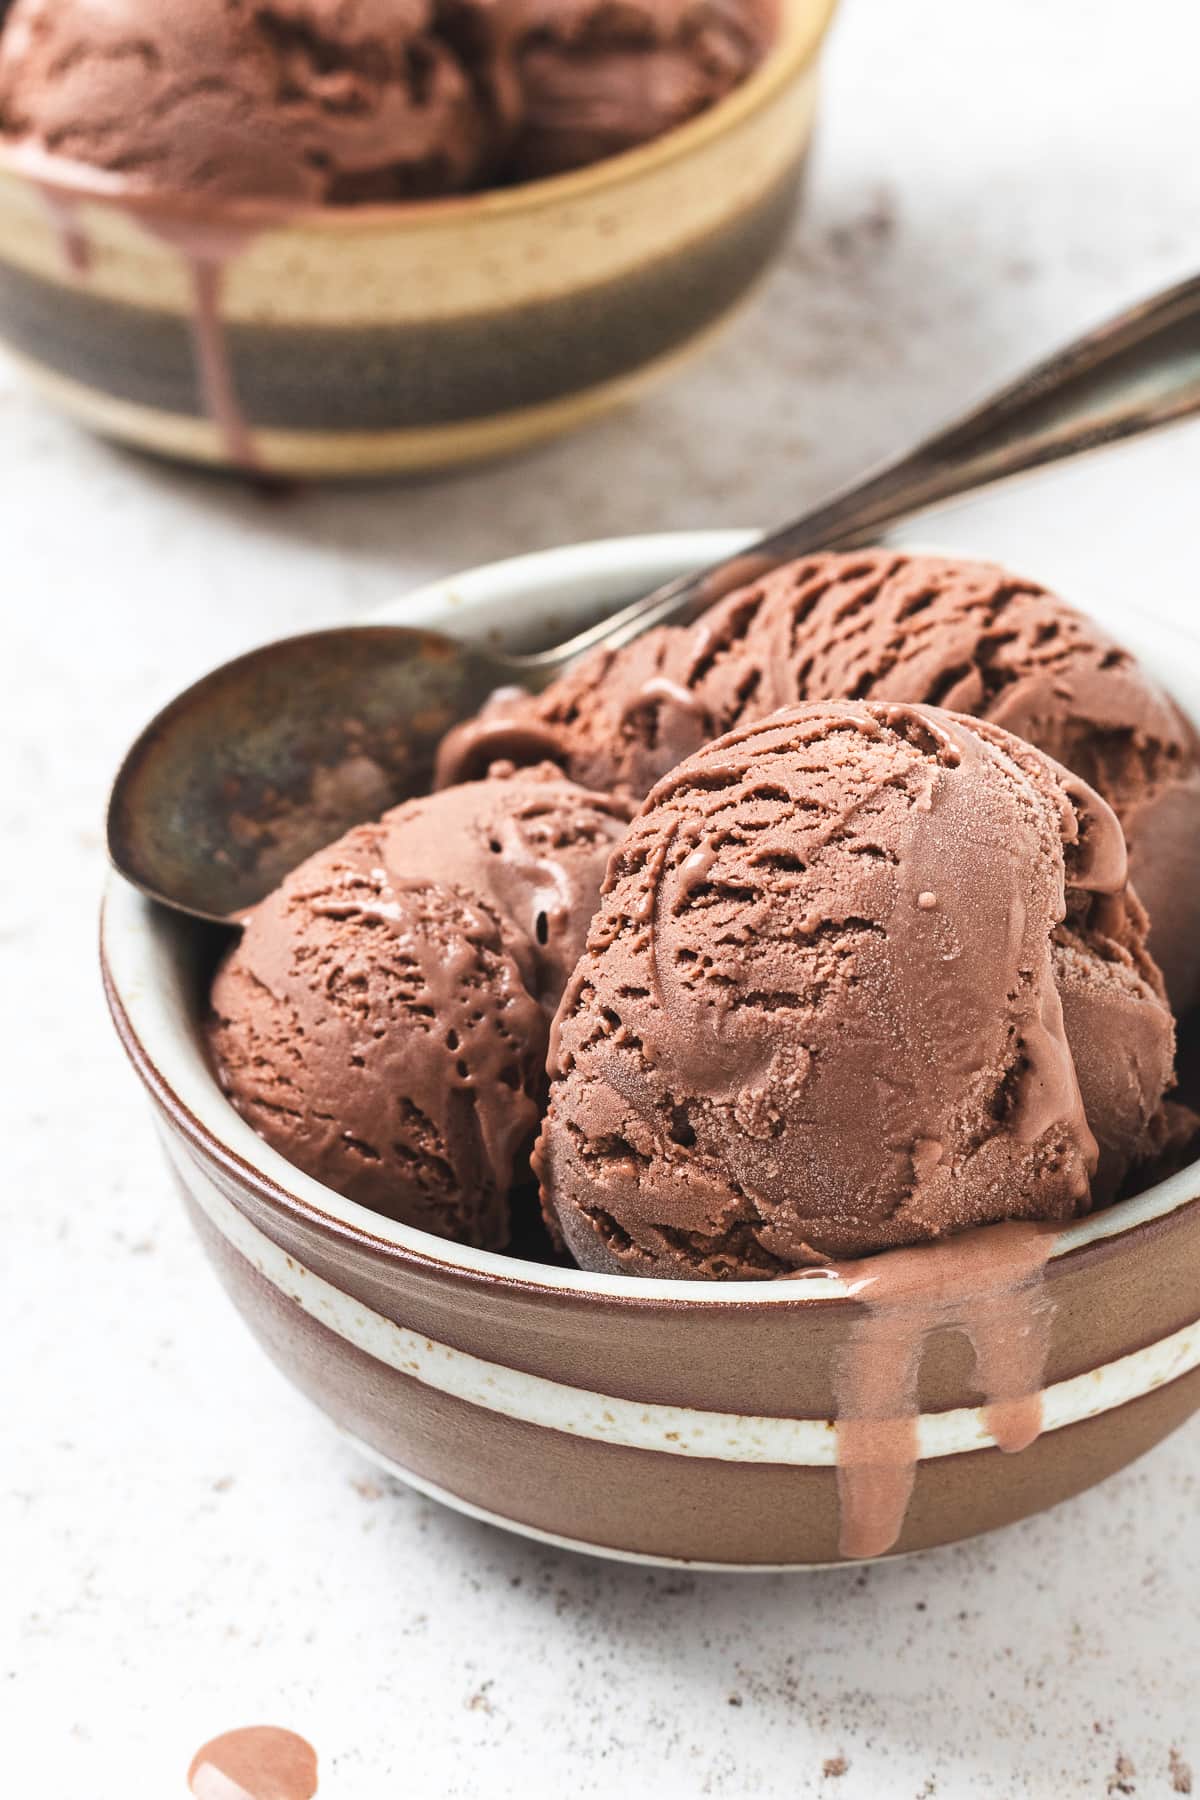
This is the absolute Best Chocolate Ice Cream recipe we’ve ever made at home! It’s seriously creamy, rich, and deeply chocolatey. And it’s just better than what you’ll find at the grocery store.
This is the absolute Best Chocolate Ice Cream recipe we’ve ever made at home!
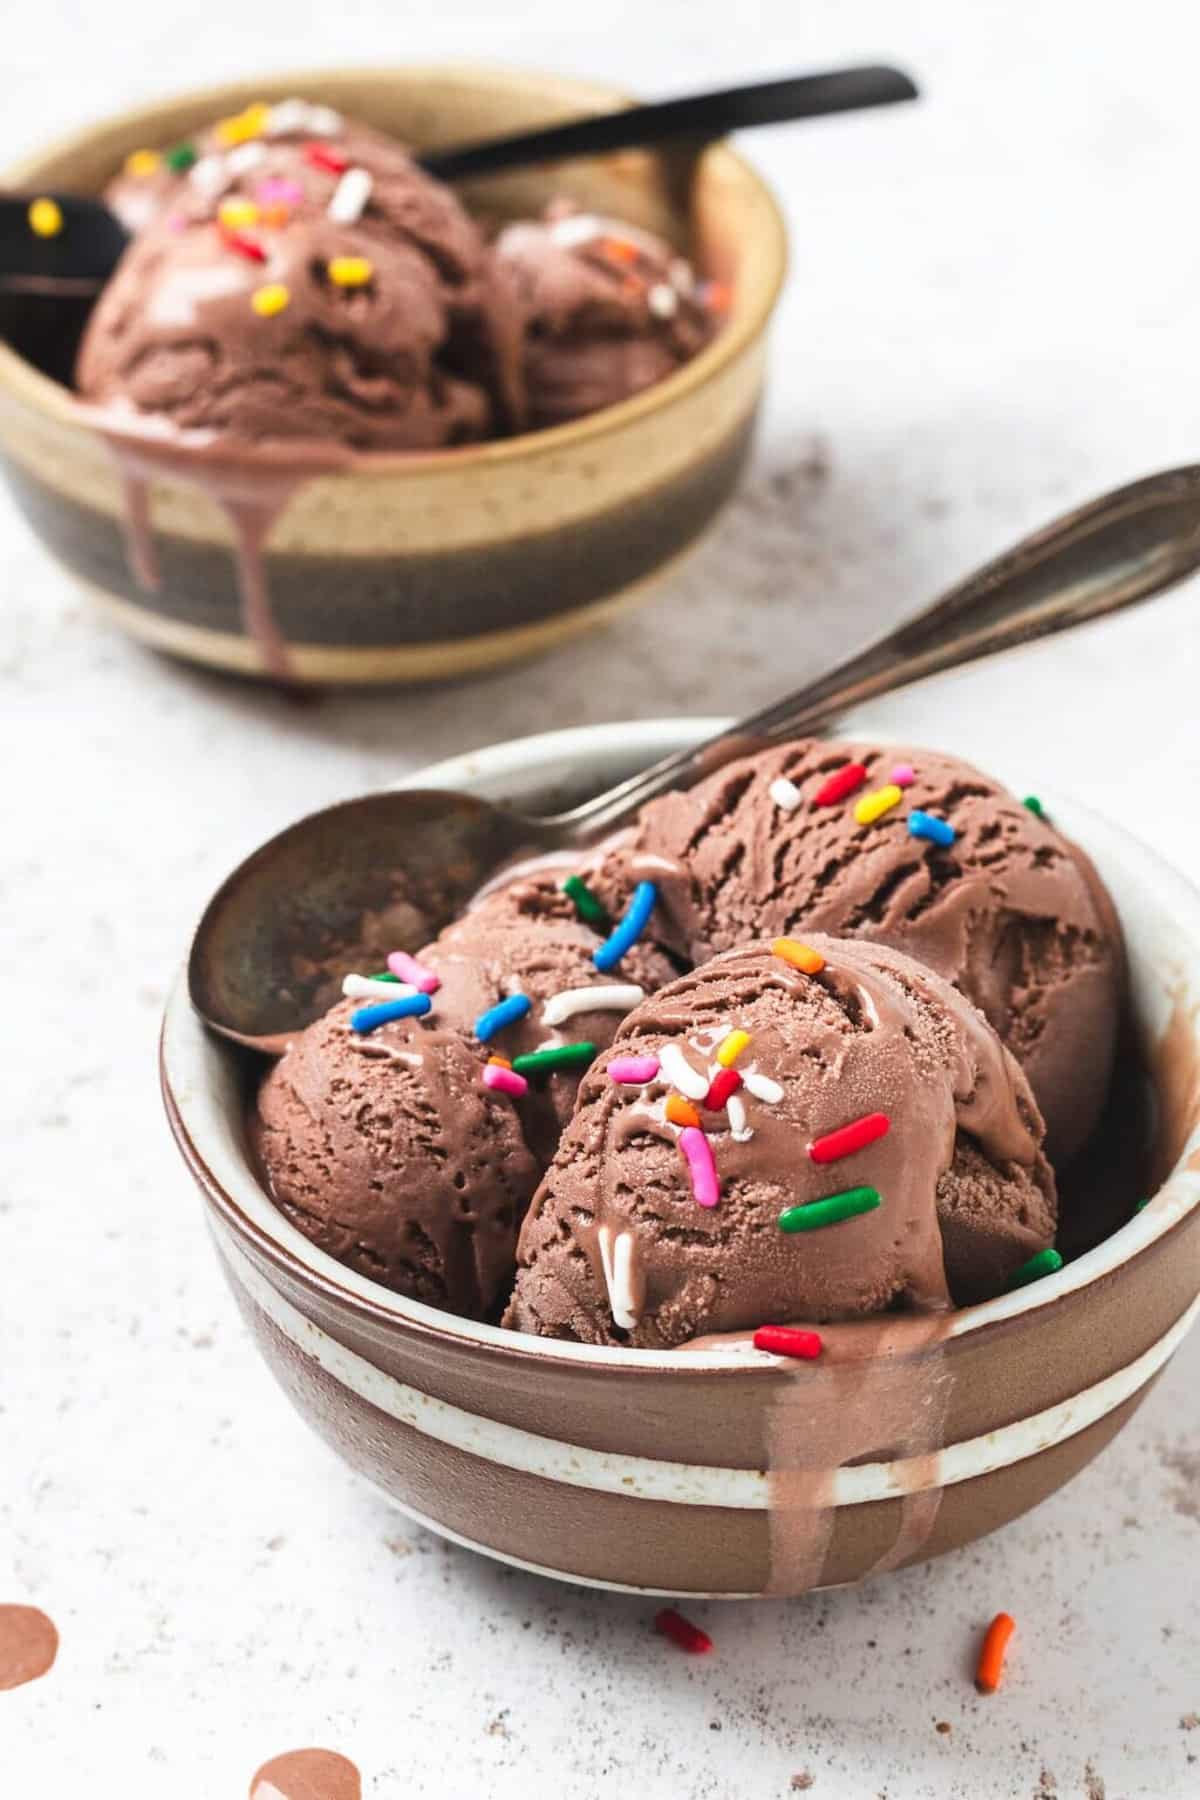
This is your new go-to summertime frozen treat. Make it just once for a backyard BBQ, Fourth of July, or any other hot-weather get-together, and everyone will remember it and beg you to make it again!
I know you’re ready to jump into your new favorite ice cream obsession, but don’t forget to explore some of our other cool treats like Oreo dip, strawberry popsicles, or our perfectly light and airy lemon mousse.
Jump to:
Save to your favorite dessert board!⤵️
Why You’ll Love The Best Chocolate Ice Cream
- If you’ve never had gourmet homemade chocolate ice cream, be warned, you’ll never go back to that bland store-bought ice cream. It has an irresistibly deep, almost fudgy, brownie-like, chocolatey flavor. OMG, so good!
- Based on the flavor, you won’t believe this recipe calls for just seven ingredients. And here’s the thing: between the heavy cream, milk, sugar, eggs, and cocoa powder, you likely already have a few of these ingredients in your kitchen. Yay!
- You don’t need to be a pro chef like Jamie Oliver or Gordon Ramsay to make this ice cream. If you can measure, pour, and whisk, you can make it. But everyone who tries it will think you’re some kind of dessert magician with superpowers.
- Okay, so the base chocolate ice cream is just the beginning. It’s super easy to make it your own with add-ins like a swirl of peanut butter, crushed Oreos, chocolate chips, nuts, or fudge. Go Wild!
Ingredients
- Milk – We prefer two percent because it has less of an oily mouthfeel, but whole milk works too.
- Heavy Cream
- Cocoa Powder – Dutch cocoa powder is the BEST.
- Vanilla Extract
- Sugar
- Eggs – Just the yolks.
- Salt – Sea salt or kosher salt is best, but anything other than table salt is good.
See the recipe card for quantities.
How to Make The Best Chocolate Ice Cream
Pour the heavy cream into a medium bowl and set it aside.
In another medium bowl, add the egg yolks, set them aside.
In a medium pot, mix together the milk, sugar, cocoa, and salt. Heat it over medium heat for about 3 minutes, until the sugar, cocoa, and salt have dissolved.
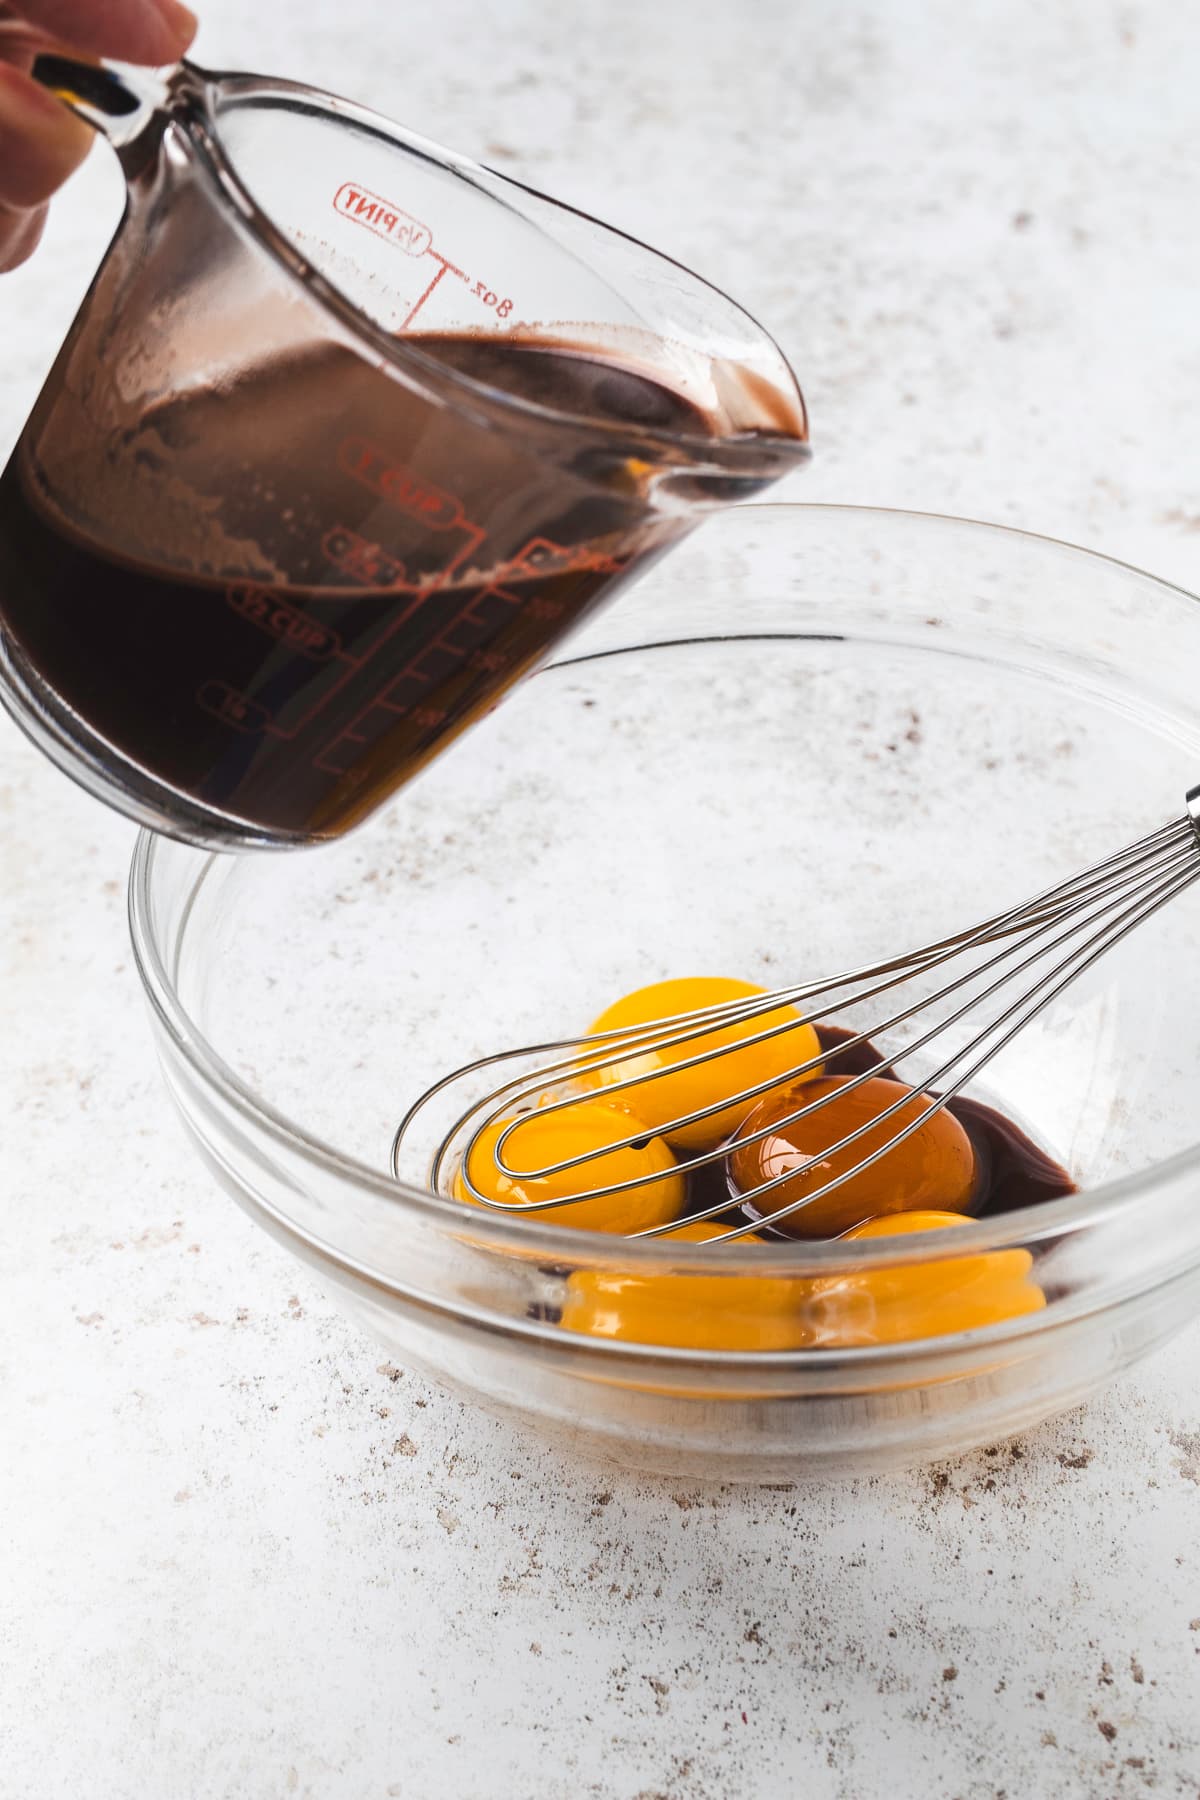
Slowly pour about ½ cup of the hot milk mixture into the egg yolks, whisking the eggs the entire time to prevent scrambling.
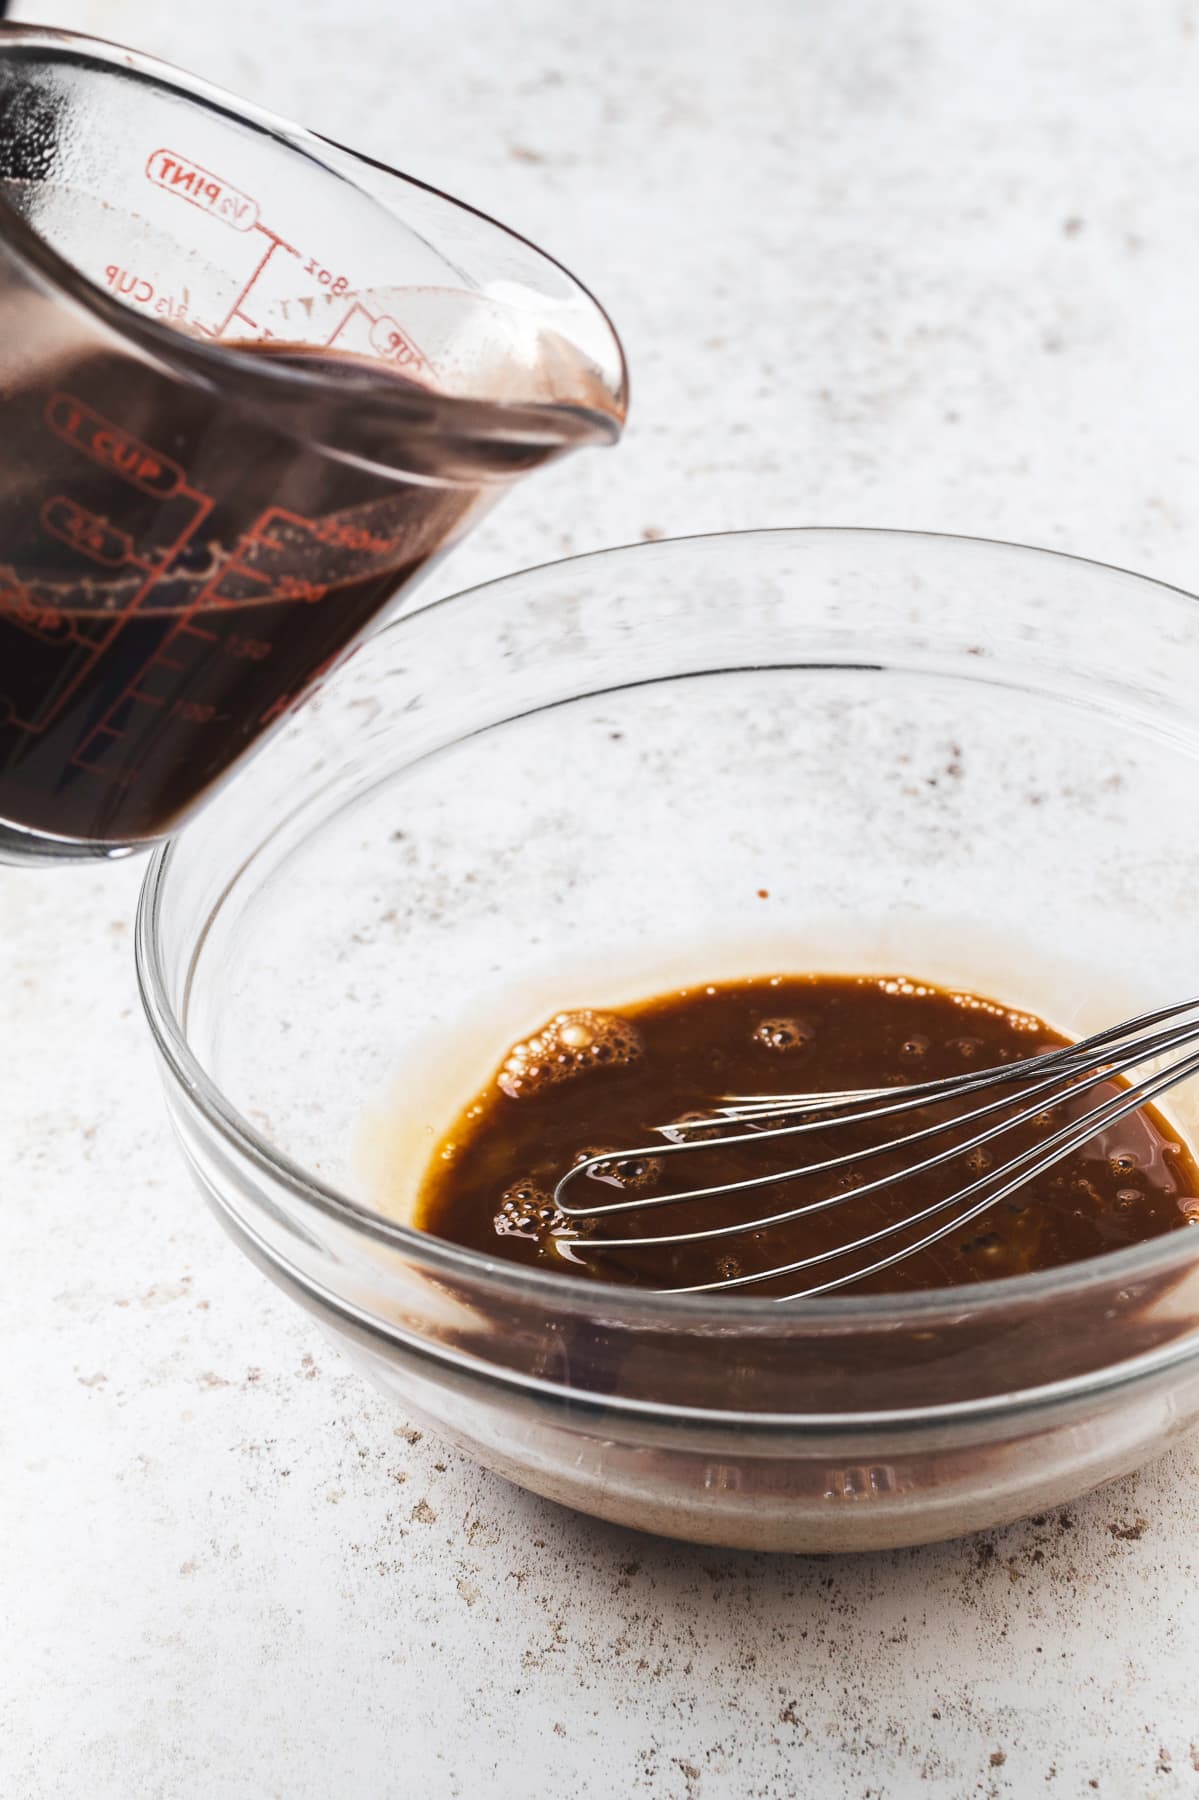
Pour the egg yolk mixture back into the pot with the rest of the milk. Cook over medium heat, stirring constantly, for about 7–10 minutes, until the mixture thickens and can coat the back of a spoon.
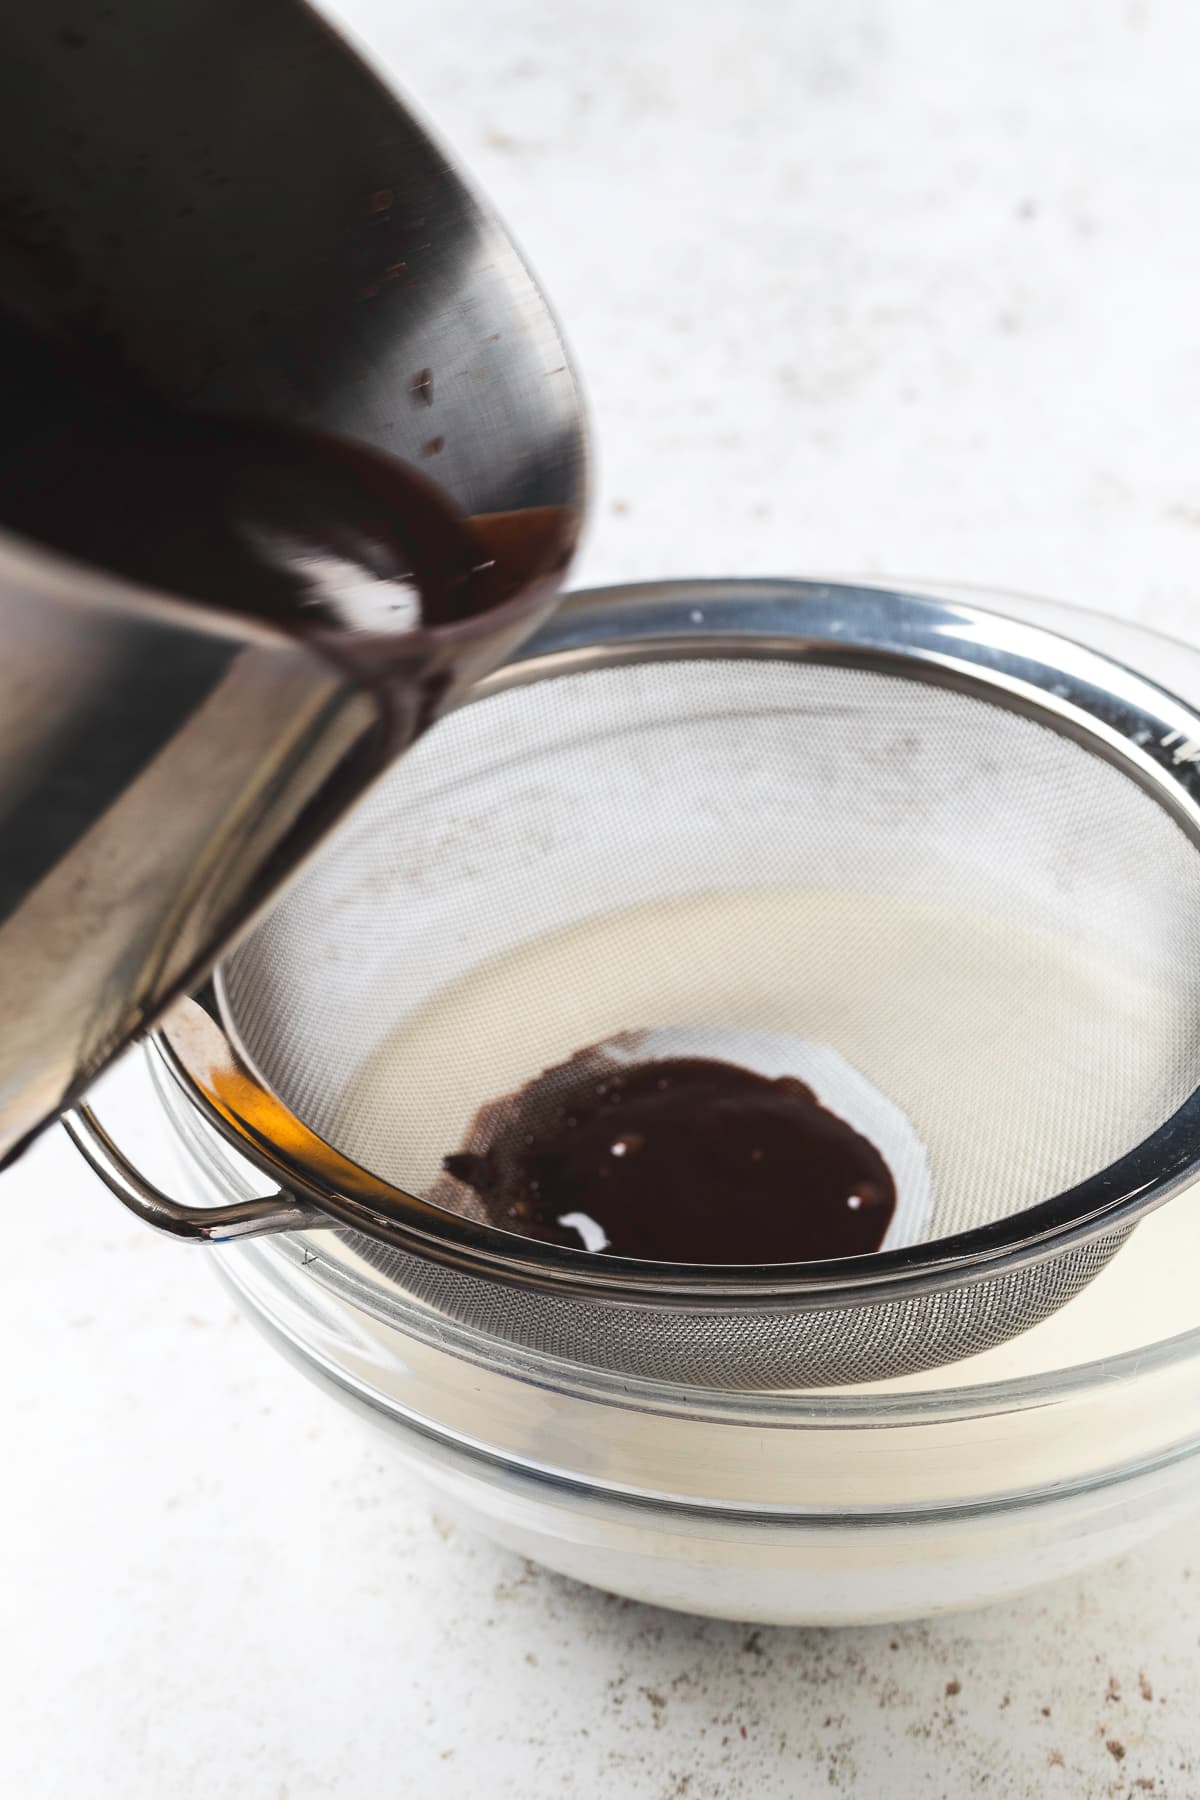
Place a mesh strainer over the bowl of heavy cream and pour the hot mixture through it. This helps catch any lumps. Then add the vanilla extract. Stir to combine.
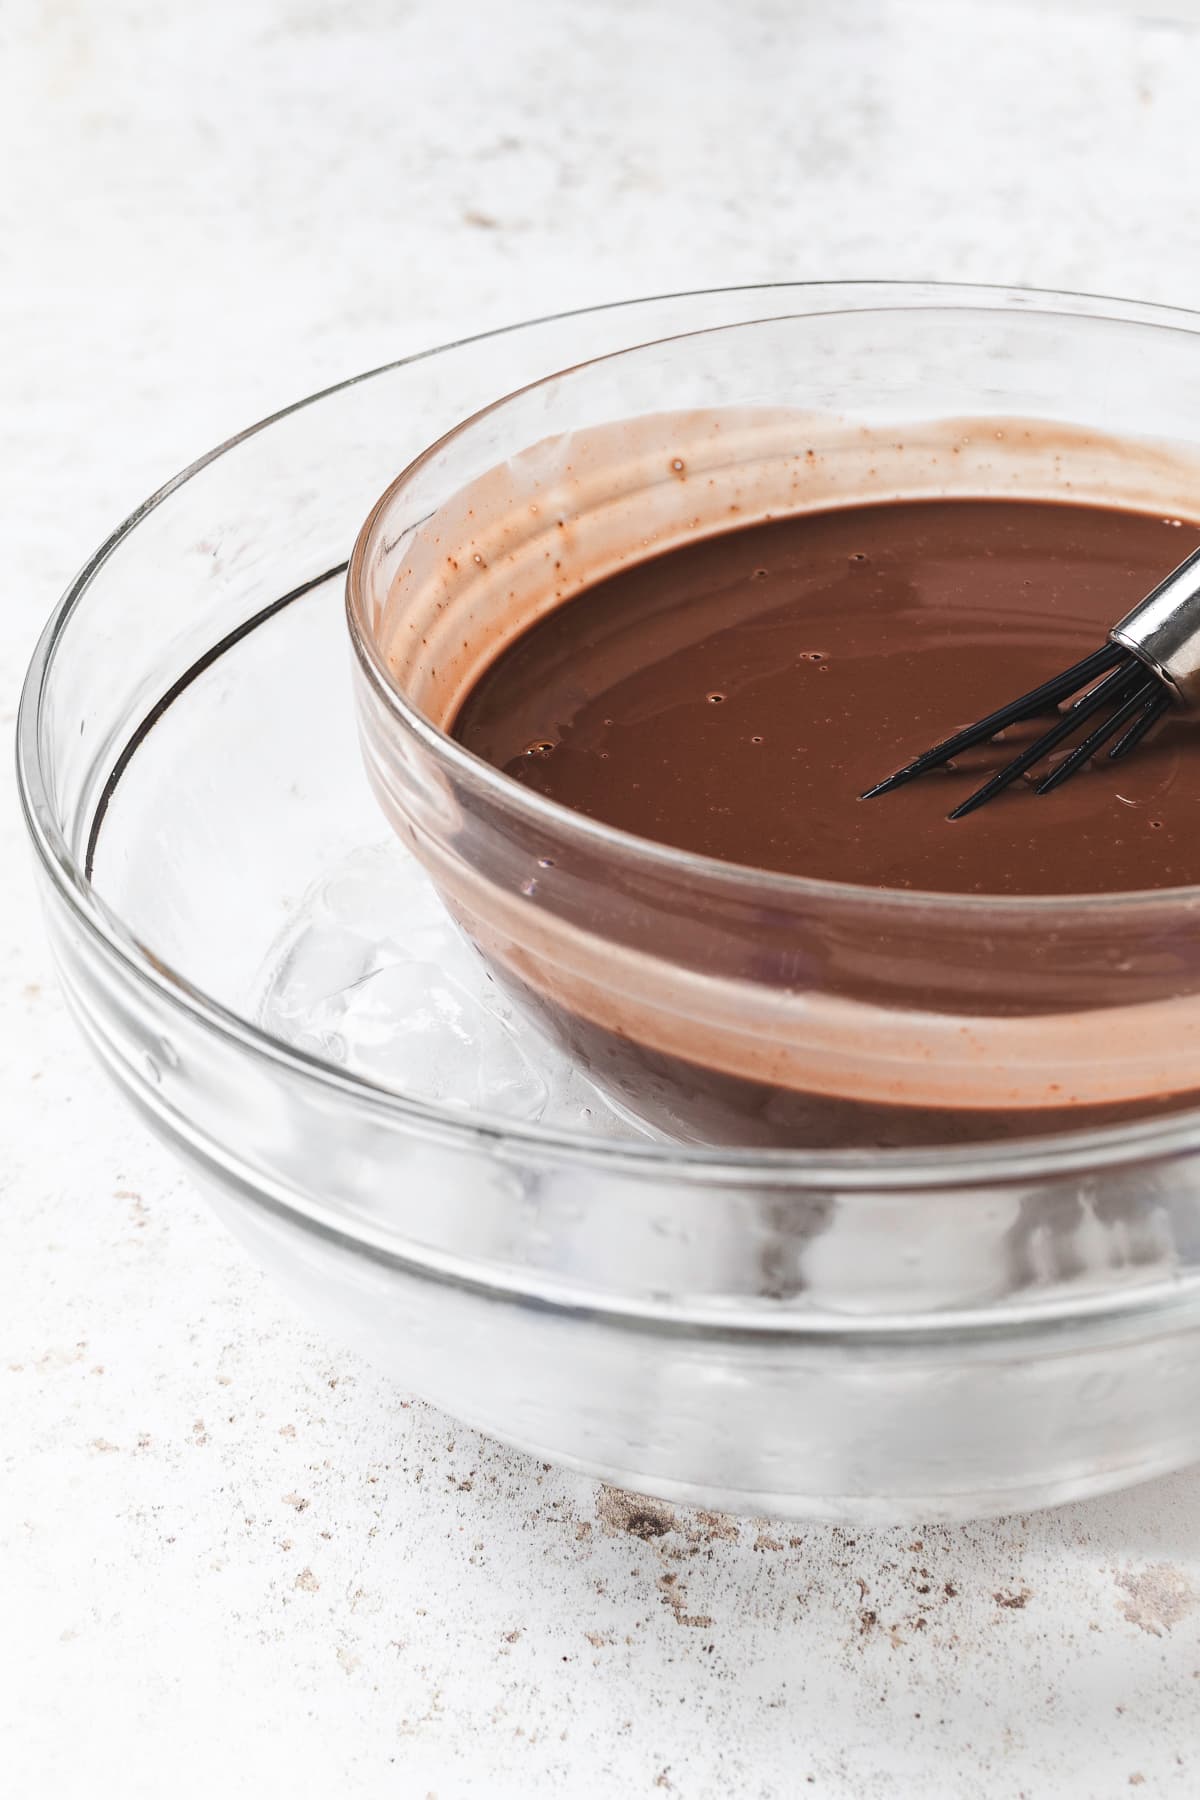
To cool the mixture faster, place the bowl in an ice bath (a larger bowl filled with ice and water).
Once the mixture is cooled, cover it with a lid or plastic wrap and refrigerate for at least 2 hours.
After it’s chilled, pour the mixture into your ice cream maker and follow the instructions to churn it.
Once it’s done churning, freeze the ice cream for at least 4 hours or overnight.
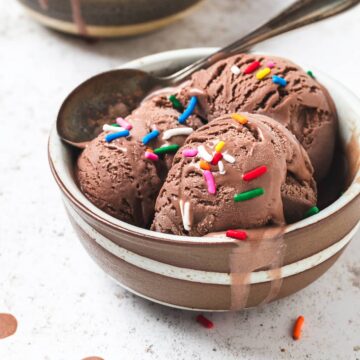
Scoop into bowls or cones, add your favorite toppings, and enjoy!
Top Tip
Use an ice bath to chill the base ice cream mixture before storing it in the refrigerator. Make sure the mixture is cooled in the fridge for a few hours before churning, or you’ll have nothing more than an icy mess.
Equipment
If it’s within your budget, and you plan to make lots of homemade ice cream, we highly recommend an ice cream maker with a condenser like the Cuisinart ICE-100. We’ve had it for years and it still works great!
Otherwise, we’ve heard good things about the Cuisinart ICE-30.
Storage
How you store your ice cream matters, here’s some tips:
- We prefer to store our ice cream batches in a shallow food storage container, as tall tubs aren’t as easy to scoop.
- Place plastic on the surface of the ice cream to prevent ice crystal formation.
- Chill the storage container while the ice cream is churning. If you place the churned ice cream in a warm container, it will start to melt, and when it freezes, ice crystals will form. No bueno!
- Before serving, allow the ice cream to sit on the counter for about 5 minutes to soften slightly. This will make it easier to scoop and serve.
FAQ
While it will technically last for up to two weeks, it is best enjoyed within one to 10 days.
No, you can use what you have in your kitchen. But if you’re going for a deeper, richer, more chocolatey flavor, Dutch-process cocoa is absolutely the way to go.
We tried this recipe with both whole milk and 2% milk, and we prefer the 2% milk. The mouthfeel is less fatty, yet still rich from the heavy cream, allowing it to freeze nicely without becoming icy. But you can definitely use whole milk, it’s still delicious.
Chocolate Ice Cream Recipe
Equipment
- 1 Ice Cream Maker
Ingredients
- 1 ½ Cup Heavy Cream
- 1 ½ Cup 2% Milk
- ¾ Cup Sugar
- ¼ Cup Dutch Cocoa
- ⅛ Tsp Salt
- 5 Large Egg Yolks
- 1 Tsp Vanilla Extract
Instructions
- Pour the heavy cream into a medium bowl and set it aside.
- In another medium bowl, add the egg yolks, set them aside.
- In a medium pot, mix together the milk, sugar, cocoa, and salt. Heat it over medium heat for about 3 minutes, until the sugar, cocoa, and salt have dissolved.
- Slowly pour about a ½ cup of the hot milk mixture into the egg yolks, whisking the eggs the whole time so they don’t scramble.
- Pour the egg yolk mixture back into the pot with the rest of the milk. Cook over medium heat, stirring constantly, for about 7–10 minutes, until the mixture thickens and can coat the back of a spoon.
- Place a mesh strainer over the bowl of heavy cream and pour the hot mixture through it. This helps catch any lumps. Then add the vanilla extract. Stir to combine.
- To cool the mixture faster, place the bowl in an ice bath (a larger bowl filled with ice and water).
- Once the mixture is cooled, cover it with a lid or plastic wrap and refrigerate for at least 2 hours.
- After it’s chilled, pour the mixture into your ice cream maker and follow the instructions to churn it.
- Once it’s done churning, freeze the ice cream for at least 4 hours or overnight.
- Scoop into bowls or cones, add your favorite toppings, and enjoy!
Notes
- Allow the ice cream to sit at room temperature for 5-10 minutes before scooping. This will make it easier to scoop and give you beautiful-looking scoops.
- Freeze for up to 2 weeks.
- If you don’t want to do the ice bath, let the ice cream mixture sit on the counter for 30-45 minutes or until it has cooled down. Then, put it in the fridge for 2 hours.
- You can make the mixture a day in advance, then put it in your ice cream machine.
Nutrition
Leave a Reply