
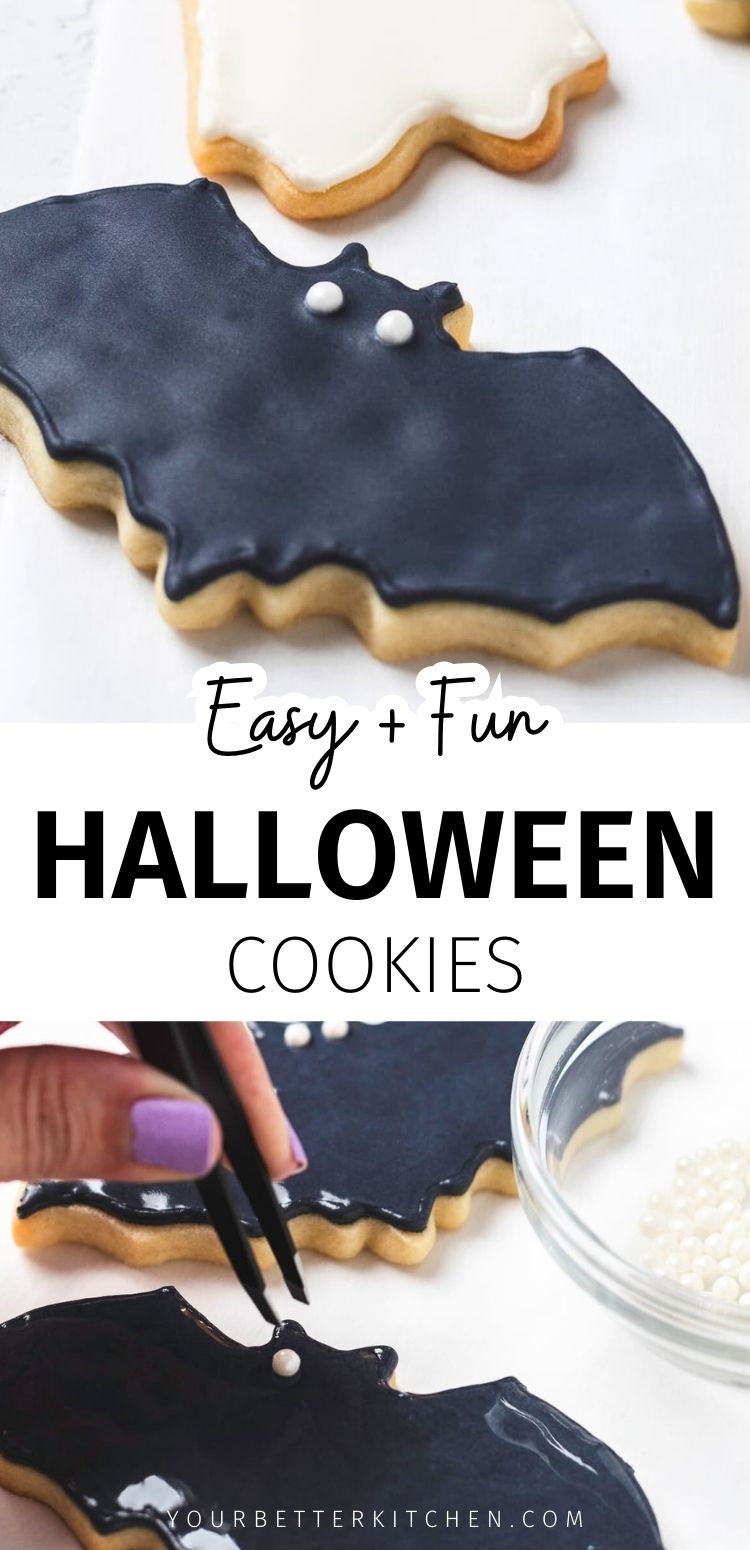
Make the spookiest season of the year extra fun and delicious with these spooky Halloween Sugar Cookies. They’re sweet, buttery, and perfectly crisp on the edges but still slightly soft in the middle.
But not only are they a treat, they’re quick, and we teach you all the little tricks to decorate them and make your platter one of a kind.

You’ll want to make these cookies from October 1st to 31st. Send them to your kid’s class parties, or gatherings at home, and make movie nights a little extra scary. They’re also a fun baking project to do with the kids.
And if you love this idea, you’ll want to check out our absolutely effortless Halloween pretzels.
Pin to your best dessert board! ⤵️
Jump to:
Why You’ll Love This Recipe…
- Who has time for difficult baking projects? These cookies come together quickly in just one bowl. Simply make your cookie dough, chill, roll, and cut out. We’re talking 30 minutes here. Maybe an hour if you’re doing it with kids.
- Speaking of kids, the little ones will have so much fun helping you make them. It’s the stuff great memories are made of. Trust me, your kids will reflect fondly on moments spent helping you make these Halloween Cookies.
- Decorate them any way you want. You can keep things basic and serve them without any toppings. Or, you could go all out and add frosting, sprinkles, or Royal icing. It’s totally up to you!
- They are PERFECT for making ahead. Planning a Halloween Party? Here’s what you do. Make a batch or two, freeze, thaw, and decorate later. You’ll be so ahead of the game!
Ingredients
- Butter – unsalted.
- Flour
- Sugar
- Baking Powder
- Vanilla Extract
- Egg
- Salt
See the recipe card for quantities.
How to Make Easy Halloween Cookies
Pin to your best dessert board! ⤵️
Preheat your oven to 350°F. Line two baking sheets with parchment paper and set them aside.
In a medium bowl, mix together the flour, salt, and baking powder. Set that aside too.
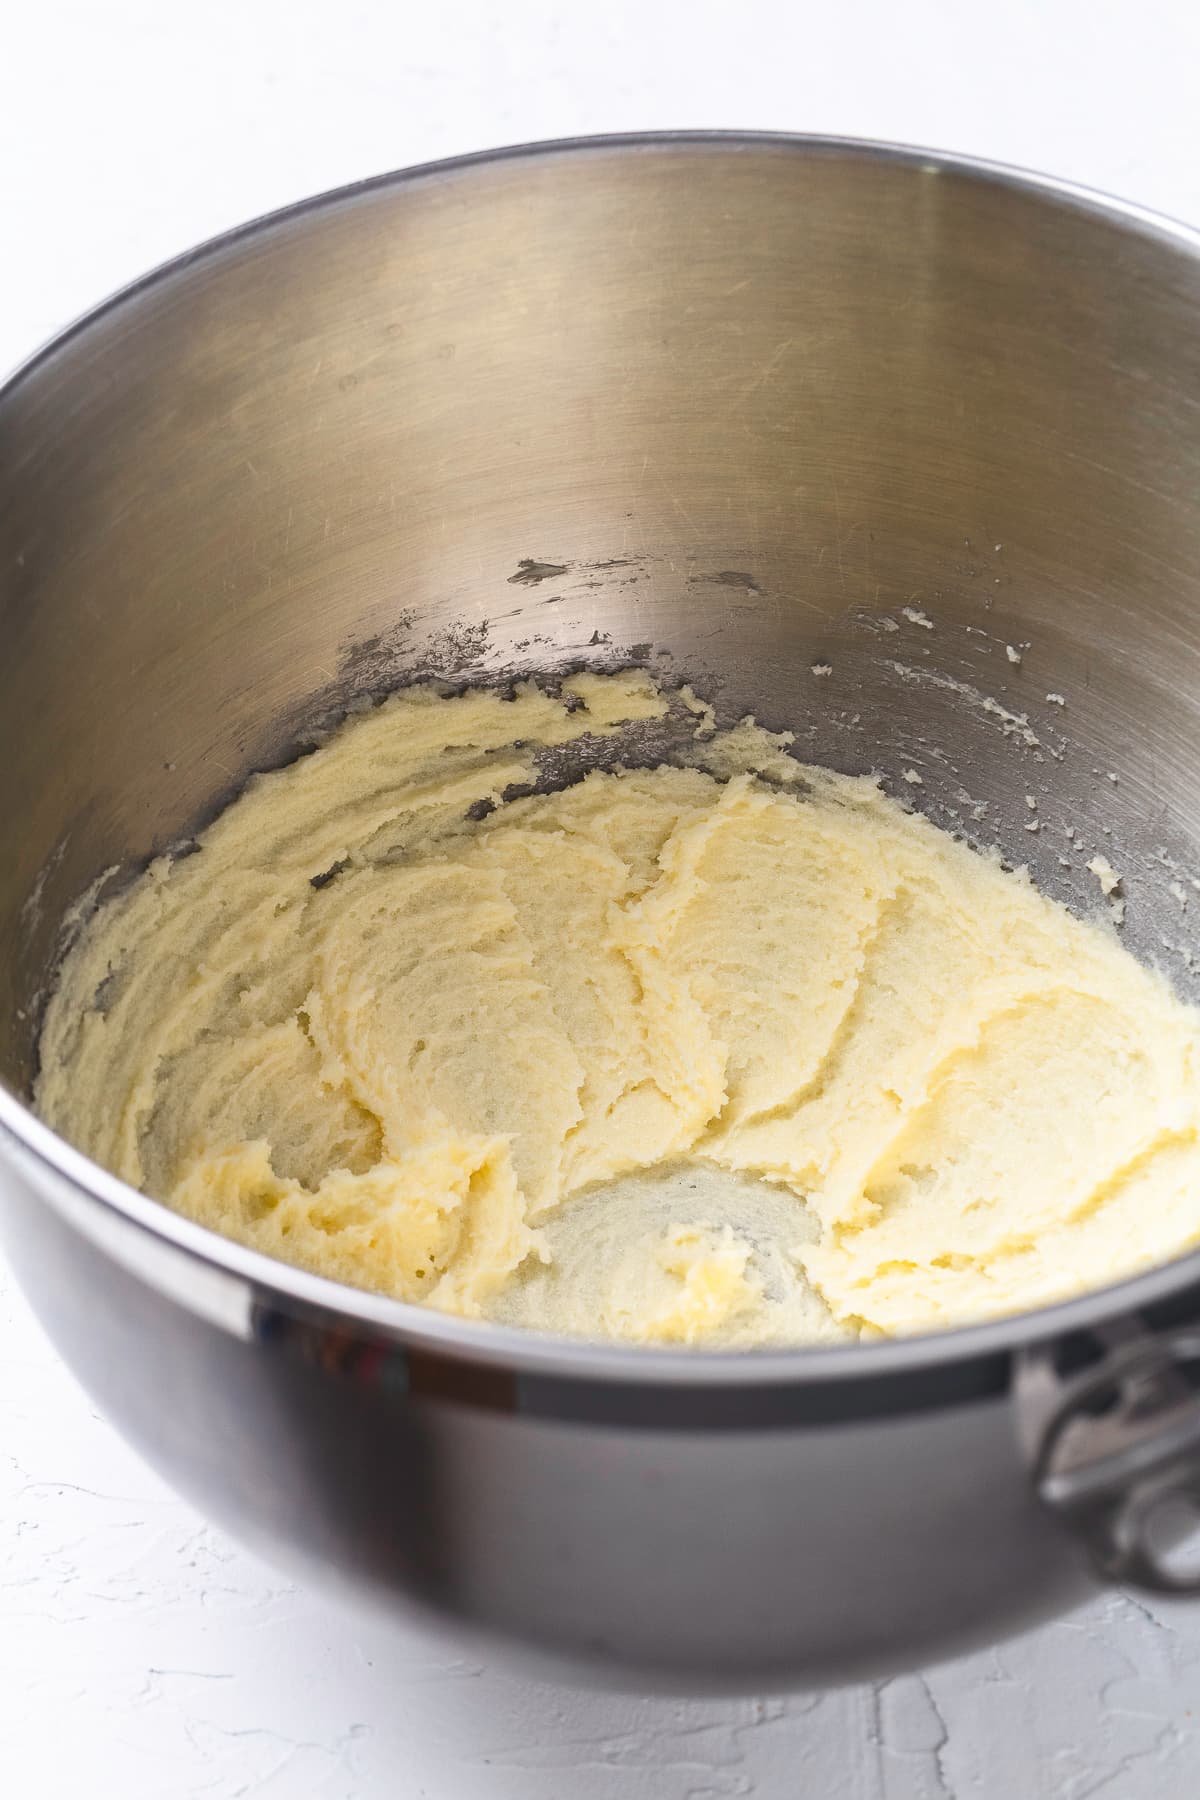
In a large bowl, use an electric mixer (or stand mixer) on medium speed to beat the butter and sugar for about 2 minutes, until it looks light and fluffy.
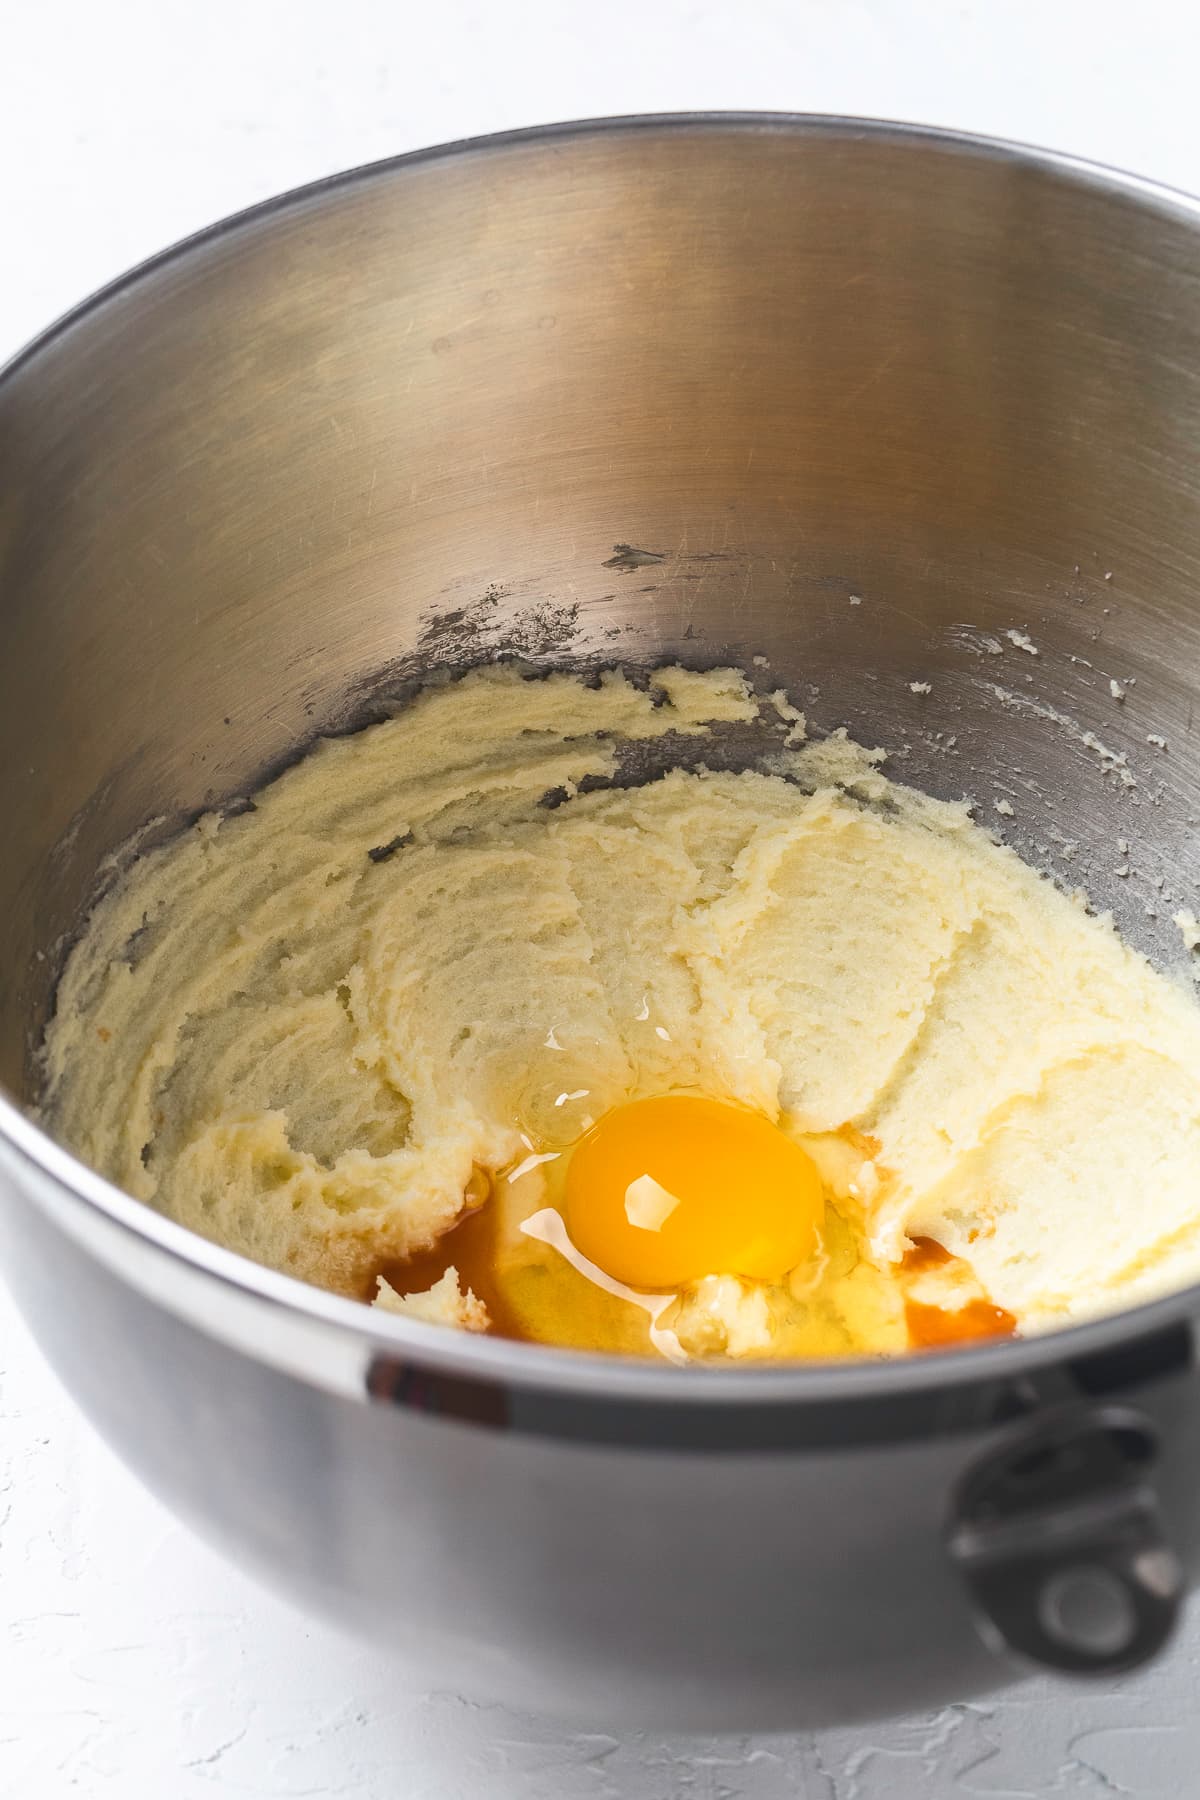
Add the egg and vanilla. Scrape down the sides of the bowl so everything gets mixed in well.
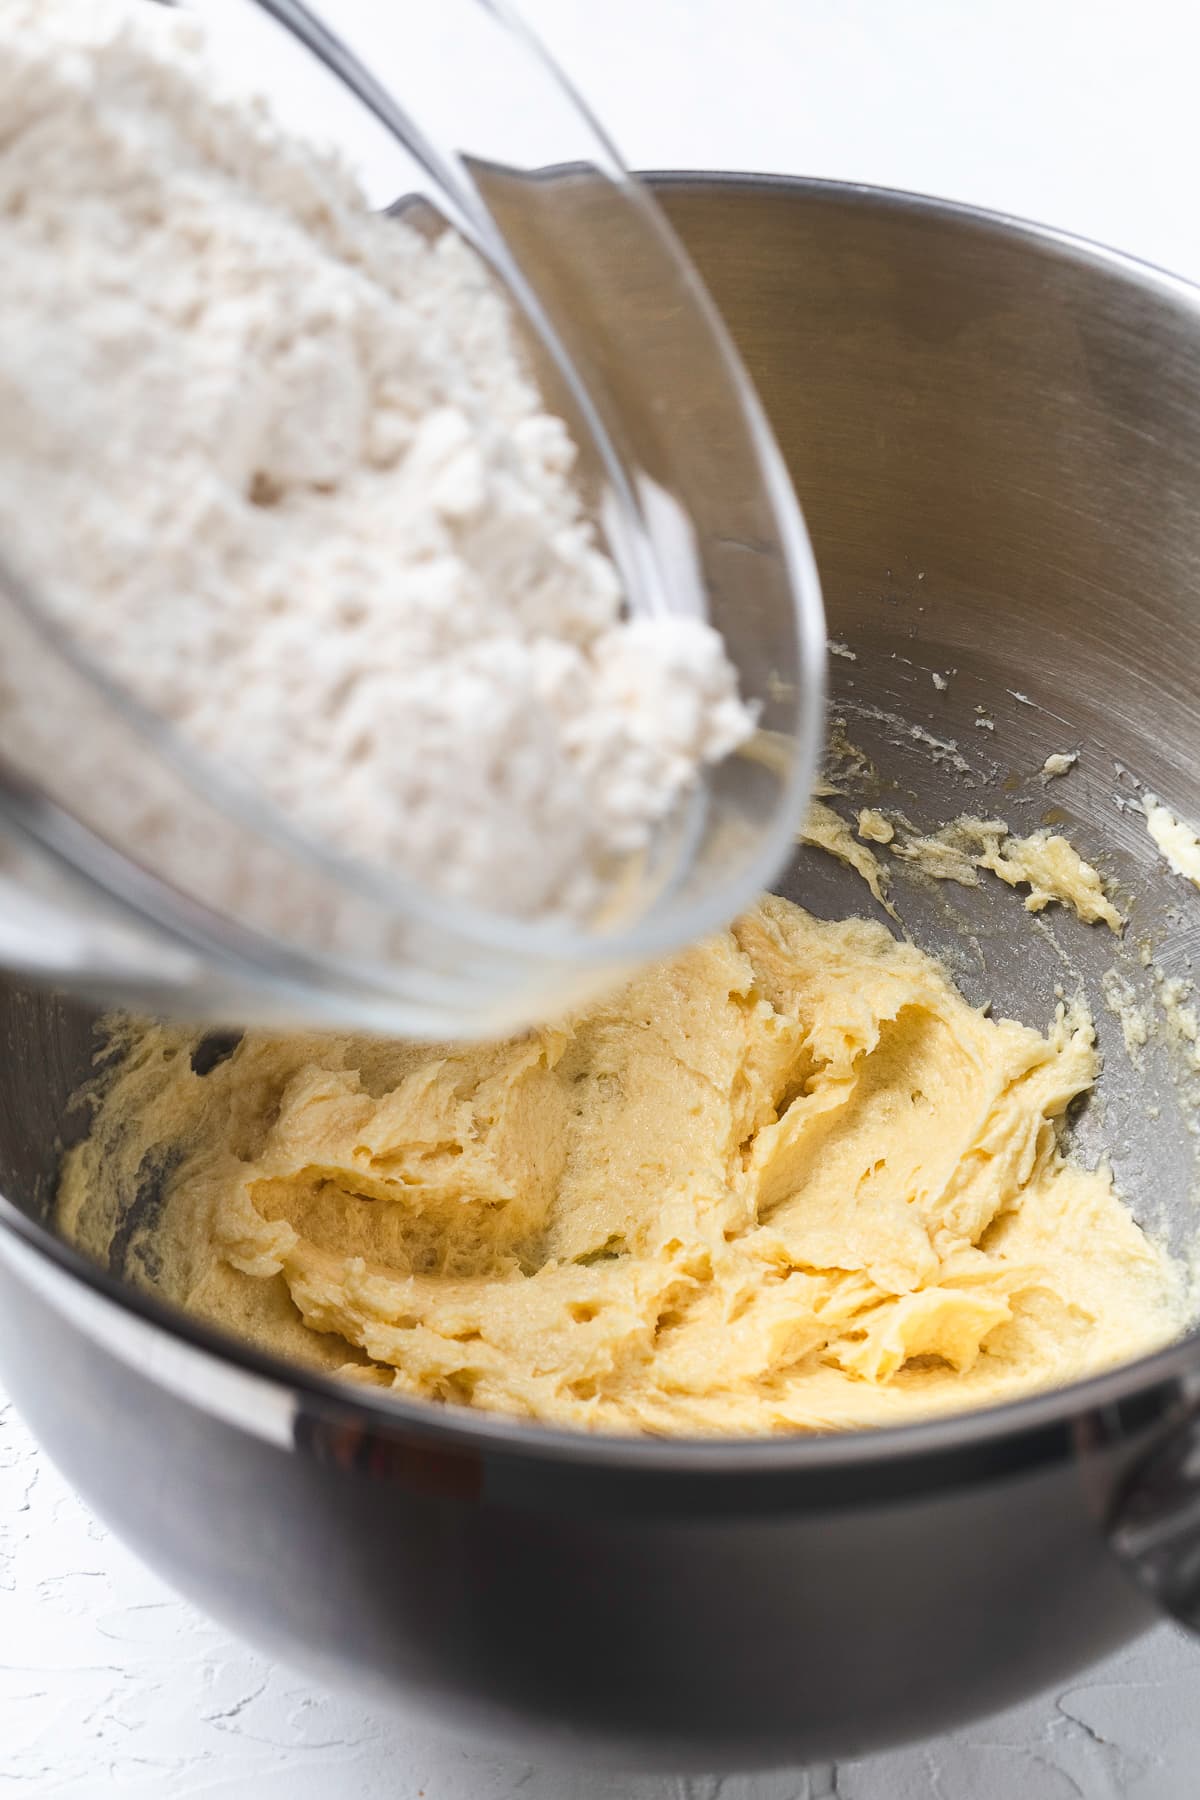
Add the flour mixture and mix on low until the dough starts to form. Then use a rubber spatula to gently fold and press the dough so all the flour is fully mixed in.
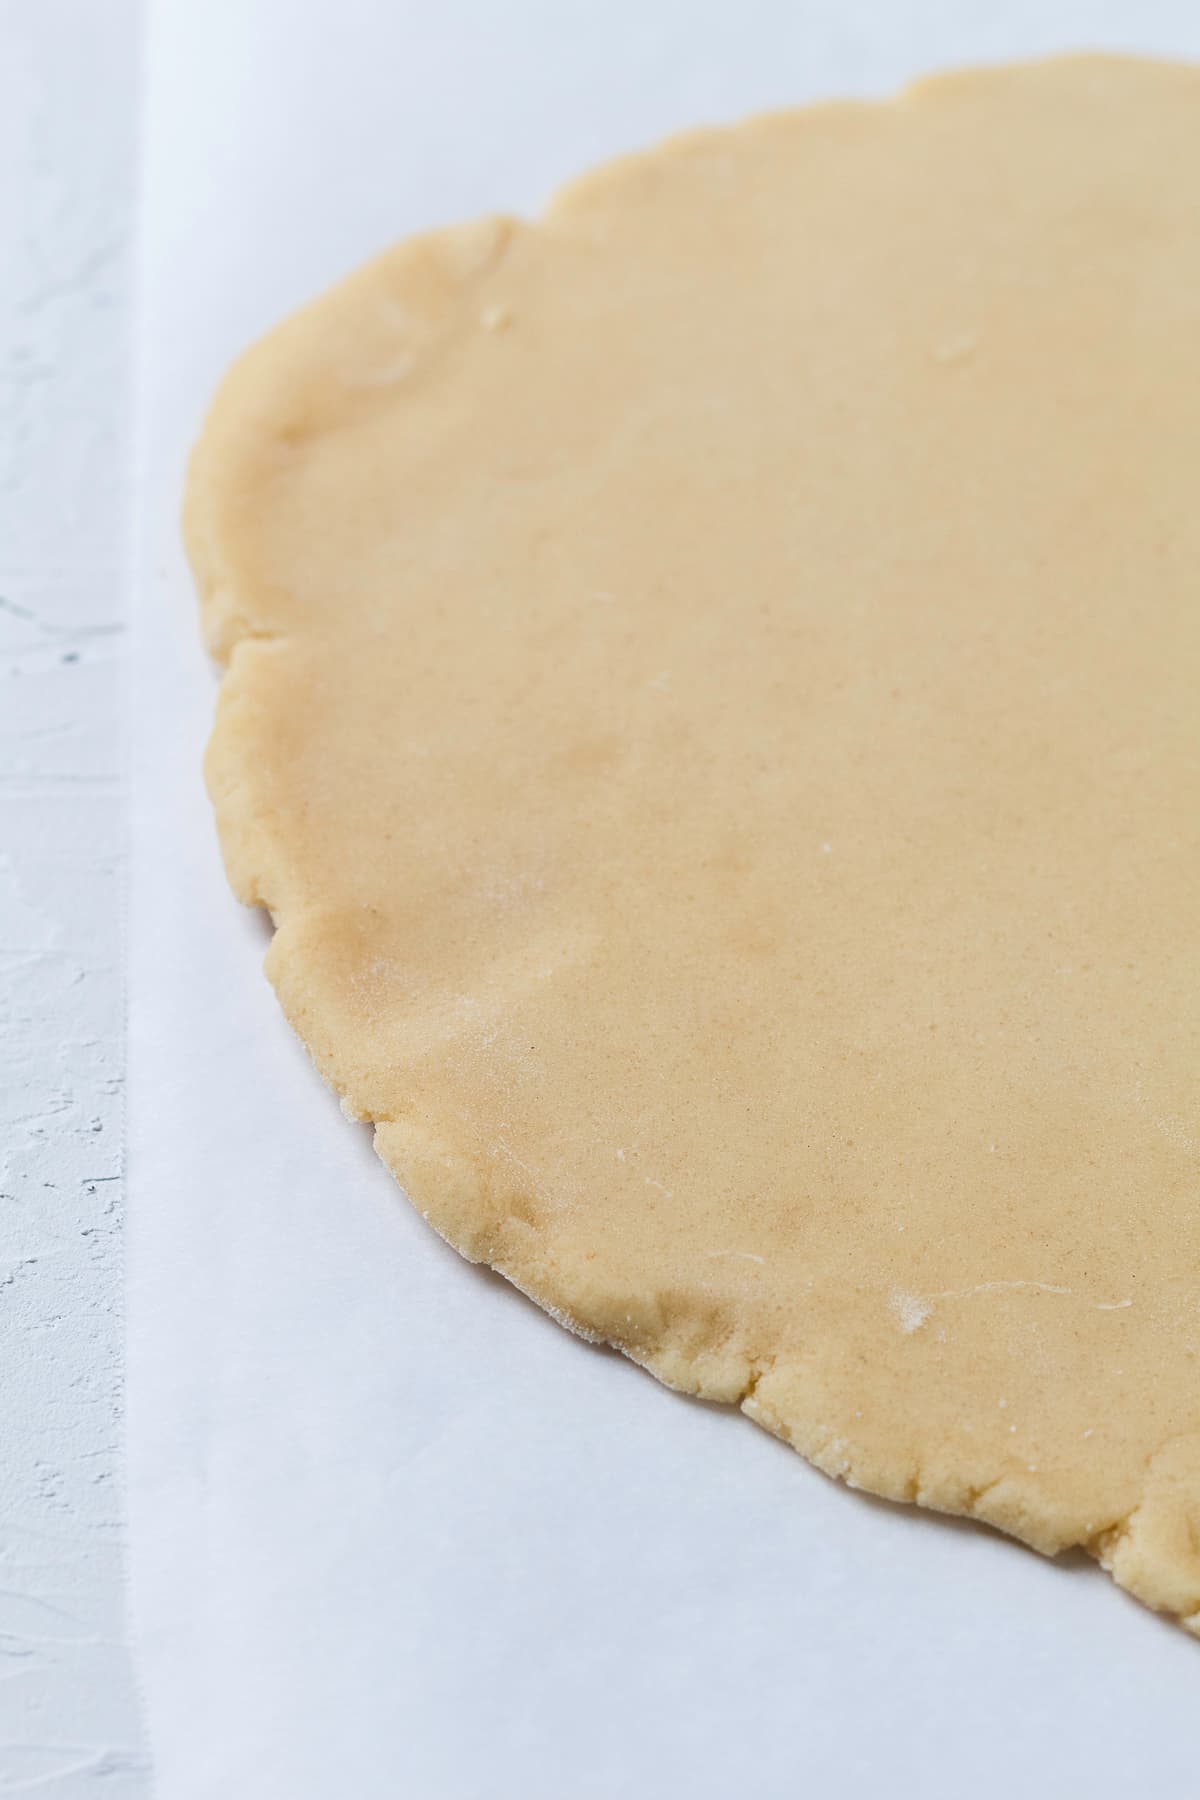
Divide the dough in half. Take one half and roll it out on parchment paper or a silicone mat until it’s about ¼ inch thick. Do the same with the second half.
Cover with plastic wrap and put both rolled-out dough sheets in the fridge for 2 hours so they can chill.
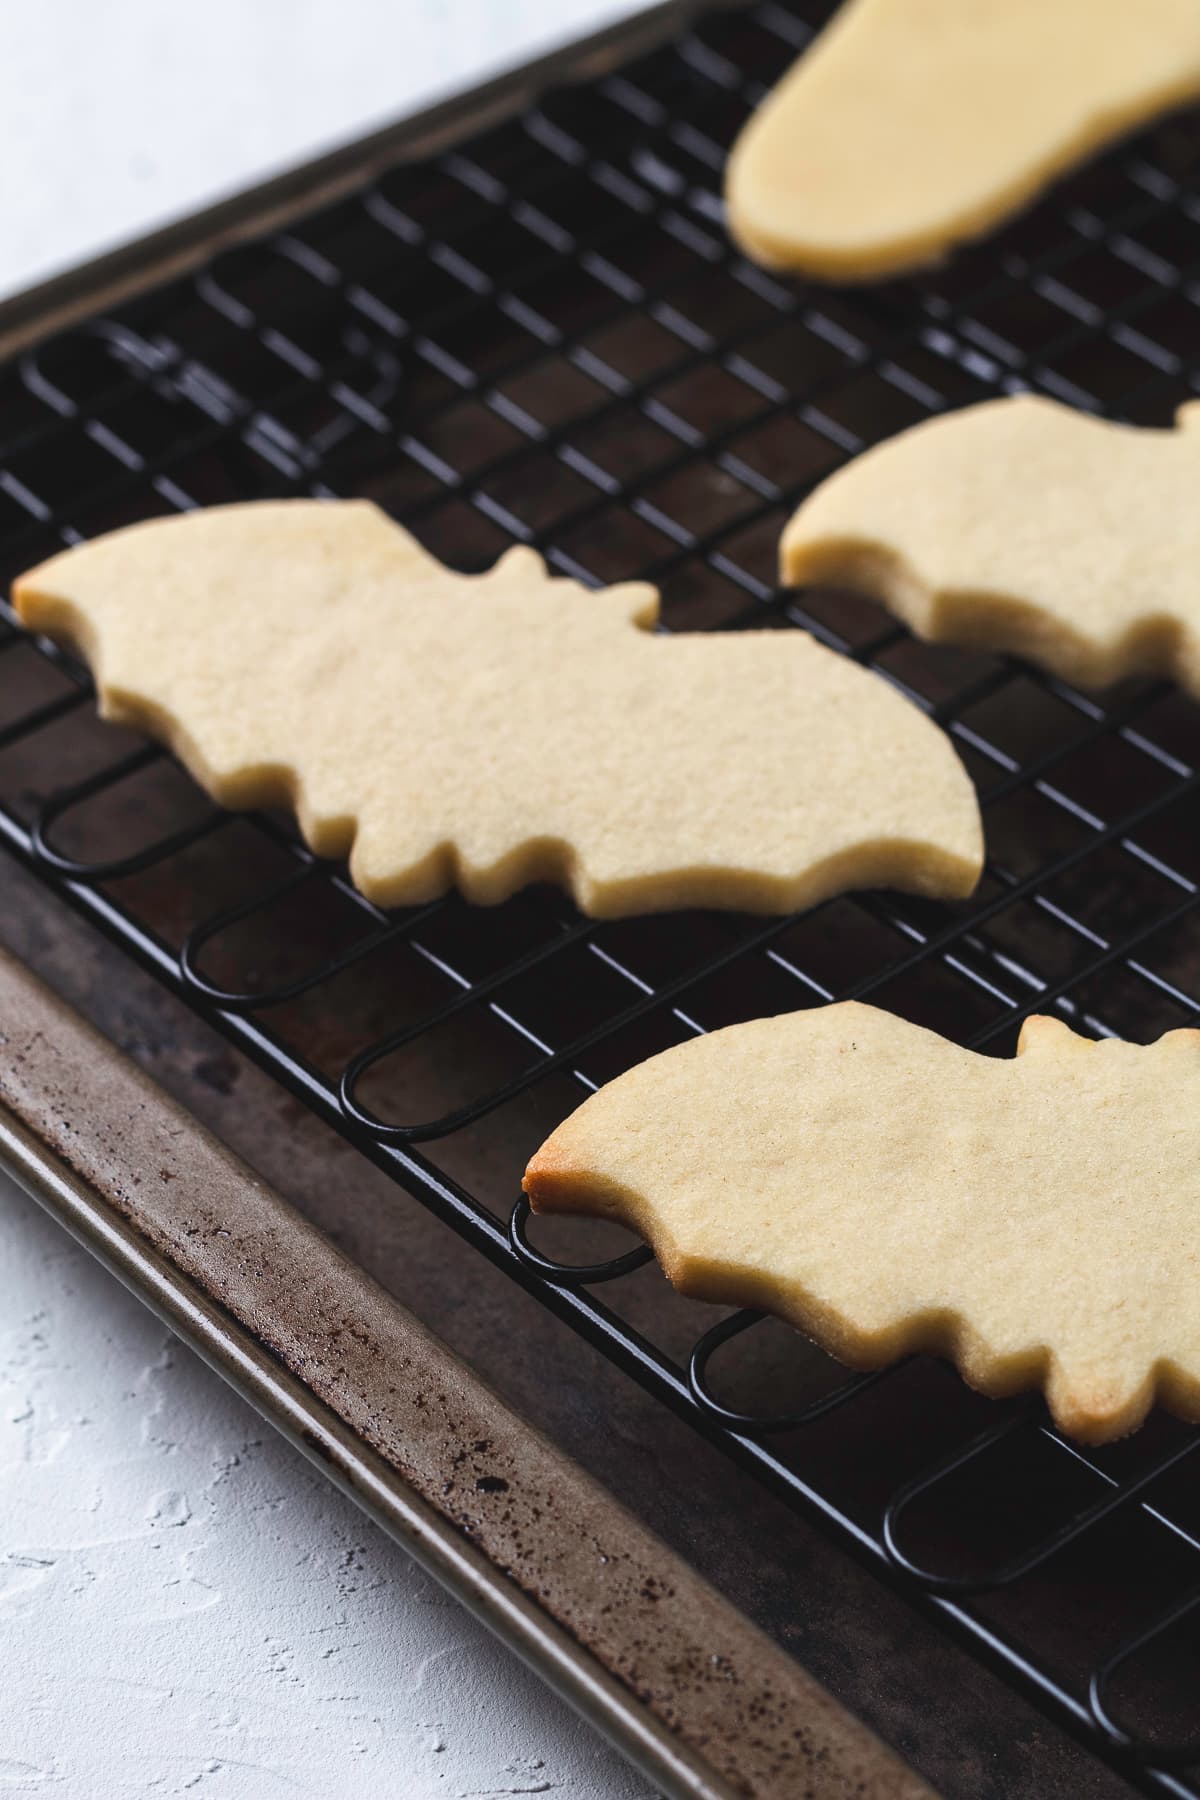
After chilling, use your favorite Halloween cookie cutters to cut out shapes. We used bats and ghosts. Place the cookies on your lined baking sheets, making sure to leave about 1 inch of space between each one.

Bake for 10 to 12 minutes, or until lightly browned around the edges.
Let the cookies cool on the baking sheet for 5 minutes, then move them to a wire rack to cool completely.
Decorate the cooled cookies with royal icing and your favorite sprinkles.
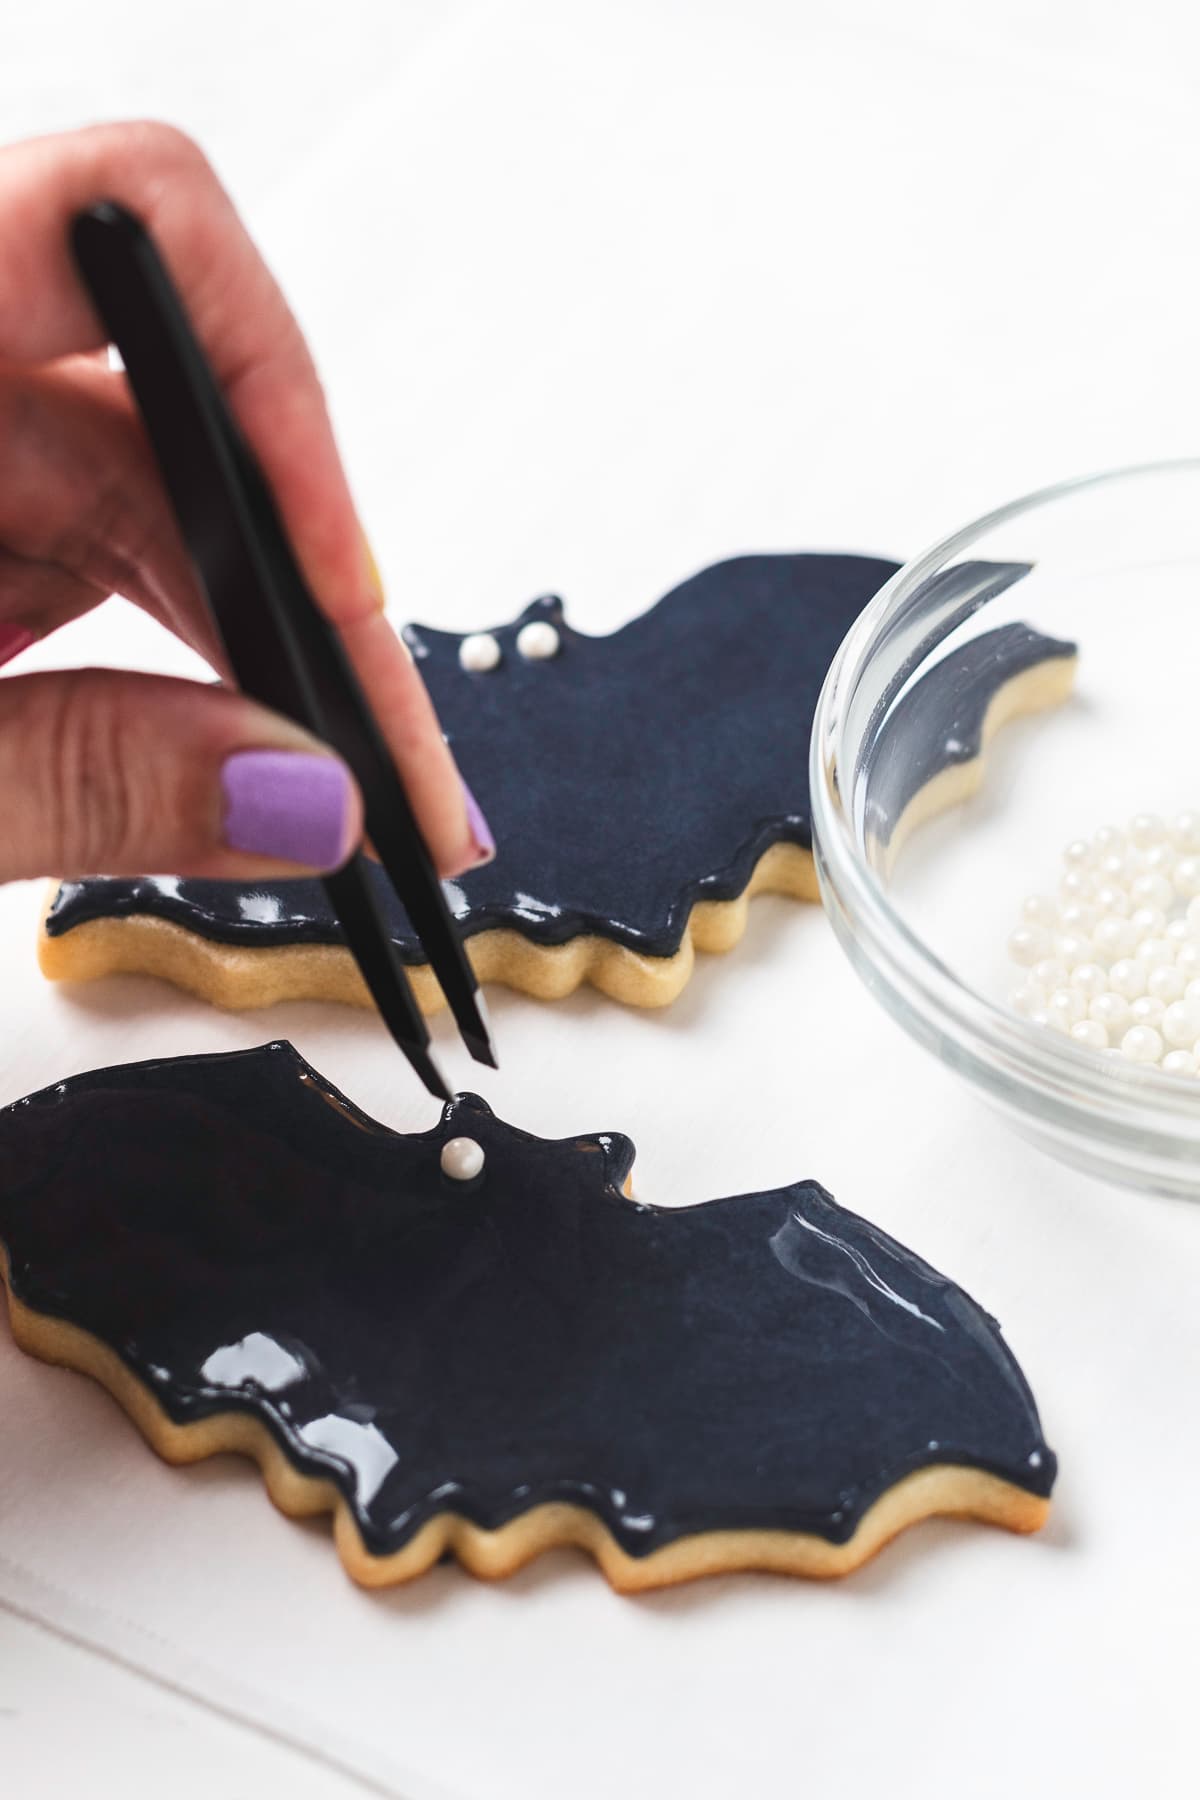
For the bats, we used black royal icing and sugar pearls for the eyes. And for the ghosts, we used white royal icing and flat black sprinkles for the eyes.
First, divide the icing into two bowls. Set aside one bowl of the white icing. For the second bowl, add the black gel food coloring.
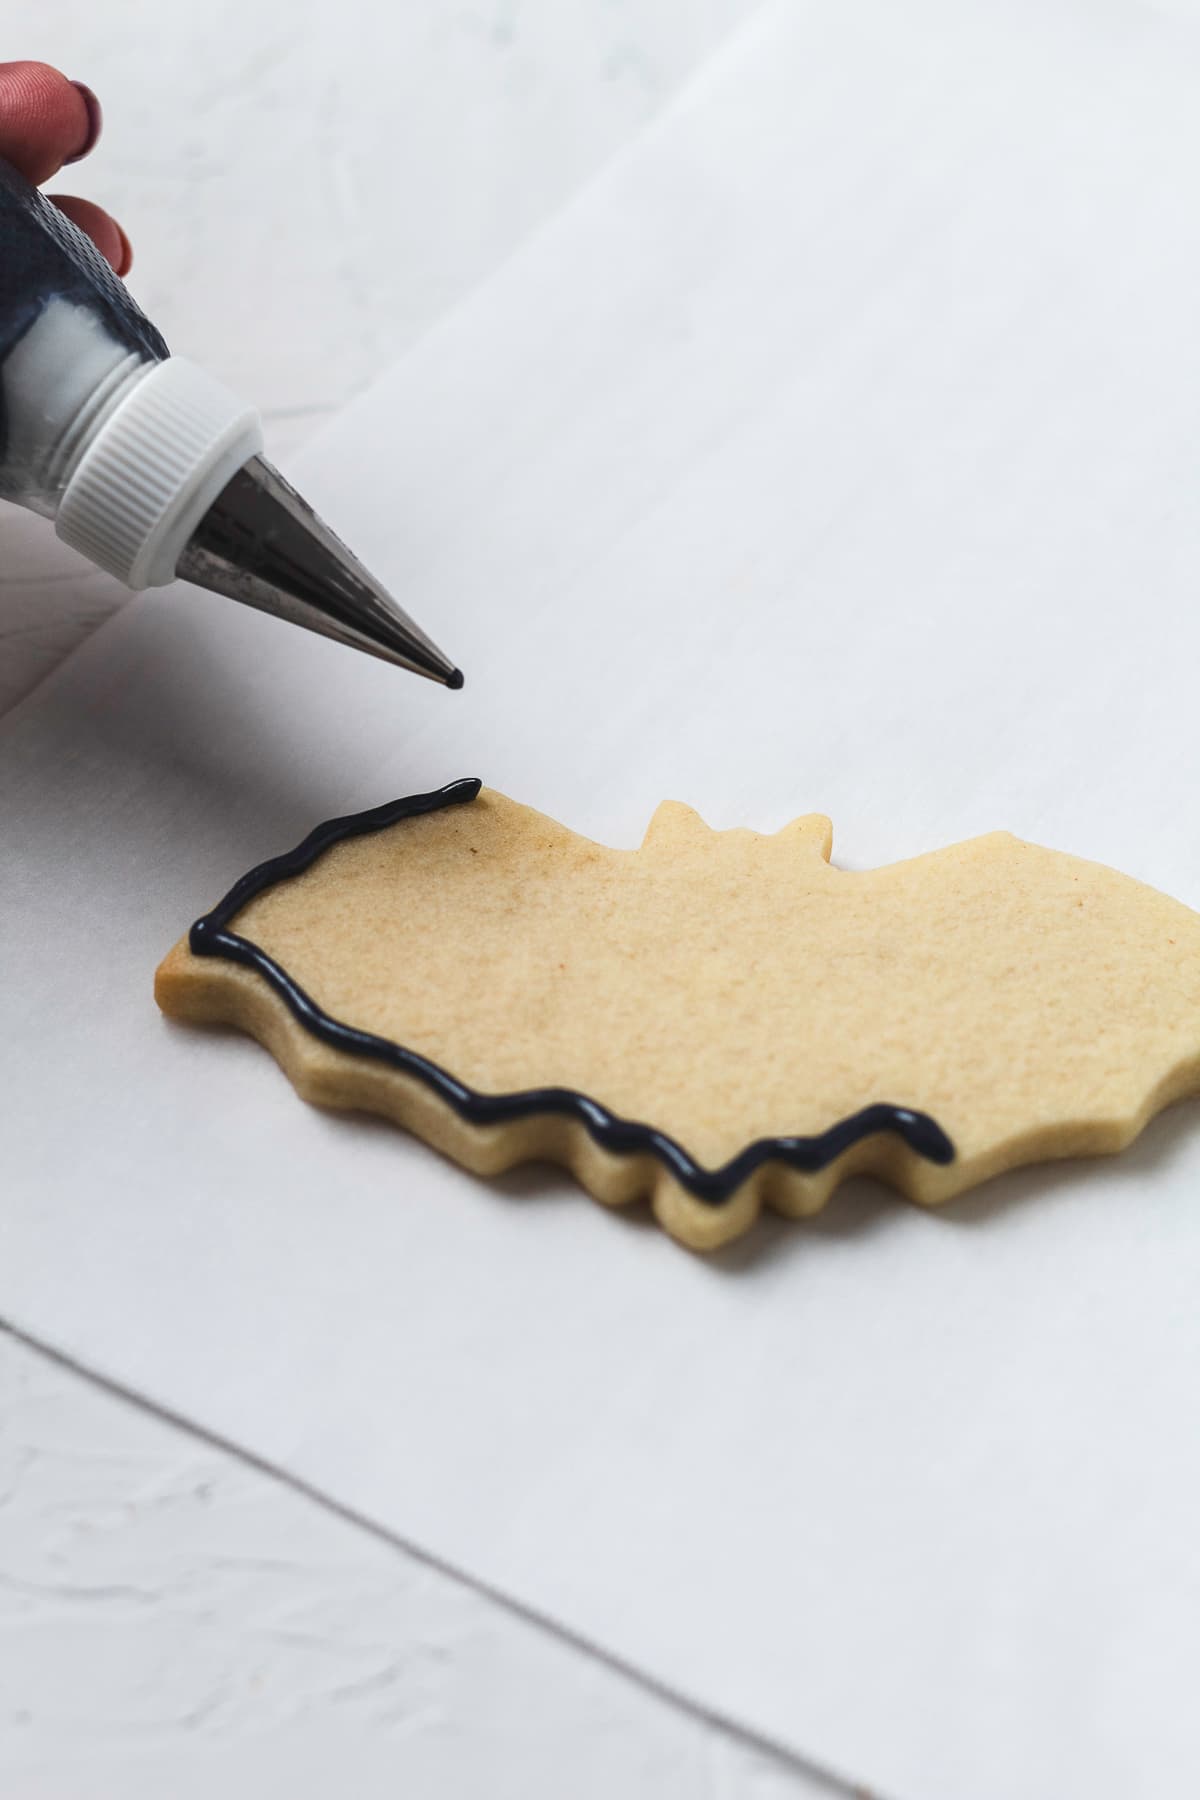
Spoon some of the white icing into a piping bag with a small #2 decorating tip. You also need to do this with the black icing.
Put the rest of that same colored icing into another piping bag, but this time just cut a small hole at the tip. Set aside.
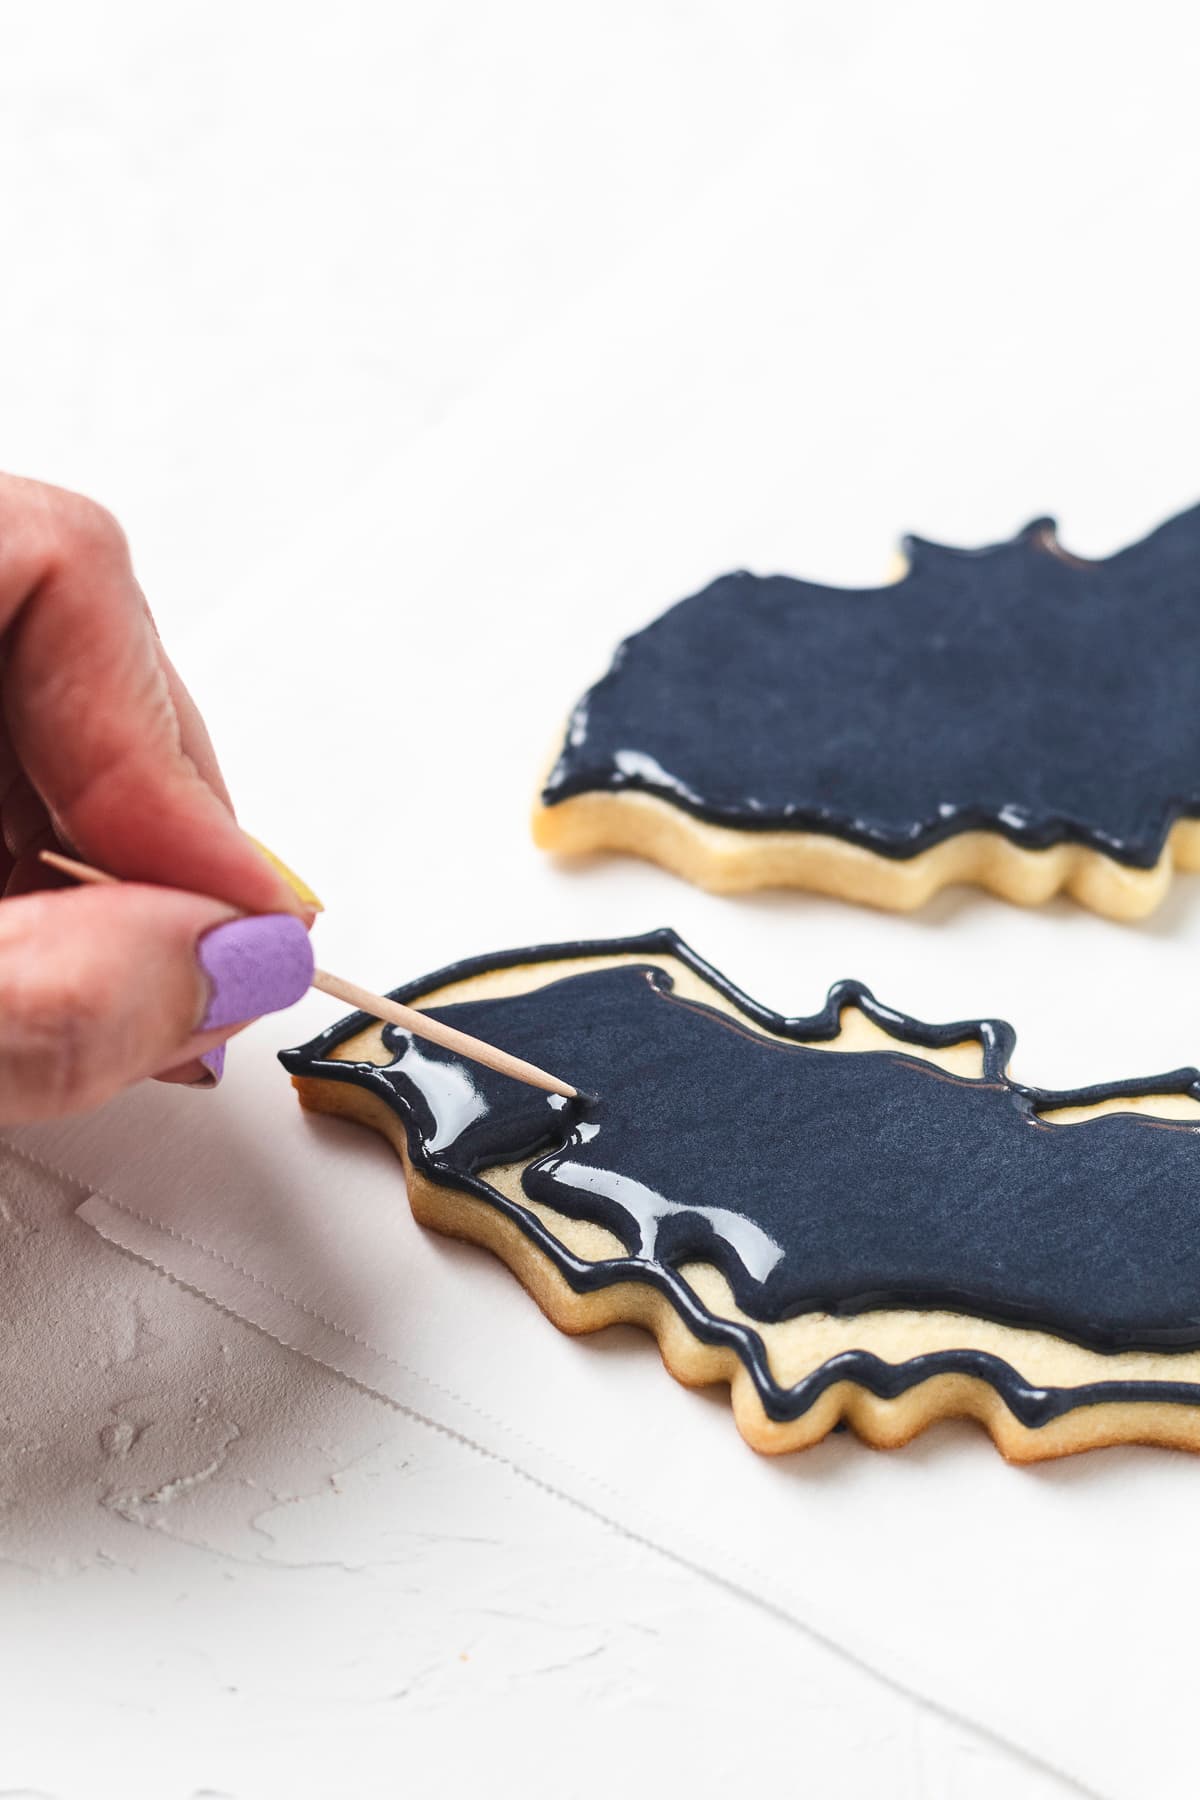
Use the piping bag with the #2 tip to carefully outline the edges of the cookie. After you’ve outlined the cookie, use the second bag to fill in the inside.
Using a toothpick, gently spread the icing to the edges to make it smooth. Then, carefully add the white sugar pearls for the eyes.
You want to follow steps 4-5 for the ghost cookies. But this time, carefully add the black sprinkles for the eyes.
Let the cookies sit at room temperature for about 2 hours so the icing can dry and harden. Enjoy!
Allow the cookies to sit at room temperature for 2 hours to allow the icing to harden. Have fun and enjoy!
Top Tips
I have two tips for you that can make or crumble your cookies:
Chill your cookie dough for at least two hours. This prevents the dough from spreading too much when you bake the cookies. Skipping this step will cause your bats, tombstones, and witch hats to lose their shape.
Also, allow your cookies to cool completely before decorating. If not, the frosting will melt and your icing won’t set.
Equipment
It’s easier to make the cookies with an electric mixer like our favorite handheld mixer by Hamilton Beach or this KitchenAid stand mixer.
We found Halloween cookie cutters at a local hardware store, but you can find some cookie cutters here as well.
Storage
Here’s how to store your Halloween cookies and keep them fresh:
Using parchment paper between layers, keep leftover cookies in an airtight container. Store them for up to 7 days.
Freeze baked cookies in a single layer on a baking sheet. Then, transfer them to a freezer bag. You store them like this for up to two months. You can freeze decorated cookies if you have leftovers from a party. But I prefer to decorate after thawing.
You can also freeze the cookie dough or unbaked cookies. If freezing shaped cookies, first freeze them on a baking sheet, then transfer to a freezer bag. Bake from frozen. You may need to add an extra minute or two.
FAQ
Unless you find a store-bought dough specifically for cutout cookies, I wouldn’t. They tend to have too much too much fat and spread too much to hold their shape.
Yes! Chilling the dough is an absolute must if you want your cookies to hold their shape.
You know, there’s no best way to decorate your Halloween cookies. It’s a matter of personal tastes. We love royal icing, buttercream frosting, melted chocolate, sprinkles, candy pearls, sanding sugar, and googly candy eyes. Just be sure to wait until your cookies are cooled completely before decorating?

Halloween Sugar Cookies
Ingredients
- 3 Cups Flour
- ¼ Tsp Salt
- 1 Tsp Baking Powder
- 1 Cup Unsalted Butter Room Temperature
- 1 Cup Sugar
- 1 Large Egg Room Temperature
- 2 Tsp Vanilla Extract
- Batch of Royal Icing
- Black Gel Food Coloring
- Black and Pearl Sprinkles
Instructions
Cookie Dough
- Preheat your oven to 350°F. Line two baking sheets with parchment paper and set them aside.
- In a medium bowl, mix together the flour, salt, and baking powder. Set that aside too.
- In a large bowl, use an electric mixer (or stand mixer) on medium speed to beat the butter and sugar for about 2 minutes, until it looks light and fluffy.
- Add the egg and vanilla. Scrape down the sides of the bowl so everything gets mixed in well.
- Add the flour mixture and mix on low until the dough starts to form. Then use a rubber spatula to gently fold and press the dough so all the flour is fully mixed in.
- Divide the dough in half. Take one half and roll it out on parchment paper or a silicone mat until it’s about ¼ inch thick. Do the same with the second half.
- Cover with plastic wrap and put both rolled-out dough sheets in the fridge for 2 hours so they can chill.
- After chilling, use your favorite Halloween cookie cutters to cut out shapes. We used bats and ghosts. Place the cookies on your lined baking sheets, making sure to leave about 1 inch of space between each one.
- Bake for 10 to 12 minutes, or until lightly browned around the edges.
- Let the cookies cool on the baking sheet for 5 minutes, then move them to a wire rack to cool completely.
Decorating
- First, you want to divide the icing into 2 bowls. One bowl you want to keep it white and the second bowl we added the black gel food coloring.
- Spoon some of the white icing into a piping bag with a small #2 decorating tip. You also need to do this with the black icing.
- Put the rest of that same colored icing into another piping bag, but this time just cut a small hole at the tip. Set aside.
- Use the piping bag with the #2 tip to carefully outline the edges of the cookie. After you’ve outlined the cookie, use the second bag to fill in the inside.
- Using a toothpick, gently spread the icing to the edges to make it smooth. Then carefully add the black sprinkles for the eyes.
- You want to follow steps 4-5 for the bat cookies. But this time, carefully add the pearl sprinkles for the eyes.
- Let the cookies sit at room temperature for about 2 hours so the icing can dry and harden. Enjoy!
Notes
- Lightly dust the cookie cutter before cutting out the cookies. It helps the dough release easily.
- You want to add the sprinkles to the cookie while the icing is still wet. Otherwise the sprinkles will just fall off.
- You can freeze the dough for up to 3 months.
Leave a Reply