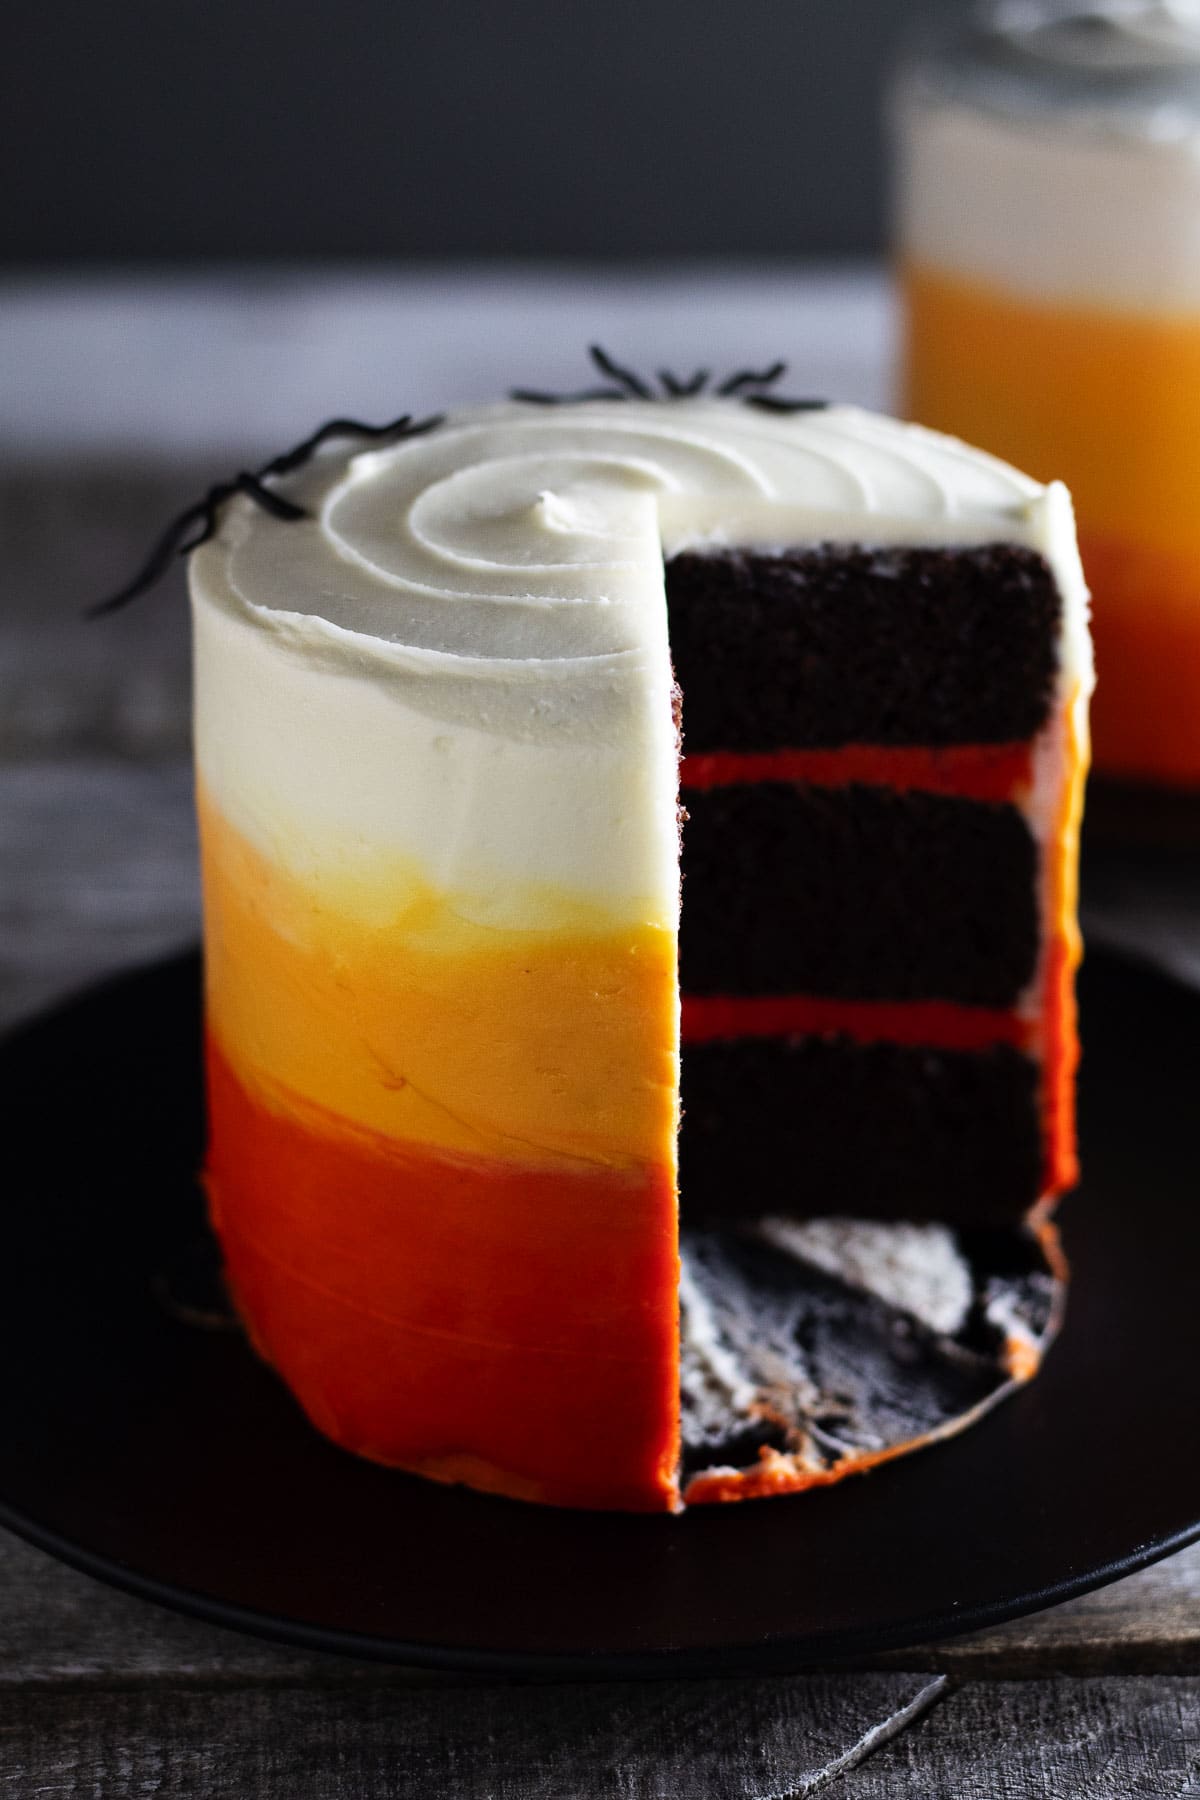
If you are a Halloween or Harry Potter fanatic, like us, then you are going to love these air fryer Halloween cakes. They’re about half the size of standard nine-inch cakes and very simple to make for a few reasons. First, you can make them in the air fryer, so you’re oven won’t be occupied.
Secondly, we use a box cake mix, talk about time savings. And third, you can use store-bought frosting to save even more time. However, we still provide you with our frosting recipe below. So, follow along, and we will show you step-by-step exactly how to make this ombre patterned beautiful mini cakes.
Jump to Recipe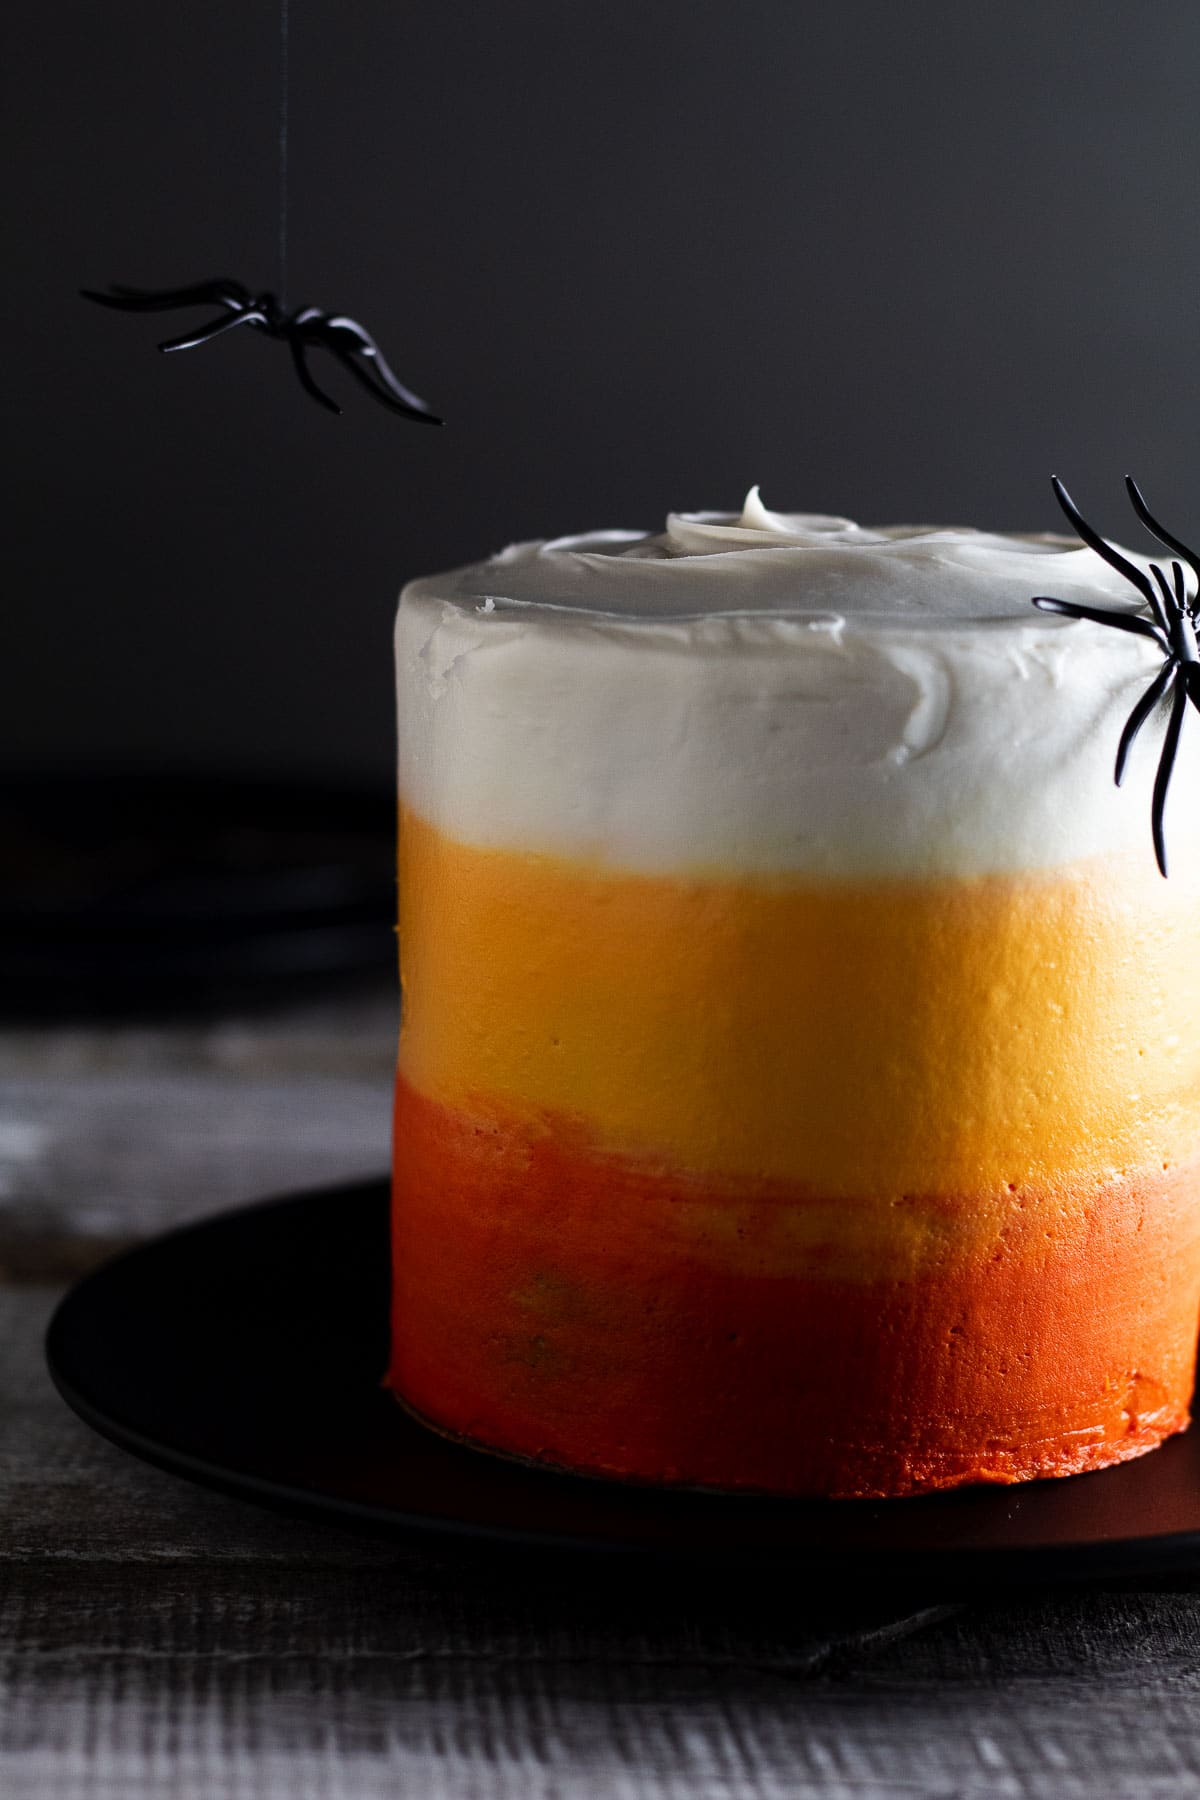
The way we see it, this recipe is perfect for so many situations. For example, maybe you want to make a little something different for your Halloween party. You know, something to really wow your guest. Or perhaps you want to host an intimate small gathering, even just for two. Then, this cake can be the centerpiece. And speaking of such, if you want to have a large celebration, these mini cakes can be the centerpieces for your tables. Any way you slice it (sorry, I couldn’t resist), these air fryer Halloween ombre cakes are going to be the star of your show!
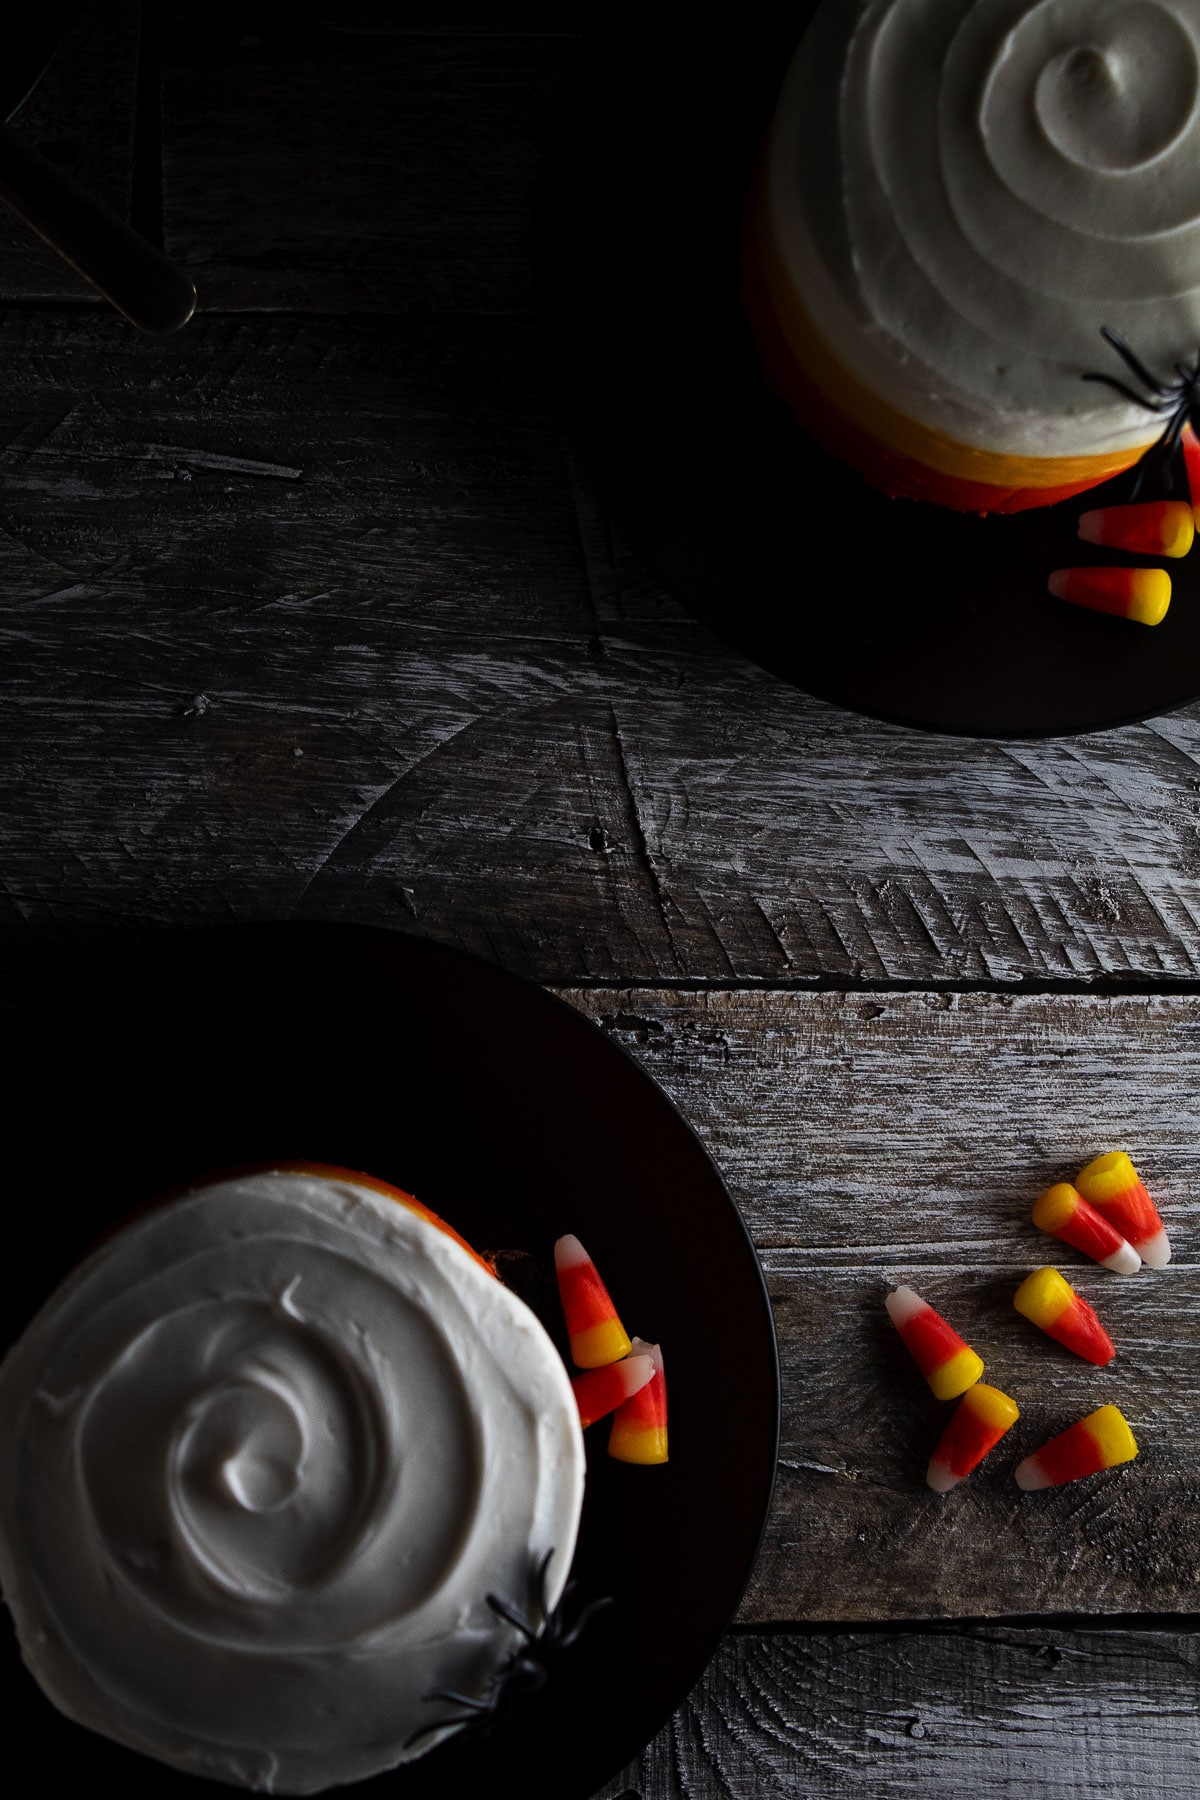
Also, if you’re one of those bubbly, friendly, and festive people, then you can even gift these cakes to your coworkers. These quick cakes are the perfect way to win people over in an office setting. It’s a great way to tell folks, “I like working with you!”
Jump to:
Ingredients
In the image below, you will see all of the ingredients for our Ombre Air fryer cakes.
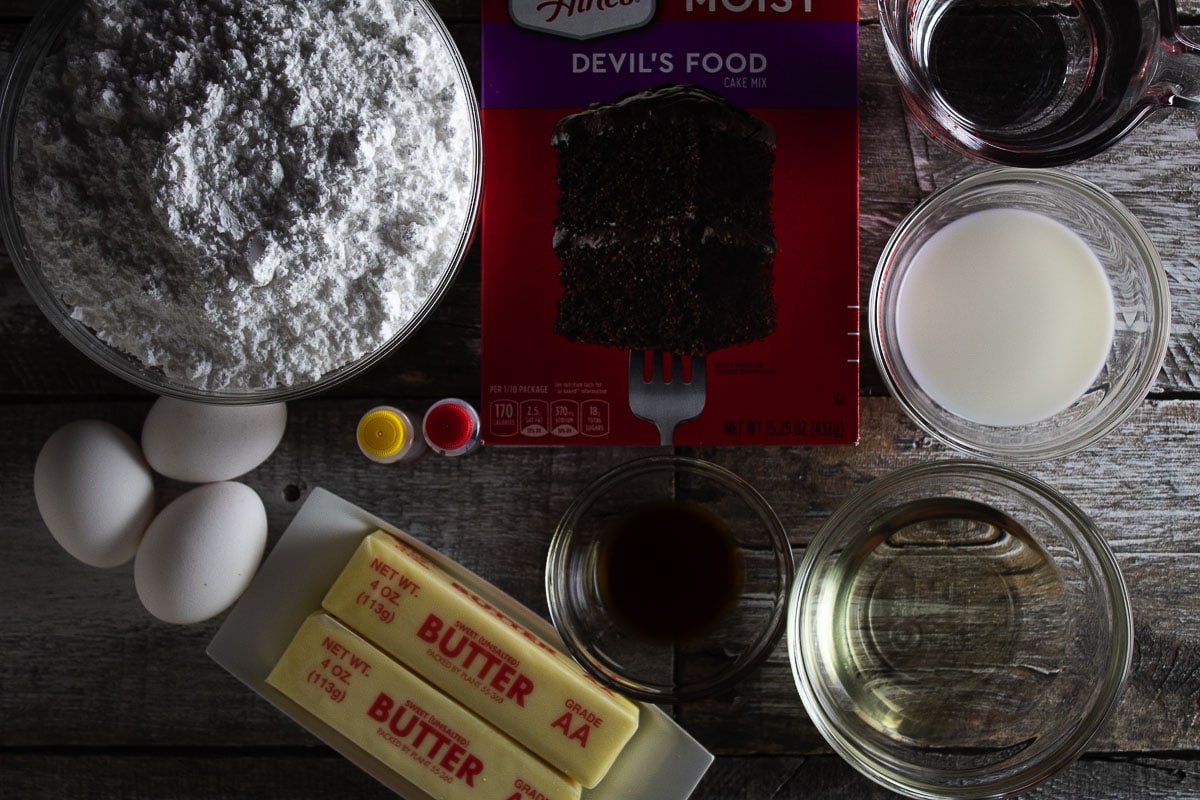
Cake
- Box cake mix of your choice
- water
- oil
- eggs
Note: You can replace the oil with butter for a richer cake and replace the water with milk.
Frosting
- Powdered sugar
- milk
- butter
- vanilla extract
- food coloring
See the recipe card for quantities.
Essential Steps
Bake the cakes in the air fryer by following our instructions on the recipe card. Depending on the size of your air fryer, you should be able to fit two mini cake pans at a time. Now, we made our cakes three layers high, but you can do as many layers as you want. The most important step, however, is to wait for the cakes to cool before frosting them. This will take at least two hours.
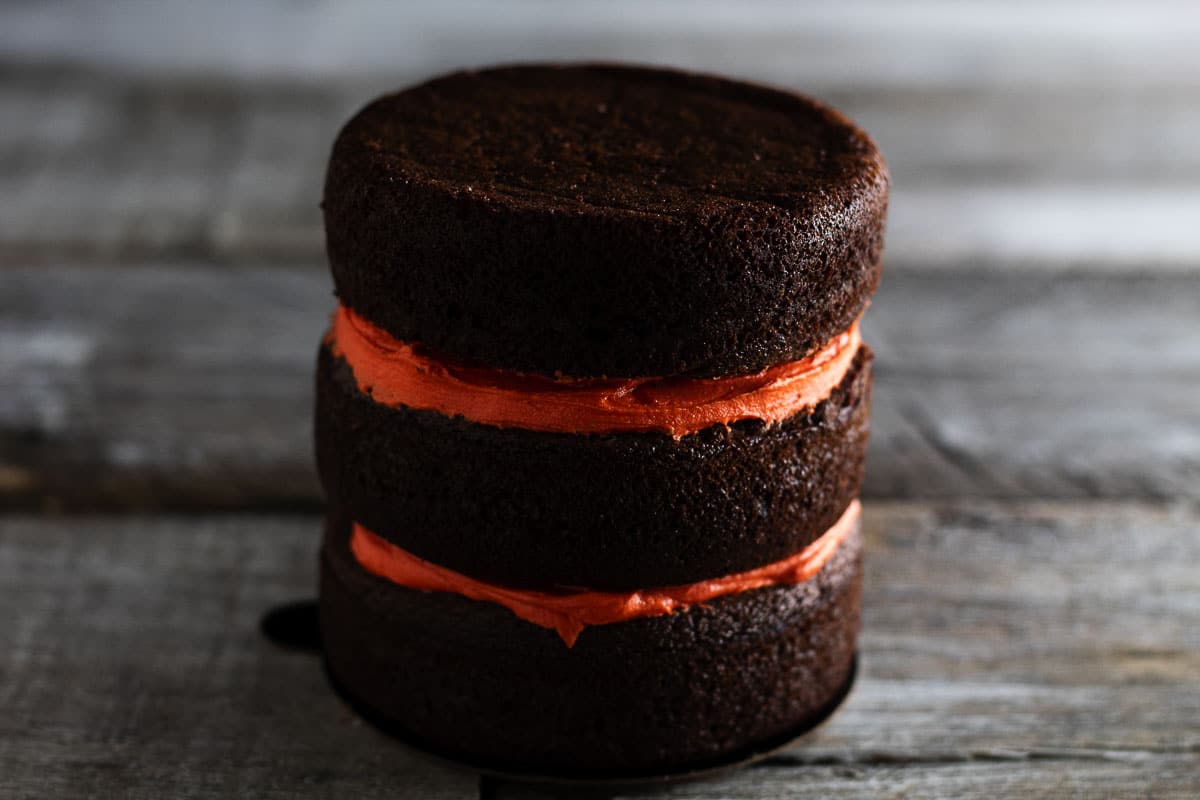
The tops of the cakes will be uneven, so you will need to cut them to make them flat on top. Next, you will spread the frosting on each layer between the cakes. Do not add so much frosting that it squeezes out of the sides. Also, do not press the cakes down too much after frosting each cake layer.
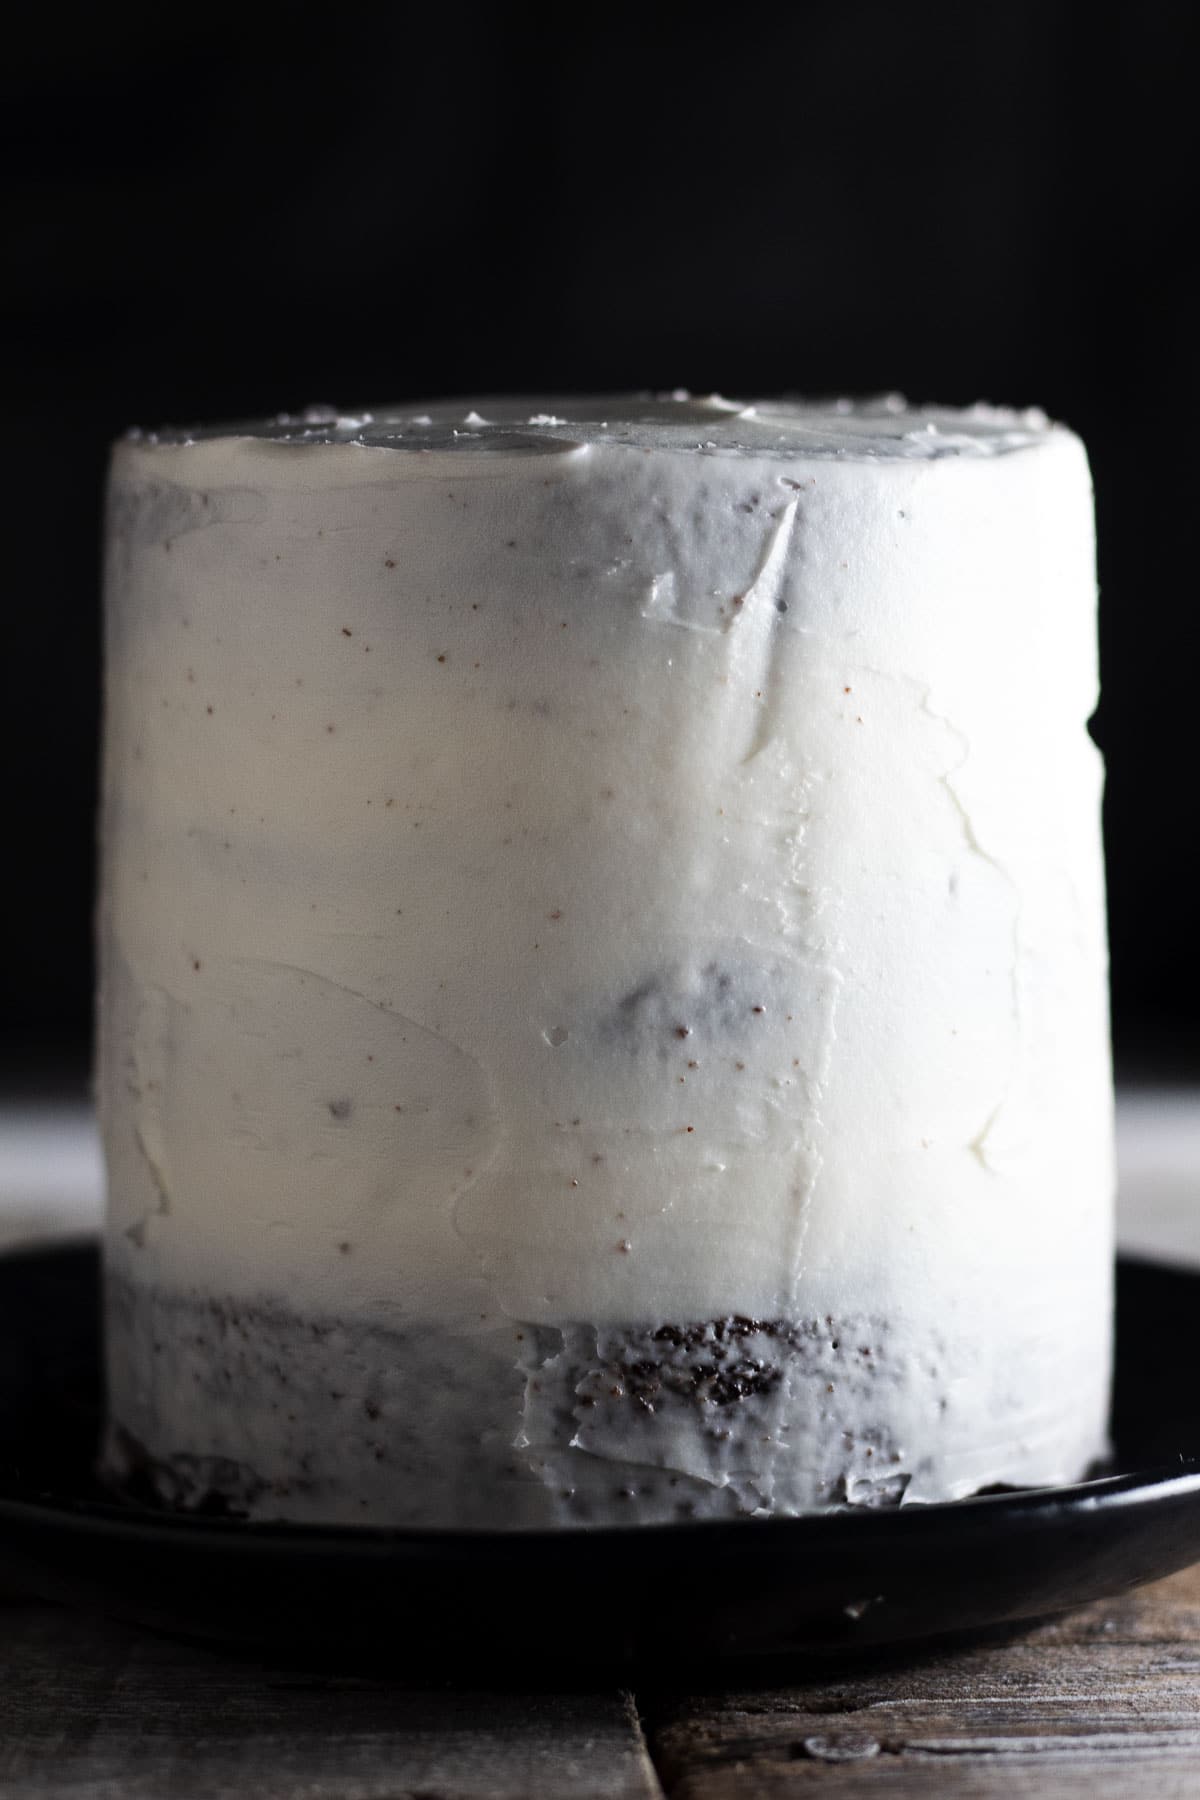
The next thing you need to do is add a crumb coat to your cake. A crumb coat is your initial layer of frosting that will prevent cake crumbs from showing through on your final frosting layer. Use an offset spatula to spread a thin layer of frosting on your cake, then place the cake in the freezer for 10 minutes.
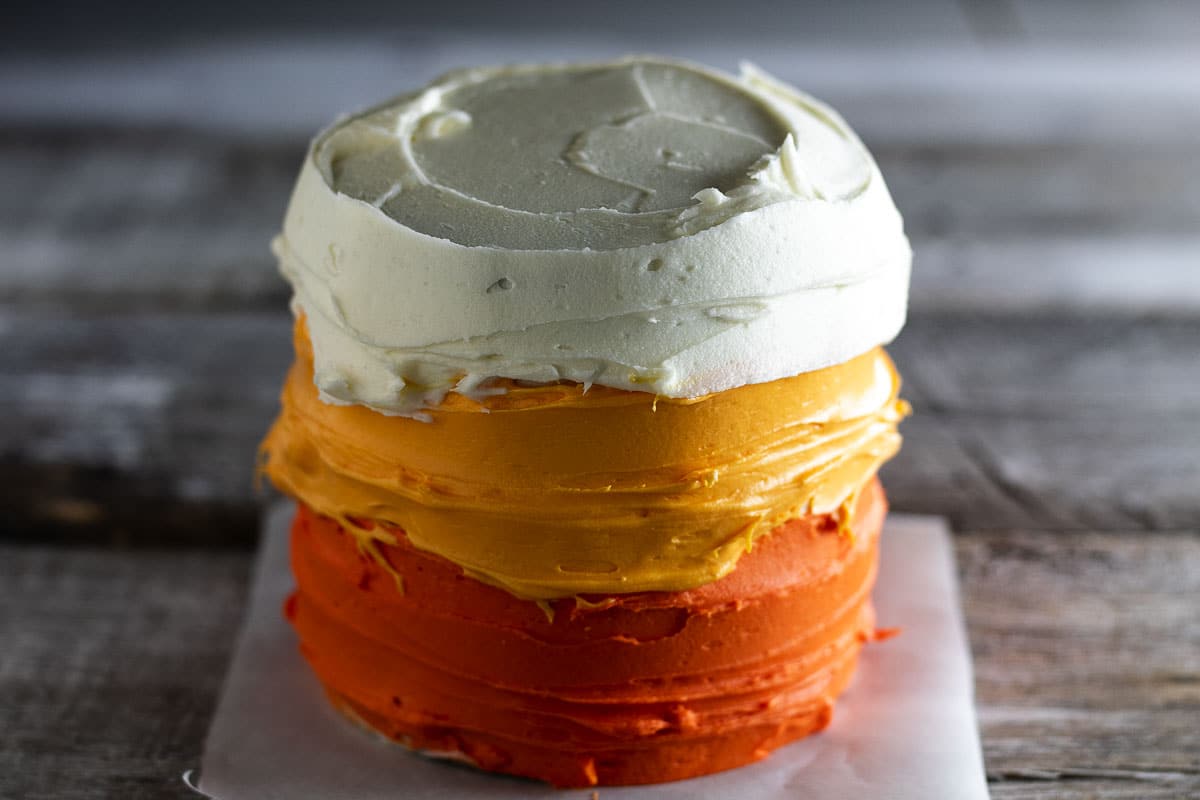
After 10 minutes in the freezer, you are ready to put frosting on your cake. This is where things get really fun. You can check out this tutorial on how to do an ombre frosting here. But here is the long and short of it:
- Place cake on rotating cake stand.
- Use an offset spatula to spread the first color frosting to bottom of the cake. Go about 1/3rd of the way up.
- Rotating the cake stand as you spread the frosting.
- Repeat for the next two colors.
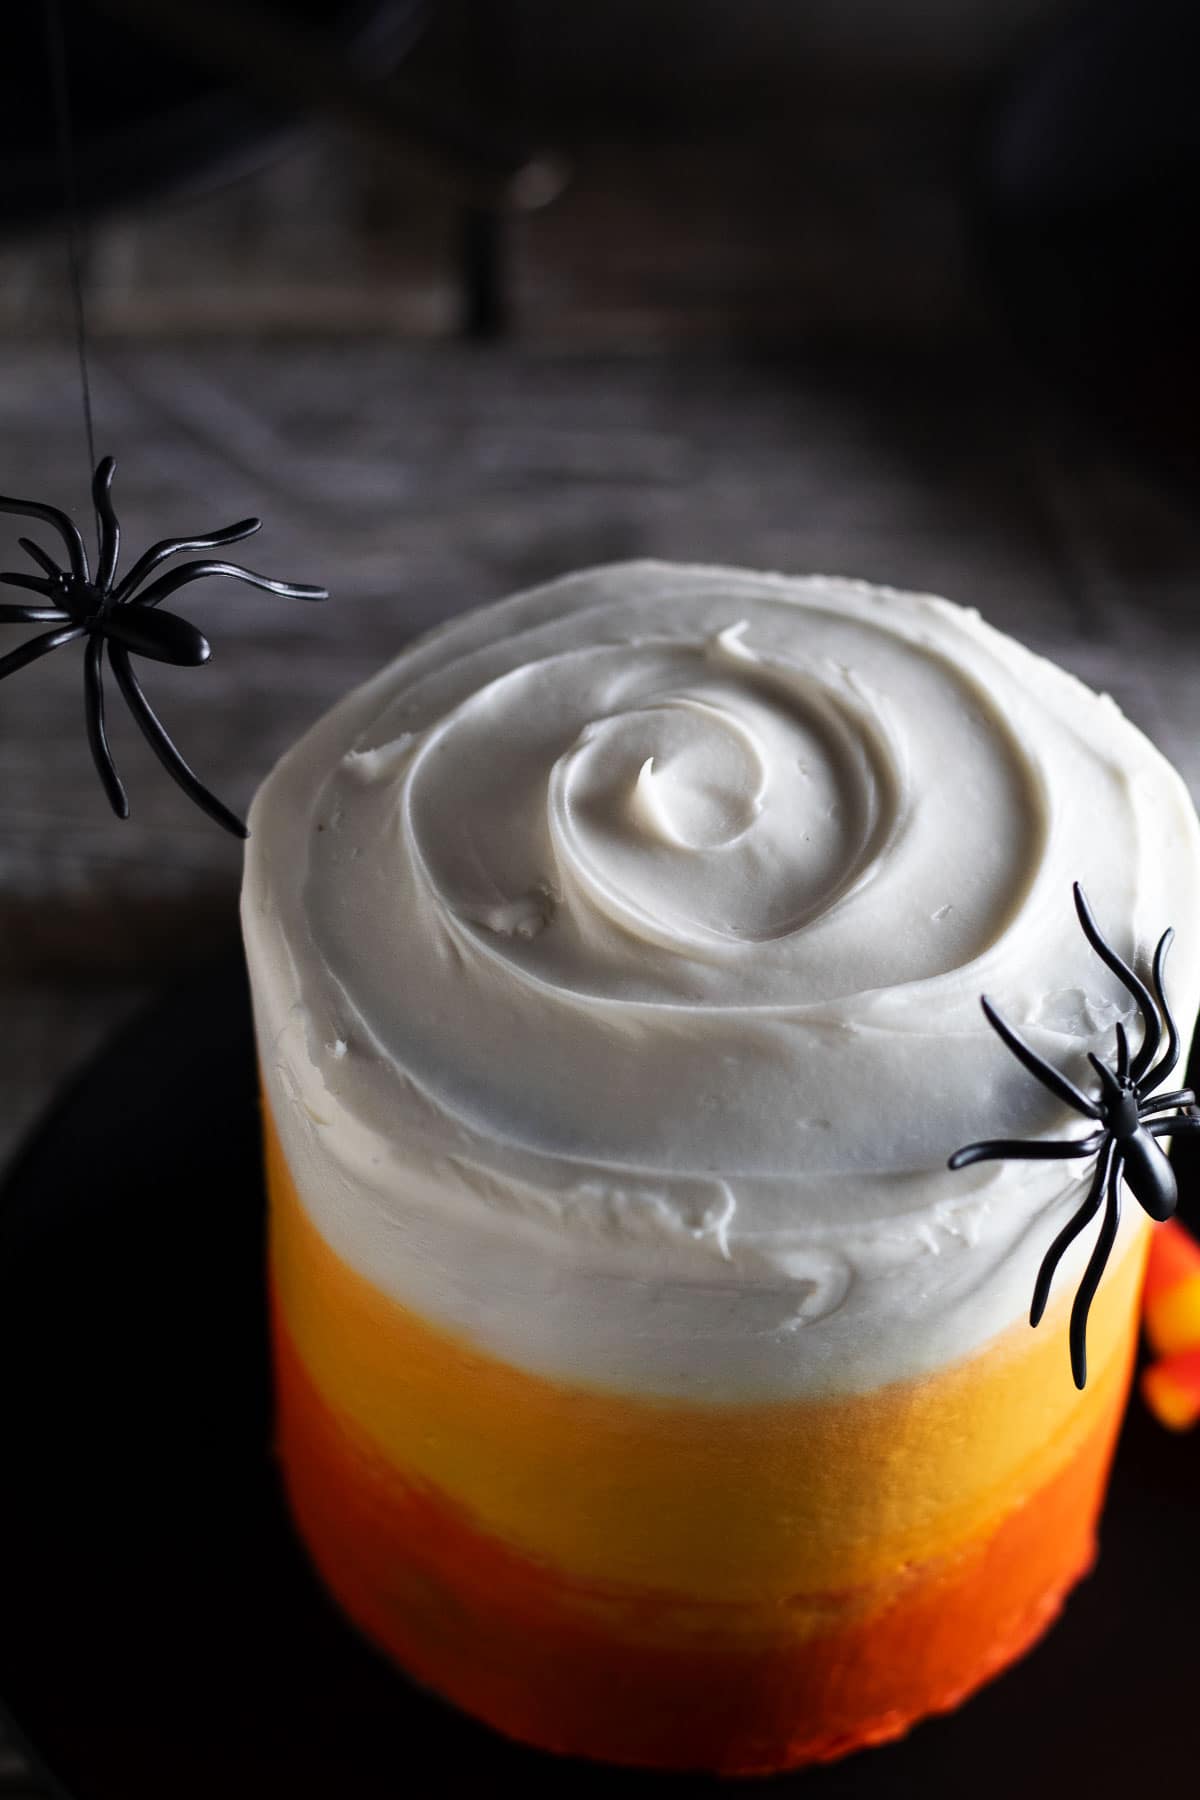
- Next, take the cake scraper and place it against the side of the cake. Then slowly rotate the cake stand scraping excess frosting. But do not press too hard against the cake or you will remove too much frosting.
- Continue until the frosting is smooth and the colors are blended.
- Smooth the top of the cake with an offset spatula.
Equipment
To make the mini cakes, you will need four-inch cake pans. So, you probably don’t have this cake pan size sitting around because it’s not a very common size. We found our pans on Amazon.
Other helpful tools:
- cake turntable
- cake cardboard
- small angled spatula
- frosting scraper
We found a kit with many cake tools here.
Top Tip
Often the best tips that we can give involve patience. So with that, there are two times where you need to be very patient. The first is when waiting for the cakes to cool off. Please wait for the cakes to cool off completely before spreading the frosting. The cakes might feel cool enough to frost them before the 2 hours, but there will be some lingering heat inside that will melt your frosting.
Also, when you frost the cake, you need to be very patient and keep a steady hand. If you take your time, you will end up with picture-perfect pretty air fryer Halloween cakes.
Air Fryer Halloween Cake Recipe
Equipment
- 4-inch cake pans
- cake cardboards
- cake scraper
- rotating cake stand
Ingredients
- 1 box devil food cake mix
- 2 sticks unsalted butter
- 4 cups powdered sugar
- 1 tsp vanilla extract
- 3-4 tbsp milk
- yellow food coloring
- red food coloring
Instructions
- Mix the cake mix according to the package instructions.
- Preheat the air fryer to 320 degrees.
- Fill each pan with 1 cup of the batter or about ⅔ full. Bake for 18-22 minutes.
- In a stand mixer, add the butter, sugar, vanilla extract, and two tablespoons of milk and mix to combine. The frosting should be thick and spreadable.
- Measure out ¾ cup of the frosting and put it in a medium bowl. Add 45 drops or ⅜ teaspoon of red food coloring to the medium bowl and 63 drops or 4/8 teaspoon + 3 drops of yellow food coloring.
- Take another ½ cup of frosting and put it in a smaller bowl. To the small bowl add 16 drops or ⅛ teaspoon + 1 drop of yellow food coloring and 4 drops of red food coloring. Scrape the sides of the bowl.
- Using a serrated knife, cut the top off until the surface of the cake is leveled.
- Start by putting a small amount of frosting on your cake board or rotating cake stand.
- Next, place your first cake layer on the cake cardboard or cake stand. Then spread frosting on top. Repeat for all layers.
- Use an offset spatula to apply a thin layer of white frosting all over the cake. It should be thin enough to see the cake through it. Smooth the sides and top of the cake using a cake scraper. Turn the cake stand as you go while removing any excess frosting. Freeze the cake for 10 minutes to set the icing.
- Use an offset spatula apply the dark orange frosting around the bottom of the cake about ⅓ of the way up. Wipe off the spatula and continue spreading the remaining colors. Using the scraper, smooth the sides while turning the cake stand. Wipe your scraper after each time you go around the cake. To smooth the top you want to gently drag the scraper from the edges towards the center while turning the cake stand. Continue until the top is smooth and leveled. Enjoy!
Notes
- It will be impossible to make an exact color as you see in the picture. So have fun with the frosting colors. Add a little more red or yellow to get the orange you want. You can also use gel food coloring.
- To make sure the batter is even in the pan, tap the pan on the countertop a few times. This can also help get out any air bubbles in your batter.
- You can also bake this cake in your convection oven at 350 degrees for 18-22 minutes.
- When making frosting start the mixer on low to prevent a mess.
- Stick a toothpick in the cake, if it comes out clean the cake is done.
Nutrition
Variations
Like so many of our recipes, you can change this cake up in many ways. One way that you can change it is to pulverize Oreos and sprinkle them on top of the cake. You can then use the Oreos to create a “graveyard”. Now, if you add headstone candies, you will create an exceptional Halloween treat.
No Air Fryer – No Worries
The air fryer has evolved from a trendy kitchen gadget to a legit kitchen tool. But maybe you don’t have one. No problem. You can make this recipe in your oven. Of course, the baking temp and time are different, but that’s it. Just bake your cakes at 350 degrees for 21 minutes but check them with a toothpick starting at 18 minutes.


Leave a Reply